

Power Carved Textured Storage Bench | With DIY Plans
One of my favorite builds in 2019 was my Bubbly Bar Cabinet. It is not only functional, but it looks super awesome and was my introduction into power carving. Ever since that build I knew I wanted to do more of it, so I teamed up with Saburrtooth Powering Carving Tools to create another AWESOME piece. And this time I knew I wanted to add texture to the whole piece. And what better piece to start with than a bench, a storage bench, because everybody could use a bench and a storage bench is even better! So let me start with showing you how I created the bench.
This post is sponsored by Saburrtooth. This post contains affiliate links. For more information on my affiliate programs see my DISCLOSURES page.
Wanna watch me build this project?
check out my YouTube Video below.
Step 1:
First step was to create the box or storage portion of the bench and instead of using pocket holes I decided to use rabbet joints reenforced by dowel plugs. I did this because at the time I wasn’t sure how deep I would be carving into the piece and I wanted to make sure that I wouldn’t hit any metal. For the wood I used 3/4” thick pine project panels. You could glue up your own panels, but I thought going with the panels would save time. There are generally paint grade panels and stain grade, so be sure to get stain grade if you are staining like I did.

Project panels are edge glued up pieces of wood to create a wider board/panel. In this case 16”.
To cut the rabbets I used a Freud 3/4” Double Flute Straight Bit with 1/4” Shank in my router table. If you don’t have a router table you could also use the edge guide that comes with most routers.

Rabbets on top and bottom of the side pieces.
Step 2:
The next step was to add dados for the door tracks and the backer piece. I also cut these on my router table, but this time using a Freud 1/4” Double Flute Straight Bit with 1/4” Shank. The key to these is to have the top tracks deeper than the bottom, so that you can install and remove the doors by inserting the top edge first and then bottom. I love the look of this type of doors and have done them on my DIY Over-the-Toilet Shelf and on Phase 3 of my Modular Miter Station, the Assembly Cart.

Dadoes in front for door tracks and one in back to hold back panel.
Step 3:
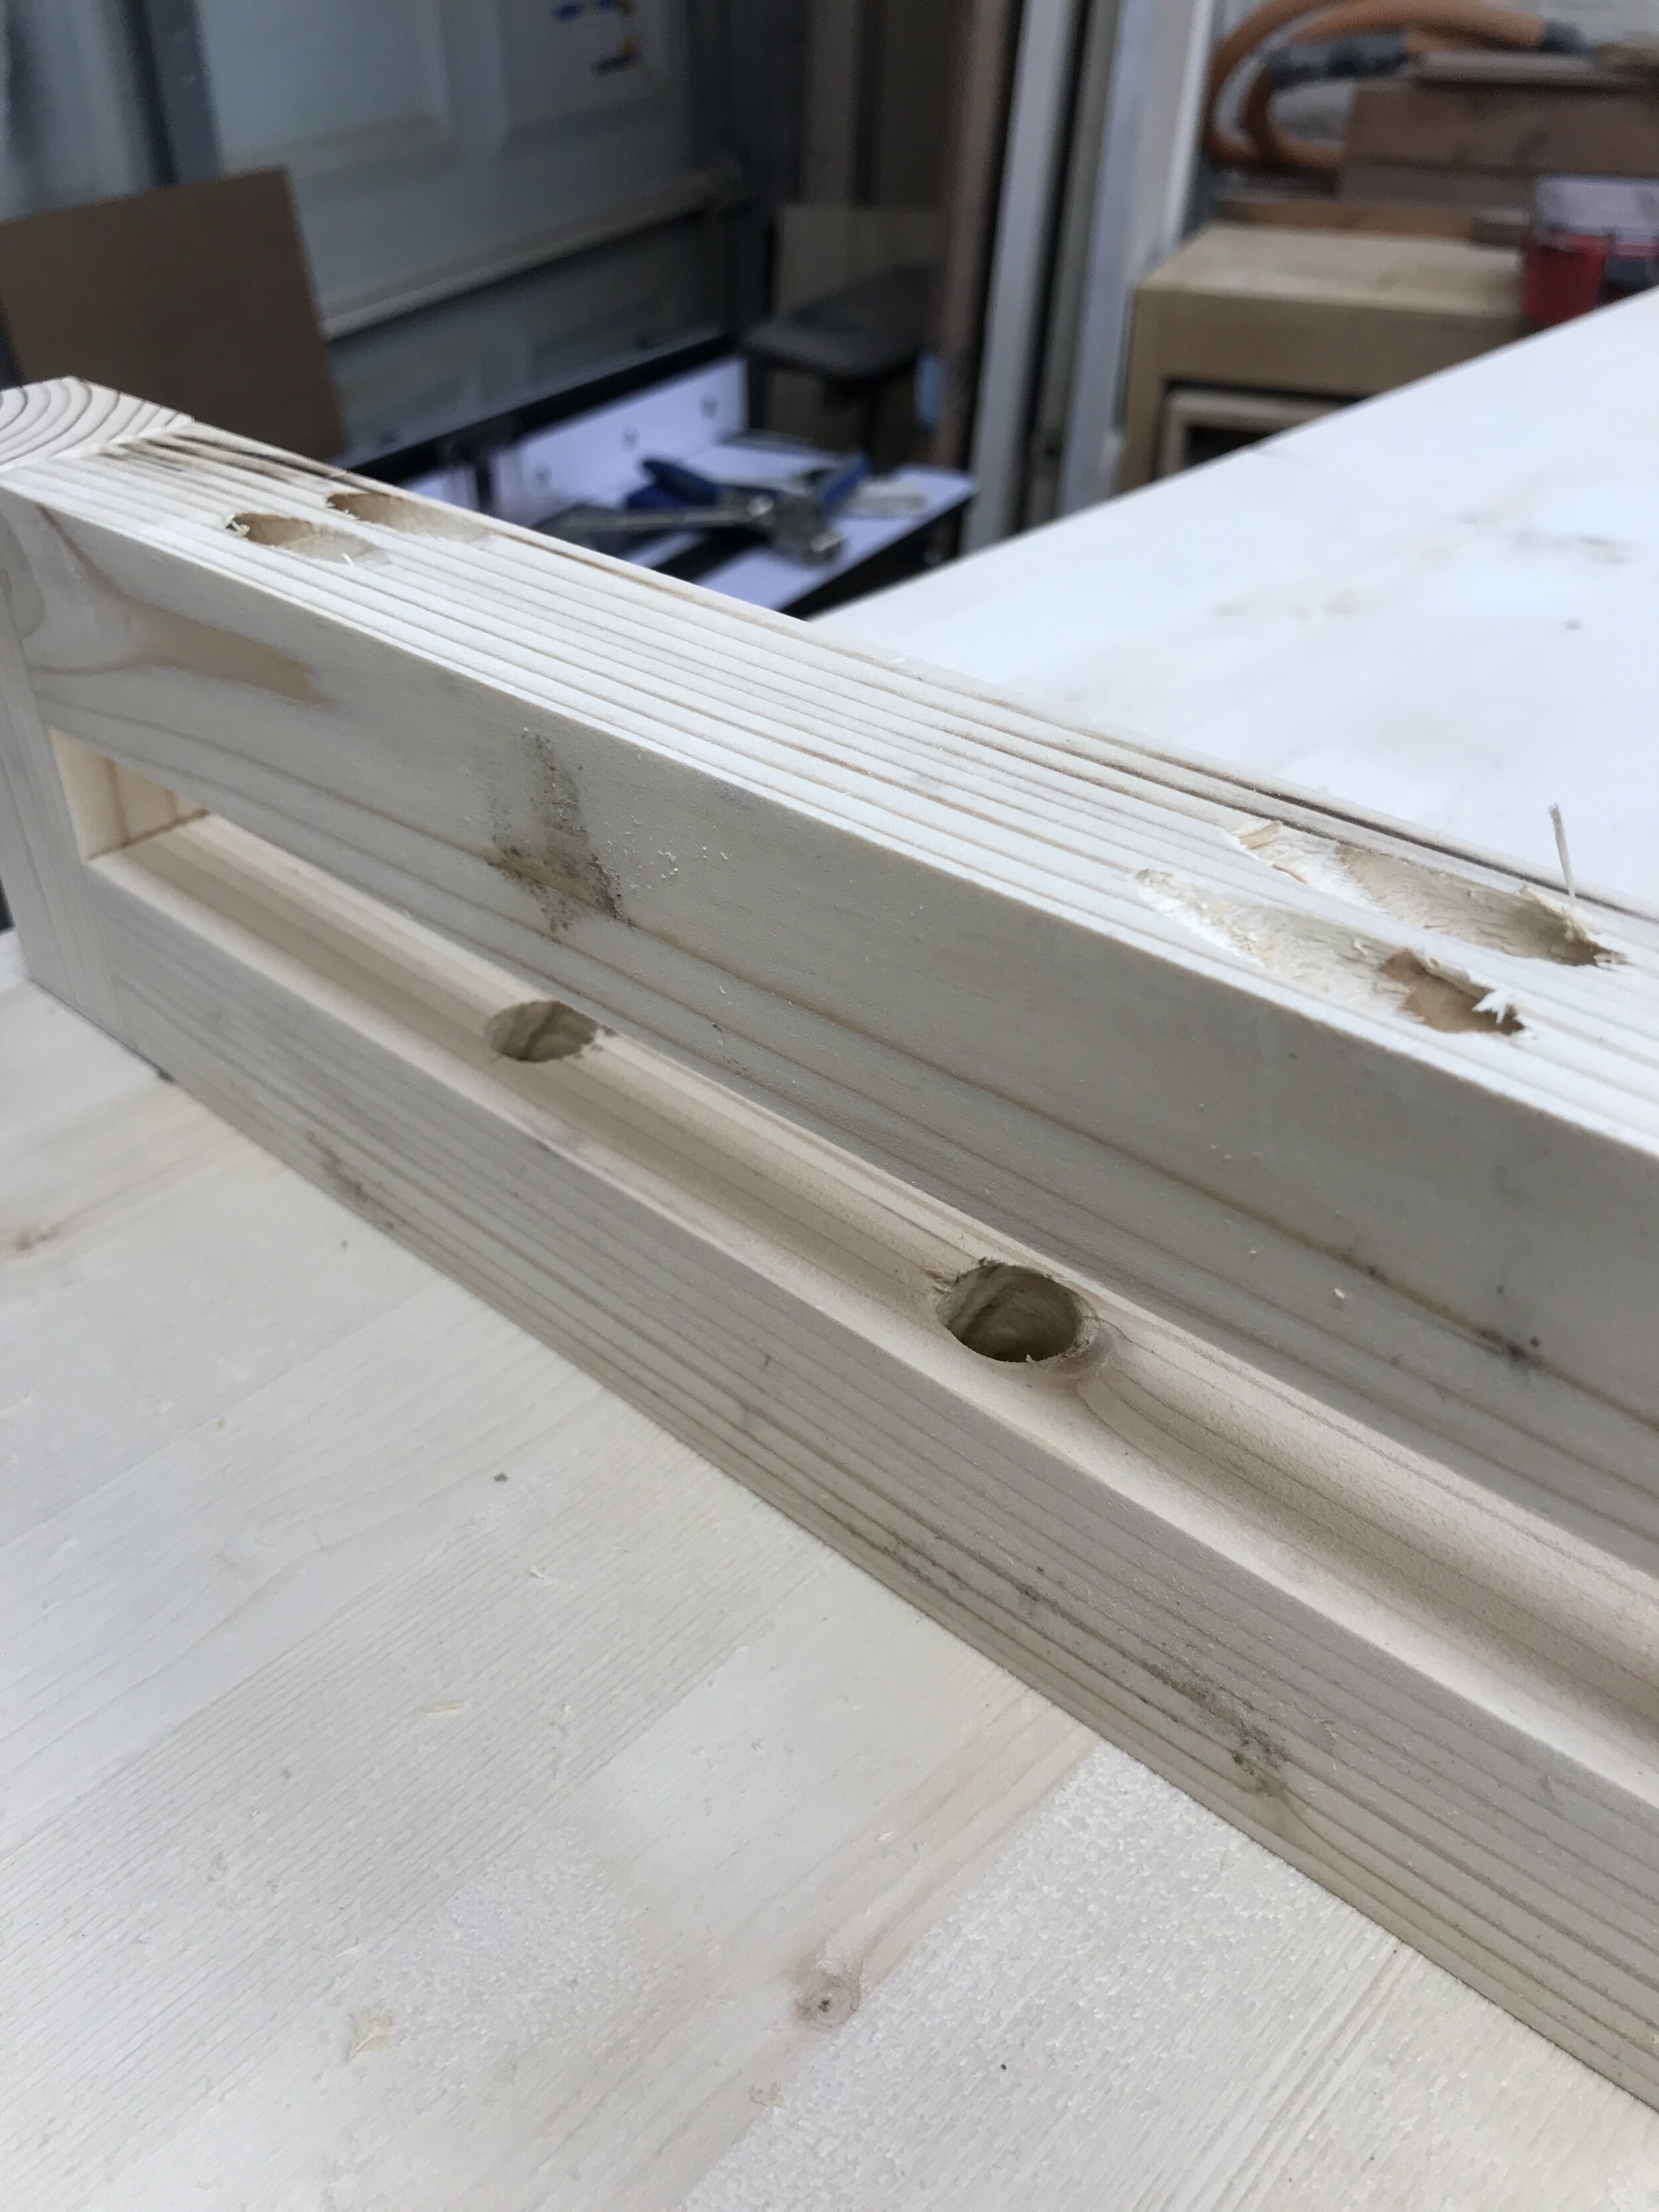
Dry fit the back panel to ensure snug fit and then assemble the box with back using wood glue and clamps. Once glue is dry add 3/8” dowel plugs with wood glue for additional strength. I used my Pony | Jorgensen Cabinet Master parallel clamps for this step because they help keep everything square by applying even pressure on both sides.

Never enough clamps!
Step 4:
Next step was to build and attach the feet to the box. I did a simple rectangular feet style and used pocket holes to assemble them because I wasn’t going to be carving the feet. The important step here is to create the U-section of the feet then countersink 1/2” holes in them and then attach the U-section to the bench box. Once it is attached then add the last foot section with pocket holes. I did it this way so that there would be no visible hardware.
Step 5:
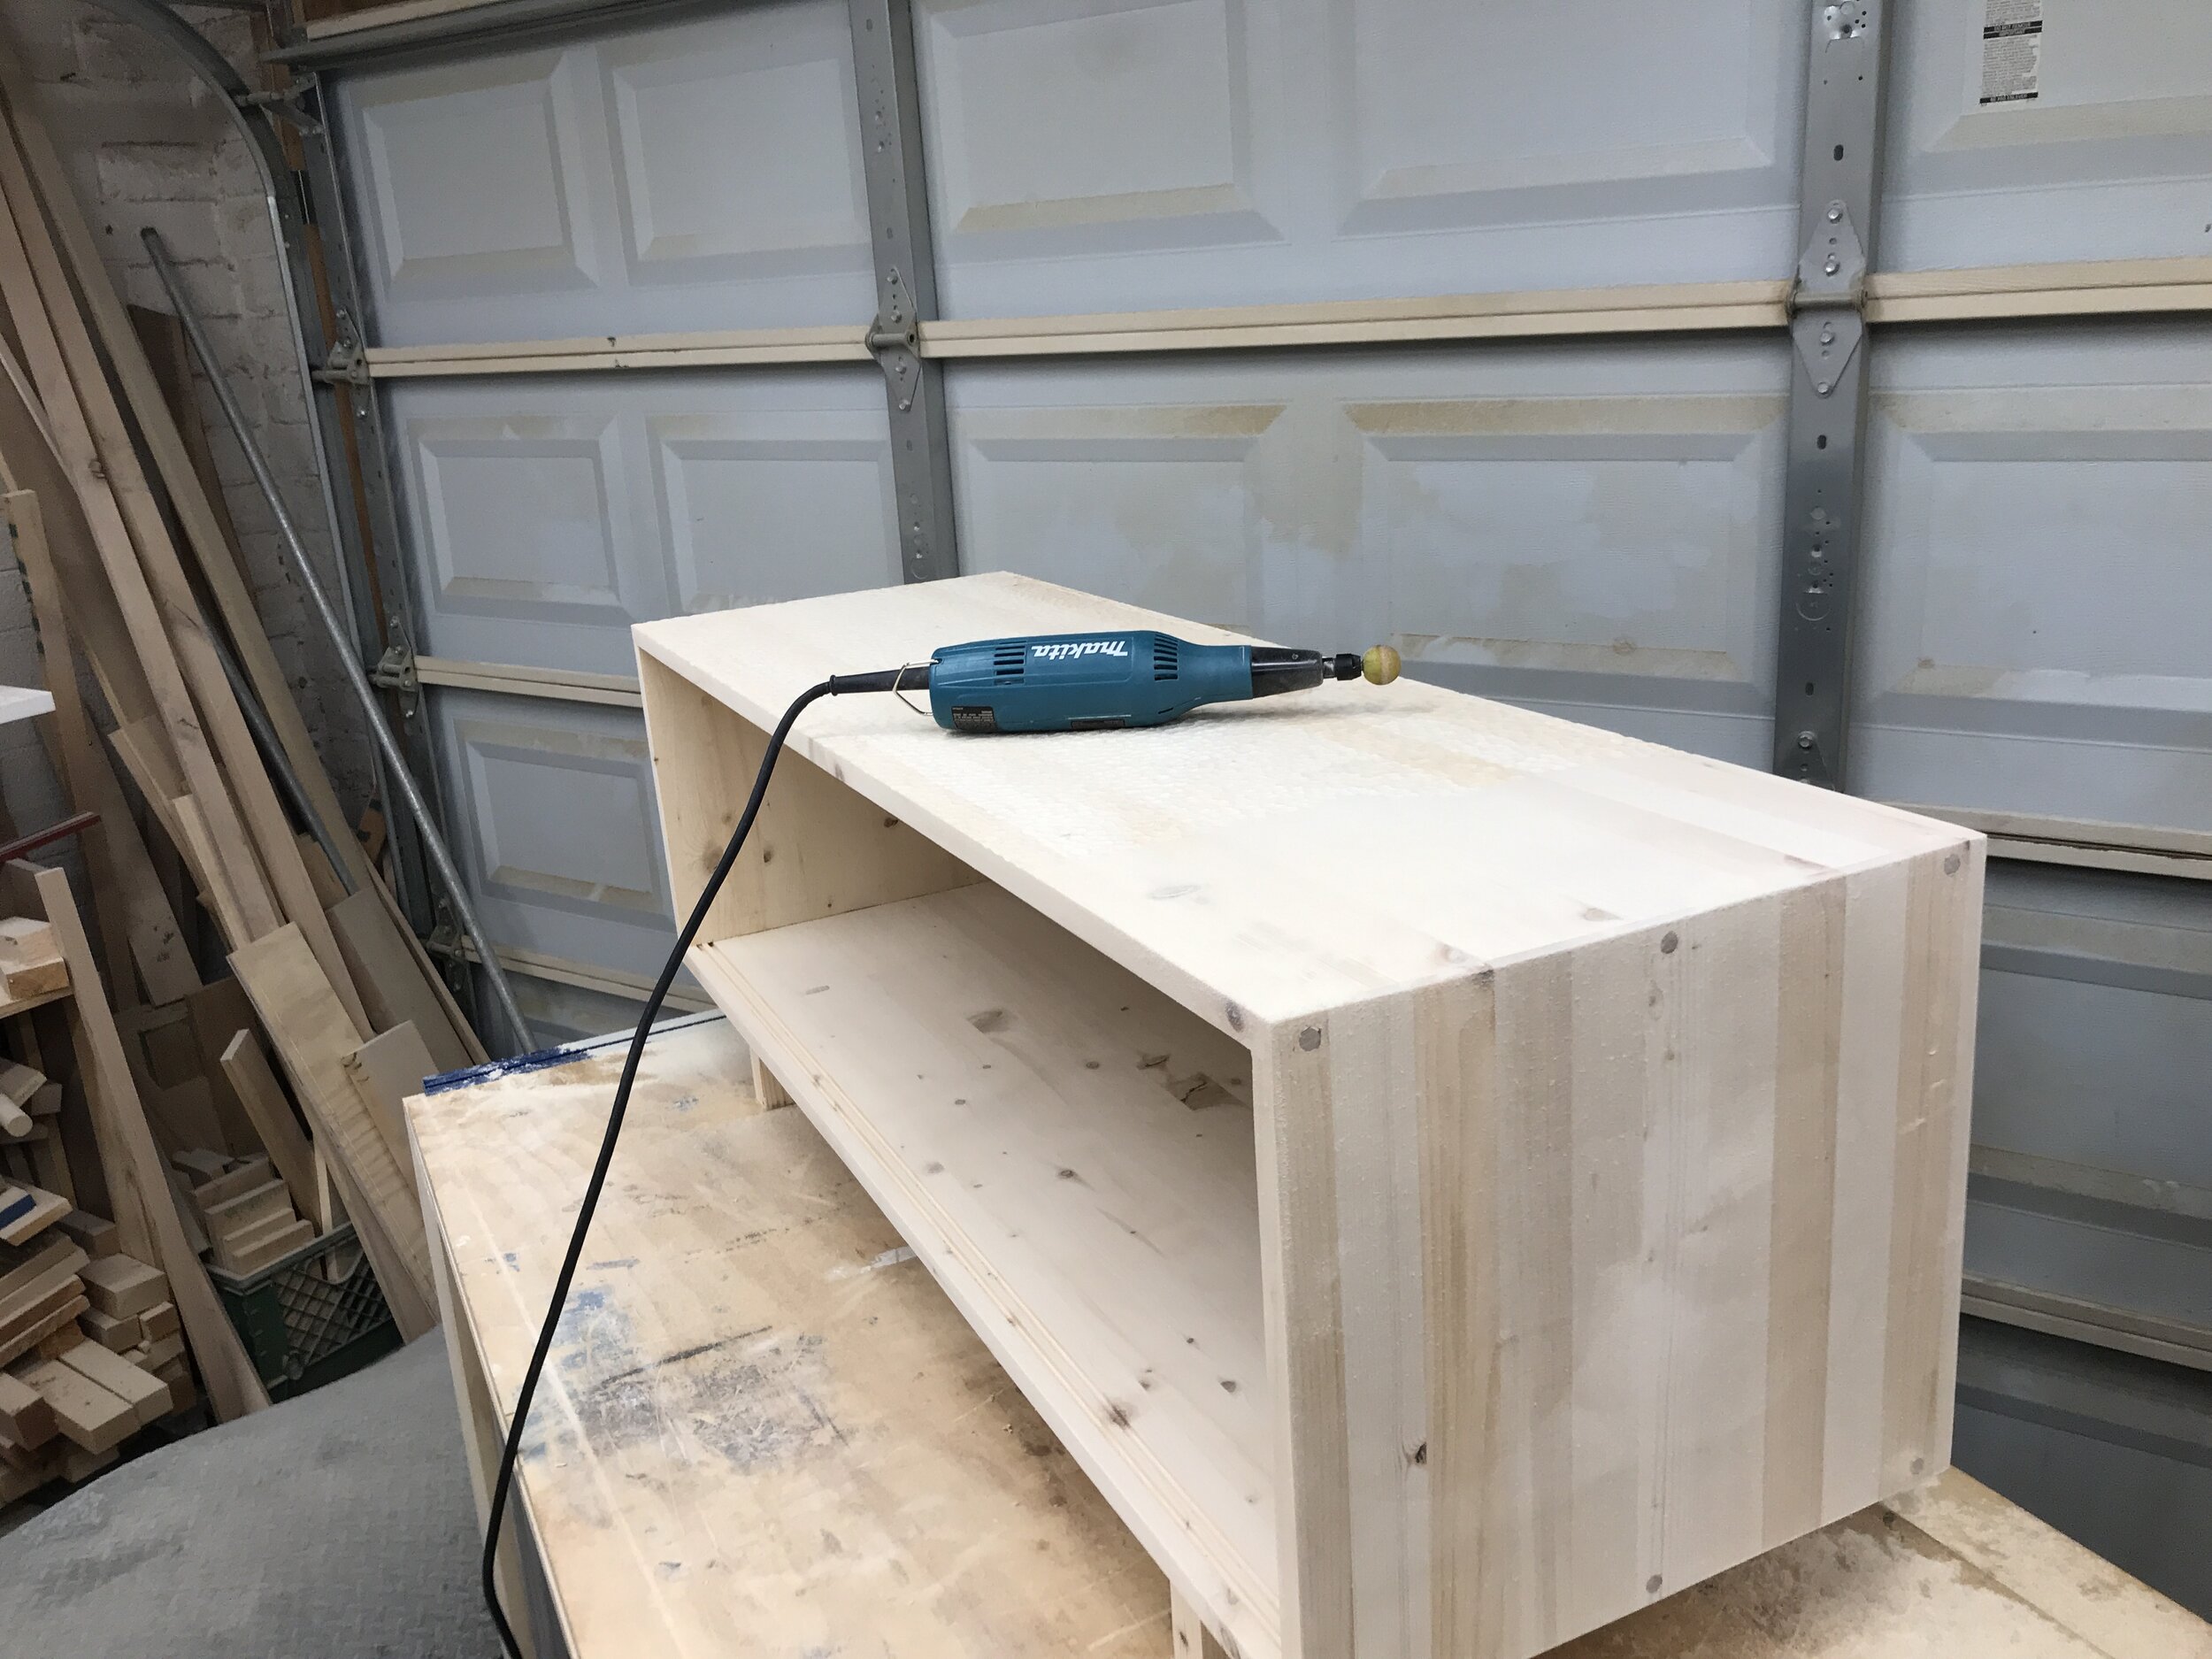
This is the fun part…. power carving the texture! I practiced with a couple of different techniques and decided to go with what I call a mushy bubble look or hammered look. To create the look I used a Saburrtooth 1” sphere burr in fine grit (yellow) and my Makita die grinder. I used the fine grit because my piece was made out of soft pine, but they do have heavier grits to save time if you are working with a harder wood.
To create the effect it took about four hours. It was a very tedious process, but worth it in the end. I suggest changing positions often and the direction in which you are carving to help create a more random look.

Step 6:
Sand, stain, clear coat, paint the doors and back panel. I’ll be honest the sanding did take a little while, but using a soft sanding sponge helped. I also finished it with a heavy coat of water based polyurethane in matte and sanded after each coat except for the last one. I did a totally of three coats.

When working with a soft wood, like pine, I always apply a pre-stain wood conditioner to prevent blotching.

I did a custom mix of 50/50 provincial/natural.

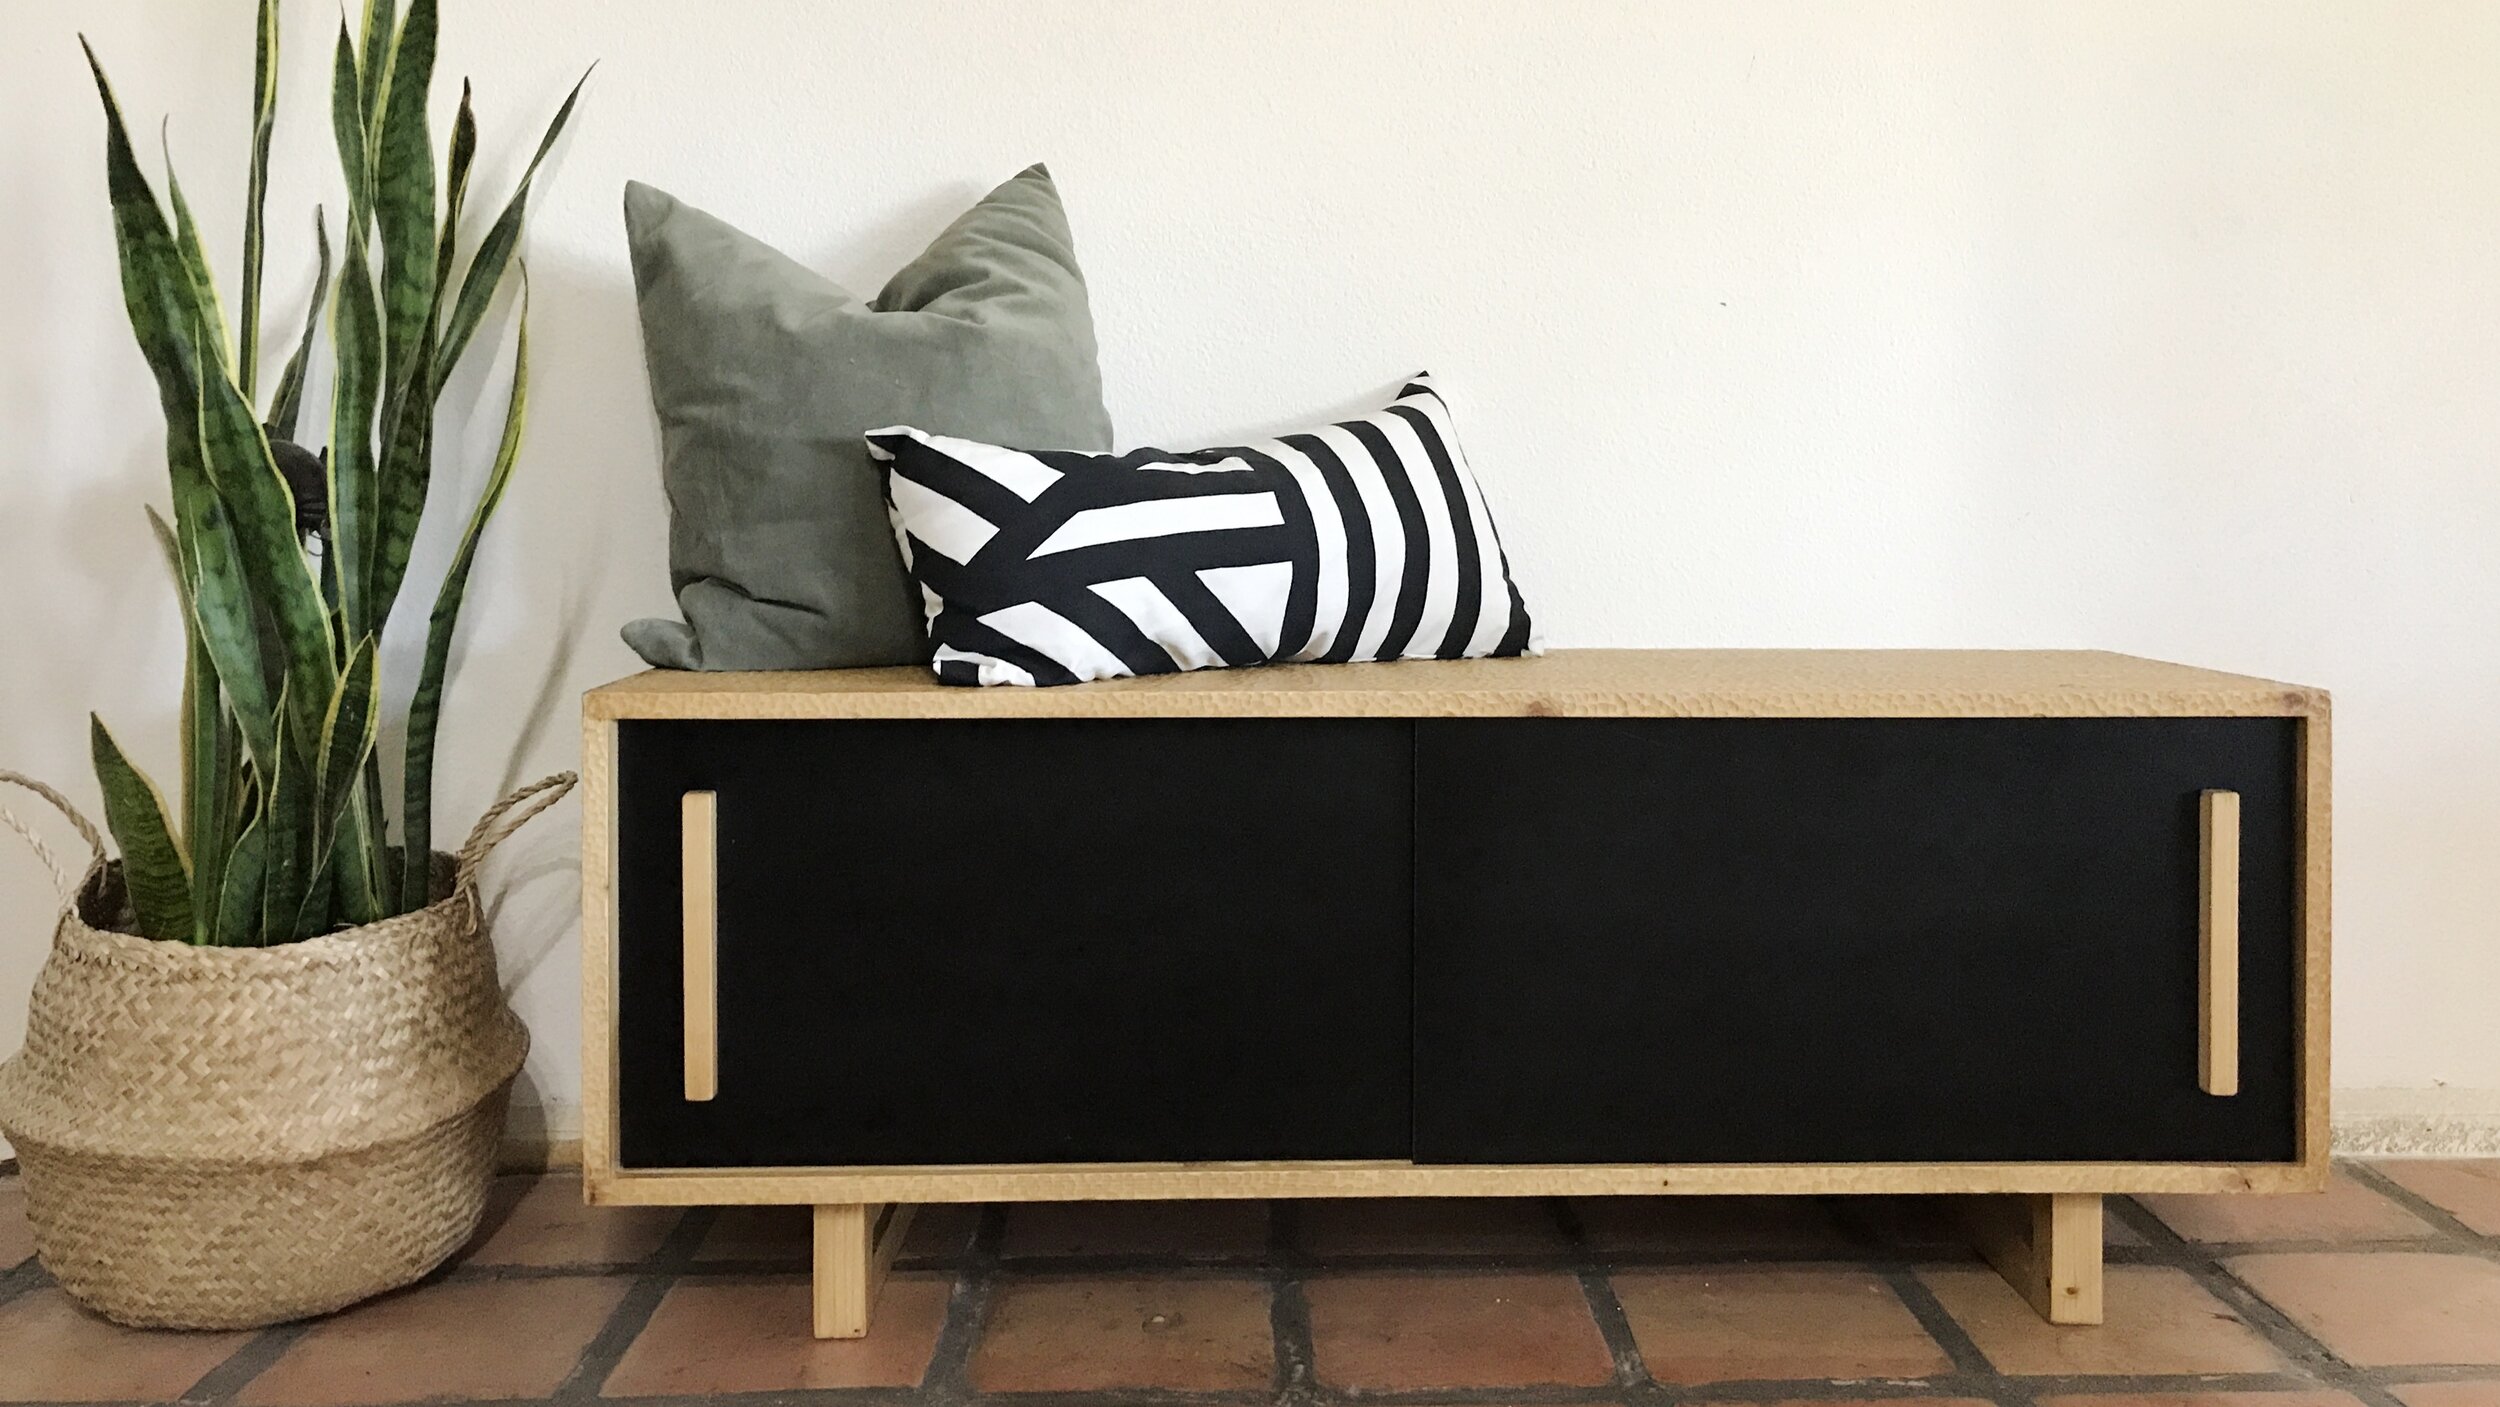
I made simple door pulls out of 3/4”x3/4” scraps of pine.


You guys this piece turned out better than I was expecting and is definitely one of my favorite pieces I have built. I can foresee that I will be adding texture to more furniture pieces in the future!
I hope you loved this project as much as I did and if you did, please leave me a comment below. And if you end up building yourself a DIY Textured Storage Bench, I would love to see it! Please share it using the hashtag #BuildingAwesome.
Thanks for following my journey, happy building and have an AWESOME day!
Sadie


