Upcycled Modern Farmhouse Tables
Okay, so as promised another #tbt post!!!! This is actually a post that I started a long time ago and never finished. It has some really good info on refinishing for that distressed farmhouse finish. Hope you enjoy!
I snagged these cool looking tables from a Facebook group that sells things for only $15 each. I loved that they had wood and metal. Two of my favorite things!

They don't look bad in these pics.
I brought them home and gave them a bath. I don't think either of them have had them in a while. While cleaning them up I discovered that the end table had been refinished before. It had a couple of spots where the veneer had been sanded thru and the poly was thick on the top. After the bath I detached the bottoms from the tops. This was super easy, as they were just attached with a few screws. I then took the bases out in the backyard to be painted. I used spray paint. A rustoleum paint that I had on hand. It is like a grayish color and gives like a hammered finish. This was the super easy part. Paint went on easy and covered well.
While that was drying I went back in the garage and started sanding! And sanding, and sanding. The sofa table finish came off pretty simple. I used my orbital sander on the top (60 grit) and then hand sanded the edges and corners (60 grit). My goal was just to get the clear coat off, so that my new stain with soak in better. The end table took some patience to get all the poly off. But I knew it didn't have to be perfect because I was going to stain it and then paint it.

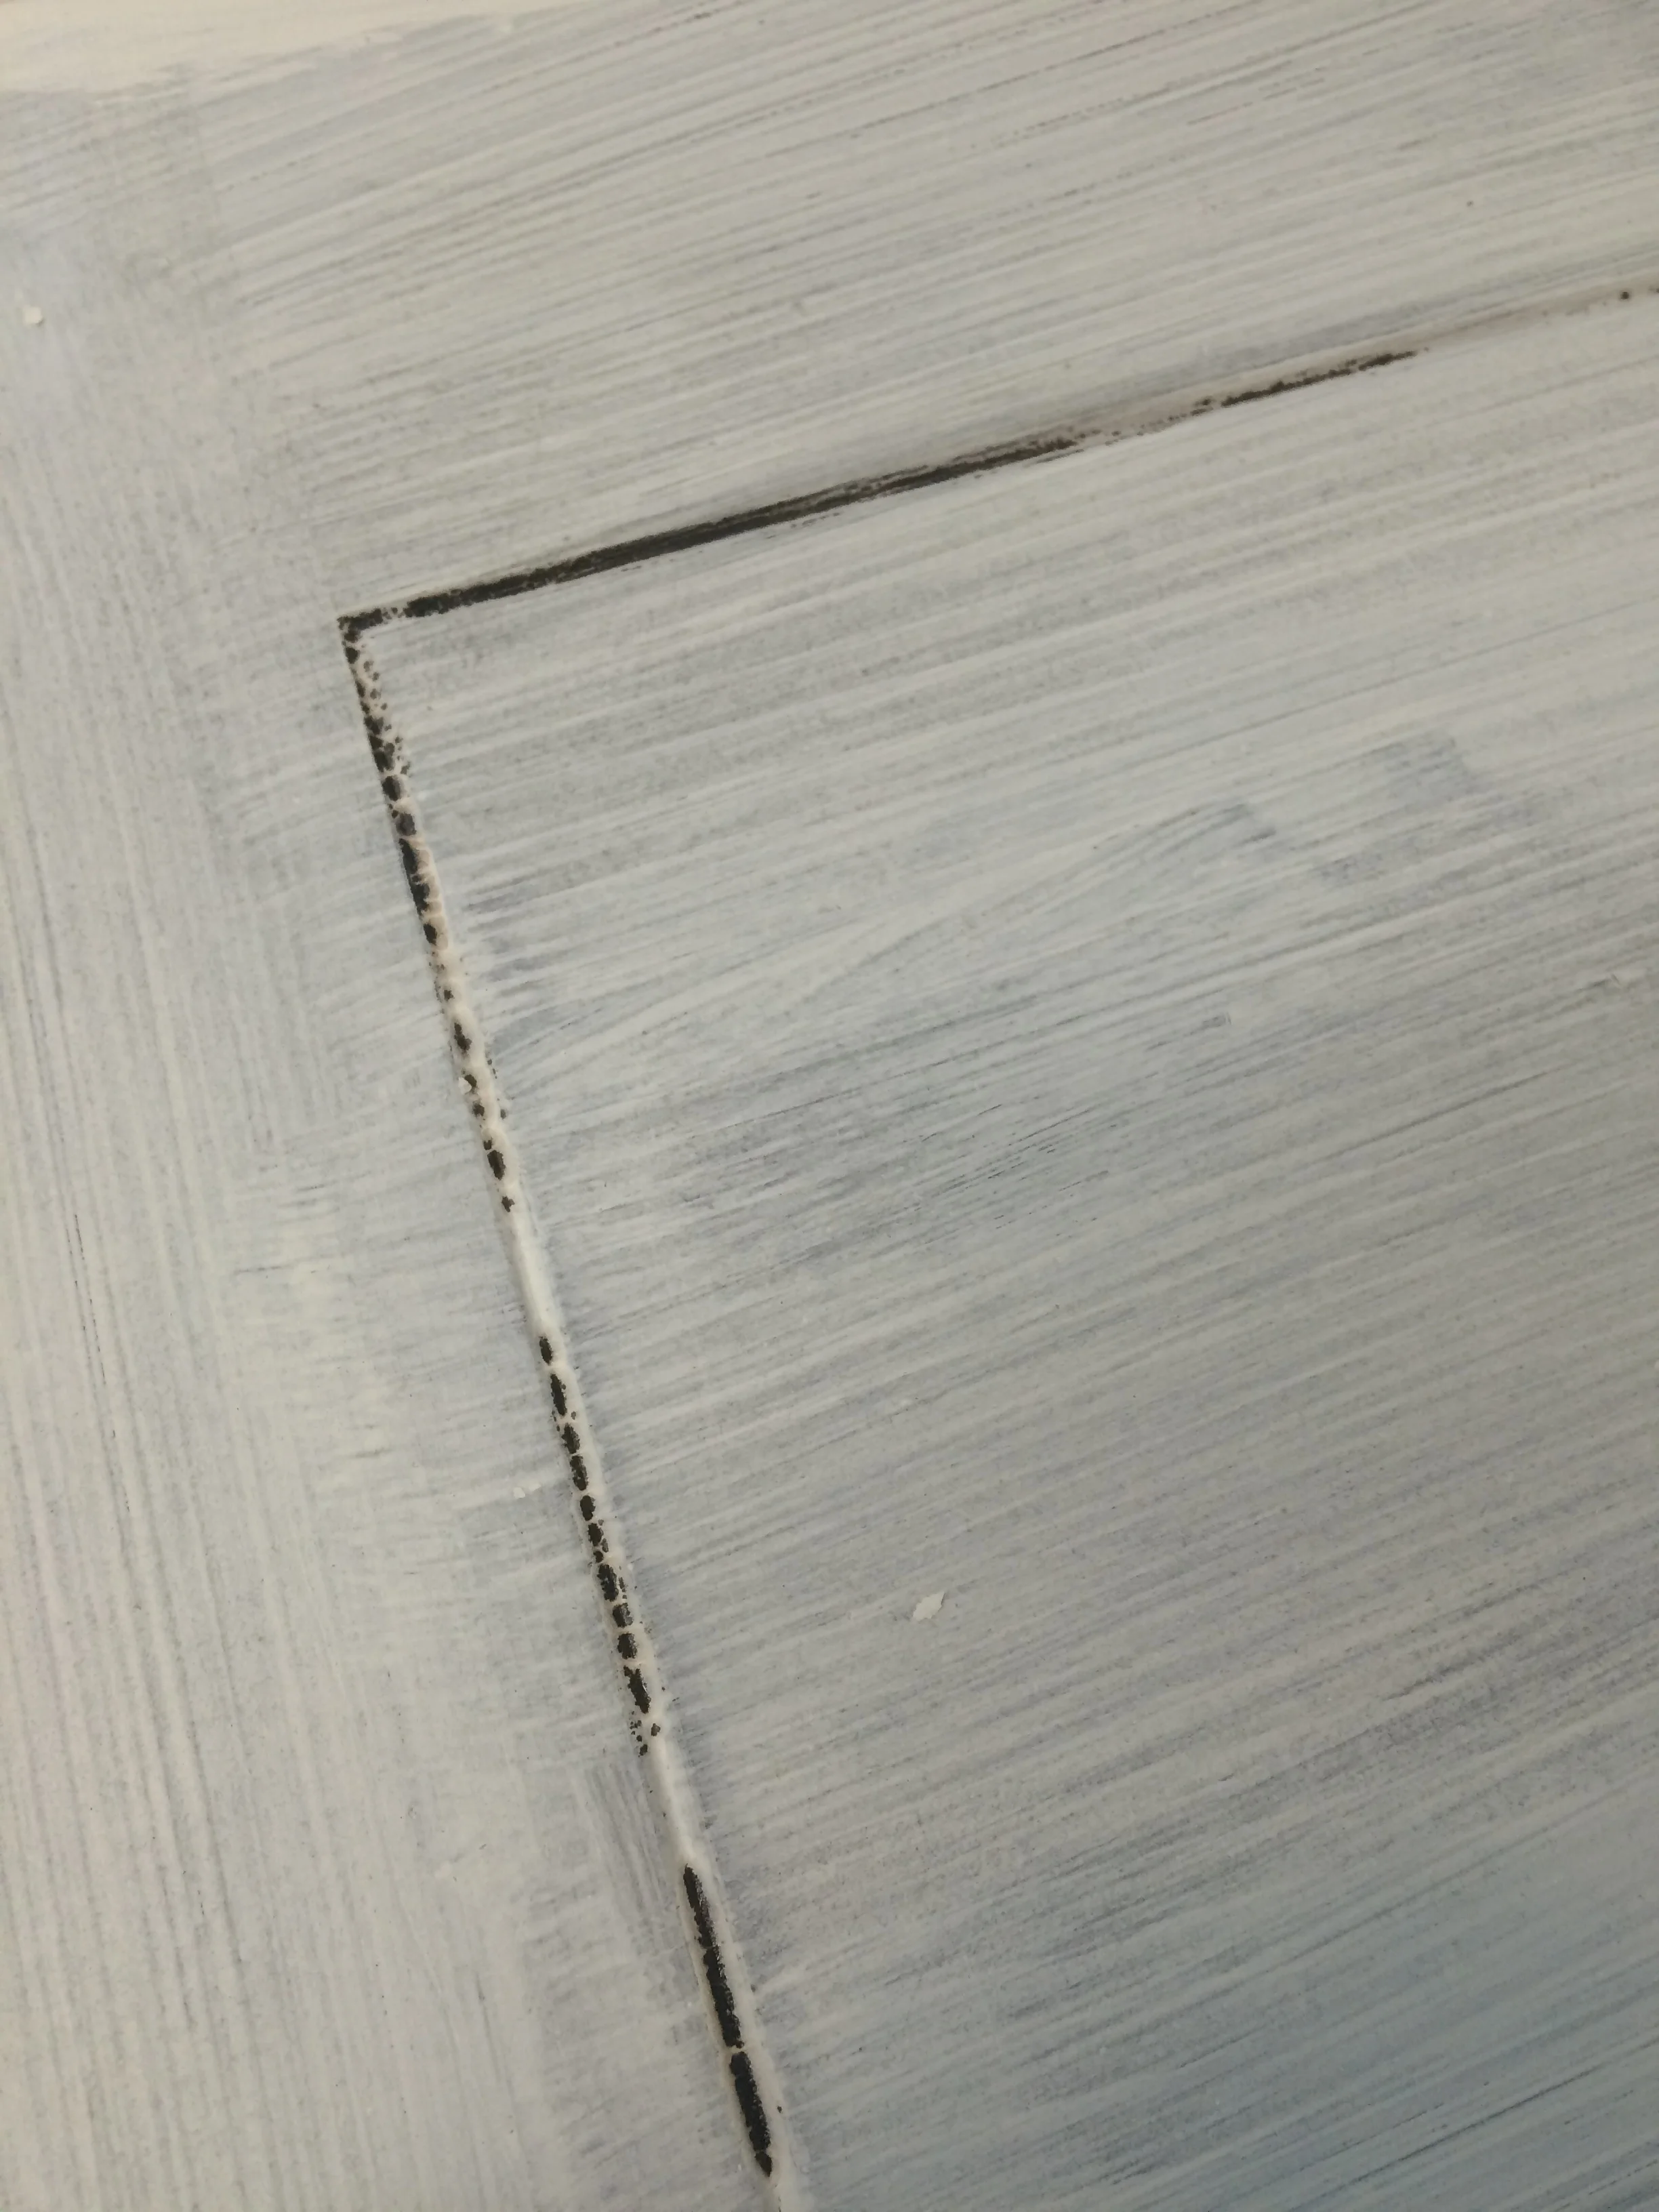
This is what the sofa table looked like after sanding.
As you can see in the pic, I didn't sand it down completely. I didn't have to because again I knew I would be covering it with a new coat of stain and then paint. Below is what the end table looked like after applying the stain. I used a Minwax oil based stain. The color is a custom one. I have been mixing my stains to together as they almost get to the end so that I have enough to finish certain projects. But really just wanted a dark stain, so that once it is painted and I distress it you will get a good contrast.

End table after one coat of stain.
I didn't apply the stain perfectly, just made sure that it was covered. It soaked in differently in different spots depending on how it was sanded. Again okay, because this isn't the final step. I let the stain soak in for about 10-15 mins. It kinda felt tacky. I then wiped off all the excess with a rag. Then I started painting!!! Yep started painting before the stain was dry. Normally this oil base stain takes up to 24 hours to completely dry before putting on a top coat. But again...... this wasn't my final step!
I choose to go with a white paint color. I have recently discovered Fixer Upper on Netflix and now am completely hooked on farmhouse style furniture! (I could go on and on about that show, but won't because you would never get thru this blog today!) I still love my mid-century modern stuff, my industrial stuff, and my rustic stuff. Can't I love it all? Well anyway, I found on Pinterest that JoJo uses SW Alabaster white alot. I regularly use Sherwin Williams paints, so I thought this is perfect and picked me up a sample to try. And why not try in on some Farmhouse style tables??? So, again I painted the first coat of paint directly over the partial wet stain. (BTW*** I mixed up my own version of chalk paint with the Alabaster white, so that it would stick and sand better than regular latex paint. You can find recipes all over Pinterest or I might write a blog about it someday.) If you don't get all the excess stain off the paint won't stick properly. That happened to me in a few nicks and crannies.

But I wasn't worried because I was gonna put another coat of paint on later when it was dry. Not sure why I put on the 1st coat of paint while the stain is still dry other than to save time! And I have found that when distressing that you don't have to sand as much.
After I let the first coat of paint dry completely (ended up being overnight for me because it was dinner time) I painted on the 2nd coat. With the 2nd coat I was a little more careful with my strokes and tried to avoid brush strokes as much as possible.

After 1st Coat of Chalk Paint

After 2nd Coat of Chalk Paint
Once it was dry.... I sanded them with 120 grit paper on my orbital sander and then hand sanded the cracks by hand. I love how the paint just came off in certain places and exposed the stained wood below!!! Once I got the desired distressed look I was going for I vacuumed and blow off the excess dust. Then.... finally applied a water-based polyurethane for protection!

Distressed Awesomeness!
And that's it! Off to their new home they go......

Upcycled Modern Farmhouse Sofa and End Table
Thanks for following along. Until next time.... Have an AWESOME day!
-Sadie Mae