Creator's Studio Mystery Project - MCM Planter
This post contains affiliate links.
Rustoleum has this awesome website called Creator's Studio! It is a place to learn all about their products, different finishing techniques, and get inspired by other makers. They have discussion panels on a ton of topics, surveys about current and upcoming products, and challenges!!! When I heard they were having a Mystery Box Challenge I knew I had to sign up.
So I was little nervous waiting for box to show up.... But more than nervious I was excited!!! Who doesn't love a good mystery project!?! As soon as the driver dropped it off I had it open and was digging thru all the contents and my brain was buzzing. I got Varathane's Carbon Gray Wood Stain and Wood Enhancer in White. I had never used either of these and was excited to try them out. And then when I saw that the box was oak I remembered I had some legs that I bought for a previous project that never got used and knew that this would be the perfect opportunity!

Here is how I completed my mystery box challenge:
Step 1 - I wired brushed the heck out of the wood. This is to open up and expose the grain. It also adds some cool texture to the wood and gives it a worn in feel. You can do this as little or as much as you want depending on the effect you are going for.

The more you wire brush the deeper grooves you will get and the more intense the grain pop you will get.
Step 2 - Add the legs. The legs I used can be attached with brackets, but I didn't have any on hand. I know oak is a hard wood and thought I would try and just screw the feet in. That is after I pre-drilled a hole that was slighly smaller than the bolt on the leg. Worked like a charm, those legs aren't going anywhere!


Step 3 - Stain. Wipe on, wipe off.

Looks great just with the Carbon Gray stain!
Step 4 - Apply Grain Enhancer. With this you want to push the prodcut into the open grain, so you want to apply in the opposite direction of the grain. Or I did circles and it worked well. Wipe off any excess.
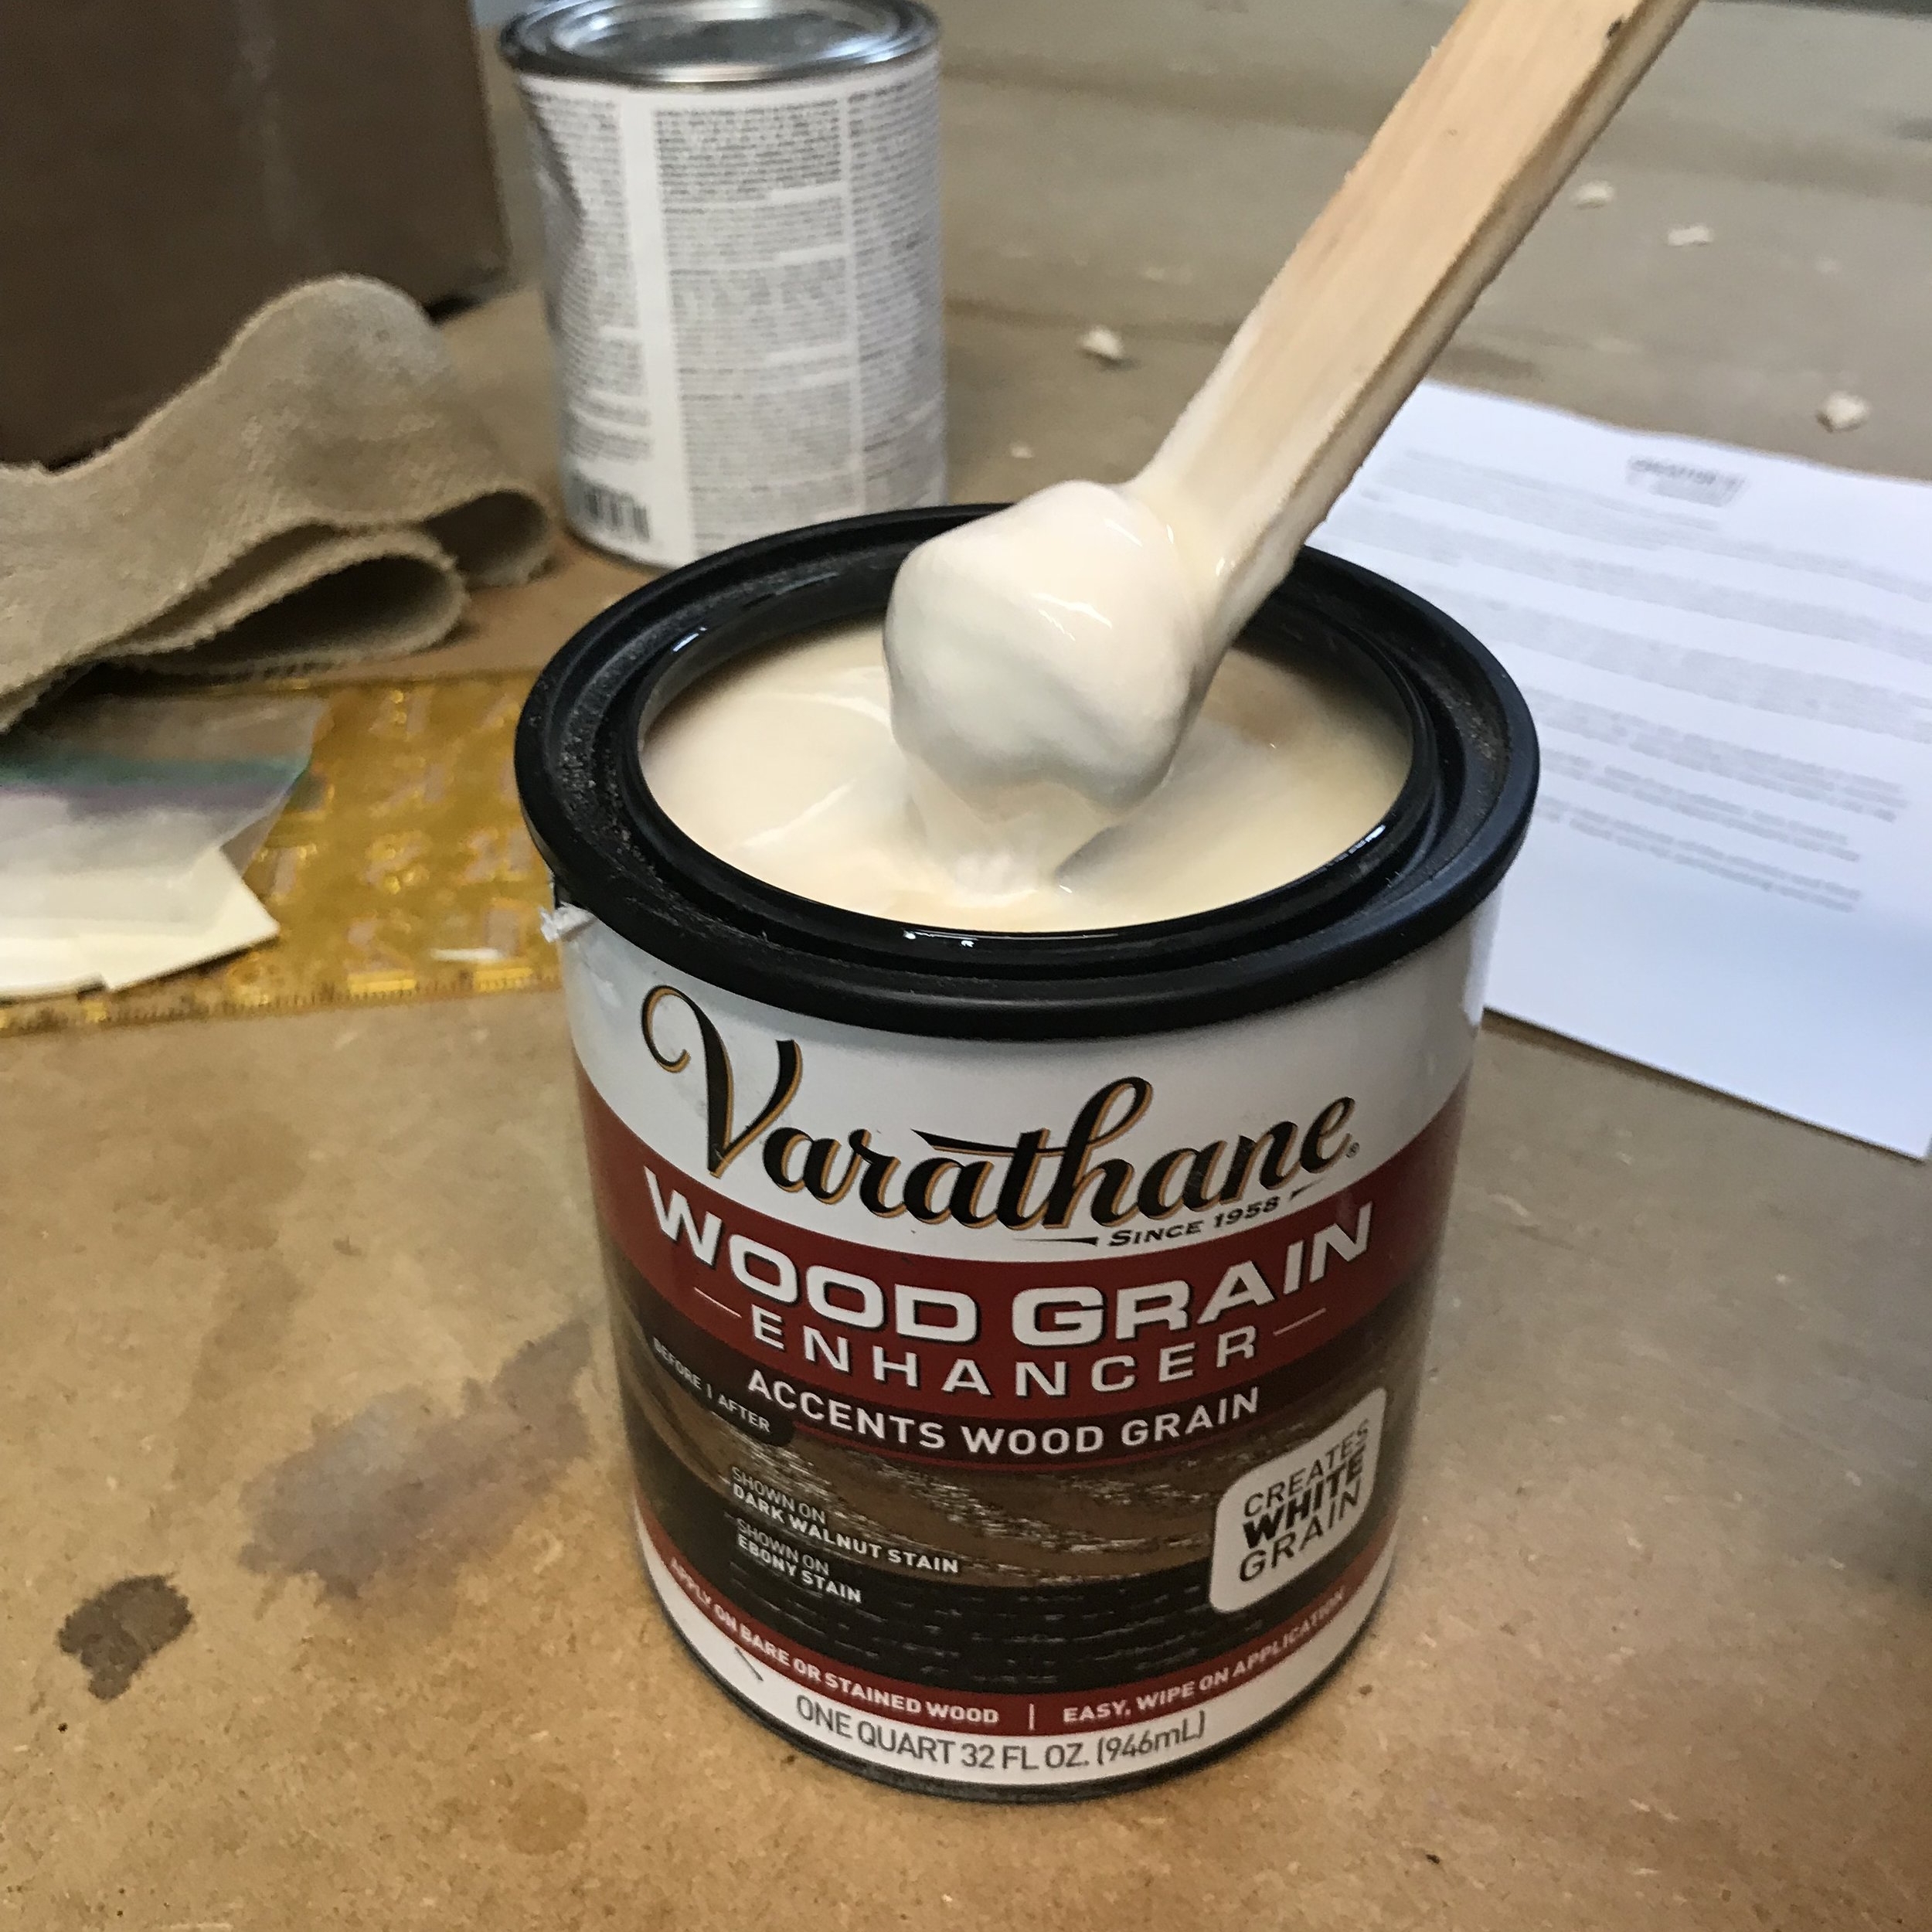
Be sure to mix!

Wipe on against the grain!

Wow!
Step 5 - Apply poly!
Step 6 - Add ziplock bag liner, burlap, and greenery!

Liner to protect wood from watering.

Burlap to hide liner.

So fun!
And then you have the cutest mid-century modern centerpiece planter!

I love it! Now just to keep the plants alive!
The Mystery Box Challenge doesn't stop there, all Creator's Studio members get to vote on their favorites and then winner gets an awesome prize! So, if you are a member please go vote! And if you aren't, you should sign up and join the fun! Here is a link for you.... Creator's Studio.
It was so fun to do a small little project for change and to try out new products that I am hoping to be able to use again in the near future. What would you have created if you got the same box as me? Tell me below, I'd love to hear from you!
Have an AWESOME day! And keep #BuildingAwesome
-Sadie
Pin and save for later!