Epoxy Inlay Sunshine Art
Epoxy, resin, epoxy resin, river tables, ocean art… it is all the rage over social media and the diy maker scene. I have only ever used epoxy to fill knots on table tops, but I thought it would be fun to see what the fuss was all about and try a piece of art. And in true Sadie style I of course wanted to do it different than everyone else, hence make it harder. My first thought was to carve something into a piece of wood, fill it with black epoxy (an inlay) and then cover it with translucent colorful epoxy. Here is how that went and what I learned along the way.
This post is NOT sponsored. This post does contain affiliate links.
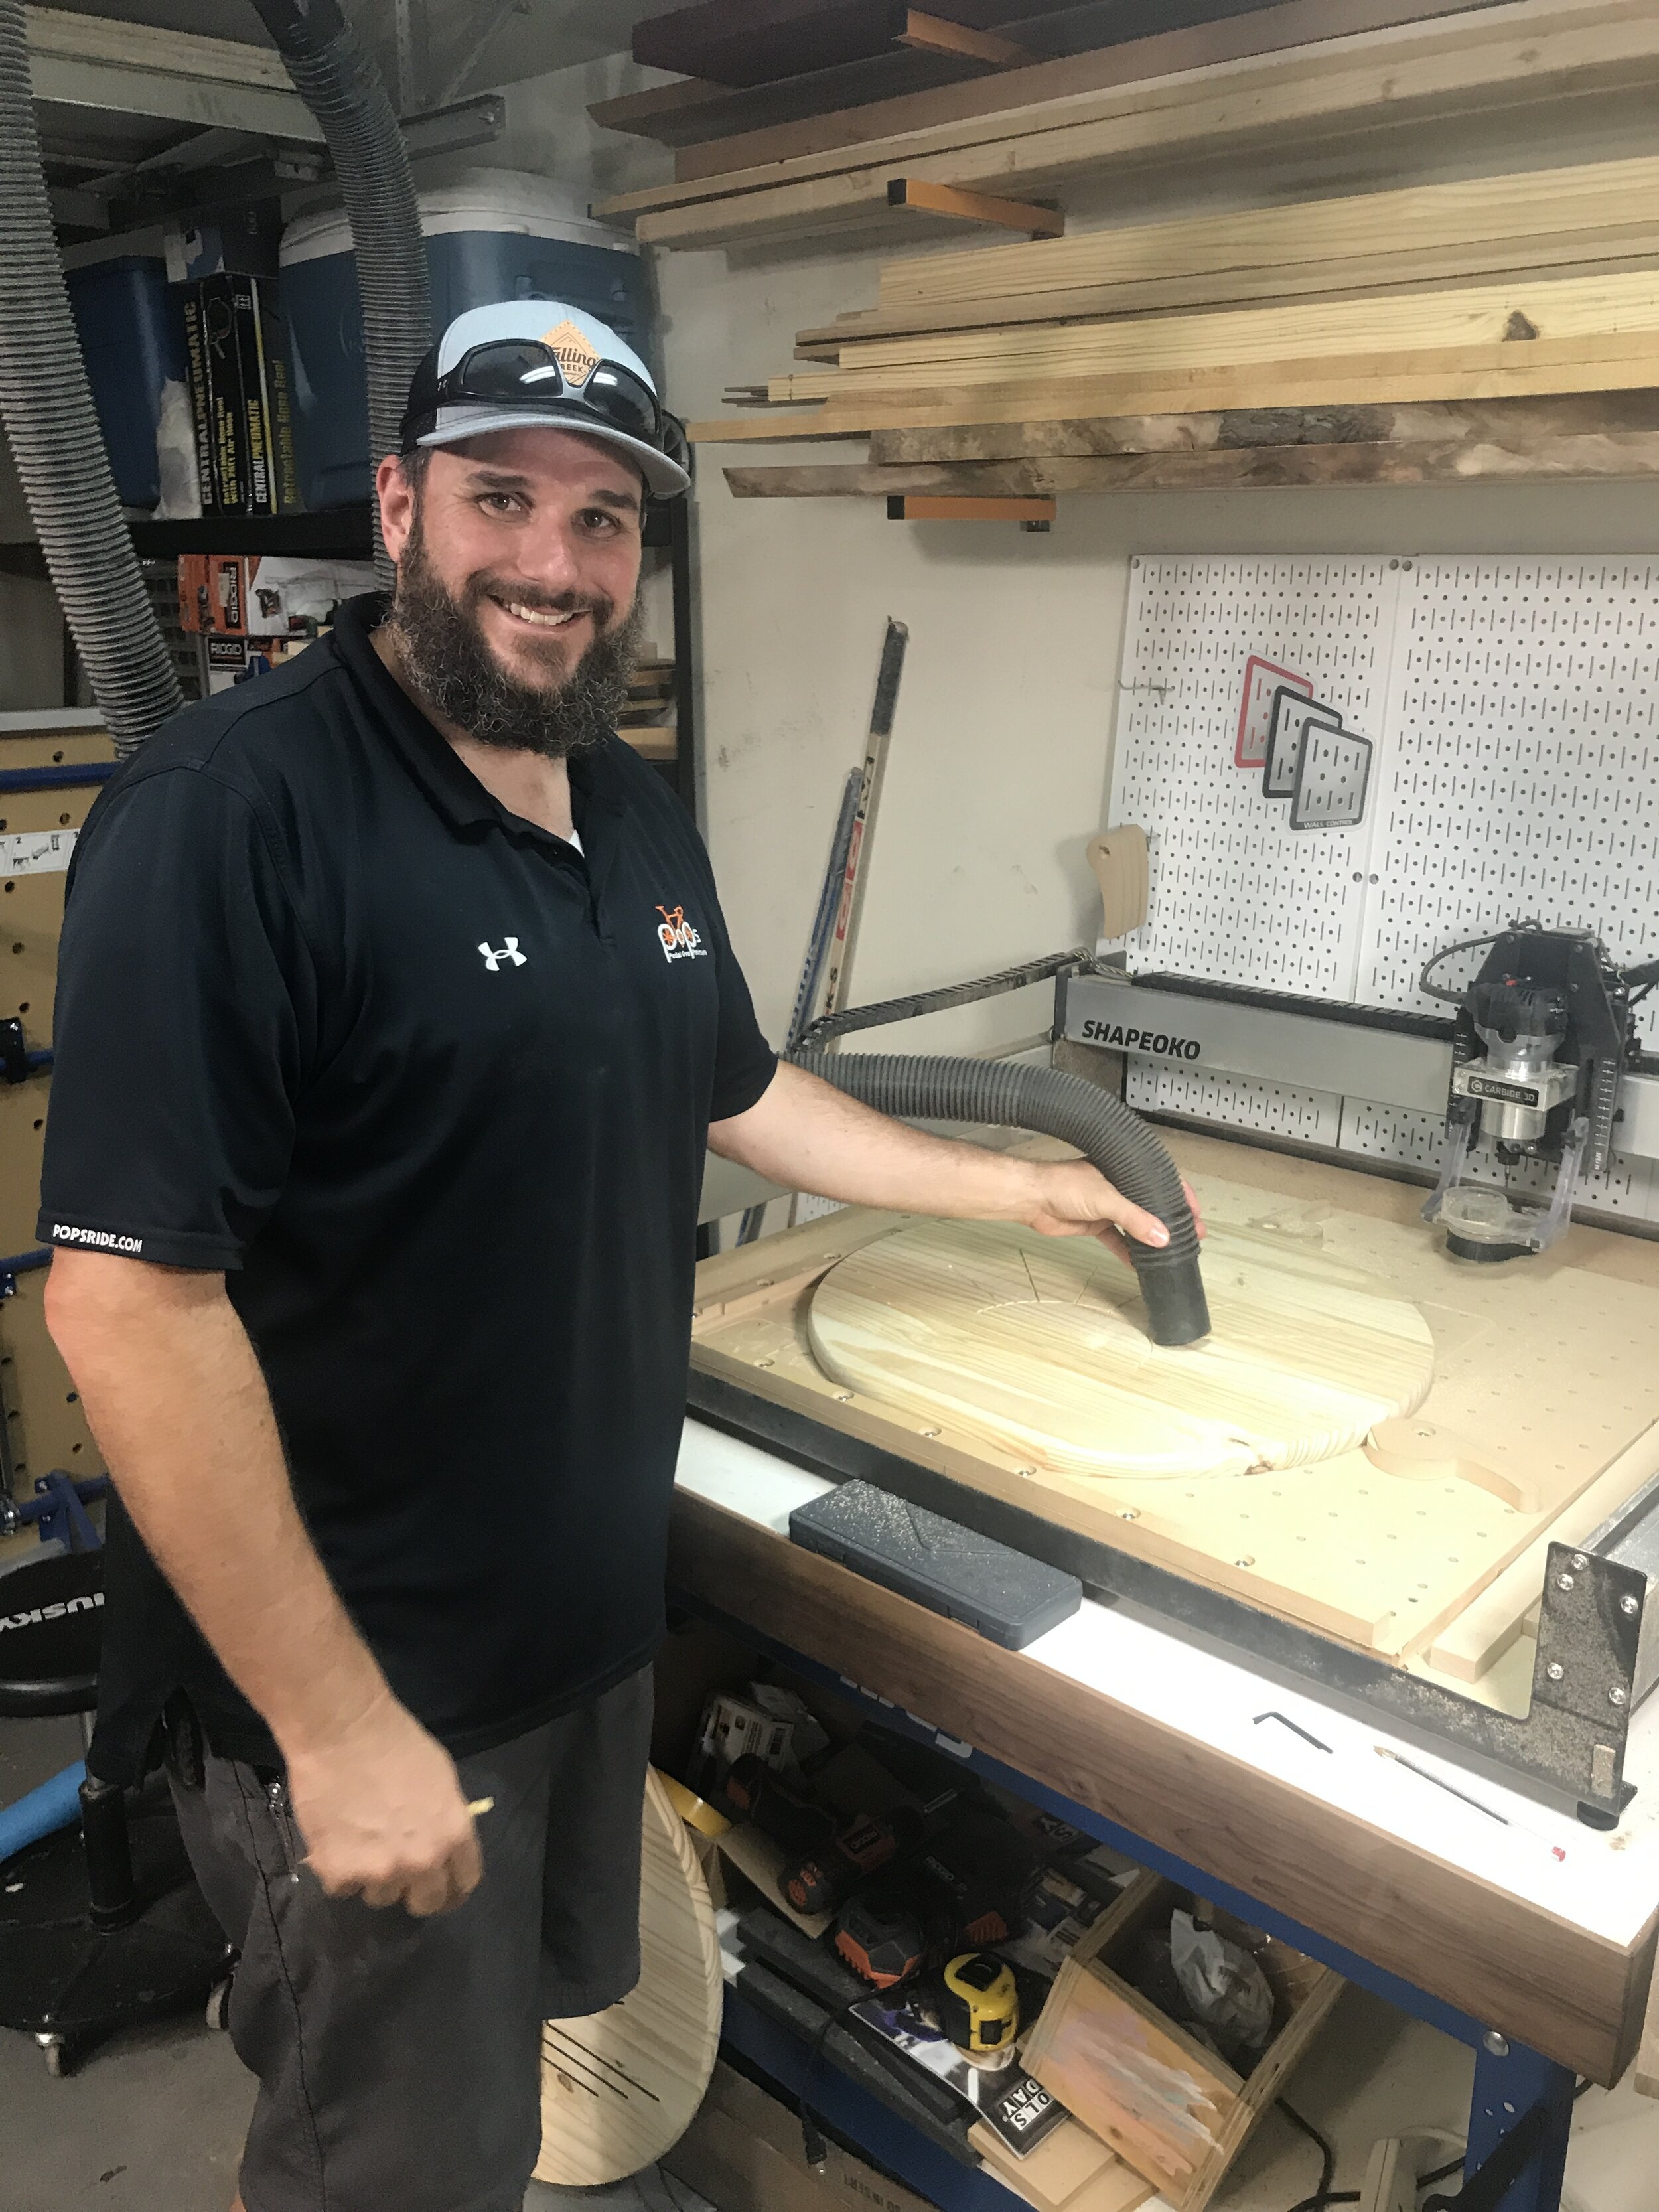
Since the only thing I could carve in the wood, that would look good, was straight lines I decided to ask a friend with a CNC for help. He said yes and I decide a simple sunset would look AWESOME. I actually got the drawing from my tattoo board on Pinterest…. no tattoo yet, but a girl can dream.

Here is what it looked like when I got it back from him.
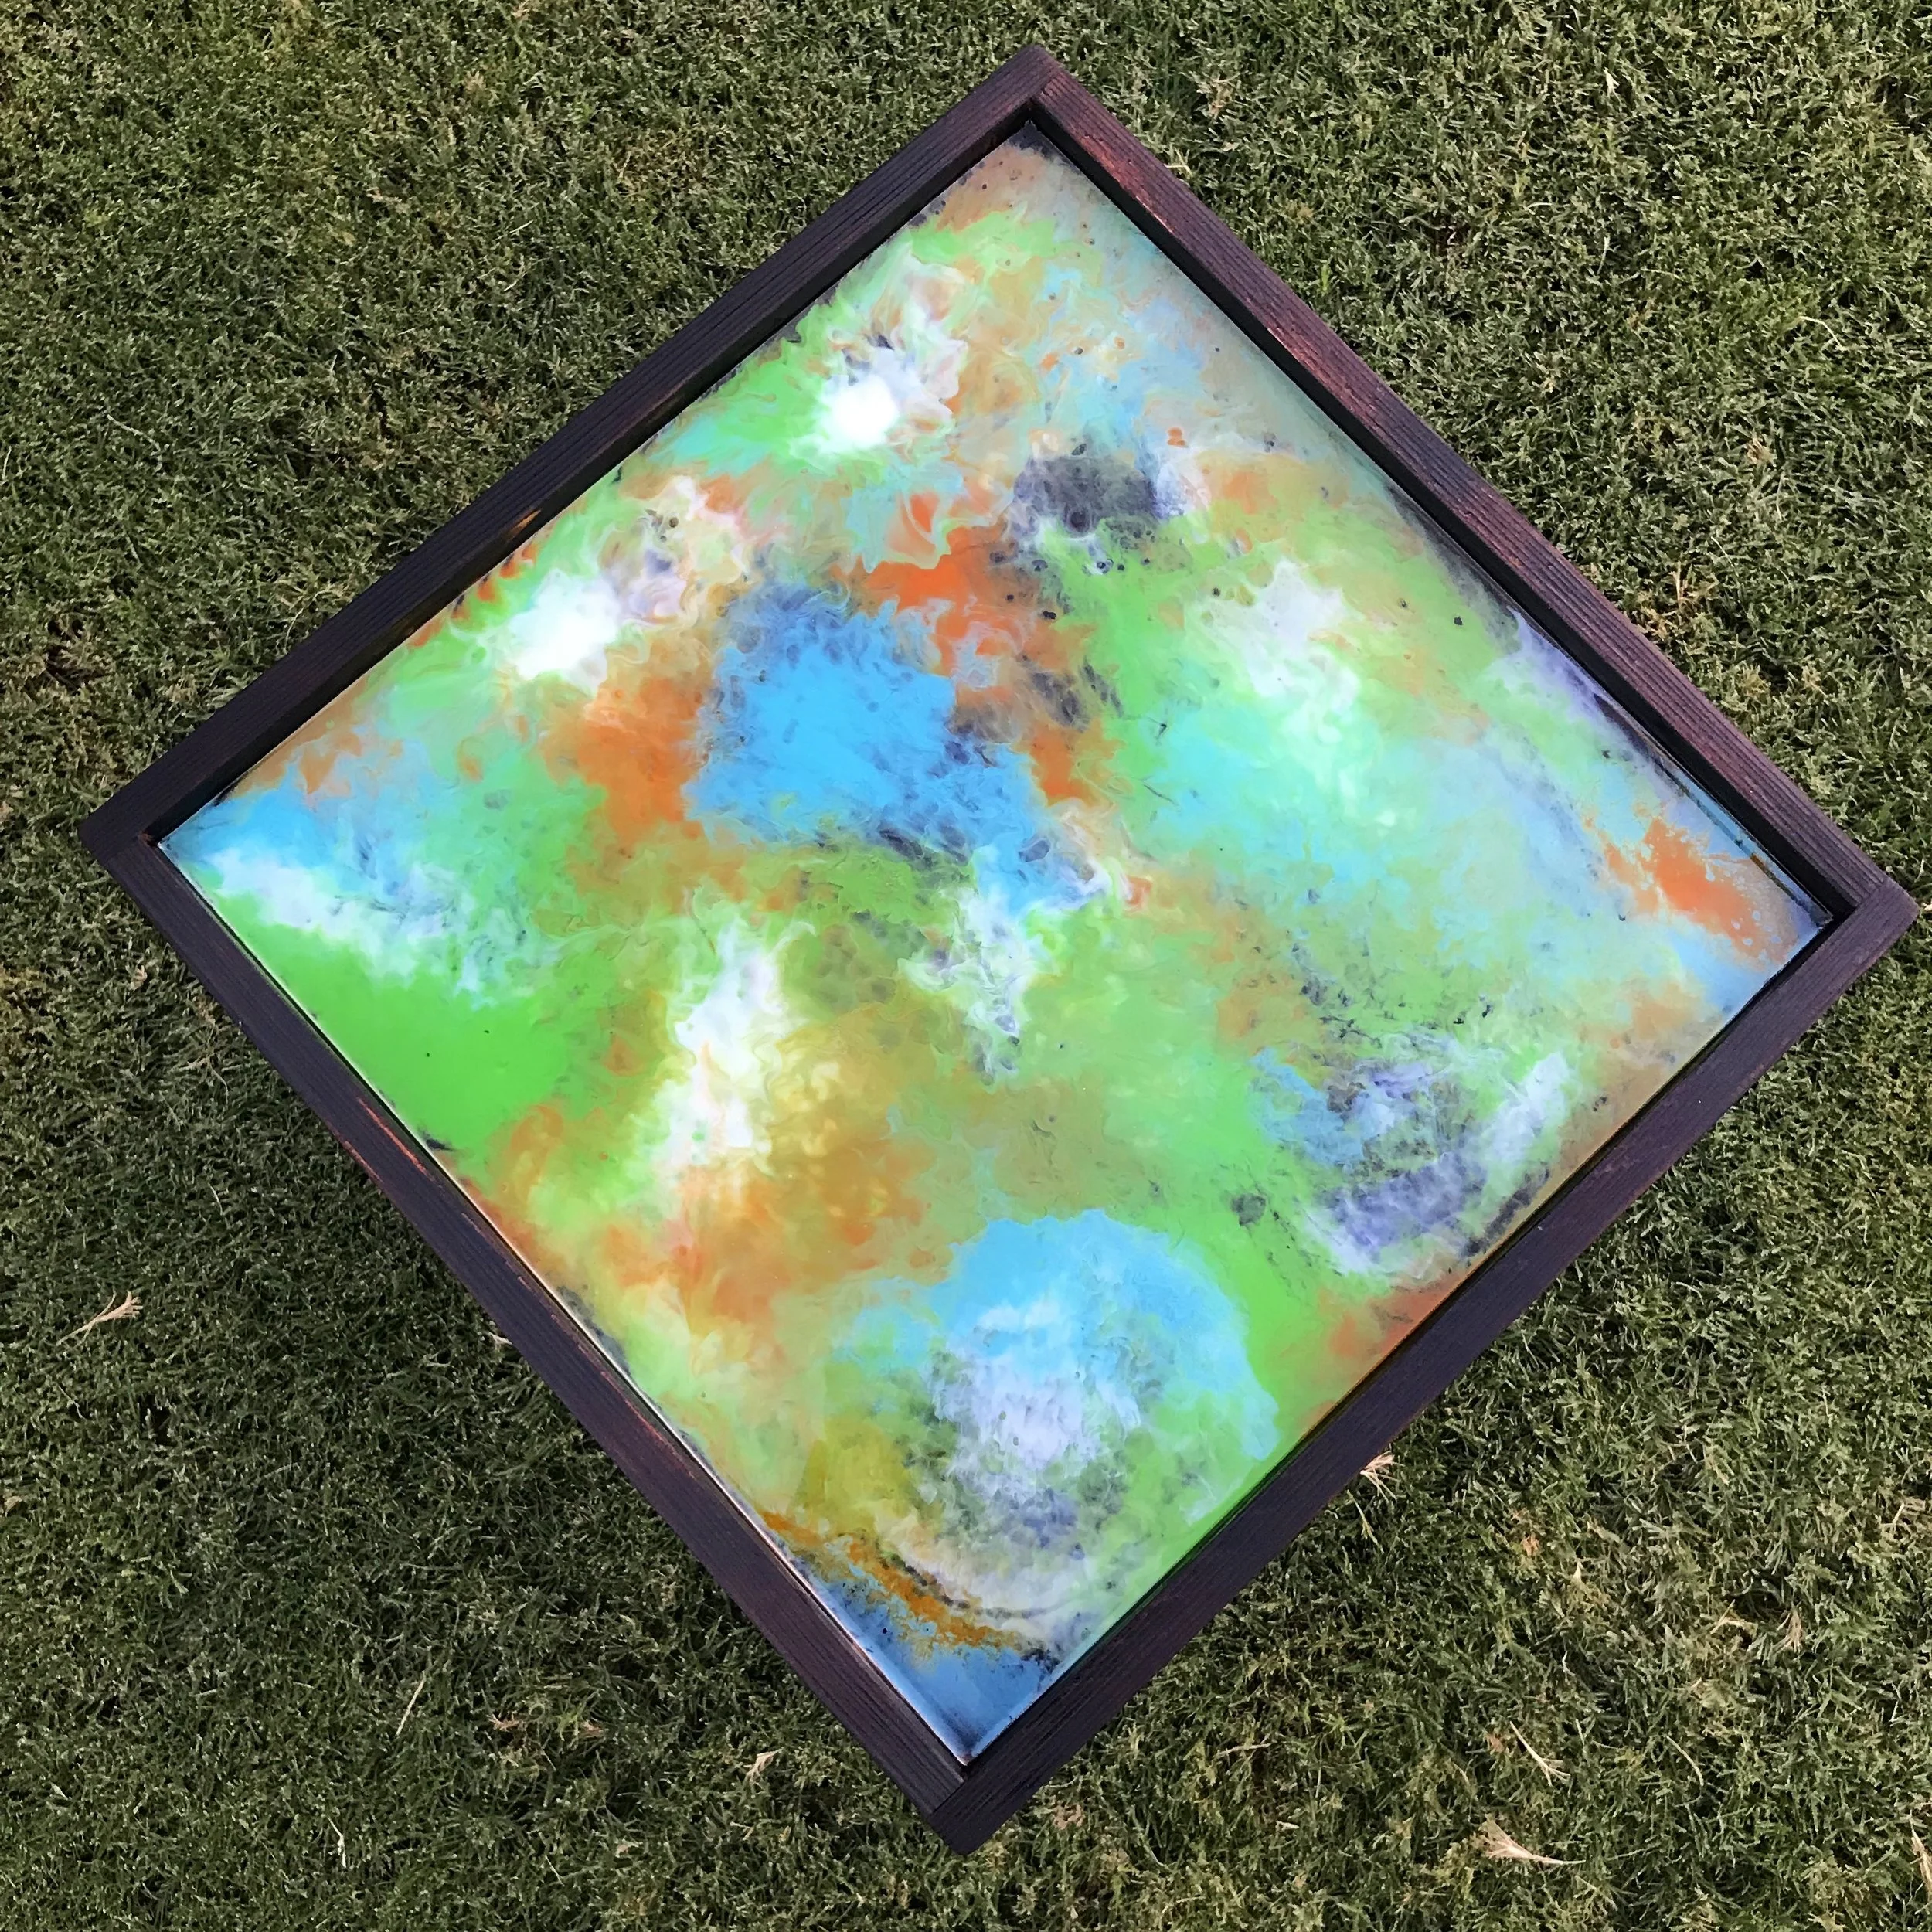
And since I have never done an epoxy art piece I thought it would be best to practice and figure out what supplies would work best. I went to my local art supply store and bought some alcohol inks in various colors (similar ones found here) and gathered some acrylic paints I had laying around my shop. The alcohol inks ended up being translucent and the acrylic paints ended up being opaque. I really like the solid opaque look, but that wasn’t going to work for this project because I wanted the black sunshine to show thru. So I did a test piece with alcohol inks.

And it turned into a hot mess real quick. But I did learn a lot. It always good to fail fast, learn from it and move on. What I learned:
I don’t really like the look of the colored epoxy. If you look around my house it is a little bit more black, white, wood tones and a touch of color. A little orange goes a long way!
It is harder to spread/mix the epoxy with a heat gun than it looks in the videos you see online.
Don’t use ash or a porous wood because you will get a ton of bleed thru.
So at this point I wasn’t sure what I was gonna do on my big actual art piece, but I did know that I wanted the sun black so I started there. But before I put the epoxy in it I put a coat of sanding sealer down to help control the bleed thru.

I then mixed my epoxy… I used Total Boat 2:1 High Performance on this because it is what I use on my knots. I colored the epoxy black using Transtint dye. I also attempted to use a syringe to help insert the epoxy just in the grooves and help control clean up later on. Well, my syringe was too big and it was making a bigger mess than just using a popsicle stick. Definitely need to get smaller syringes like these for next time.
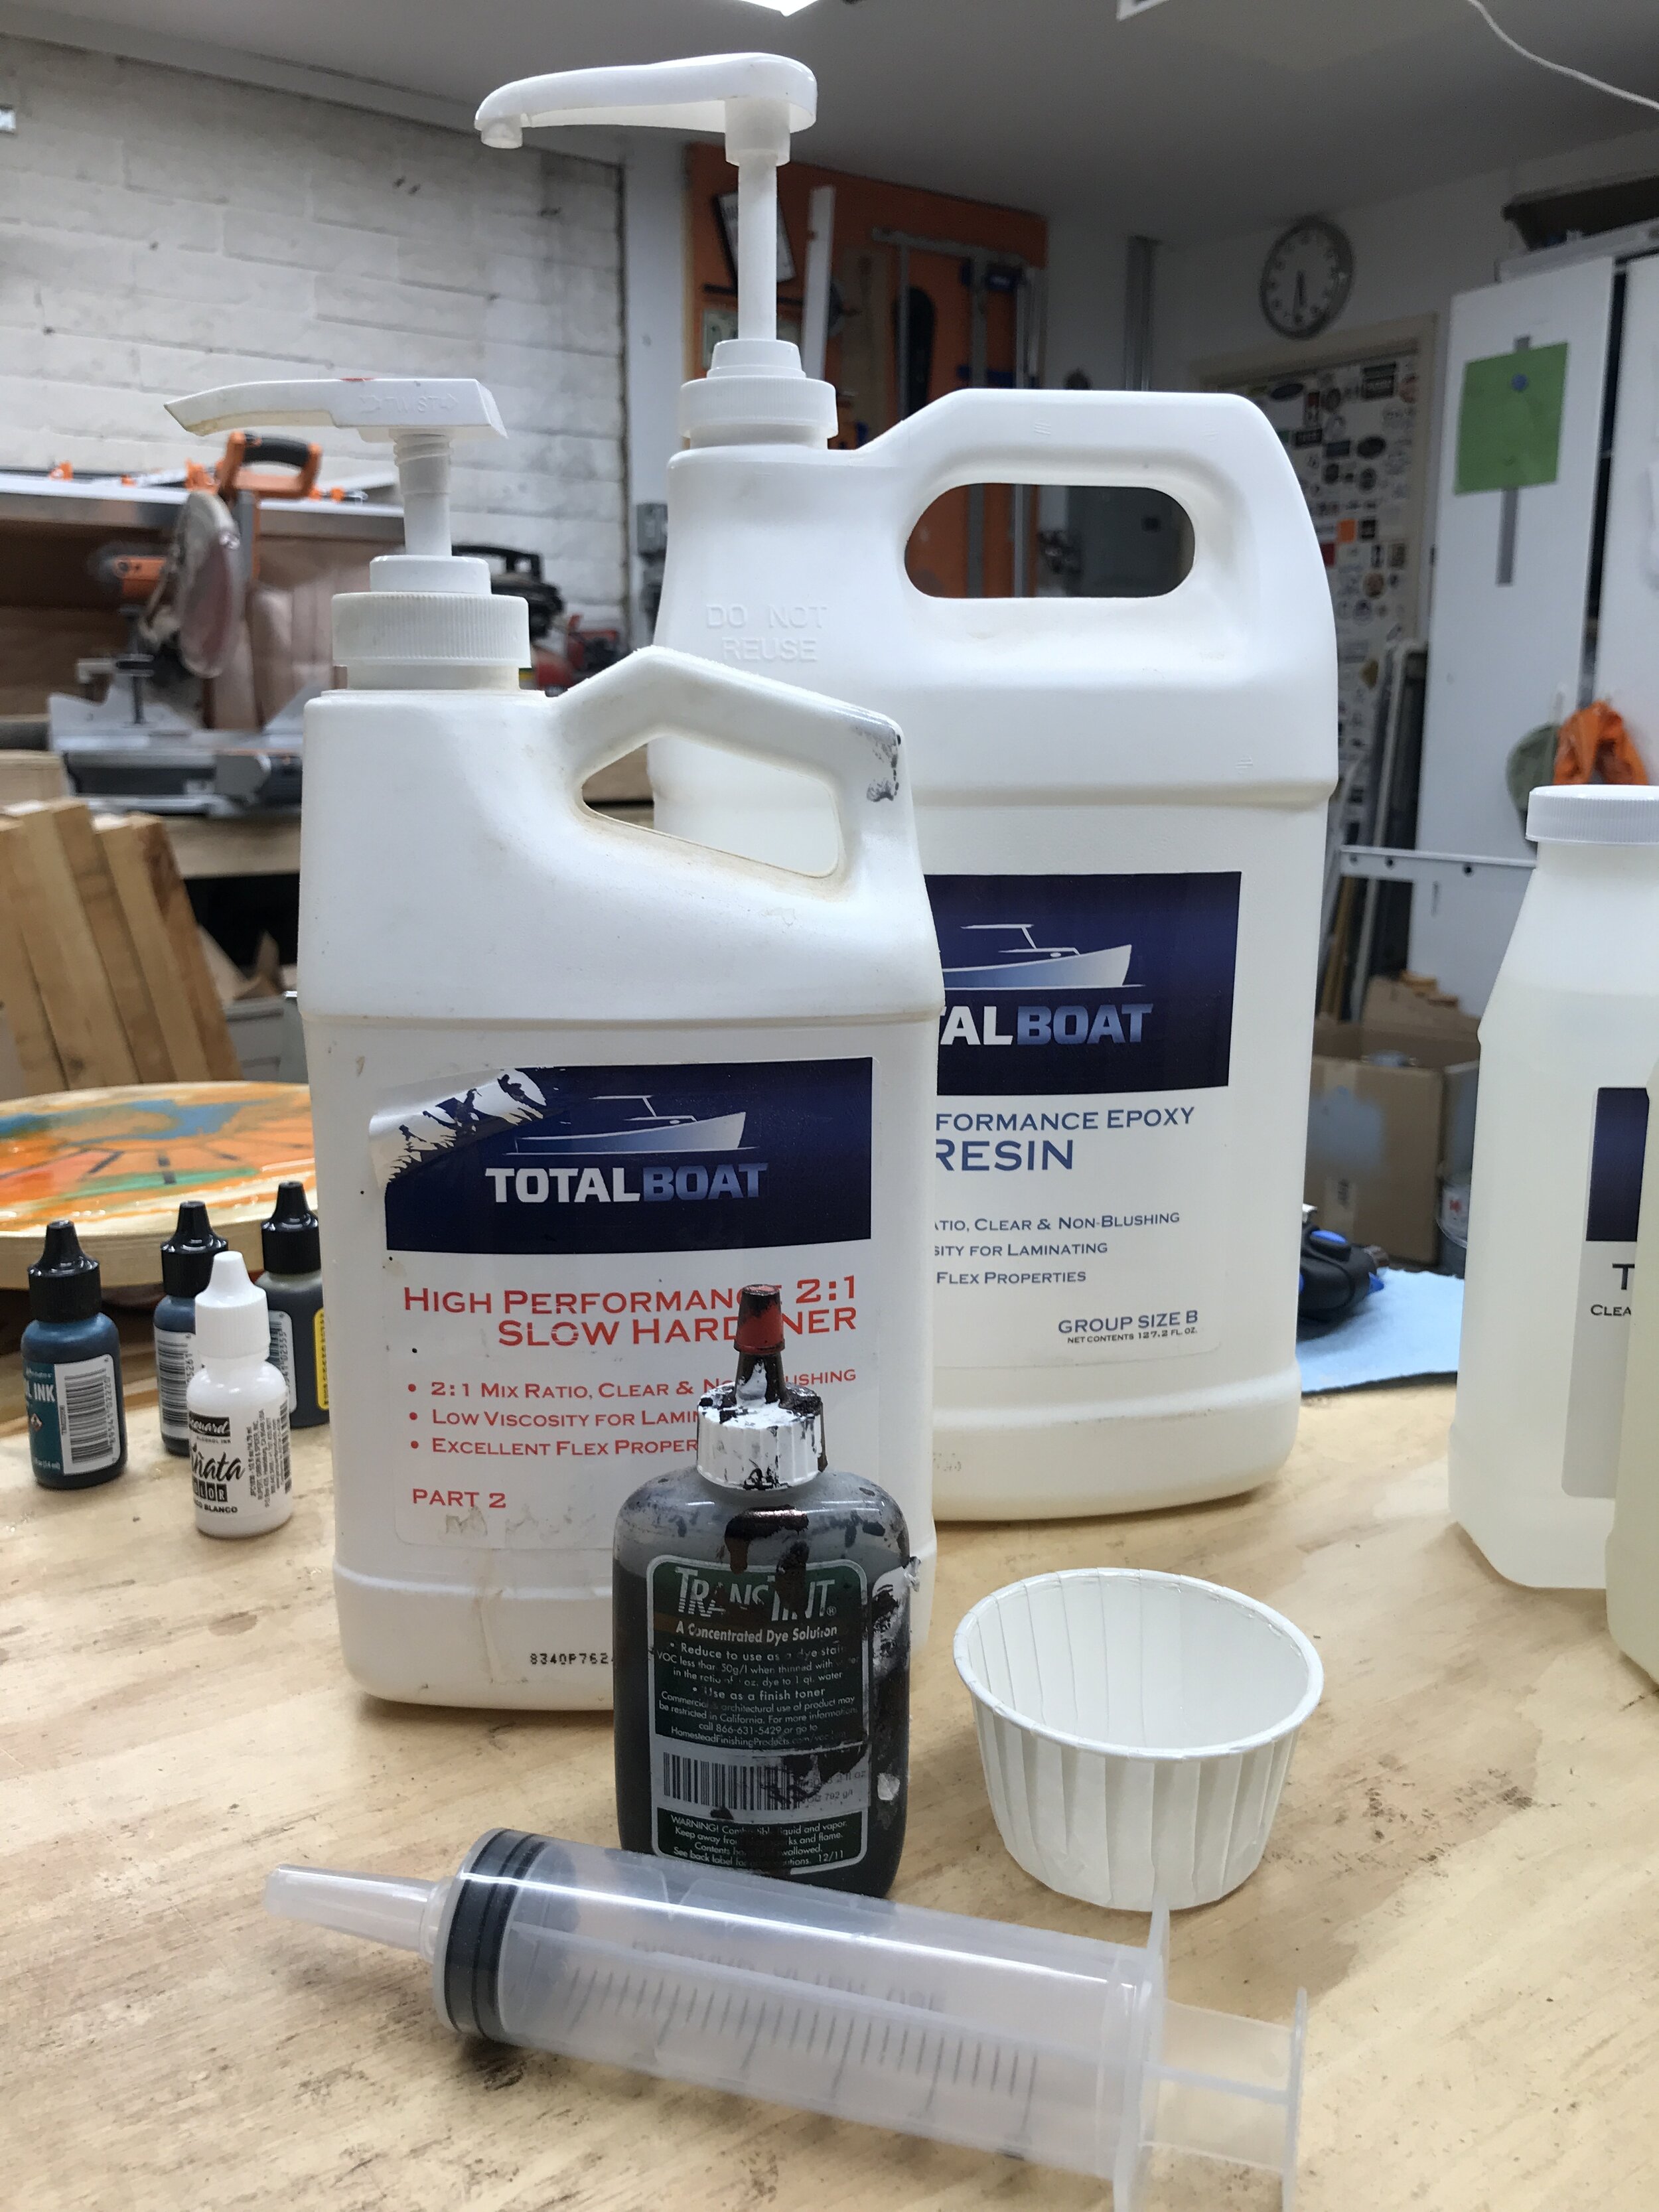
Use Code: AWESOMEO for 20% off your epoxy!

Can you tell where I used the syringe and where I use the popsicle stick?
At this point I thought everything was going good, but I did change my mind on the design and using color over the black epoxy. If I used color, I probably wouldn’t keep the piece once it was done and I really like the sun part of it, so I decided I wanted to just stain the board and then put table top epoxy over it to seal it. This would protect the wood and the design would work in several different spots around my house.
The next day after the epoxy dried I noticed a ton of bleed thru……

It wasn’t everywhere which makes me think that I didn’t do a very good job of getting the sanding sealer into the grooves. I tried sanding it off, but that wasn’t working.

The bleed thru was deep, so I phoned a friend and got a new board carved. I might try and do something with the bad board at some point, but right now I am done with it and just wanted to start fresh.

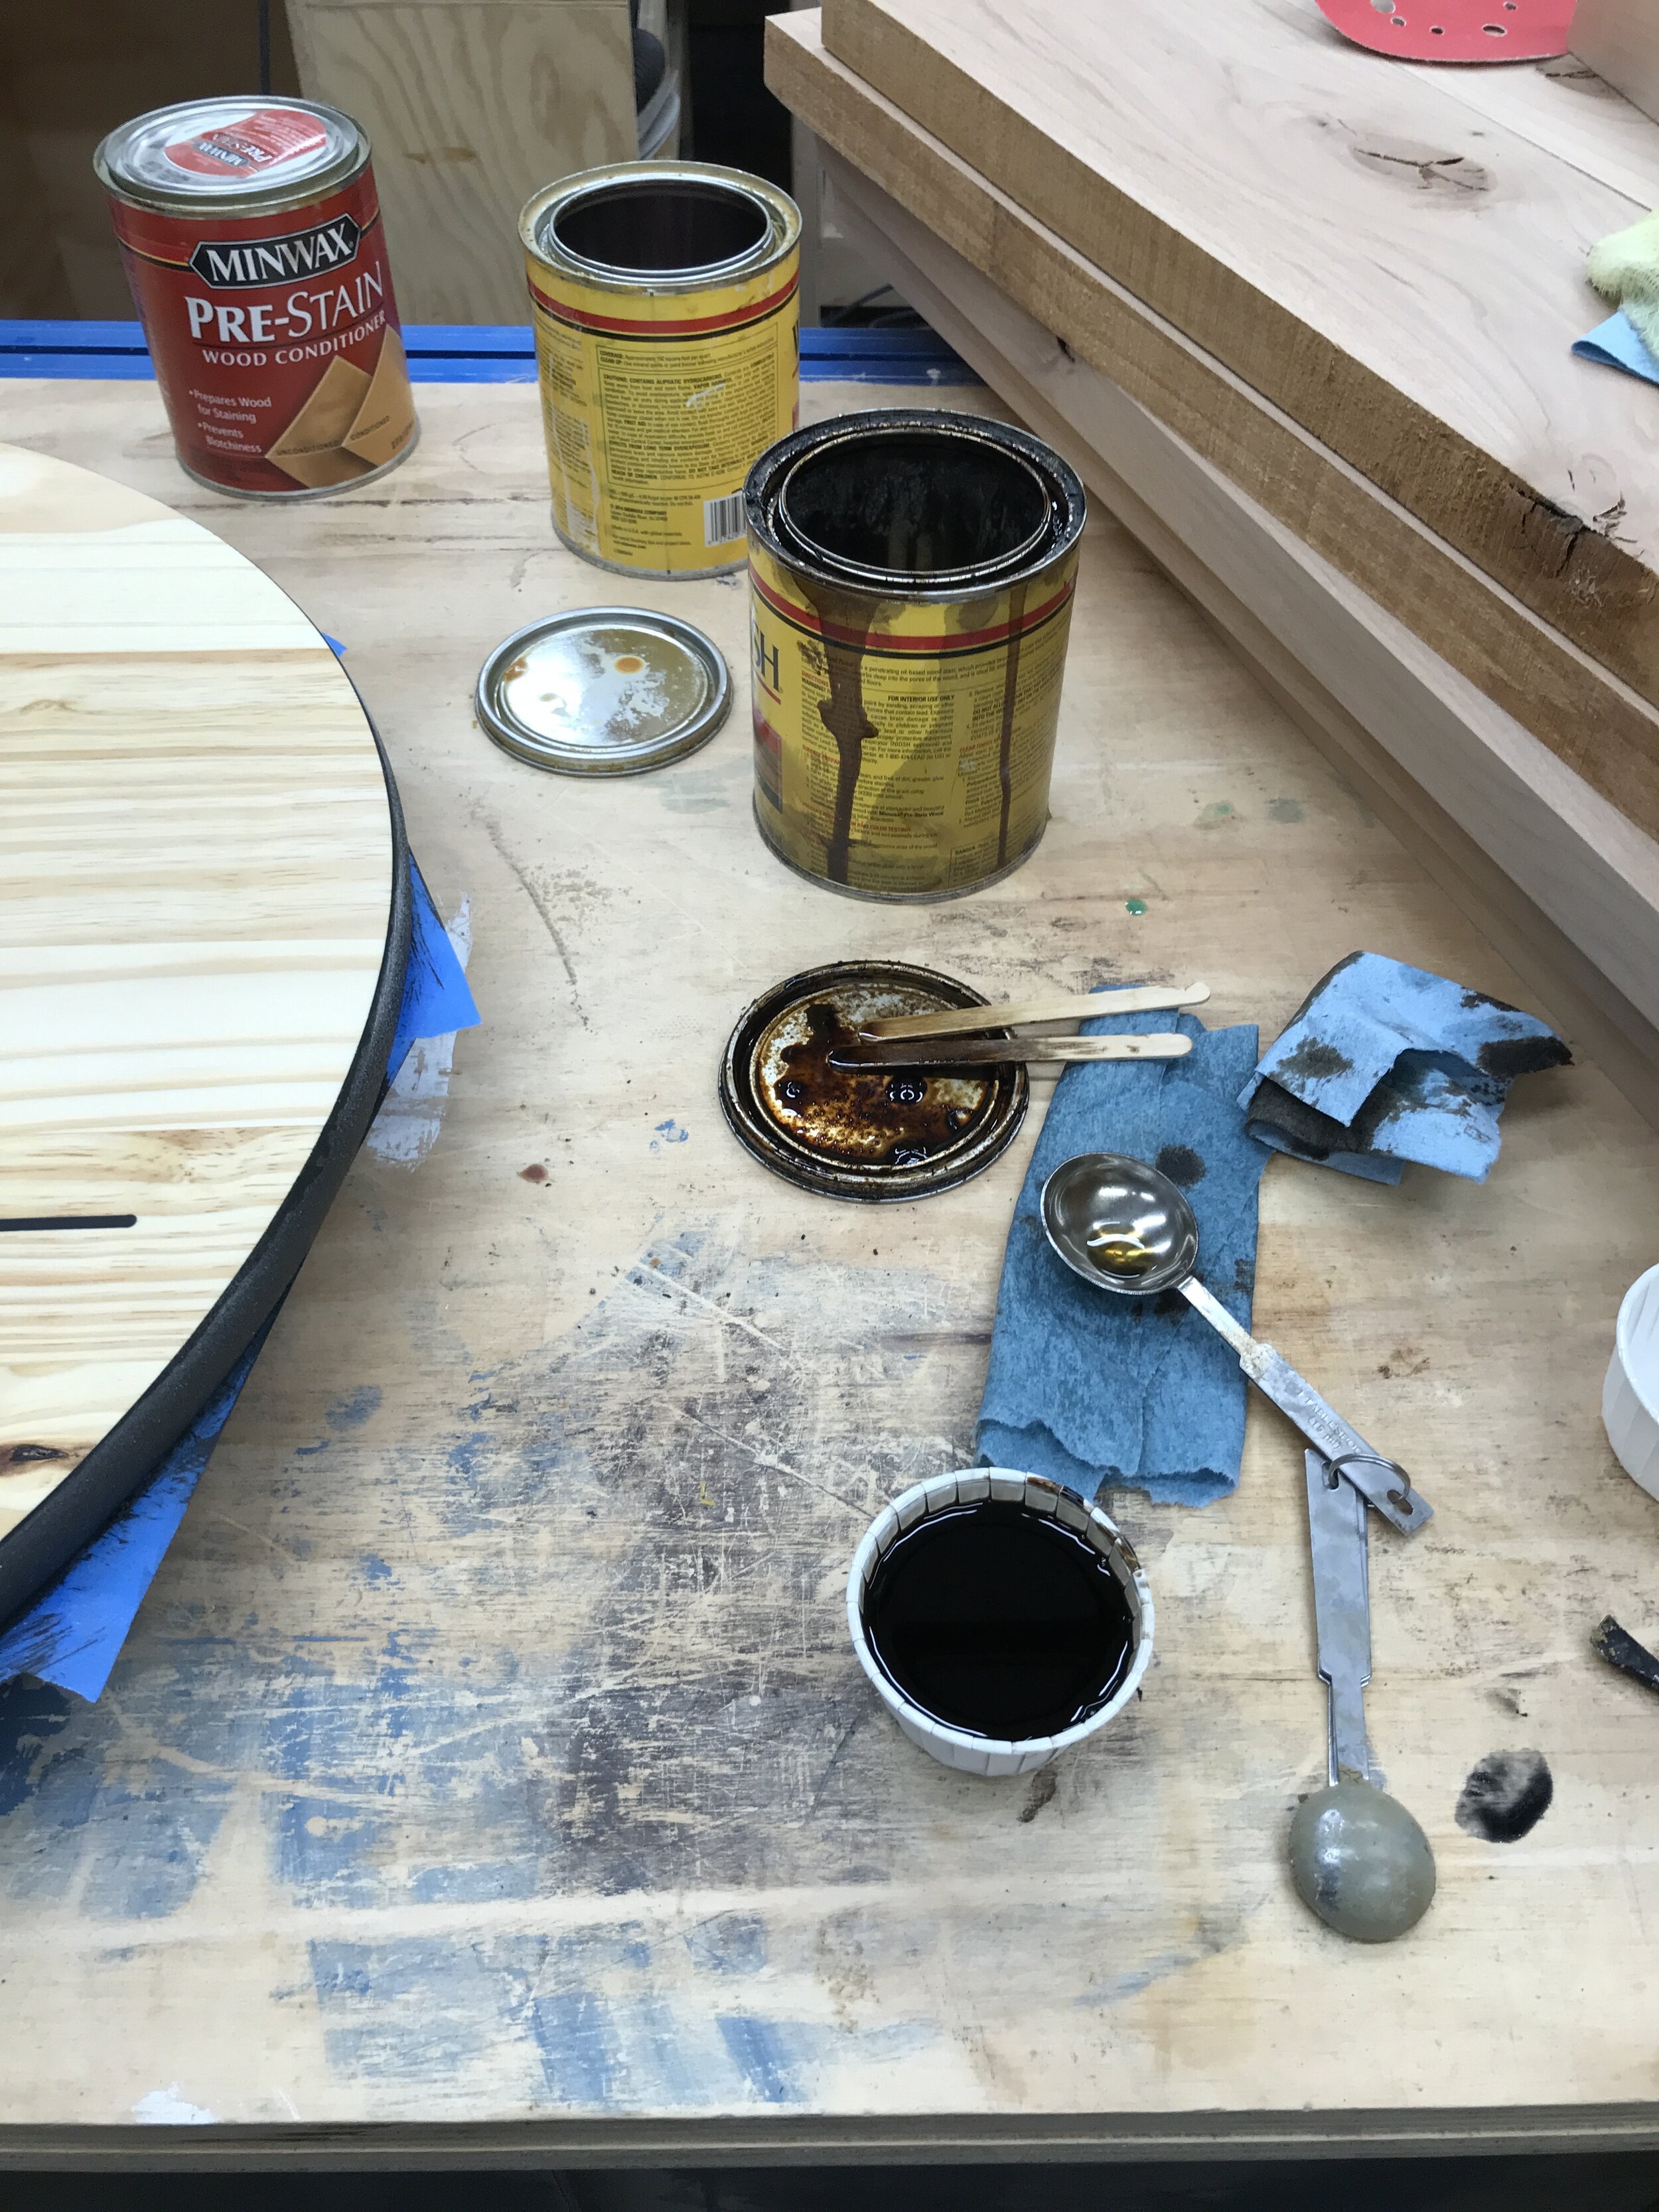
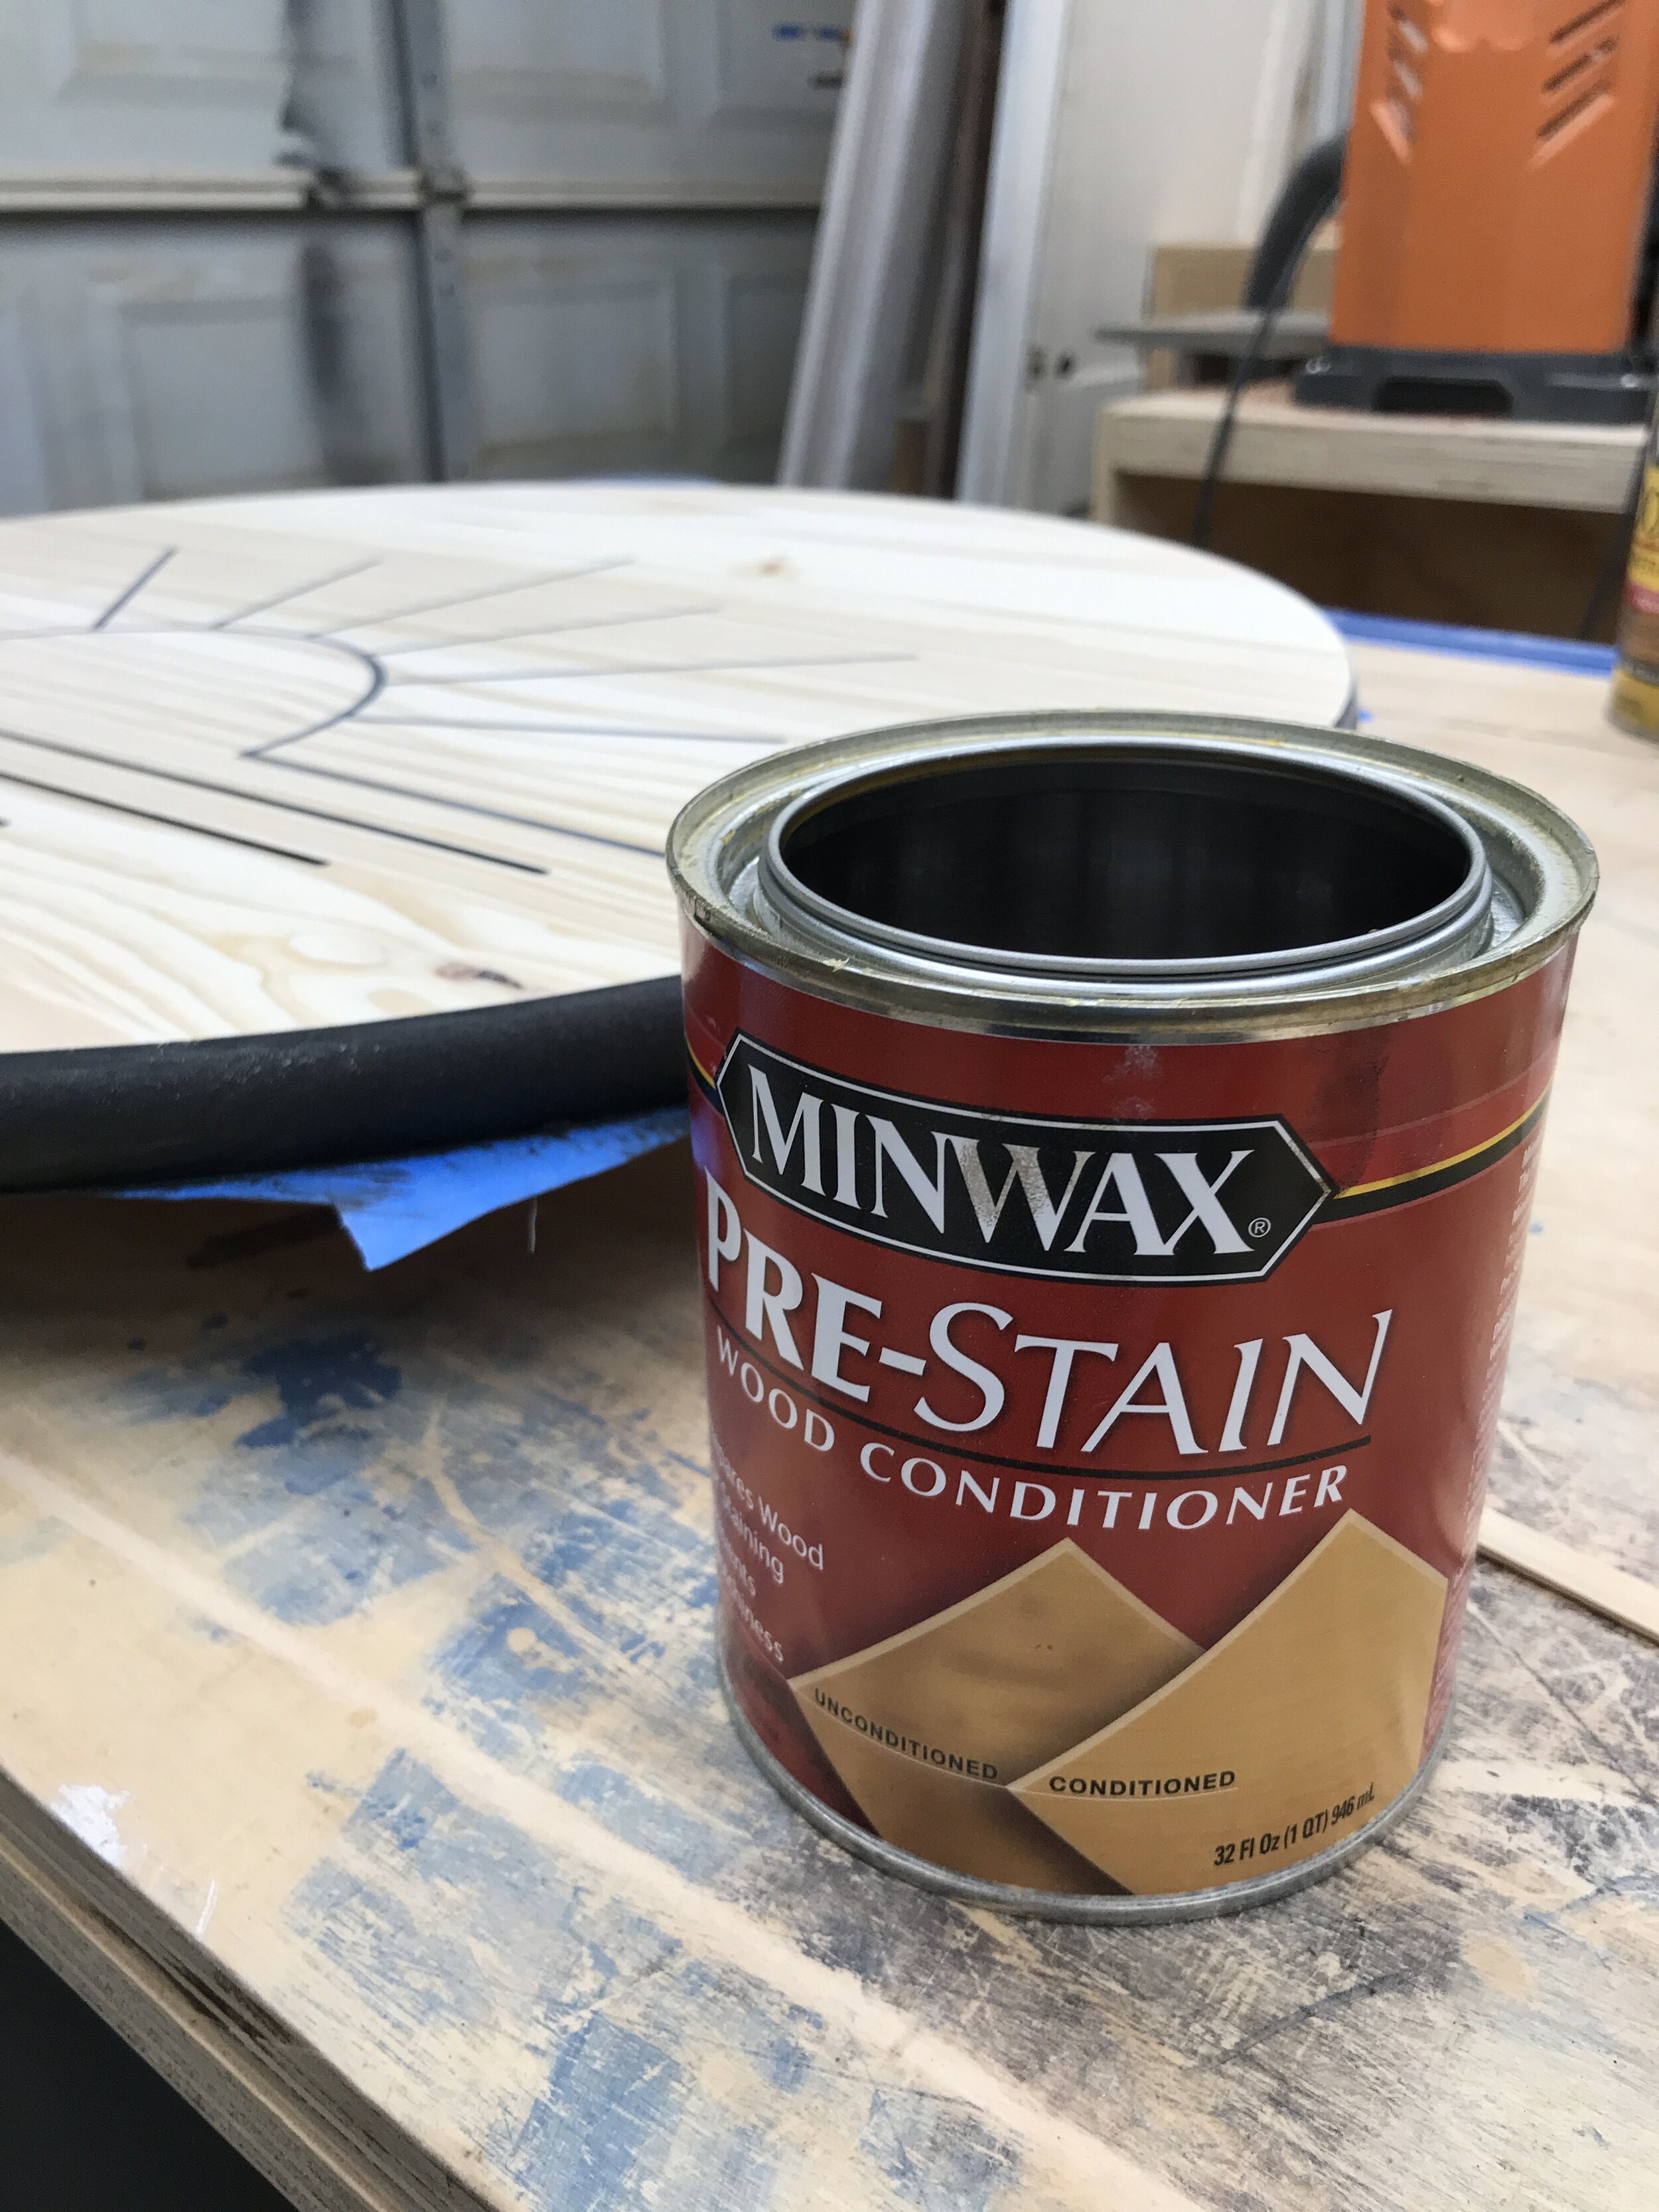
So now that I have a new carved board, sealed it to prevent bleed thru, applied the black epoxy with a smaller syringe, sanded off the excess… it was time for some color! First up I painted the border black to give it a framed look. Then I choose to stain the board a custom mix of stain (75/25 natural/provincial). I did pretreat the board with wood conditioner to help prevent blotchiness. And once that was dry came the fun part.
NOTE: …. if you are staining your board like me, be sure to sand off any excess sanding sealer on the top. If you don’t your stain won’t take properly.


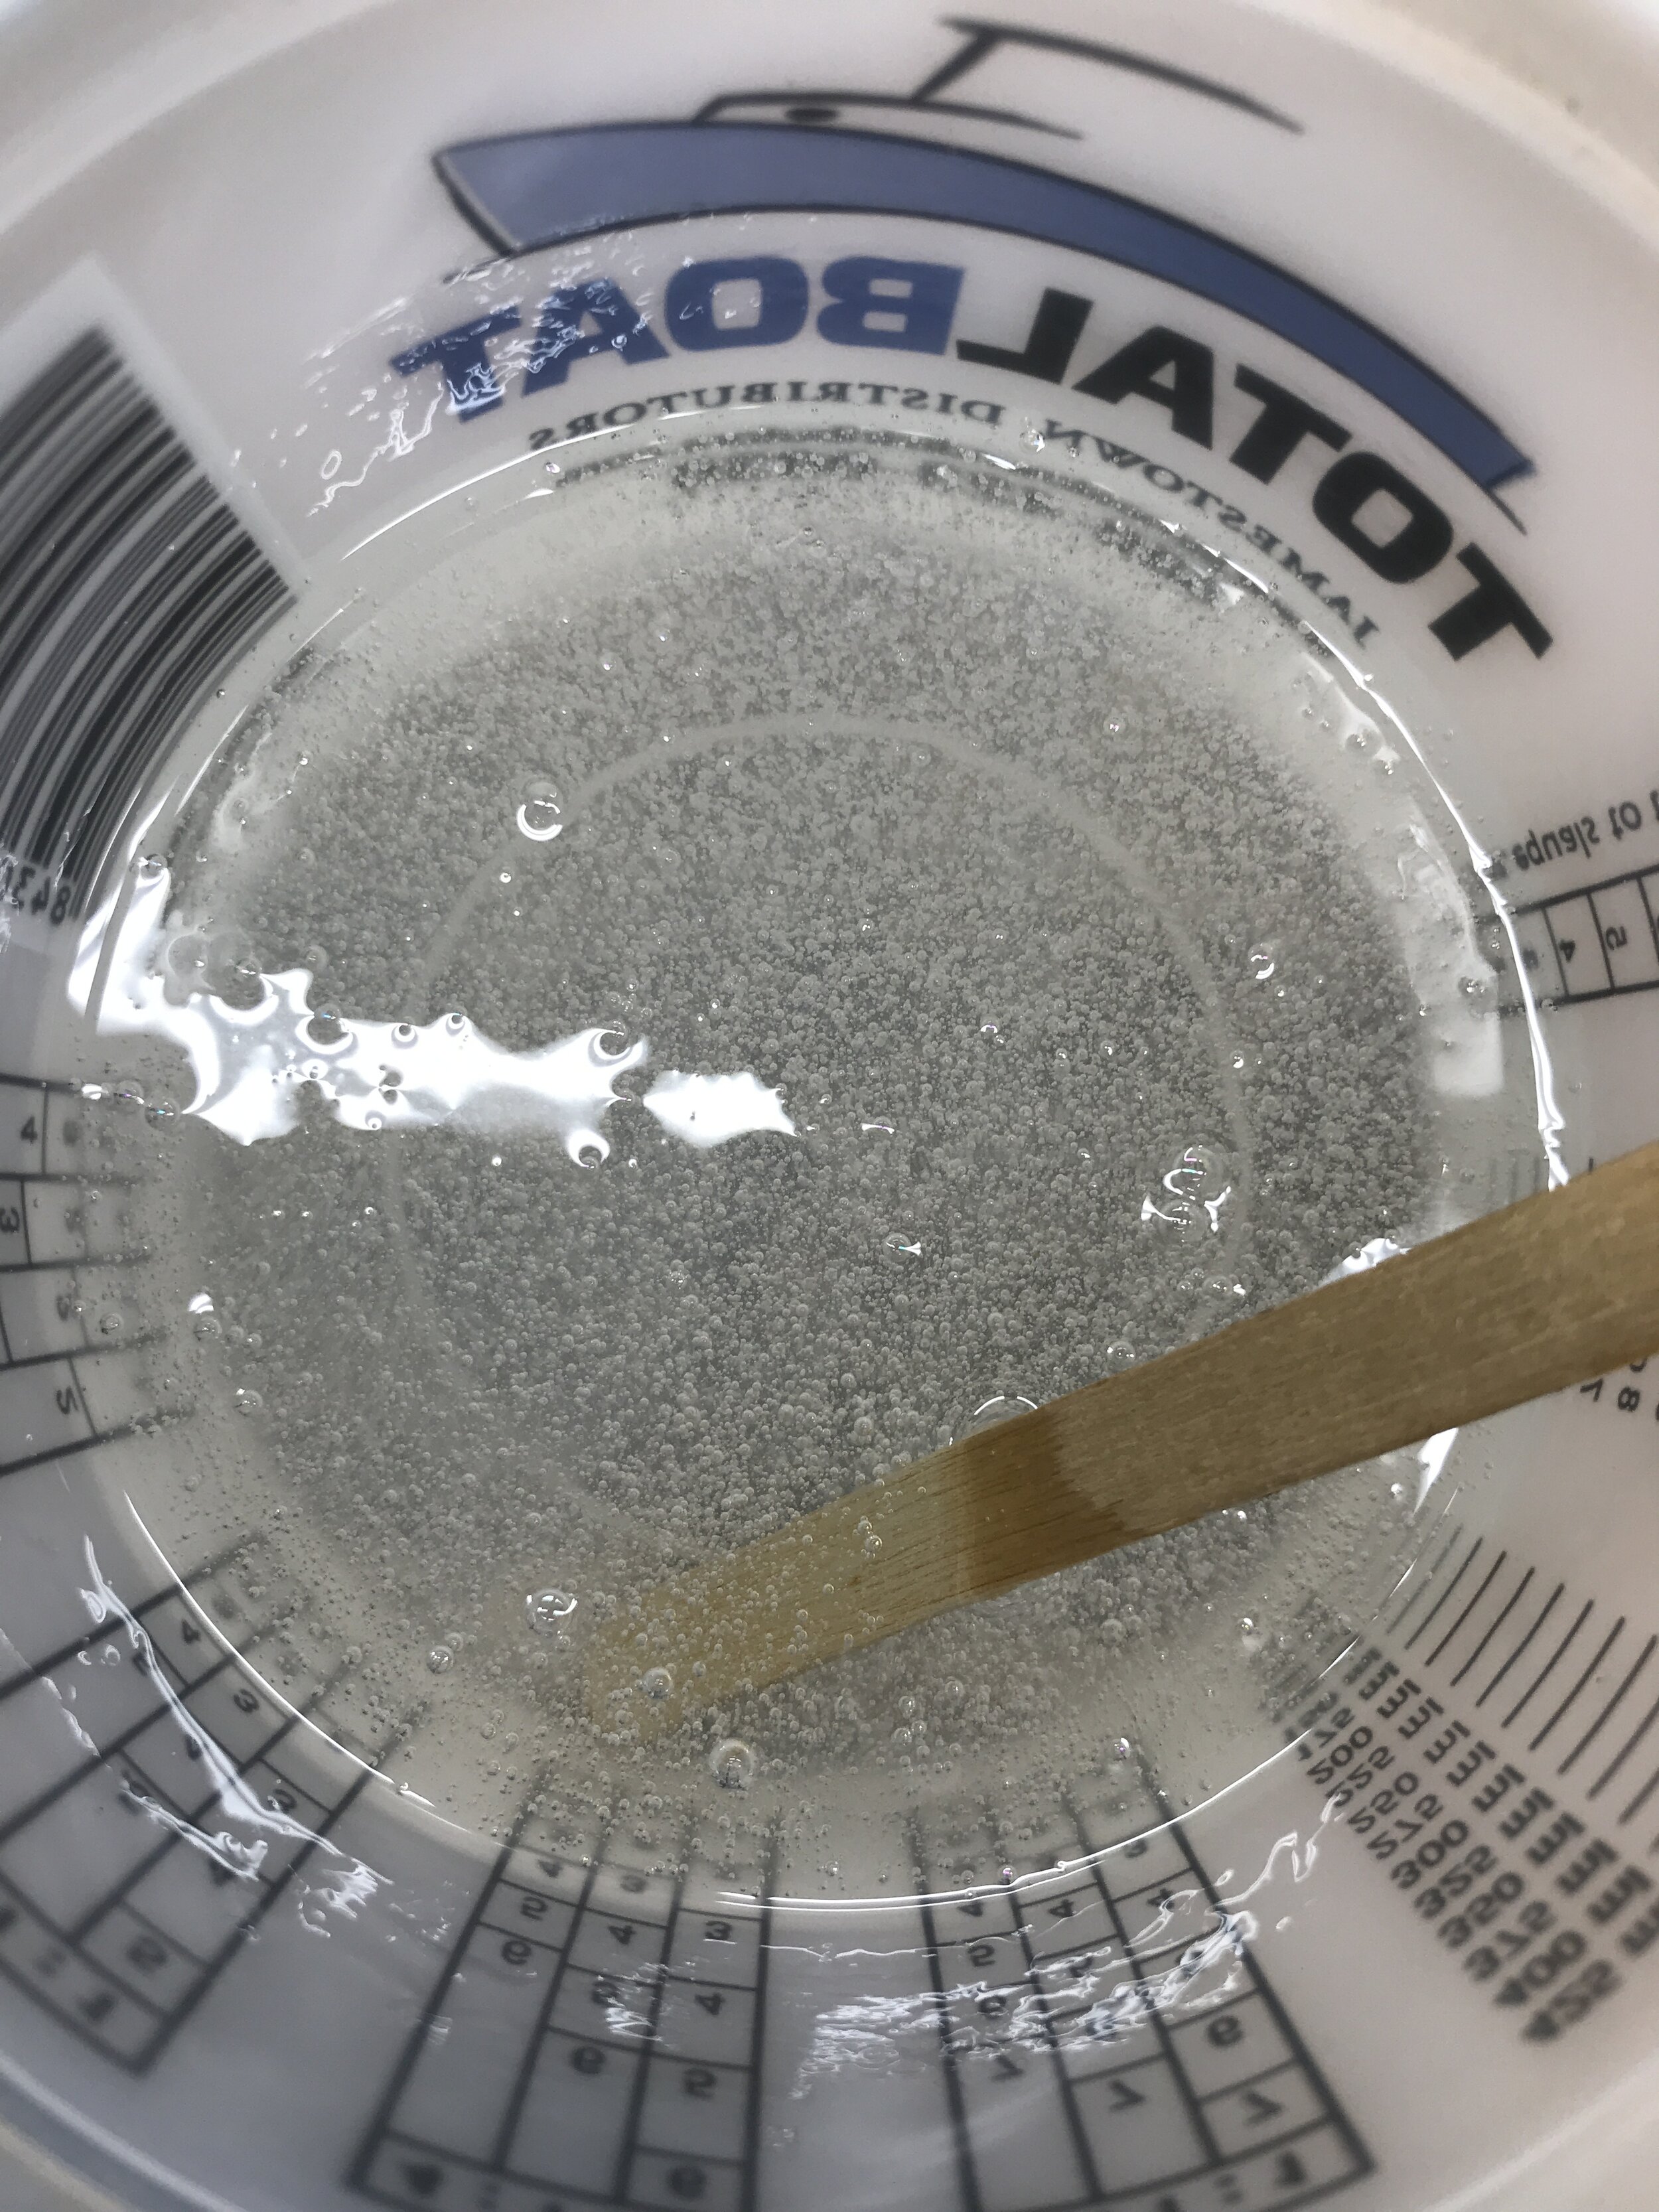
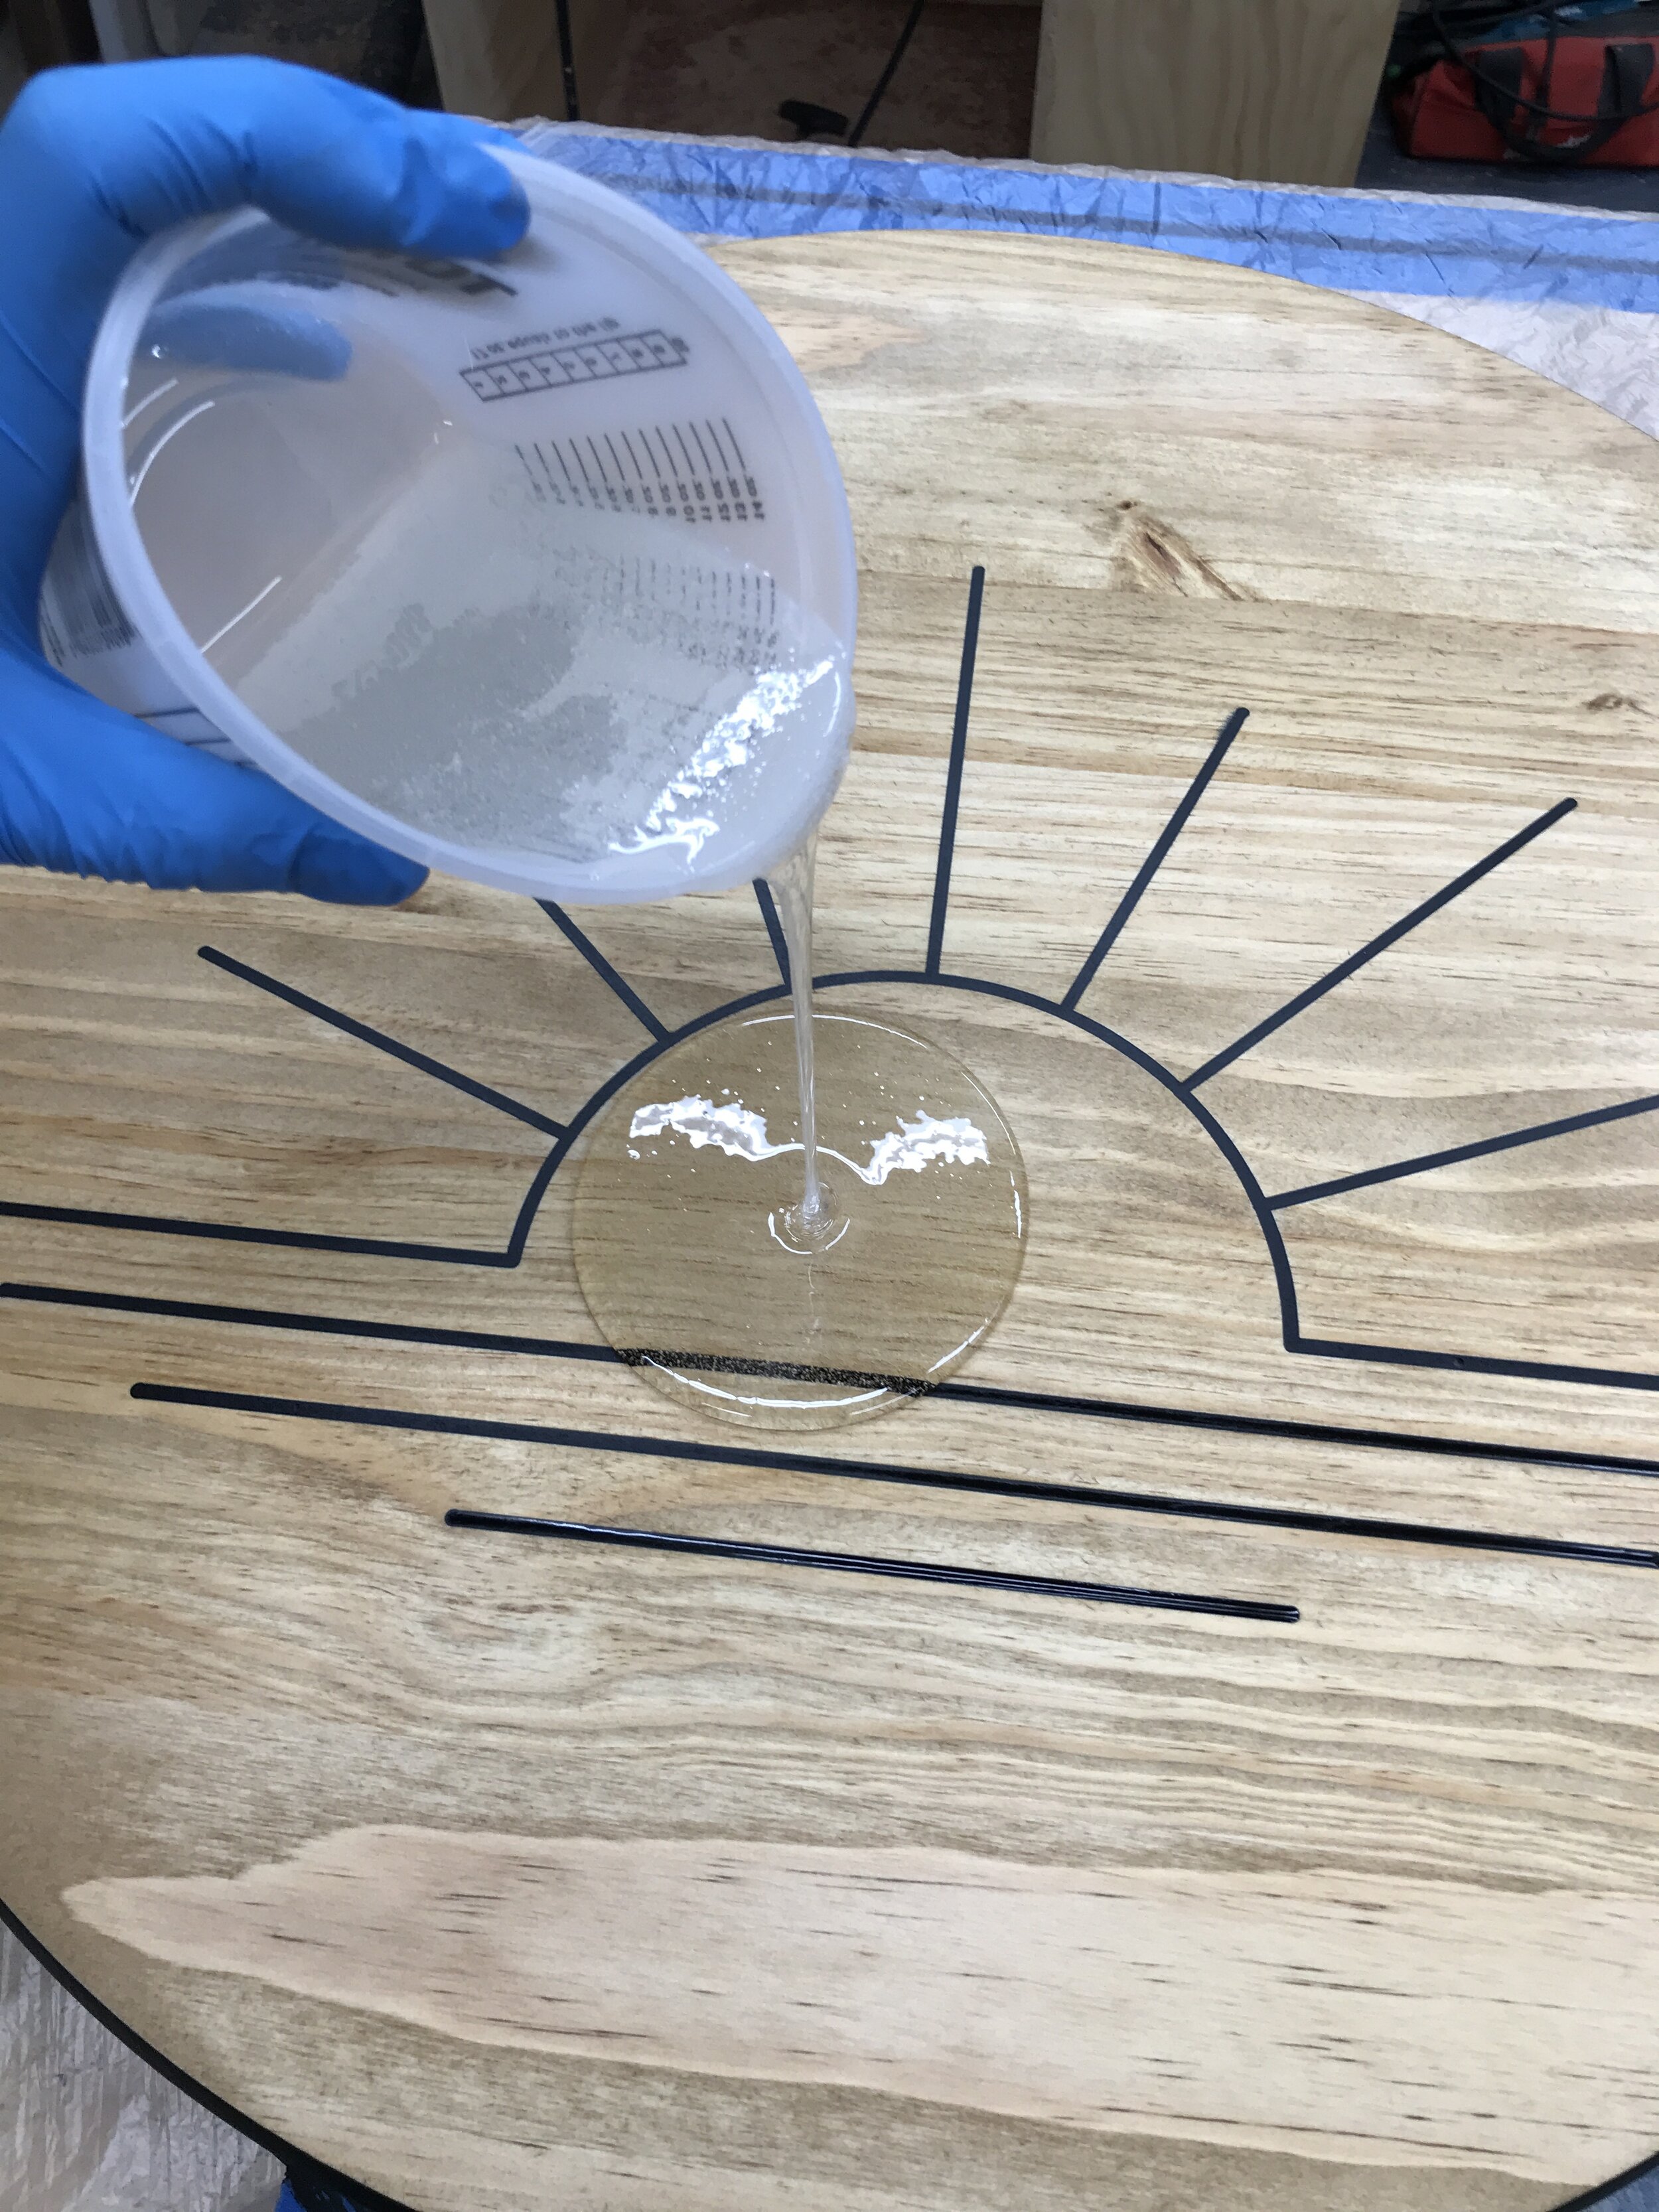
I sealed the entire piece with a flood coat of table top epoxy, mixed according to the instructions. And while mixing you create a lot of bubbles, bubbles I didn’t want in my finished piece.
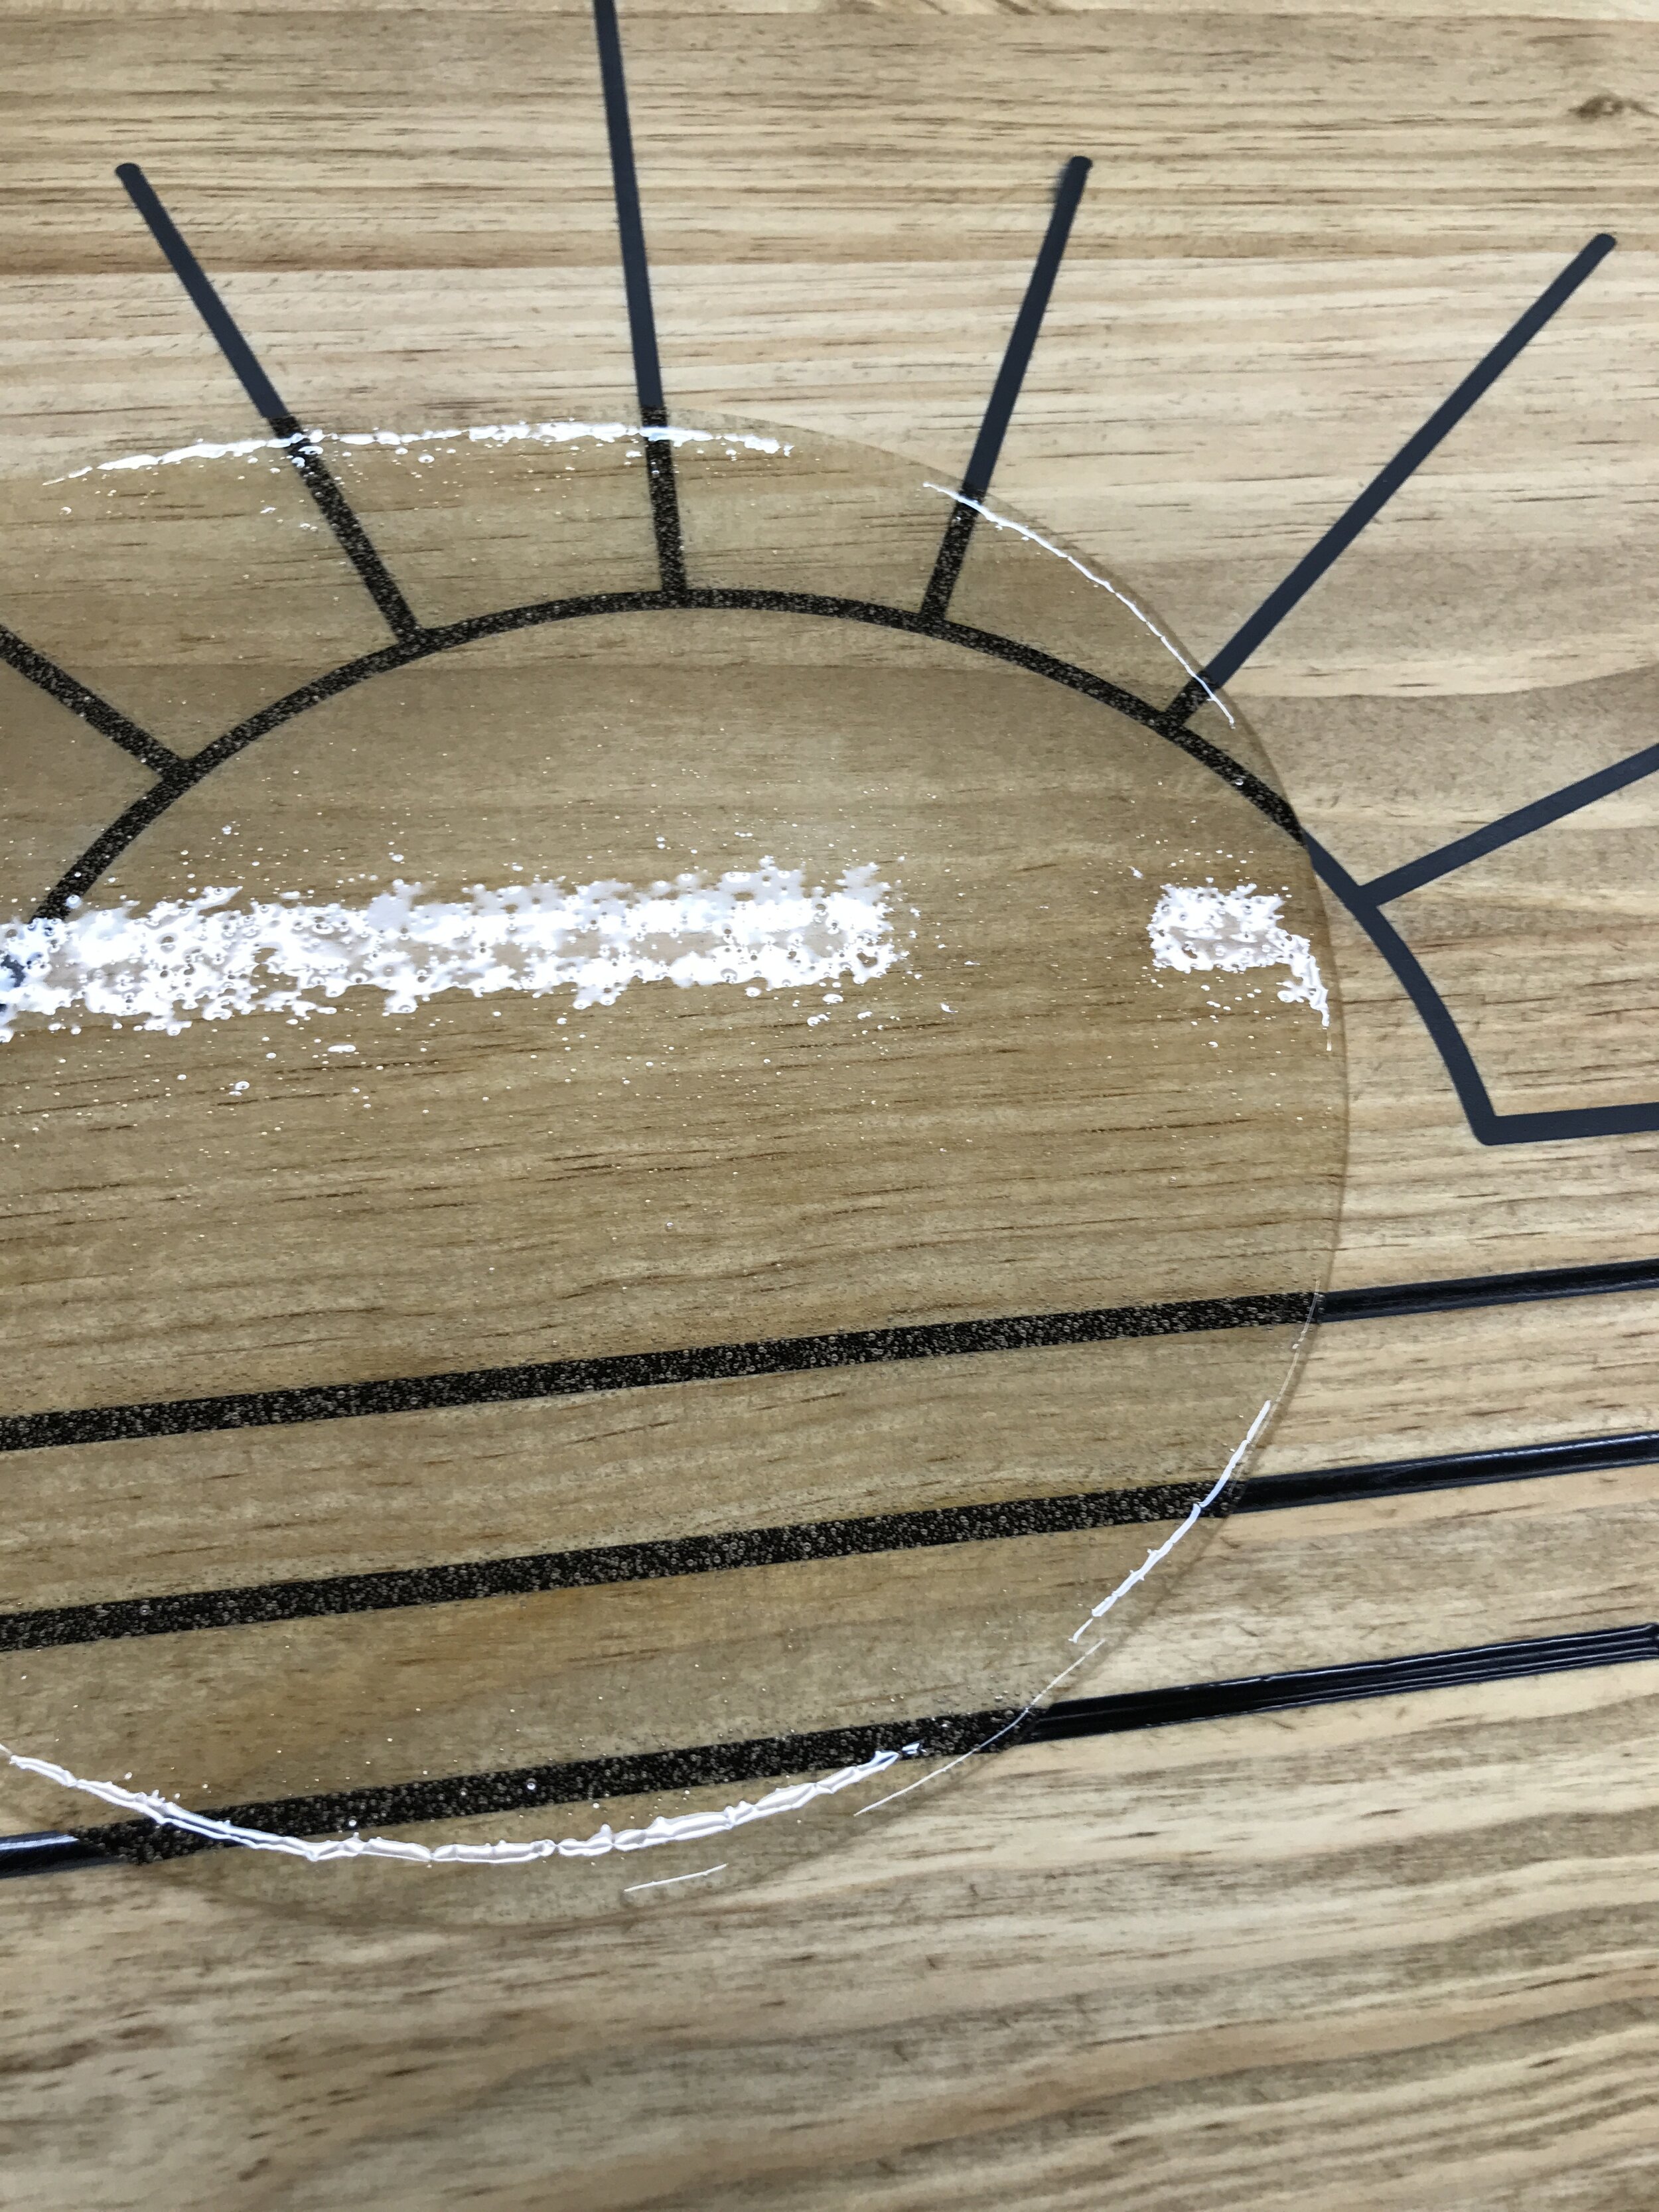
In order to get all the bubbles out I used my Bernzomatic Butane Micro Torch to pop them. You don’t wanna get too close that you burn the epoxy, but just close enough to pop them. I love this micro torch because it is easy to hold and control where you are popping the bubbles.

BEFORE Torch

DURING

AFTER Torch
It also has two setting and a safety! You first pull a little trigger down (safety) and then push in the back button to turn in on. It will stay on while you hold the button and it good for popping bubbles in spots. But if you have a big area it does also have a continuous setting on the side so you don’t have to hold the button down the whole time.

This Micro Butane Torch rocks!
Once it was dry I added a sawtooth hanger to the back and had myself an AWESOME Epoxy Inlay Sunshine Art piece!

To recap… things I learned:
Alcohol Inks = translucent color, Arcylic Paints = opaque color
Note: I do want to try some mica powder pigments in the future. They usually have a glittery shimmering look.
Be sure to seal your board and the inside of your grooves really well to prevent bleed thru.
I used sanding sealer, but a lacquer or poly should work as well.
Always test on a practice board before your actual piece. It is a good way to learn techniques and find out what you do and don’t like. And get your colors right.
Get yourself a Bernzomatic Butane Micro Torch to pop all the bubbles. Nobody wants bubbles in their art!
Tape the bottom of peice to easily remove overflow.


Lots more experimenting from me before I become a pro at epoxy art, but I do love how my piece turned out and am excited for more! I hope this blog helped answers some of your epoxy questions and maybe helped save you from making some of the same mistakes I did on your first piece.
Til next time, keep #BuildngAwesome and have an AWESOME day!
-Sadie Mae


If you like this project, then you are gonna love this one… DIY Torched Epoxy Table!