

DIY Modern Mailbox With Finger Joints
Recently I completely renovated my entryway. See before and afters here. Plus, see how I added a transom window above the door here. But one thing that still wasn’t quite right was my mailbox. It was an old worn metal mailbox that had a fleur de lis on it that wasn’t matching my more modern style and it totally blended in with the new black paint. So it was time for an upgrade. And with this upgrade I wanted to try a new-to-me woodworking joint… finger joints or box joints! So let’s get started.
This is NOT a sponsored post. This post DOES contain affiliate links. For more information on the affiliate programs I participate in see my DISCLOSURES page.

Old mailbox, testing out the size of the new one.
Step 1:
First step was to glue up some scrap knotty alder I had laying around to make a panel that would eventually be the outside of the box. You don’t have to do this step if you don’t want, you can use a 1x6 of any type of wood you like.

A sea of orange clamp! Love my Pony | Jorgensen clamps!
Step 2:
Once that was dry and sanded I cut it into three pieces… side piece, top piece and side piece. I did it in this order so that I would have continuous grain when I assemble the pieces. For all dimensions and more detailed instruction you can purchase build plans here.

I love the character of Knotty Alder.
Step 3:
Cutting the finger joints on the table saw using my dado stack. Since my boards were 5 1/2” wide I decided to have my fingers roughly 11/16”, so that there would be 4 innies and 4 outies on each piece. Totally not the technical term, hope you didn’t come here for that because I am so not good at terminology! But that is the thickness of the dado stack I put in the table saw, 11/16”. Then I cut a slot on a board that would eventually become my jig and inserted a pin that was 11/16”. If I were to do this again I would make the pin ever so slightly thinner than 11/16” so that I could easily remove the piece I am cutting. Plus, it will help with assembly by leaving a little room for glue. This piece with the pin on it and my miter gauge work as the jig to cut the pins.
Then practice, practice, practice and dial in the blade height to get a nice fit on some scrap pieces of wood that are the same thickness as your actual piece. Once you have it just right, cut your box joints. Be sure that when you get to the end of one board you flip it and use it as a spacer or starting point for the board that it is going to be attached to. I have a video of what I am talking about on my Instagram here, https://www.instagram.com/p/B9KQ_TUlF9O/. But I am also working on a full YouTube video of this build and will update it here when it is complete! But in the meantime, here is a link to a video my friend Tamar with 3x3 Custom put together explaining this process awesomely… https://youtu.be/-Rkszgiyj1c.
Wanna Watch Me Build This Project? Check Out My YouTube!
Step 4:
Glue-up outside frame. Be sure to use an exterior rated glue and that the sides are square. As you can see my fingers ended up slightly protruding, but they were eventually sanded flush.

I made my fingers a little proud, but nothing a little sanding can’t fix.
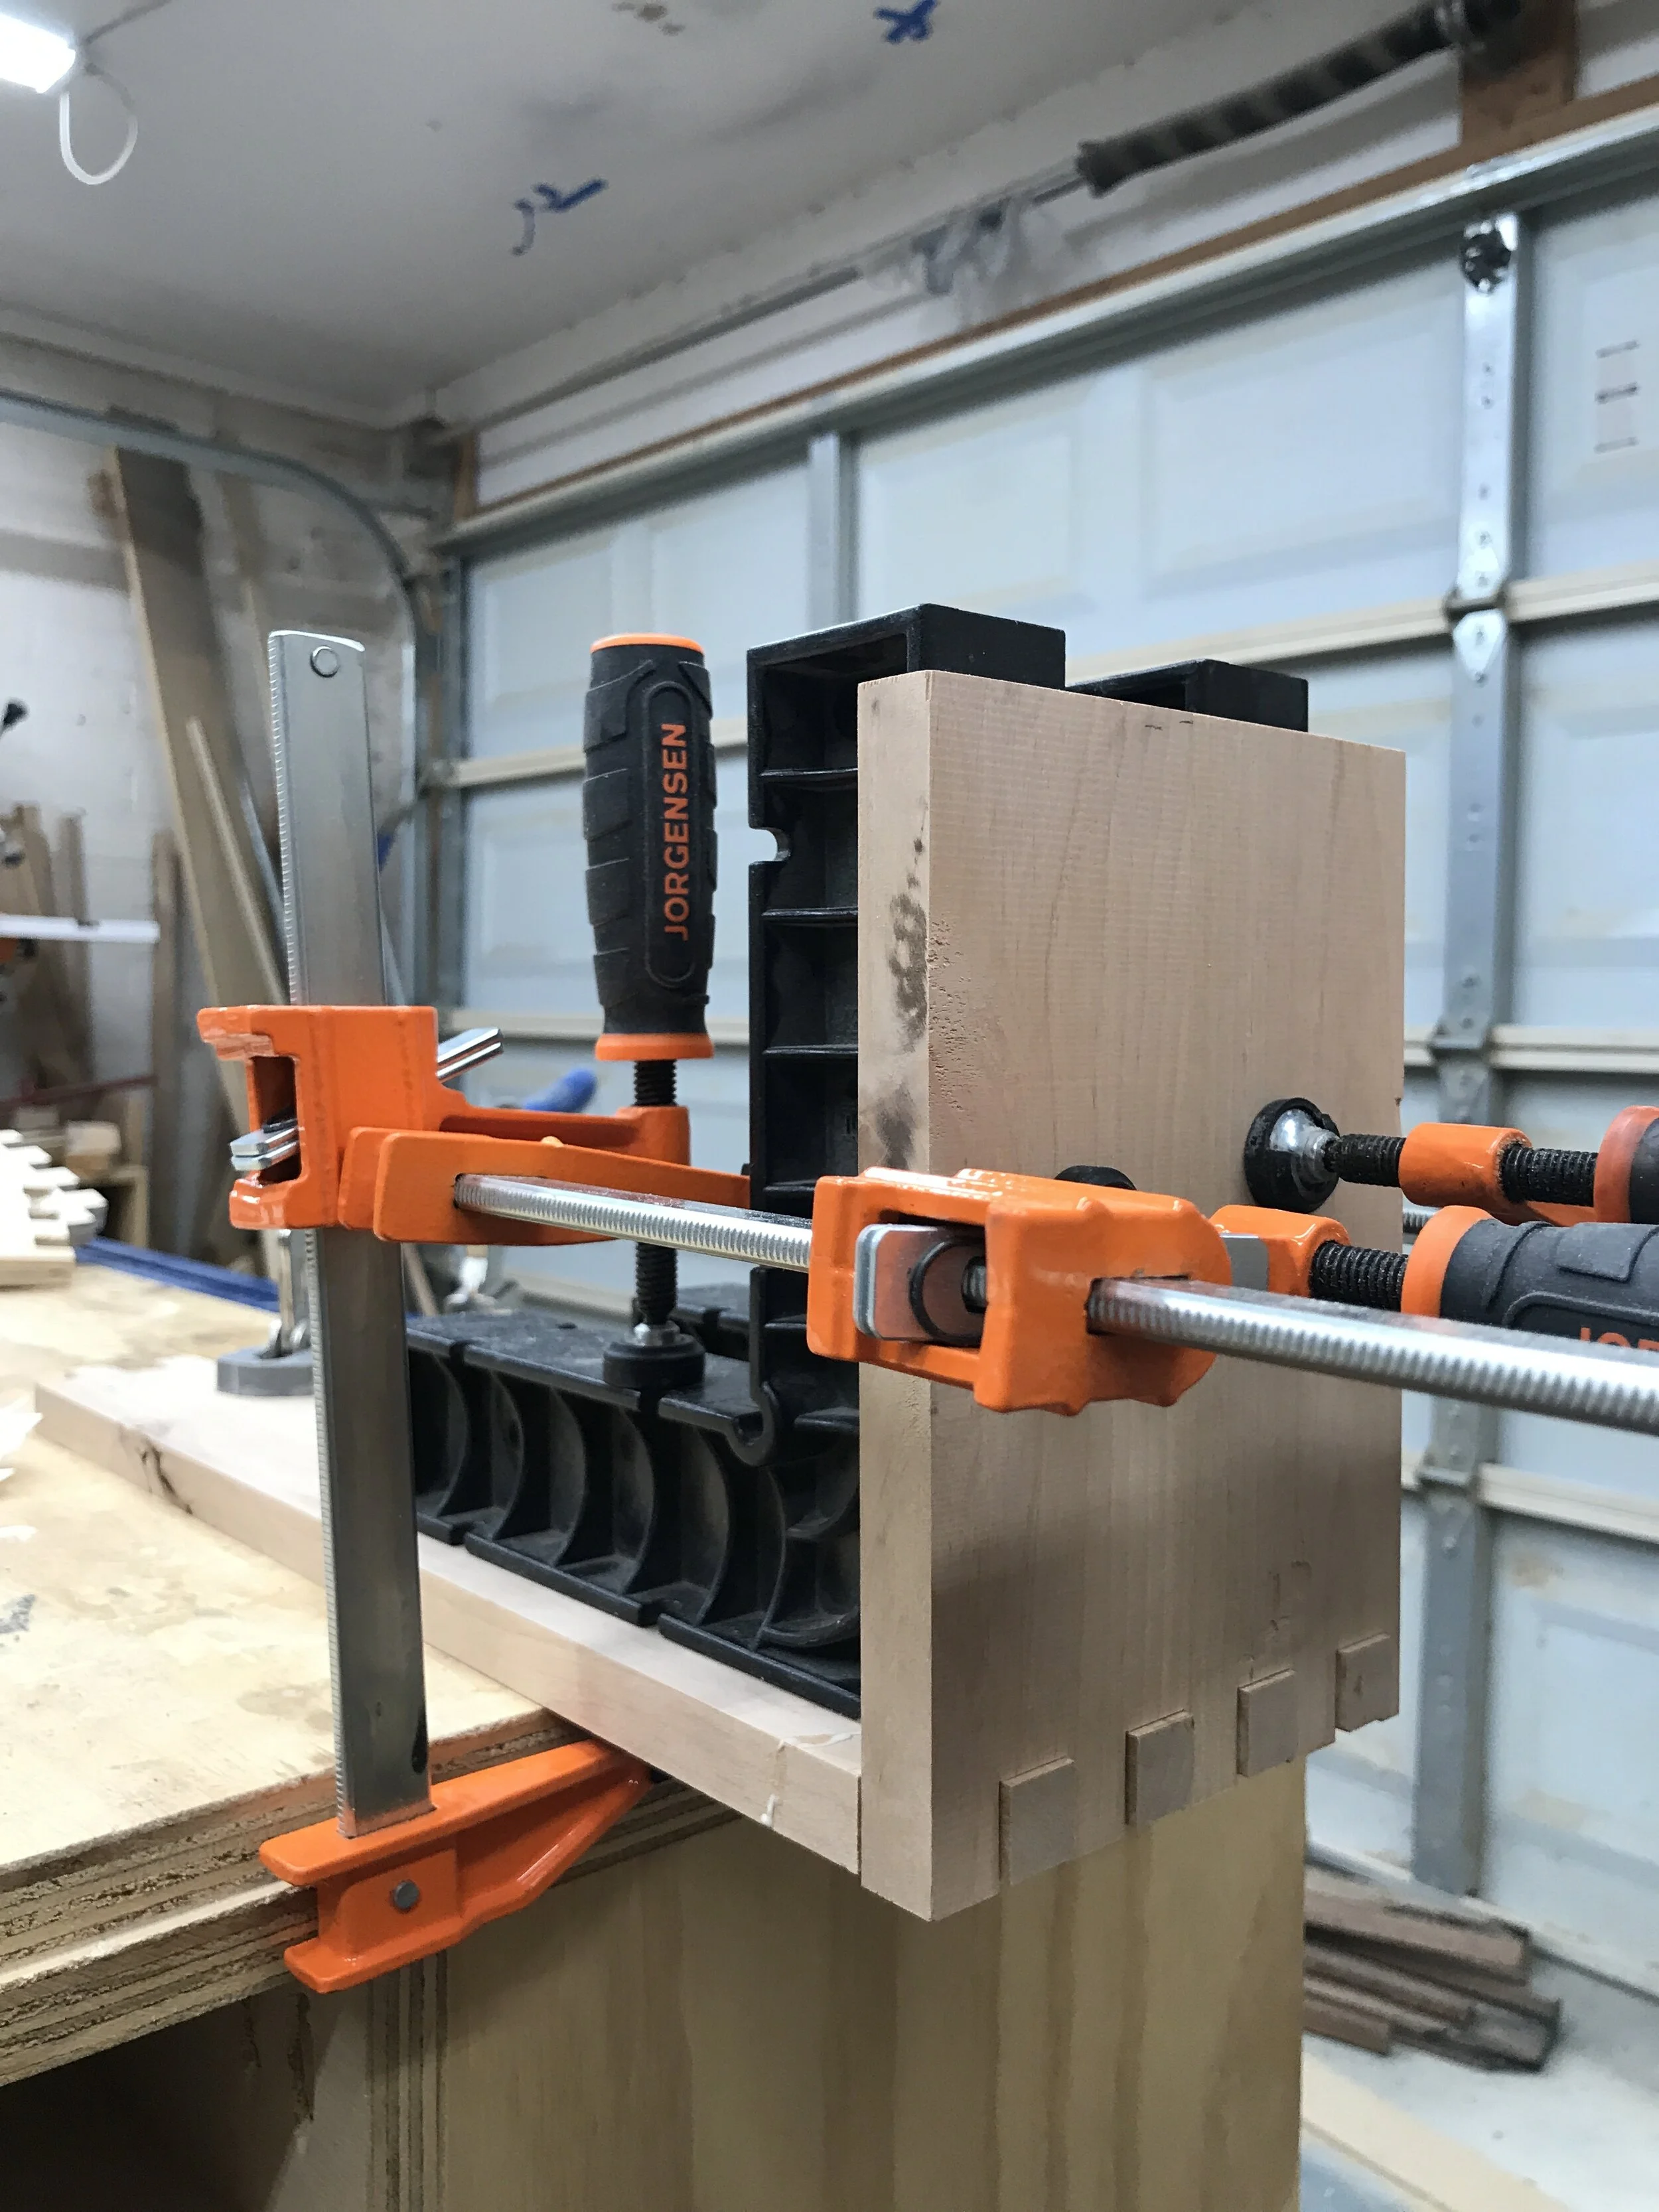
Rockler Clamp-It Squares helping keep everything lined up.

A little wood filler and we got some AWESOME first time box joints!
Step 5:
While the outside frame is drying we can start making the inside box. It is going to consist of four sides and a bottom. Since the mailbox is going to tilt out we have to make the back and sides shorter than the front to allow room for the box to pivot. So I used a jigsaw to cut the angle on the sides. I then use pocket hole screws on the side pieces to attach the front. To attach the back piece I end up using glue and 18ga brad nails because the space was to small to drill pocket holes. You could use brad nails on the front as well, but I didn’t want to fill them and wanted the front to be super smooth because that is the piece you will be seeing all the time. I did forget to install the bottom of the box at this point… just got too excited. So I just cut a piece that would fit in the space and brad nailed it in from three sides. But my original plan was to cut a dado in the four box pieces and insert a bottom panel… like how I have made drawer boxes before. You can see some pics here and here…. but I only have a tutorial on how to make drawer boxes the easy way here.

I drew a line from point A on the front to point B on the back and cut with my jigsaw.

Forgot the bottom. Oh well, we can fix that!
Step 6:
Sand both pieces and finish them using your desired finishes. I used General Finishes Exterior 450 on the Alder and then spray painted the inside box white. Oh, be sure to sand the back of the box bottom edge round… I didn’t do this at first and my box would stick or hit the wall went trying to open. You could also just make the box slightly narrower, say 5 3/8” overall depth and not need to do that step.

I spray painted my hardware black to match the pull and the rest of the entryway makeover.

Sanded the back edge over so it doesn’t scrap the wall when opening.
Step 7:
Install pull onto inside box and attach outside frame to the wall. I used this pull. And used two L shaped brackets to install the outside frame to the wall. You also want to install magnet latch at this time inset the depth of the front of the inside box. This will ensure that the mailbox stays closed and doesn’t flop all the way open. It is acts as a stop in both directions.

Two simple little L brackets hold everything flush to the wall.

Magnetic latch helps so box doesn’t swing all the way over and dump the mail.
Step 8:
Drill holes for the 3/8” bolts in both the outside frame and then inside box 1” in and 1” up. Then install the bolts and washers in this order…. bolt, washer, outside frame, washer, inside box, nut. The washer in between the outside frame and inside box takes some patience to install, but it ensures that the spacing around the inside box is even.

I liked these bolts because top part was smooth which makes the pivoting action smoother.

I used a drop of glue to help hold the washer in place til I could get the bolt thru.

A nut on the inside holds everything together.

Out with the old and in with the new.

All done! And so much better! Here is a link to the pull I use…. back mount finger pull matte black.

See before and afters of entryway makeover here!
And boom! You have an AWESOME Modern Mailbox with Finger Joints! This piece really finished off my entryway! Now I just can’t wait to incorporate this look thru-out the rest of the exterior! I hope you liked this build and if you did please comment below. Also, if you end up making one I would love to see it so please tag me when you share it and use the hashtag #buildingawesome. Thanks as always for follwoing my journey, happy building and have an AWESOME day!
Sadie Mae


