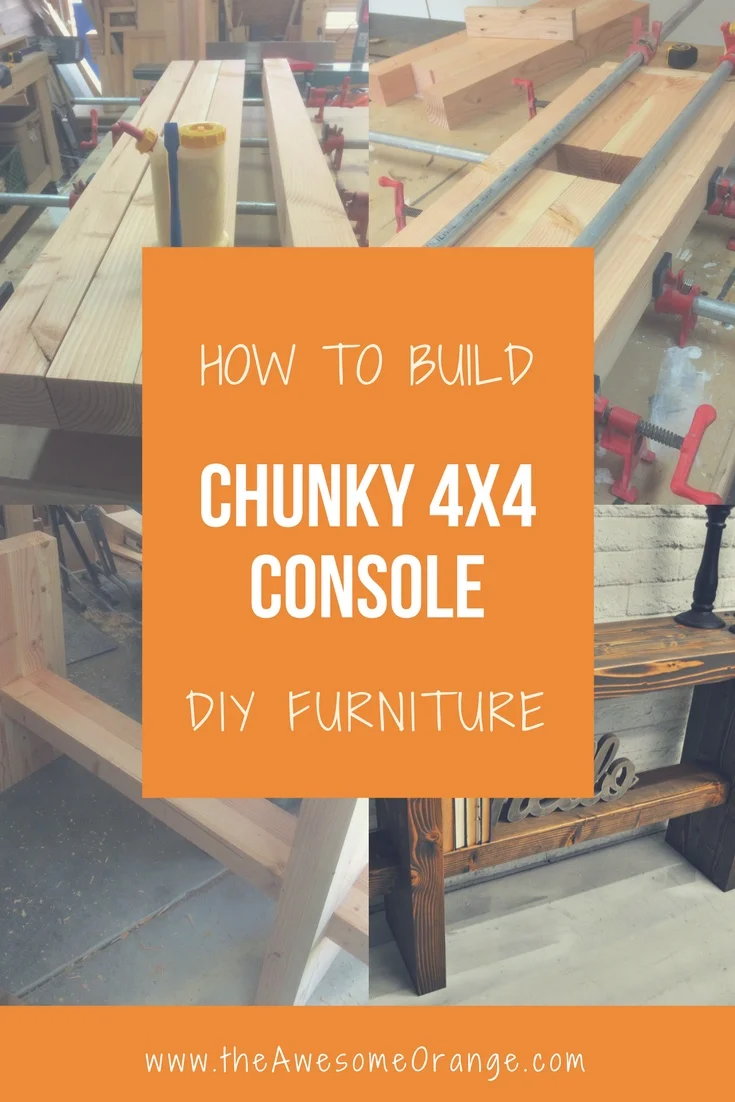
Chunky 4x4 Console
Howdy everybody!!!
You'll never guess what I got to do!?! I got to team up with the AWESOME Jen Woodhouse and be the first to build one of her plans! So, what did I get to build..... the Awesome Chunky 4x4 Console. This thing is beefy. It is a piece that will make a statement in any room and will last forever!
Oh, and if for some crazy reason you don't know who Jen Woodhouse is YOU NEED TO! Click here to check out her AWESOME website!
So...... here it is!!!!
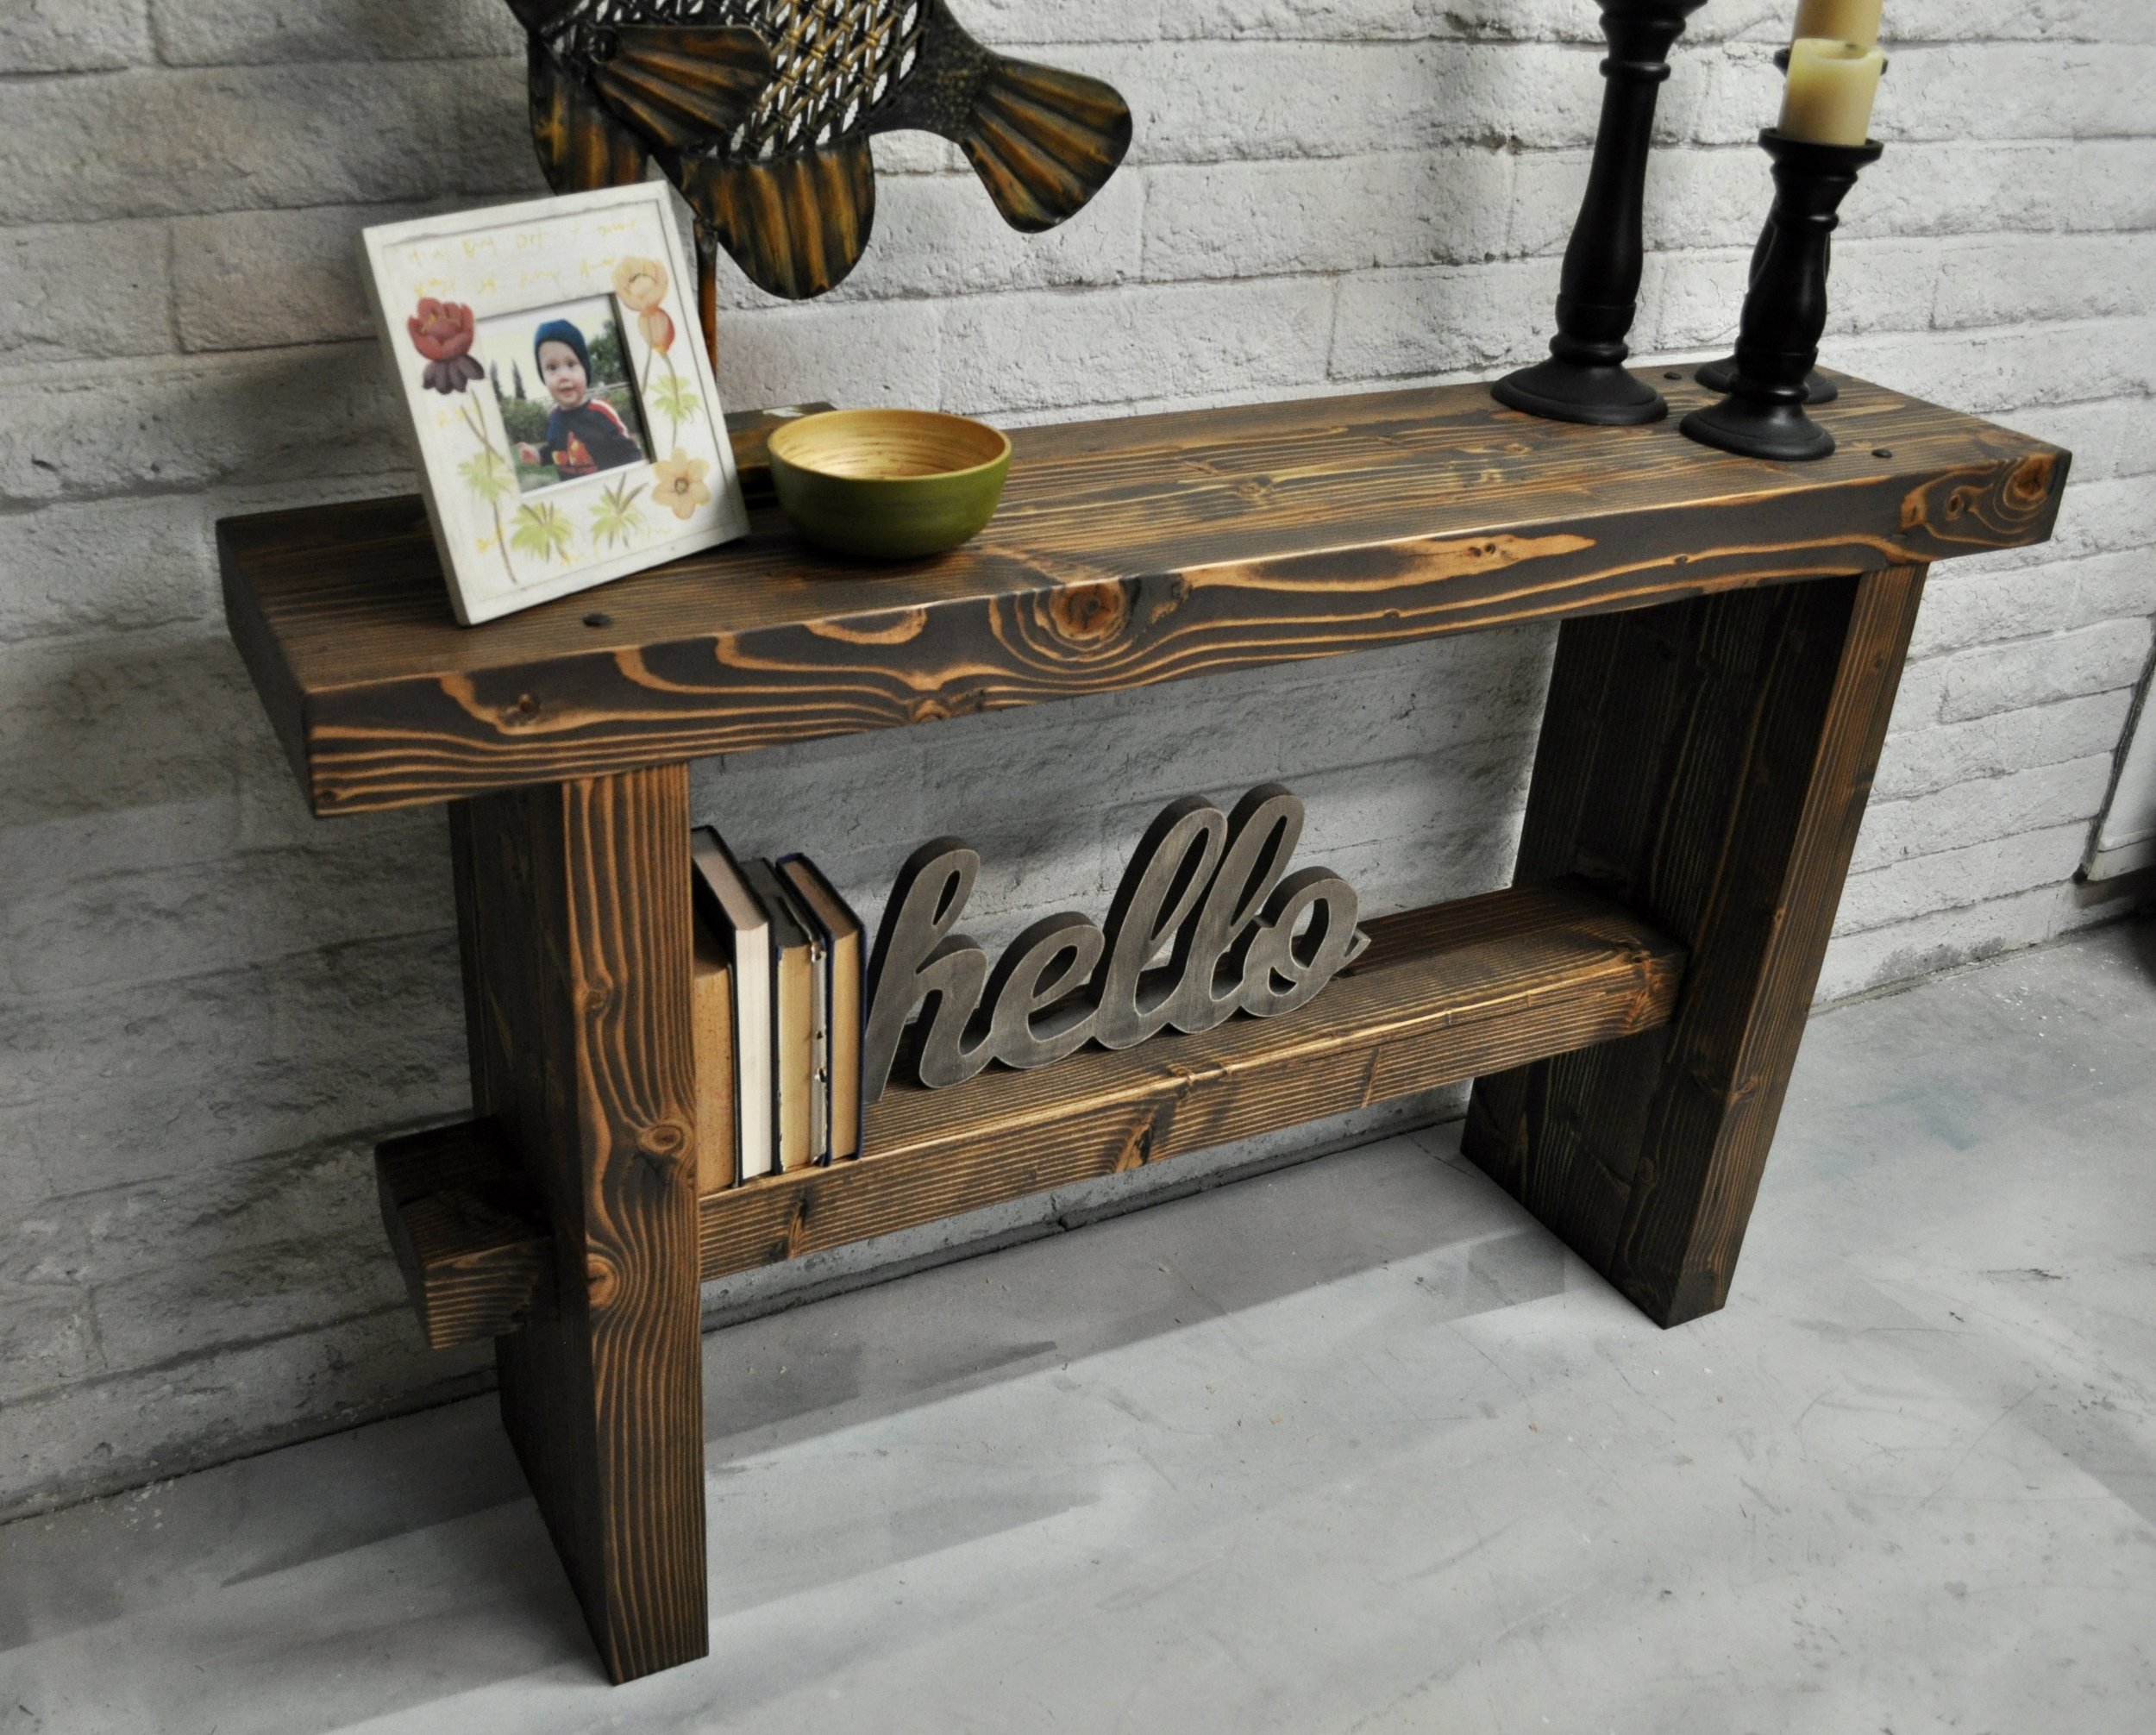
Still working on my staging skills, so don't laugh. But I figure you got to start somewhere!
So you want to make one? Jen is sharing the plans FREE on how to build your very own Chunky 4x4 Console on her site. You can get them here!
And here are my tips I learned during the building process!
#1 - Picking wood..... sometimes it is hard to find 4x4's at your local hardware store, but when you do you want to be sure to pick the straight boards you can find. Straight boards will make sure that your build goes smoothly. 4x4's tend to come very wet at the hardware store as well, so my suggestions is to buy these boards well in advance of when you actually want to build your console. Depending on where you live this could be months in advance. I live in Arizona, it's a dry heat, so wood tends to dry faster here than climates with more humidity. Wood expands and contracts depending on moisture content and as a rule of thumb you want your wood approx 7-8% moisture content when you start building. You don't want you wood to shrink and crack after you built it!
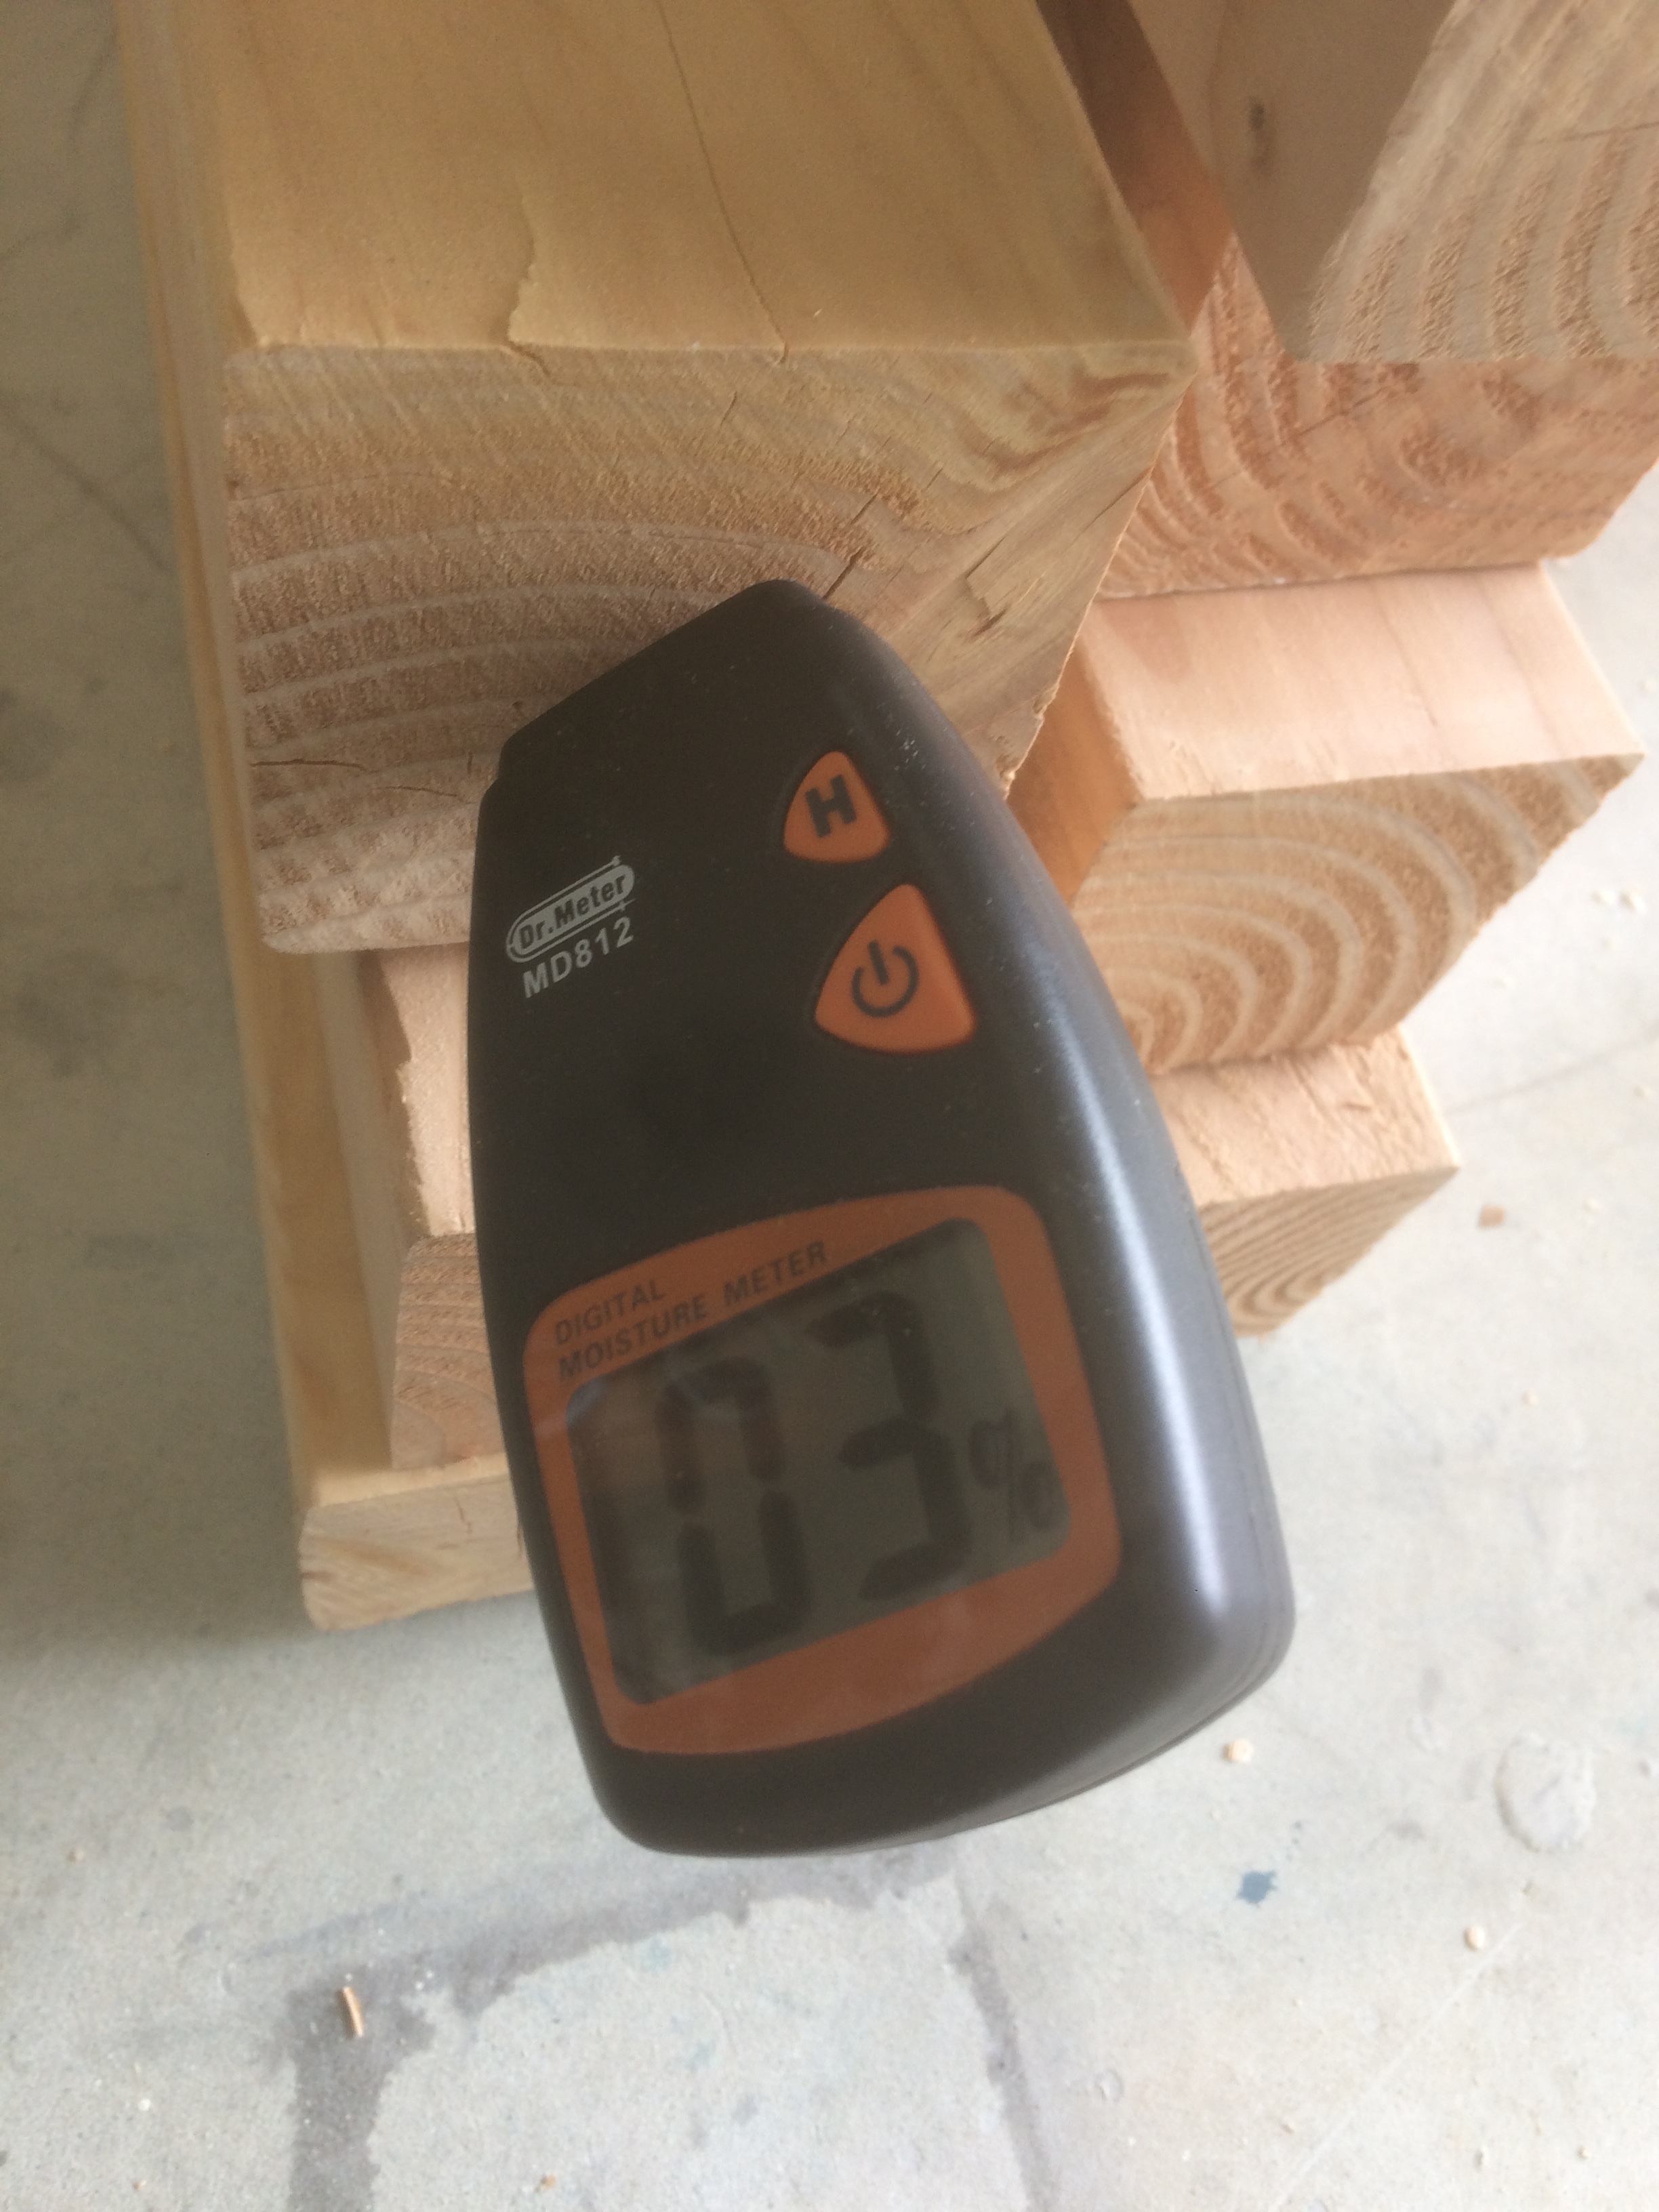
I find that the ends of the boards dry faster the the center, so even though this is reading 3% on the end the middle was higher.
If you don't have a moisture meter, be sure to pick the lightest boards. The lighter they are the less moisture content. Or that is what I did before I had a moisture meter!
#2 - Building... Jen has two options in her plans on how to assembly, glue and clamps or glue and pocket holes. Both work great, just depends on the tools that you have. I didn't want to see the pocket holes or fill them, so I just used glue and clamps. I think that it would have been easier to keep everything lined up using pocket holes because the wood can tend to shift slightly in the clamping process.

Highly recommend a Glubot and a glue brush to spread the glue fast and evenly. They both help speed up the process of spreading the glue and giving you more time to ensure that everything is lined up.
When it came to glueing up the legs it is a little more challenging! You need to leave holes for the cross shelf to slide into. After doing it like in the picture below, I would recommend placing the cross support/shelf in there during glue up. If you aren't able to get them in there with the exact 4" overhang then I would be sure that no glue is near those boards, so that after the leg is dry you and slide/hammer the support/shelf to the proper location. I hope that made sense, but it is kinda hard to explain!

Oh, and if you use wood supports to help your clamping, make sure the is not glue there or else you will have a challenge getting those off!!! And if you do get them off them will probably take a chunk out of your build or the support. Hopefully the support! Not that I would know from experience or anything.

Looks like I got them all lined up perfectly, but......
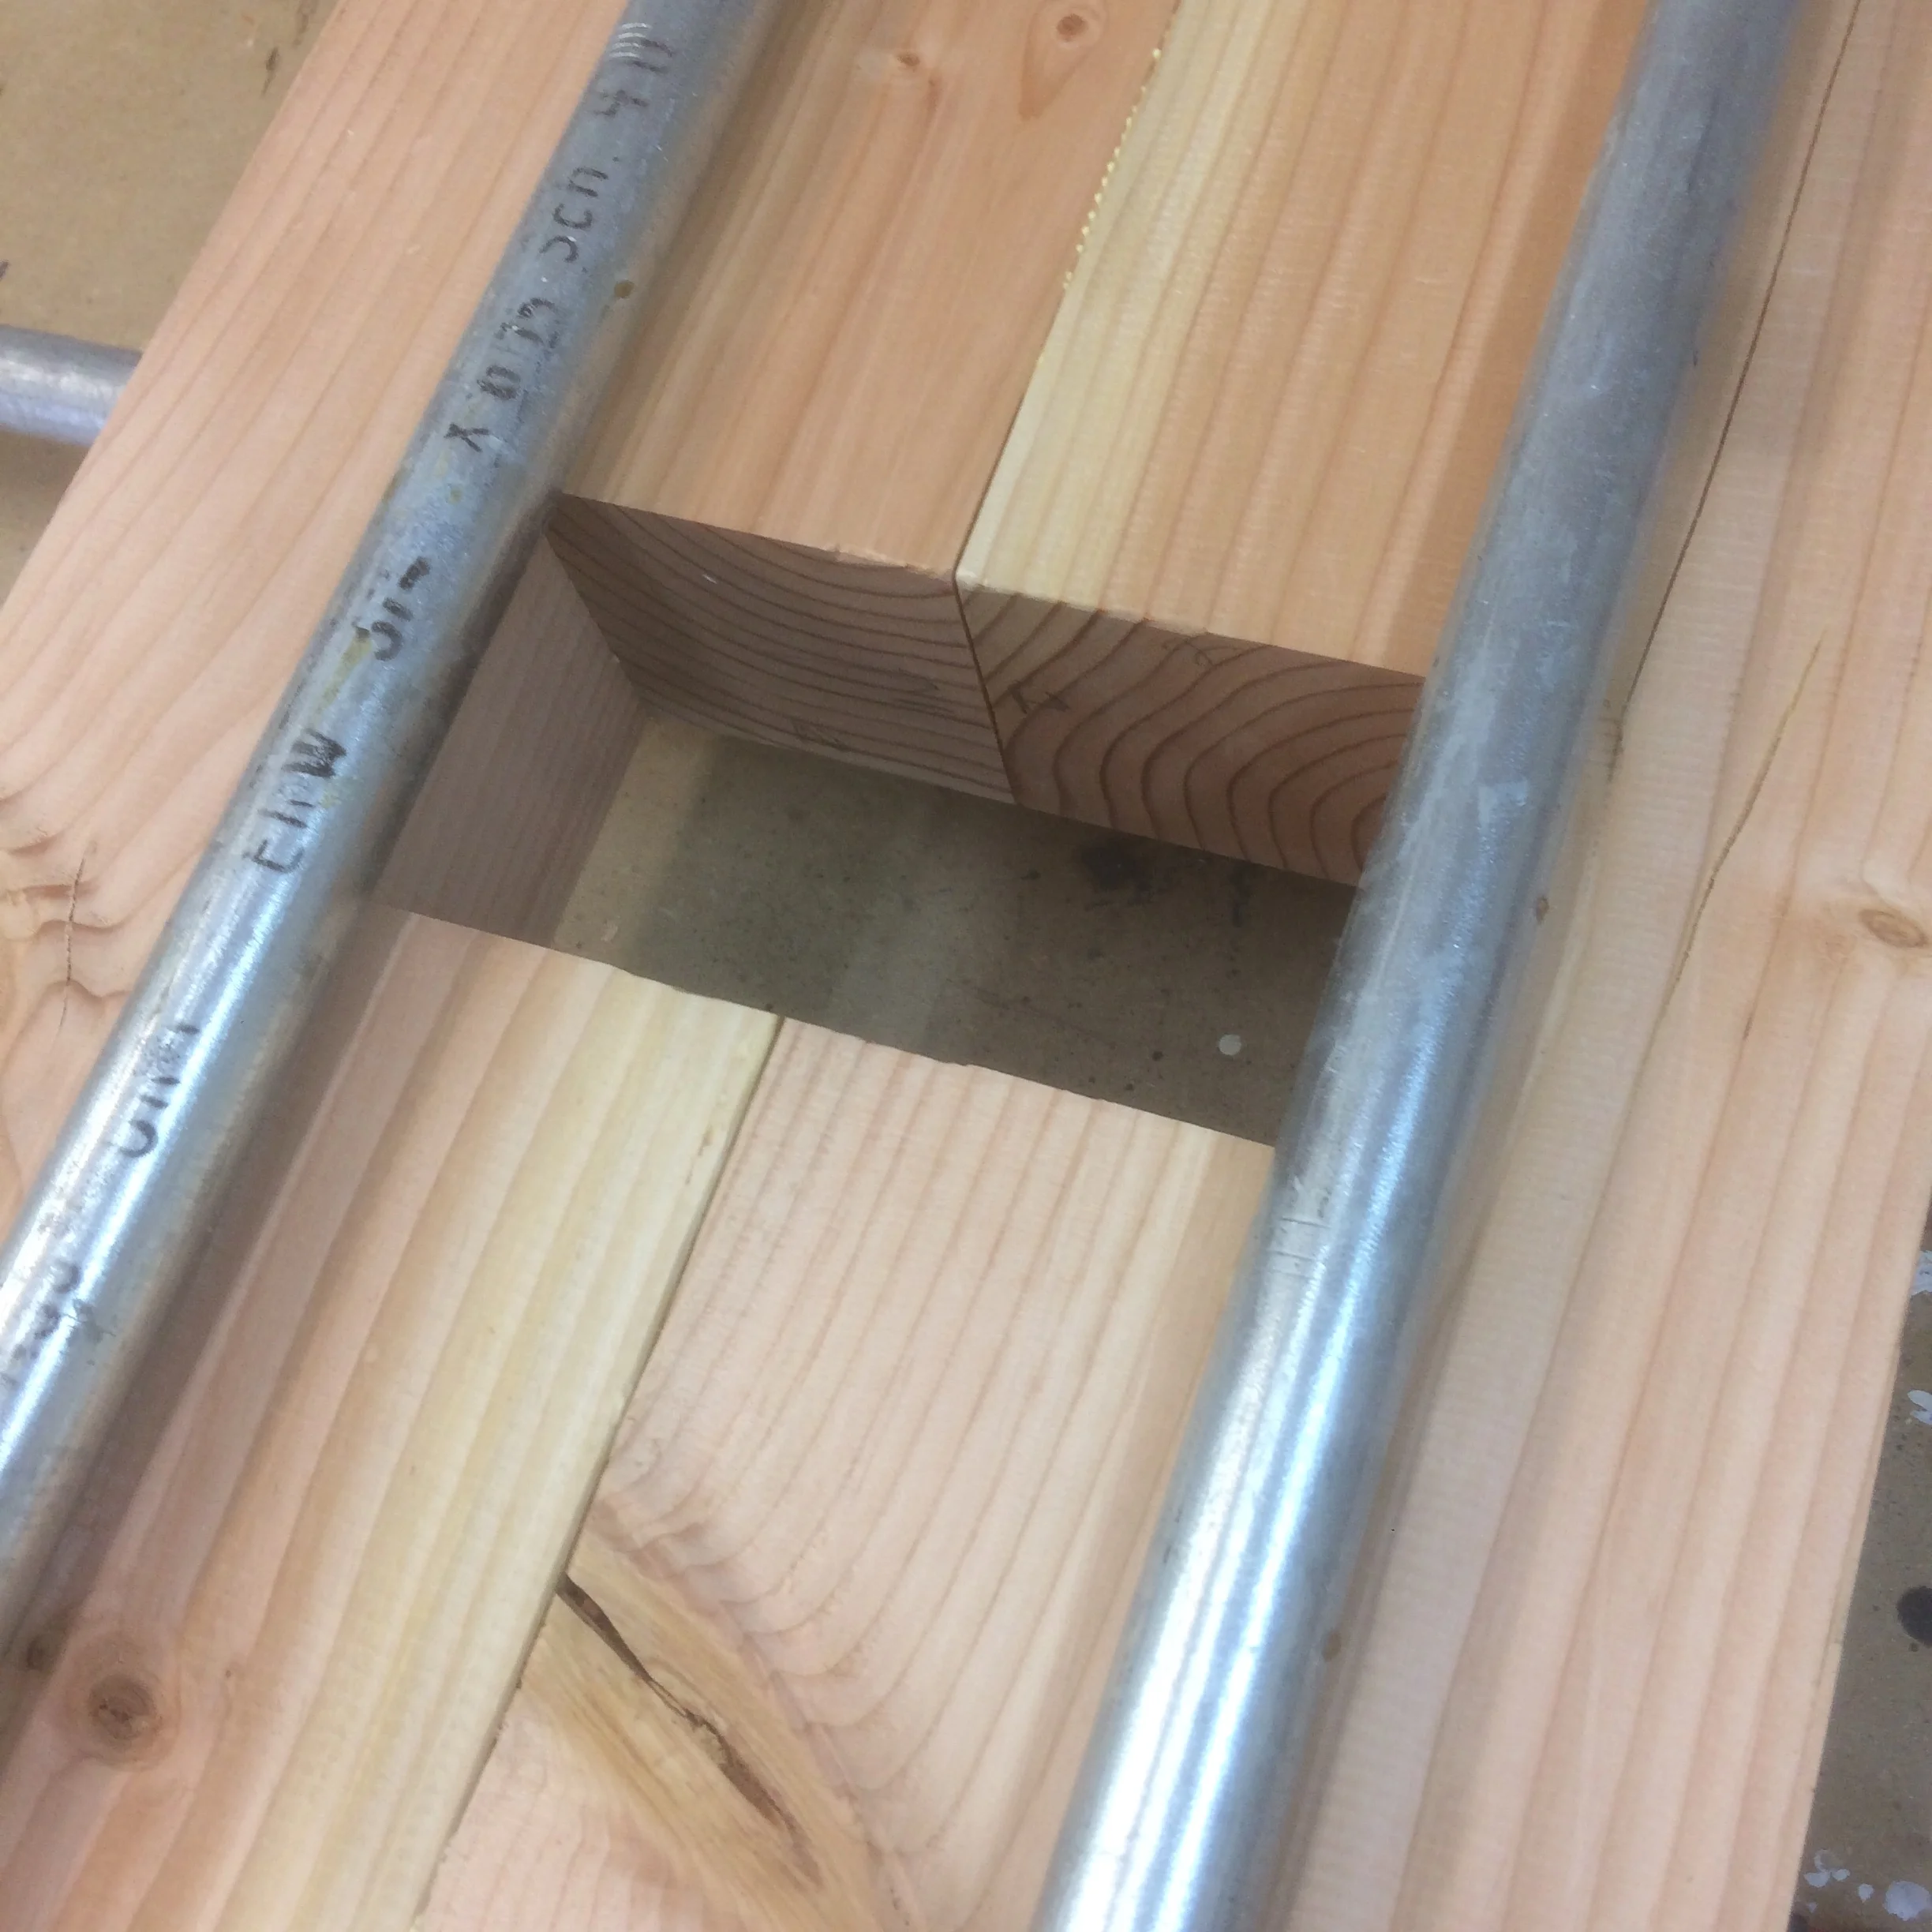
There was no way I was gonna get that shelf in the holes. So, I was so happy that I have a thickness planer!!! I had to trim/plane small amounts off of each side and then slide them in. It was still a tight fit, but was so awesome when I finally got everything all lined up!

Now all that it was time to attach the top! Once I got it lined up with, I clamped it into place so when I started drilling the holes to attach it wouldn't move on me. Sorry, don't have a pic of that one. Oh, and BTW I sanded everything in pieces to flatten everything. It so much easier to sand when things are flat rather than trying to get into all the nooks and crannies once assembled. Okay, so your drilling the holes. Even though I was using 4" Spax screws, I still predrilled the holes. I also used a paddle bit to counter sink the holes, so that the screws would be in the legs farther and so that I could fit the wooden button plugs in them to cover the screws and holes. I glued the pugs into place, so they don't pop off.

The button plugs really give it a finished look! You could also fill the holes with wood filler and that would give you a smooth top.

Hooray! You just built yourself an Awesome Chunky 4x4 Console! Now to decide on how to finish it!
#3 Finishing... So many options. 4x4's are generally made out of fir and tend to have an orange/pink hue to them, so if you don't like that be sure to pick out a stain color that will hide that. A darker color usually does the trick! And lastly be sure to put some sort of protective finish on your piece so that it last.
I hope the tips from my experience of building the Chunky 4x4 Console helps you out! I'd be happy to answer any questions that you have once you start building yours! And I would love to see your builds!!! Tag me!
And again, here is the link to Jen's site for the FREE plans.
Thanks for reading and keep #BuildingAwesome!!!
Have an AWESOME day!
-Sadie Mae
*This post contains affiliate links for your convenience.
Pin and Build Later!