
How to Make Drawer Boxes - The Easy Way
There are so many ways to make drawers boxes, but since I am making these for my master closet renovation I decided to go the easy way. The easy way not only because they are fast, but also since they wouldn't be holding a ton of weight. So, I didn't feel the extra work was necessary. My drawers are roughly 21 1/2"W x 20"D x 8"H to give you some perspective. I am am super excited about the size because that means a ton of storage!!! I am planning on getting rid of our huge oversized dressers we have in our master bedroom once the closet is finished, so that will mean a little downsizing. But I am all for the minimalist life! But it does take time, in my opinion, to become a minimalist. It is hard to just sell, donate, or throw away everything over night. I really want to have a plan of things that are gonna make me happy and still look good. That way I won't miss all those things!!! Things being the key word.
NOT a sponsored post, but it does contain affiliate links. See disclosures page for more info on affiliate links.
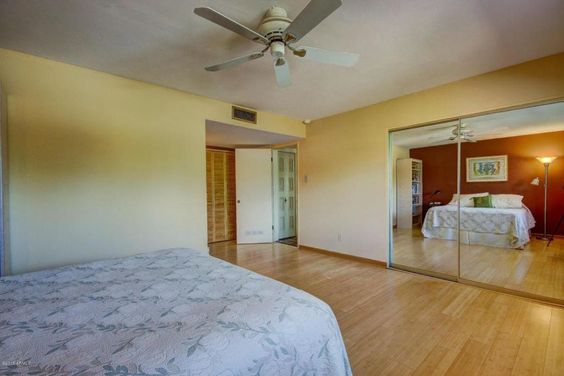
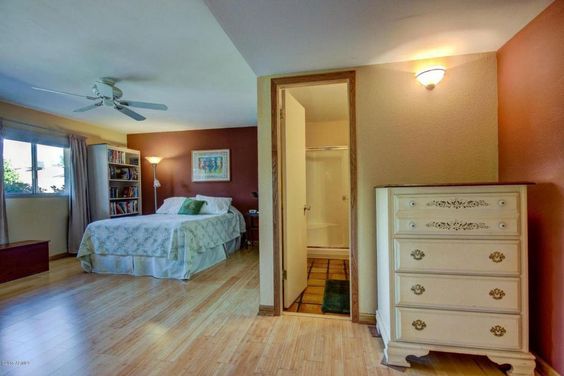
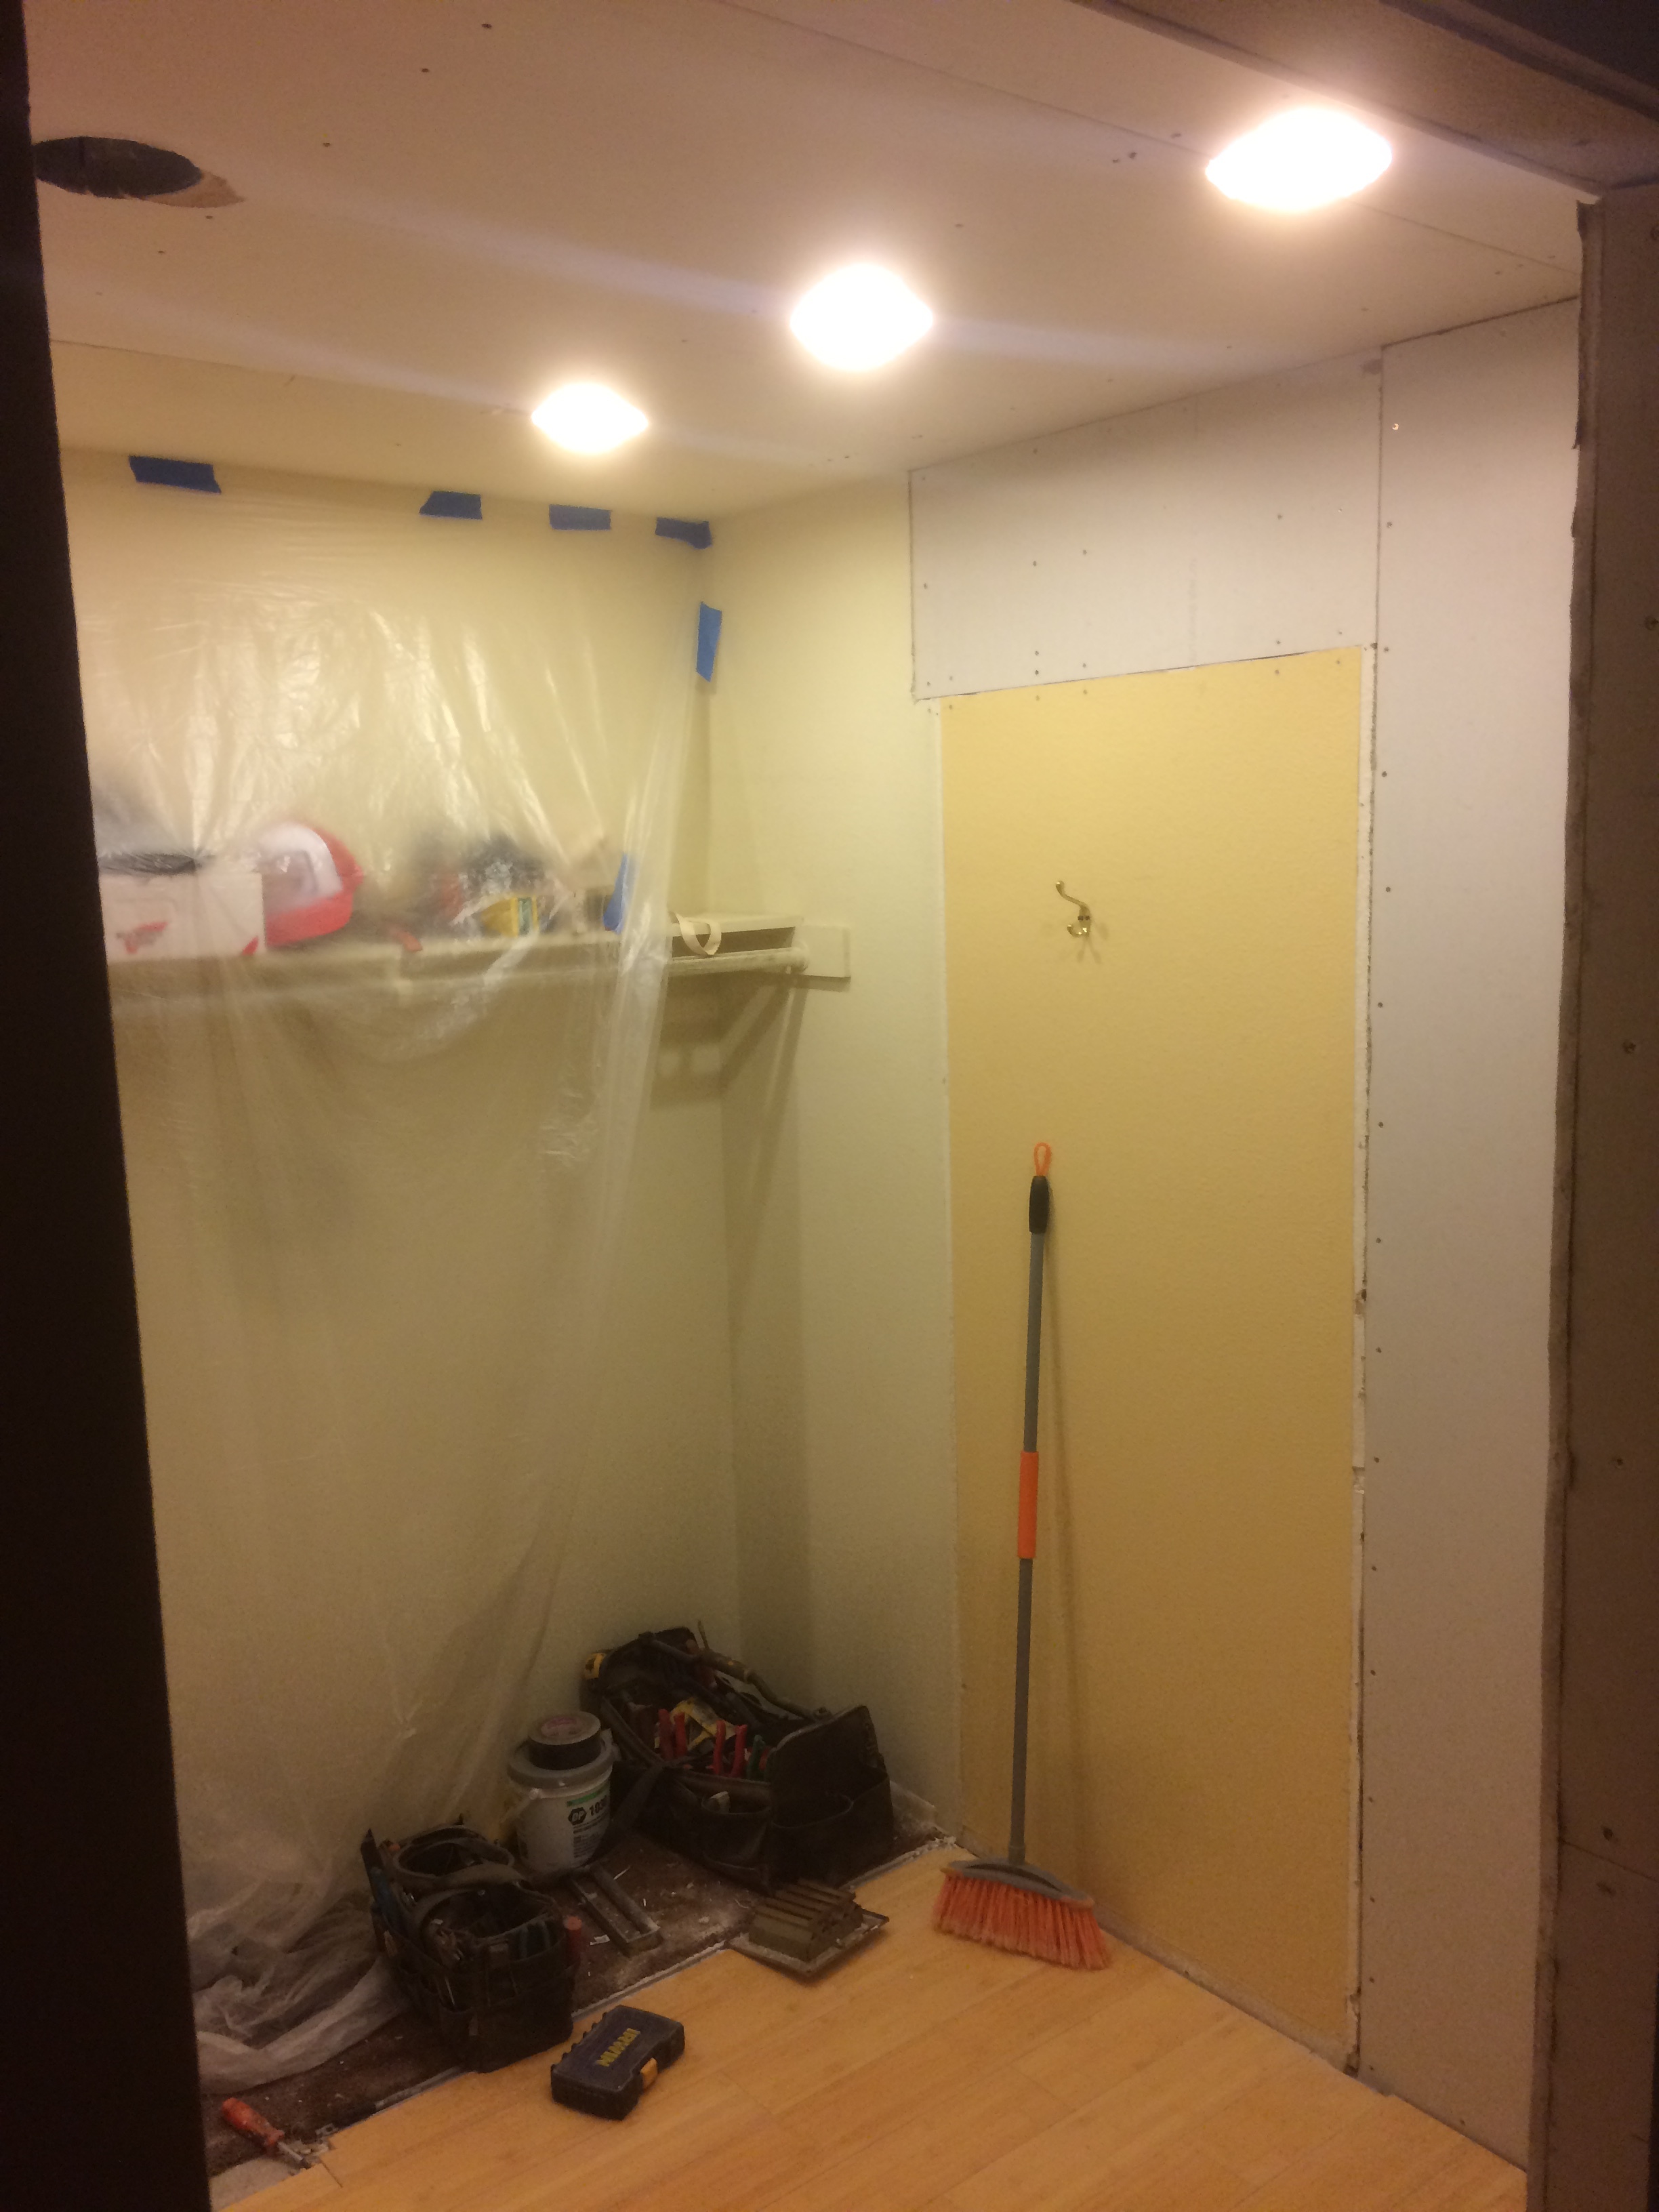
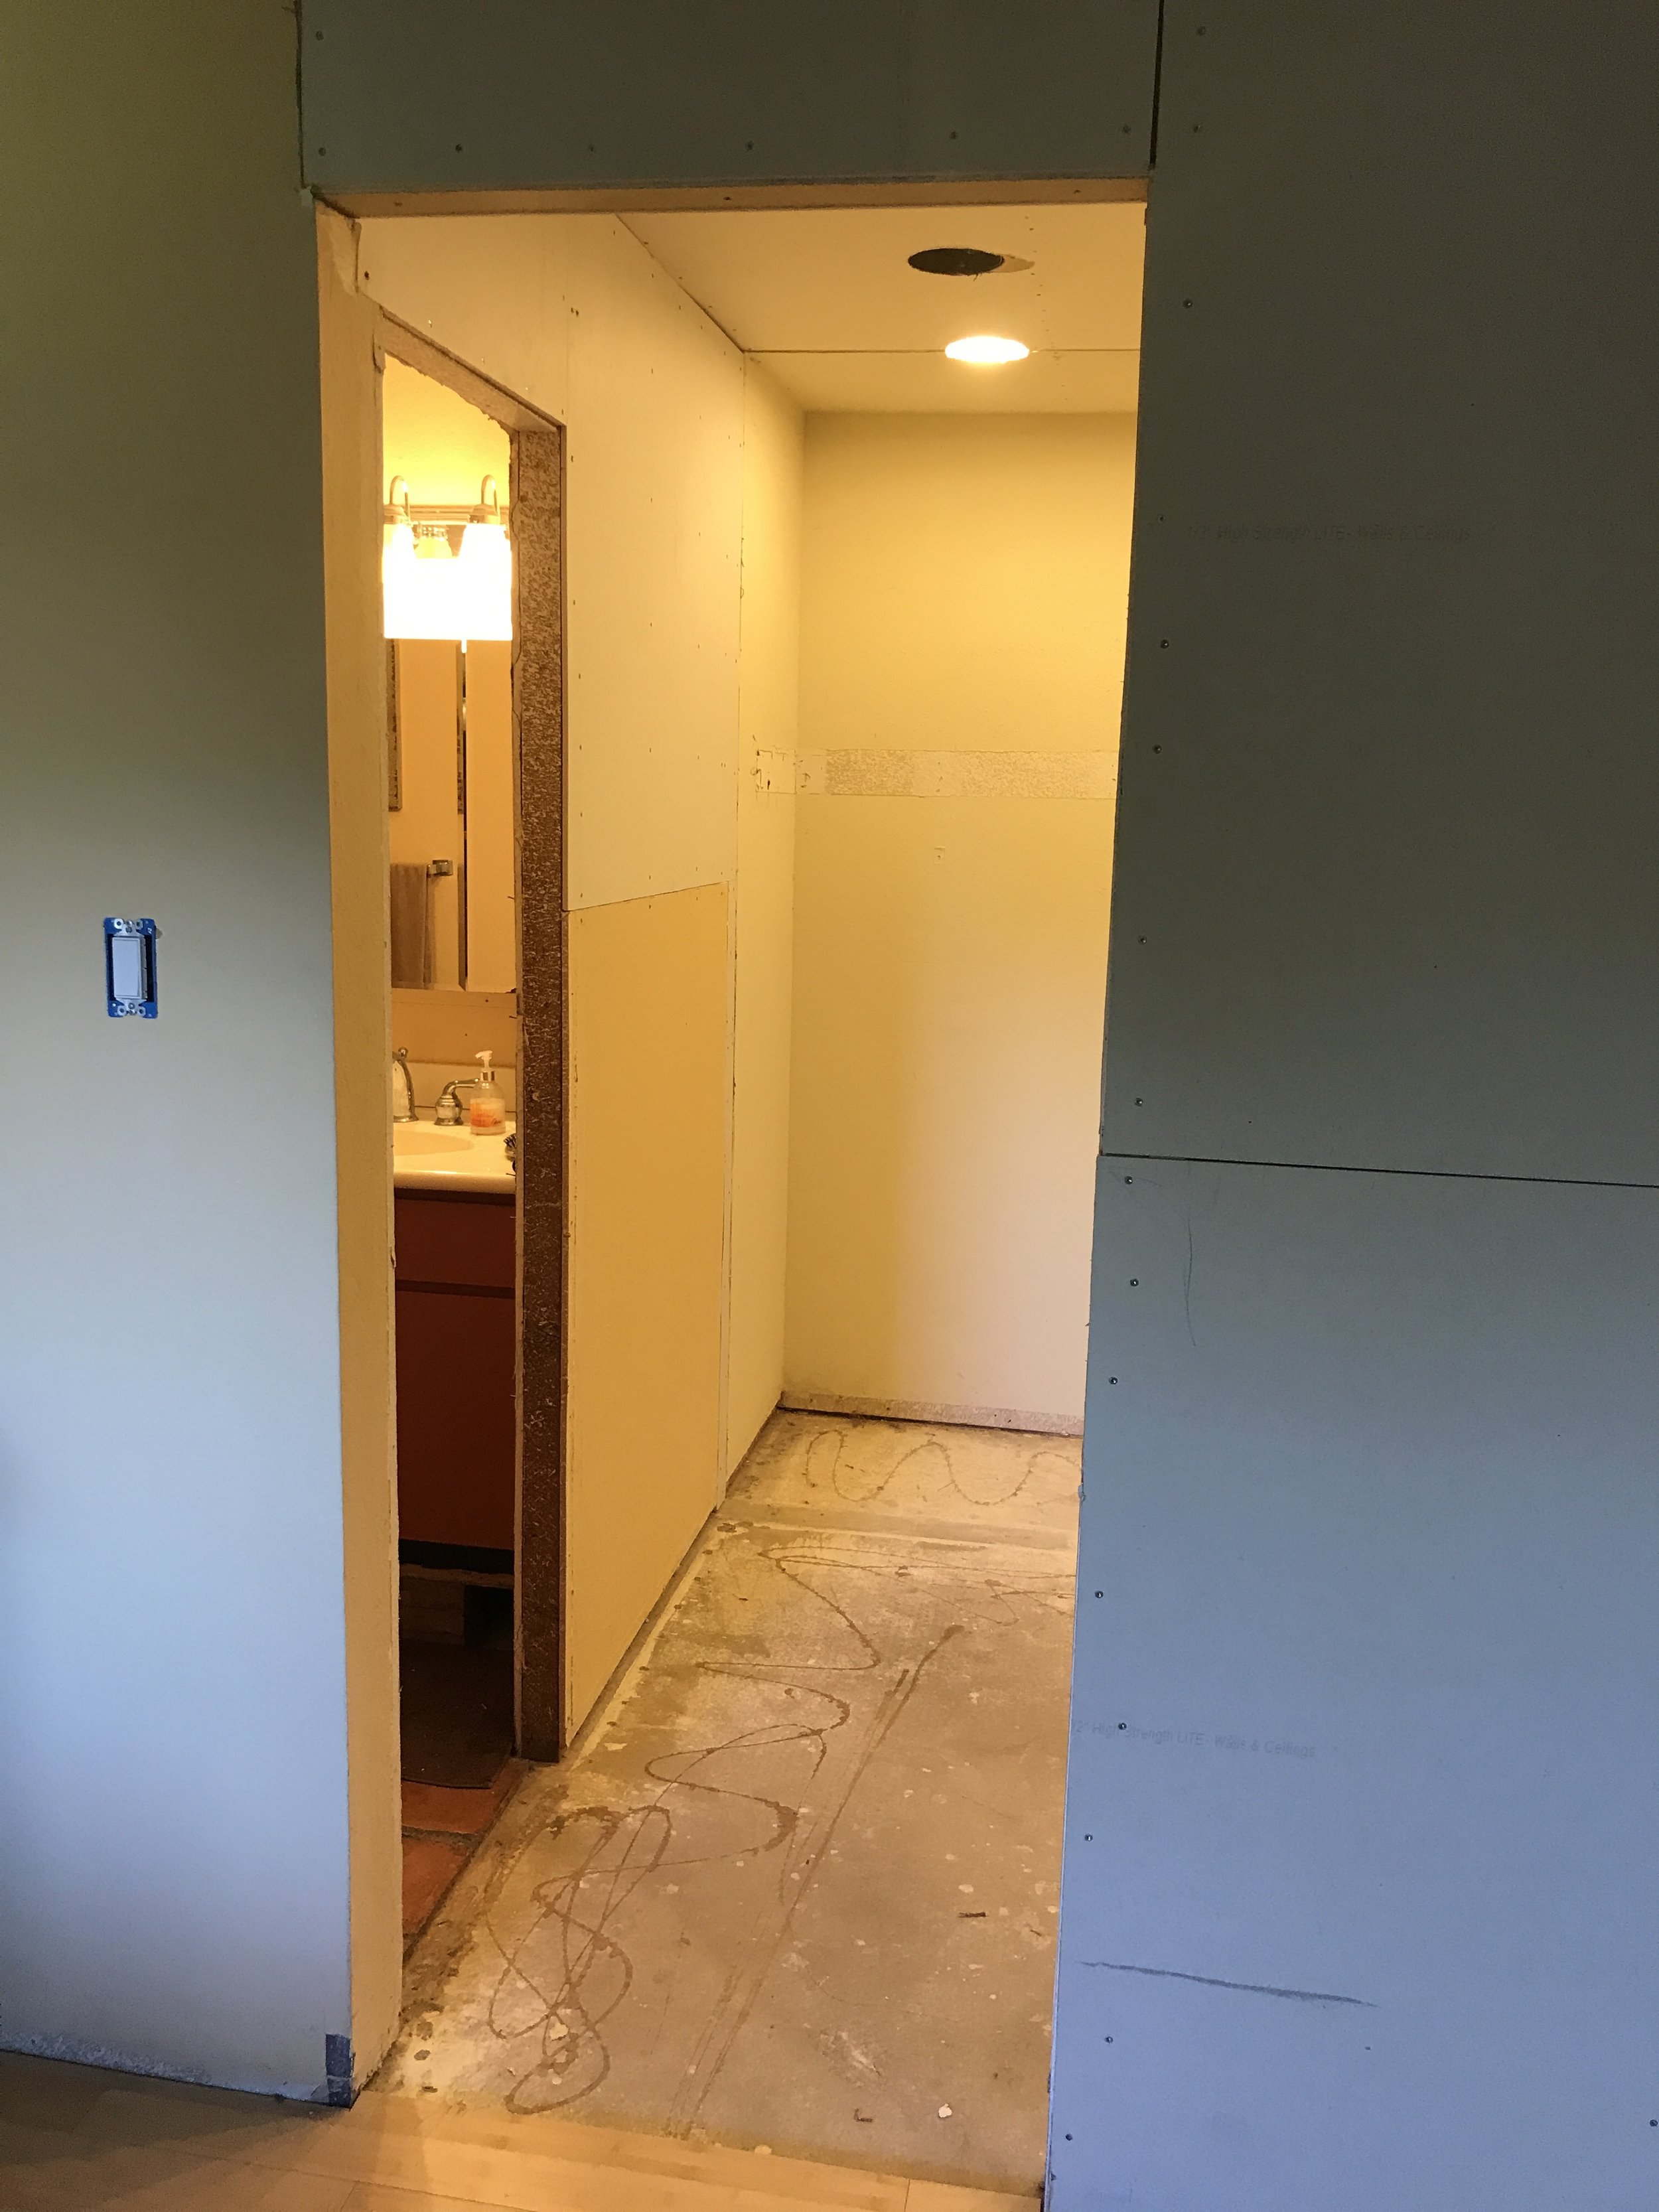

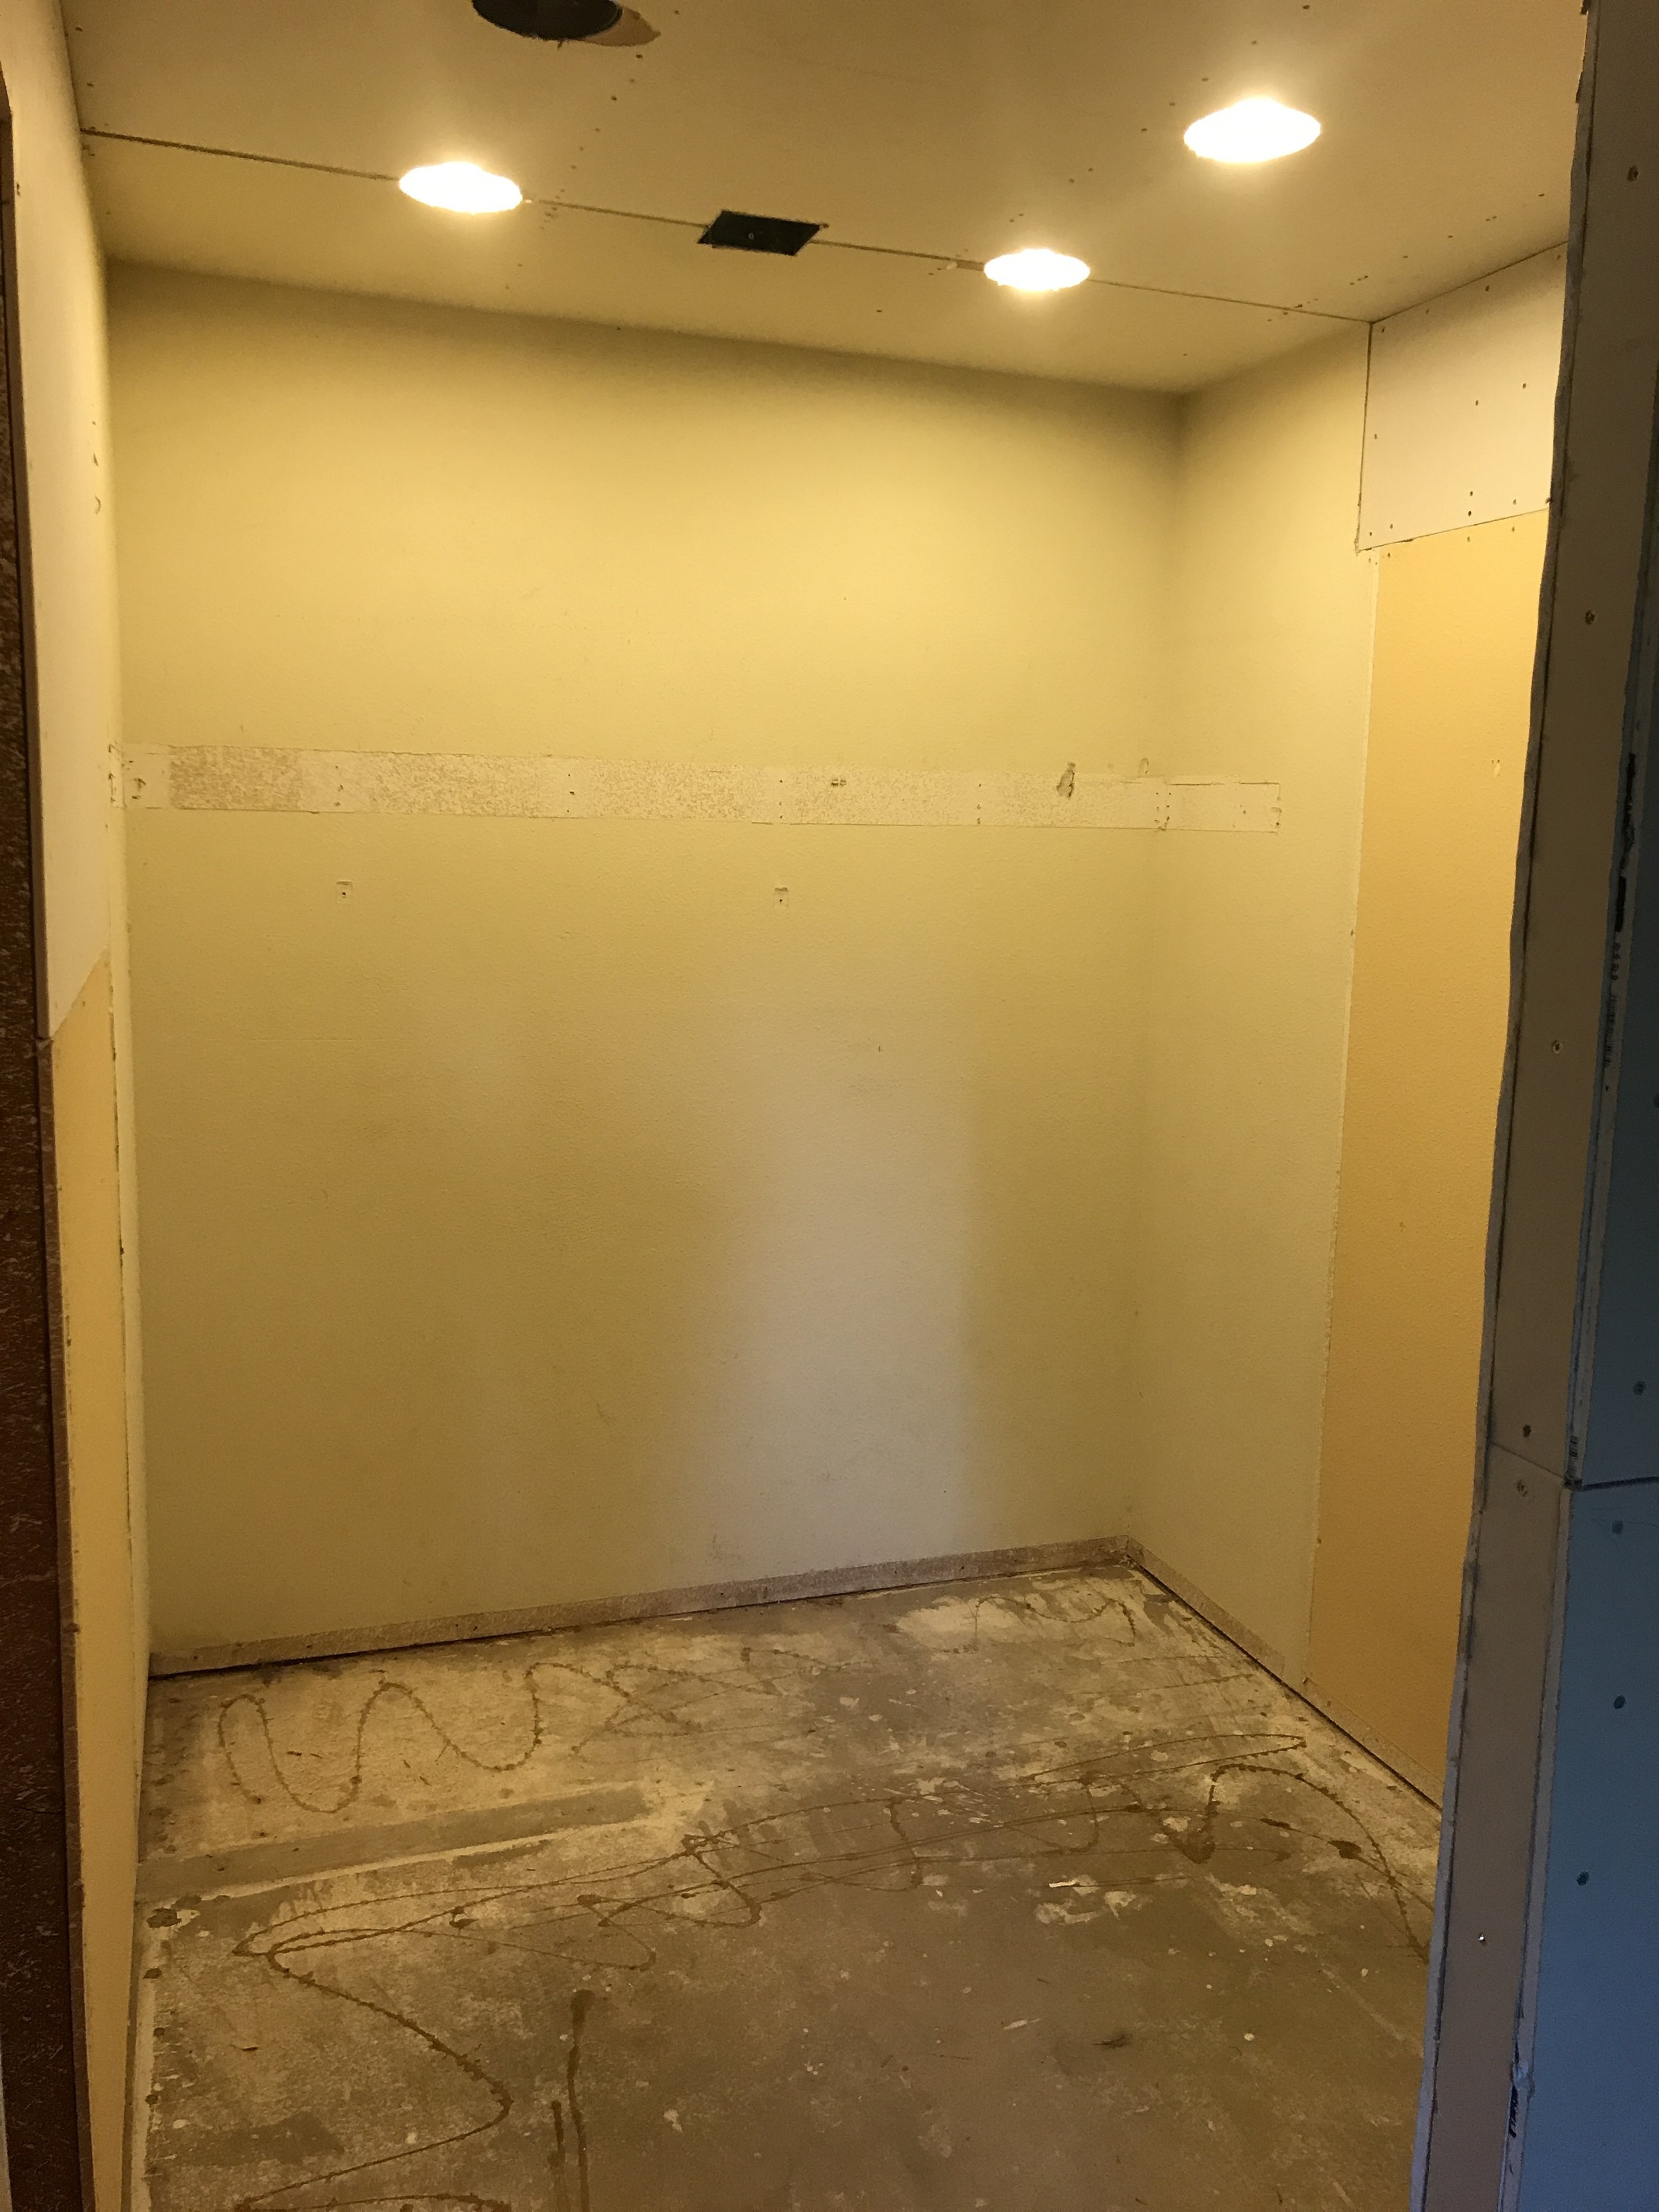
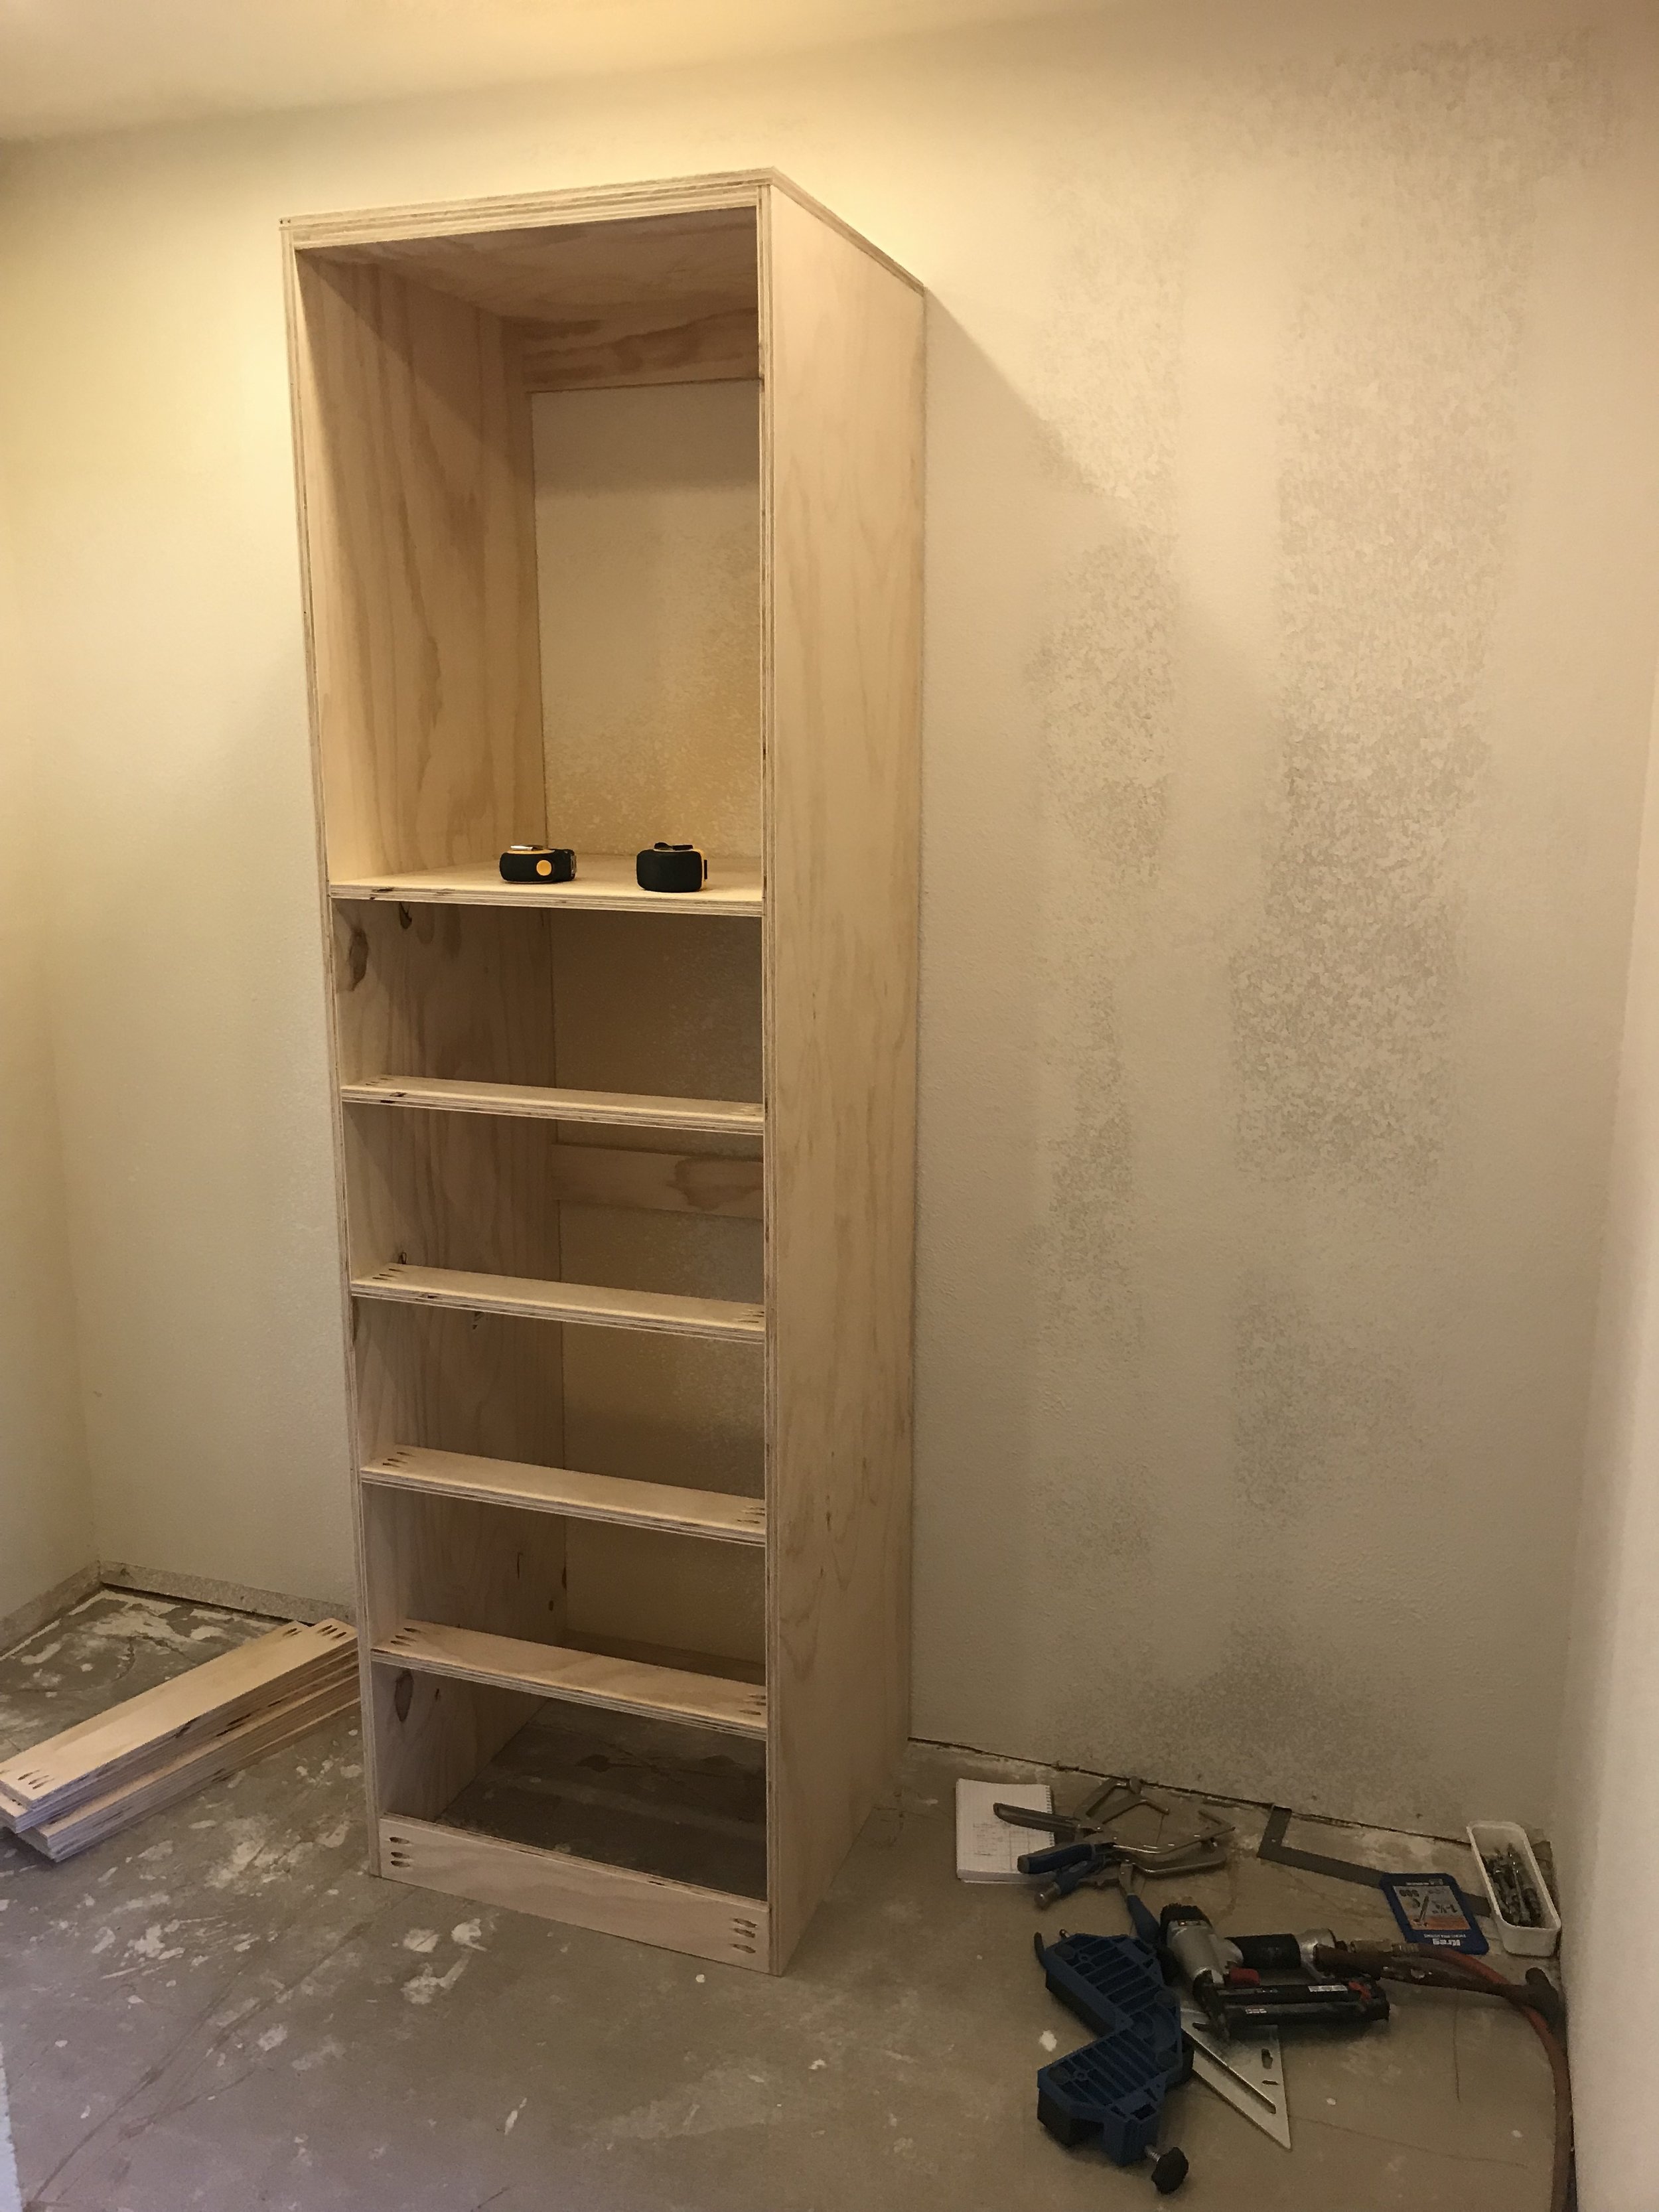
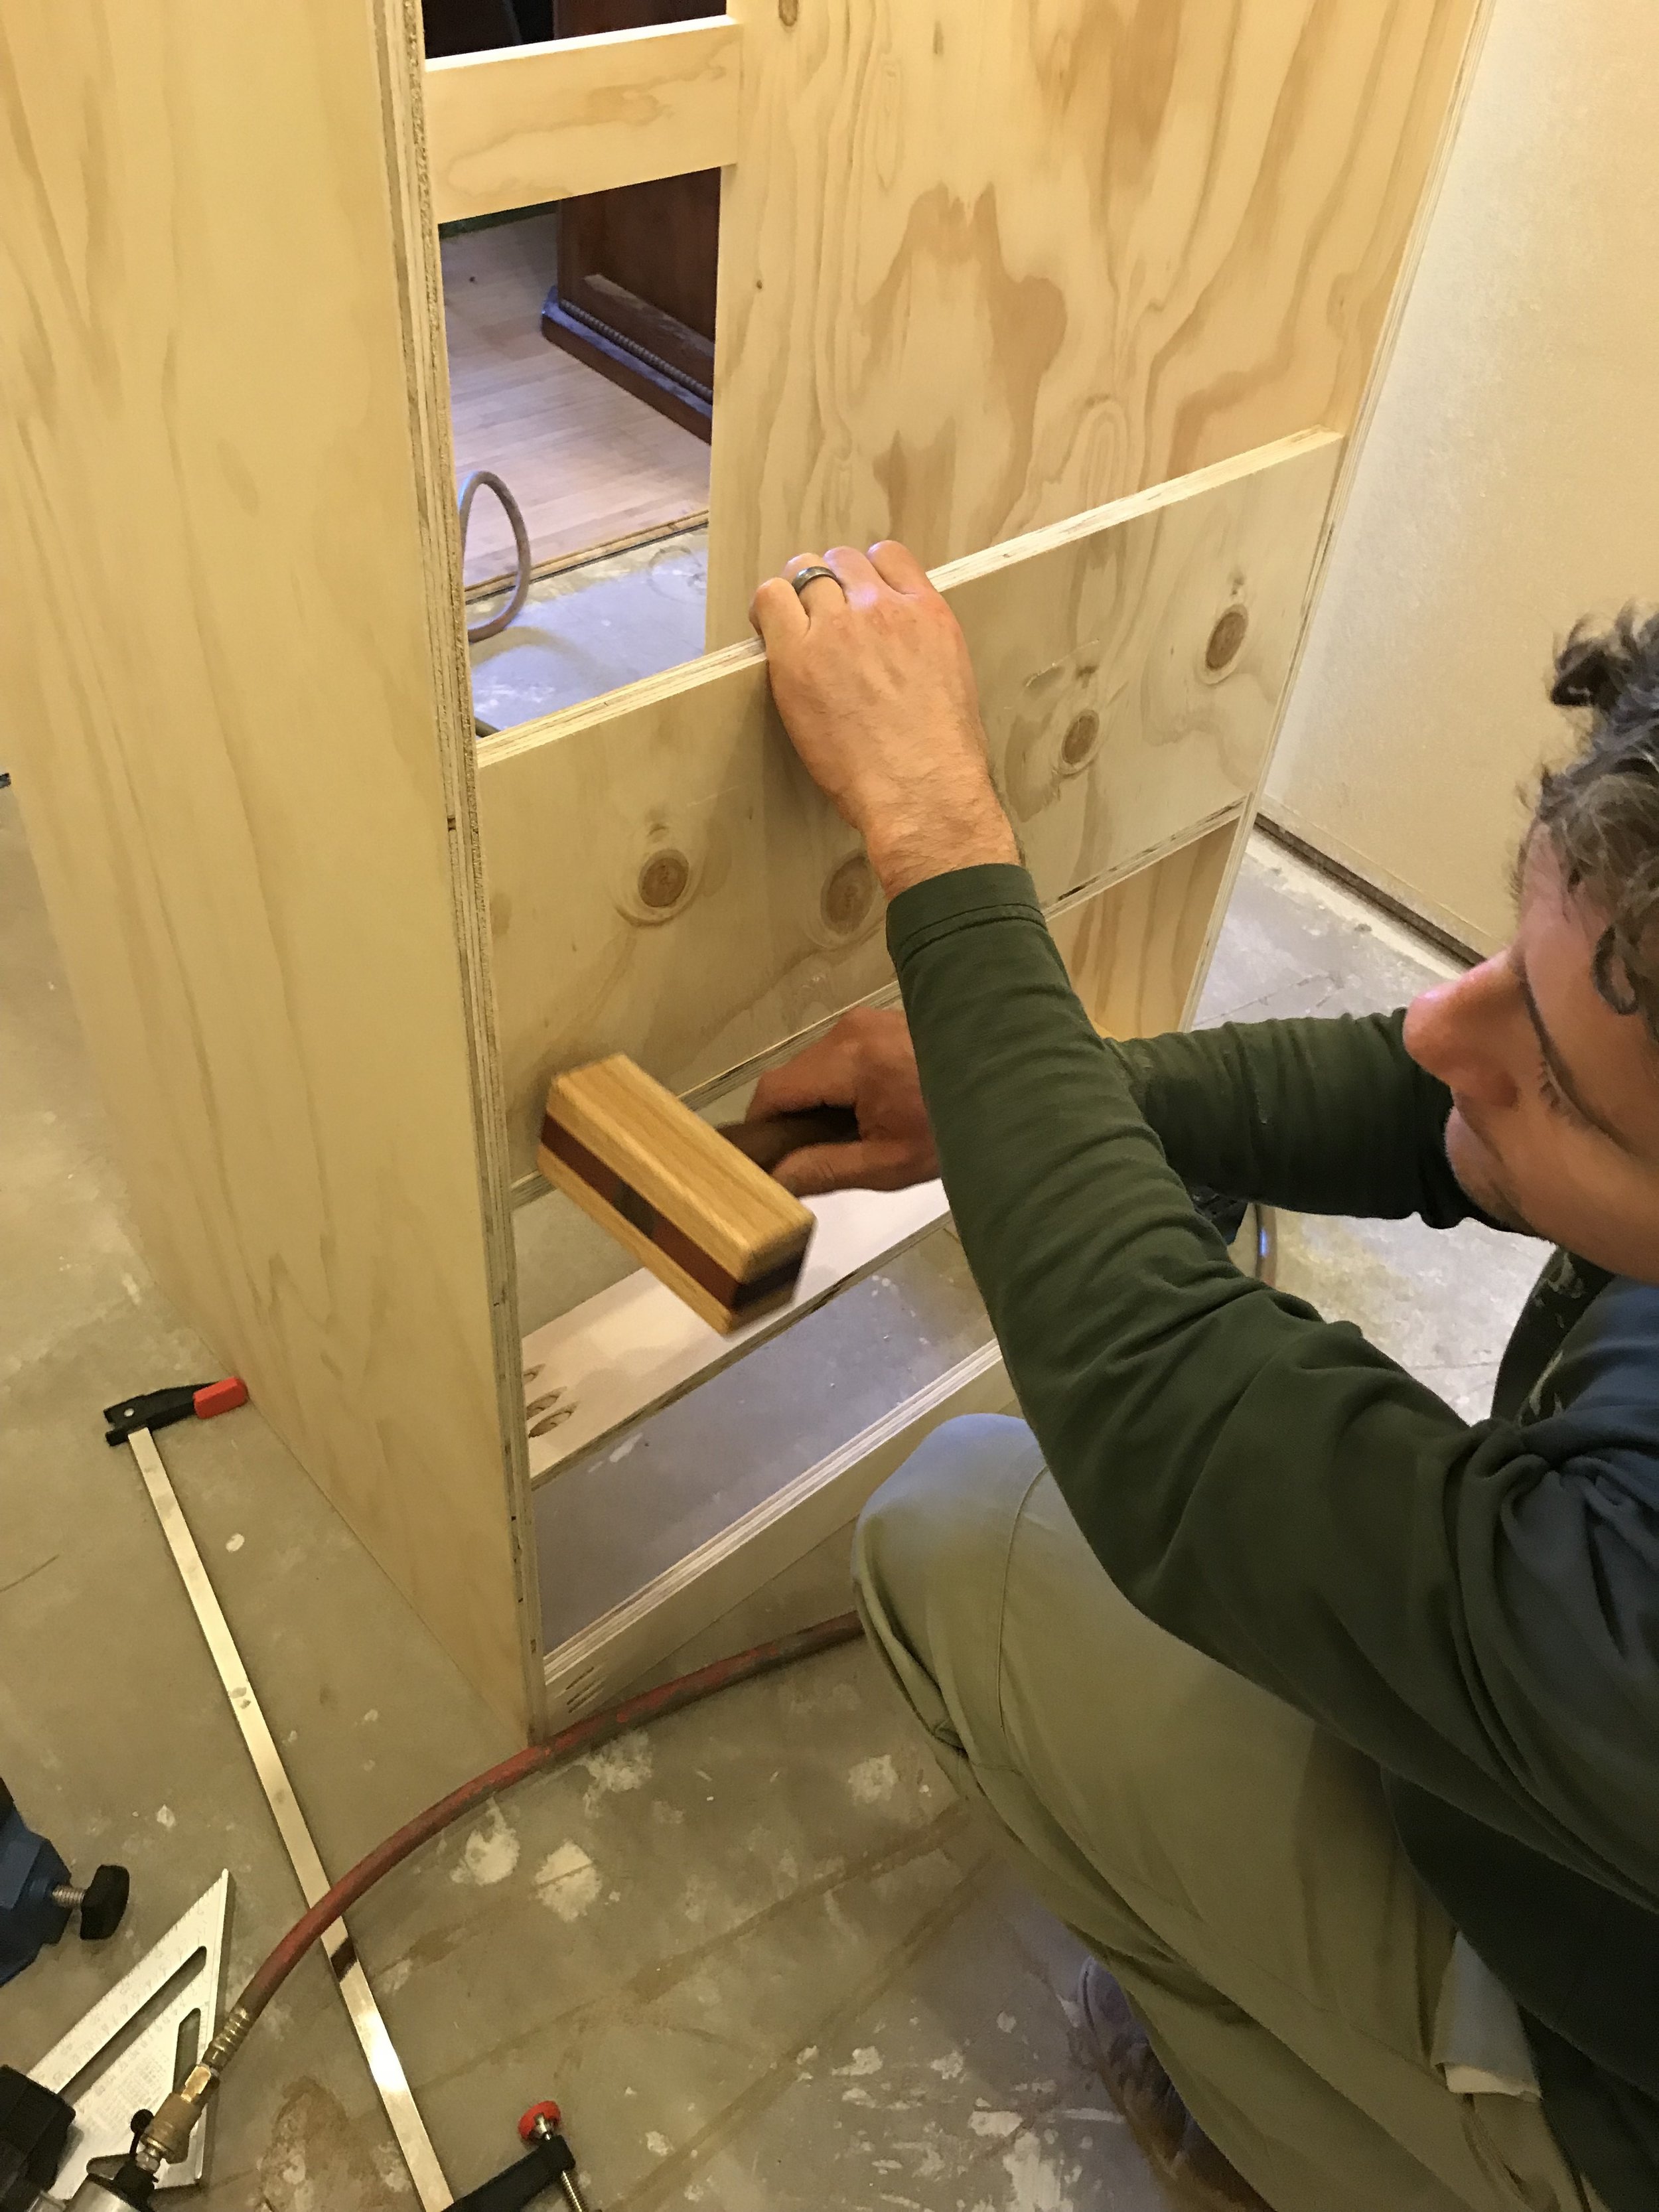
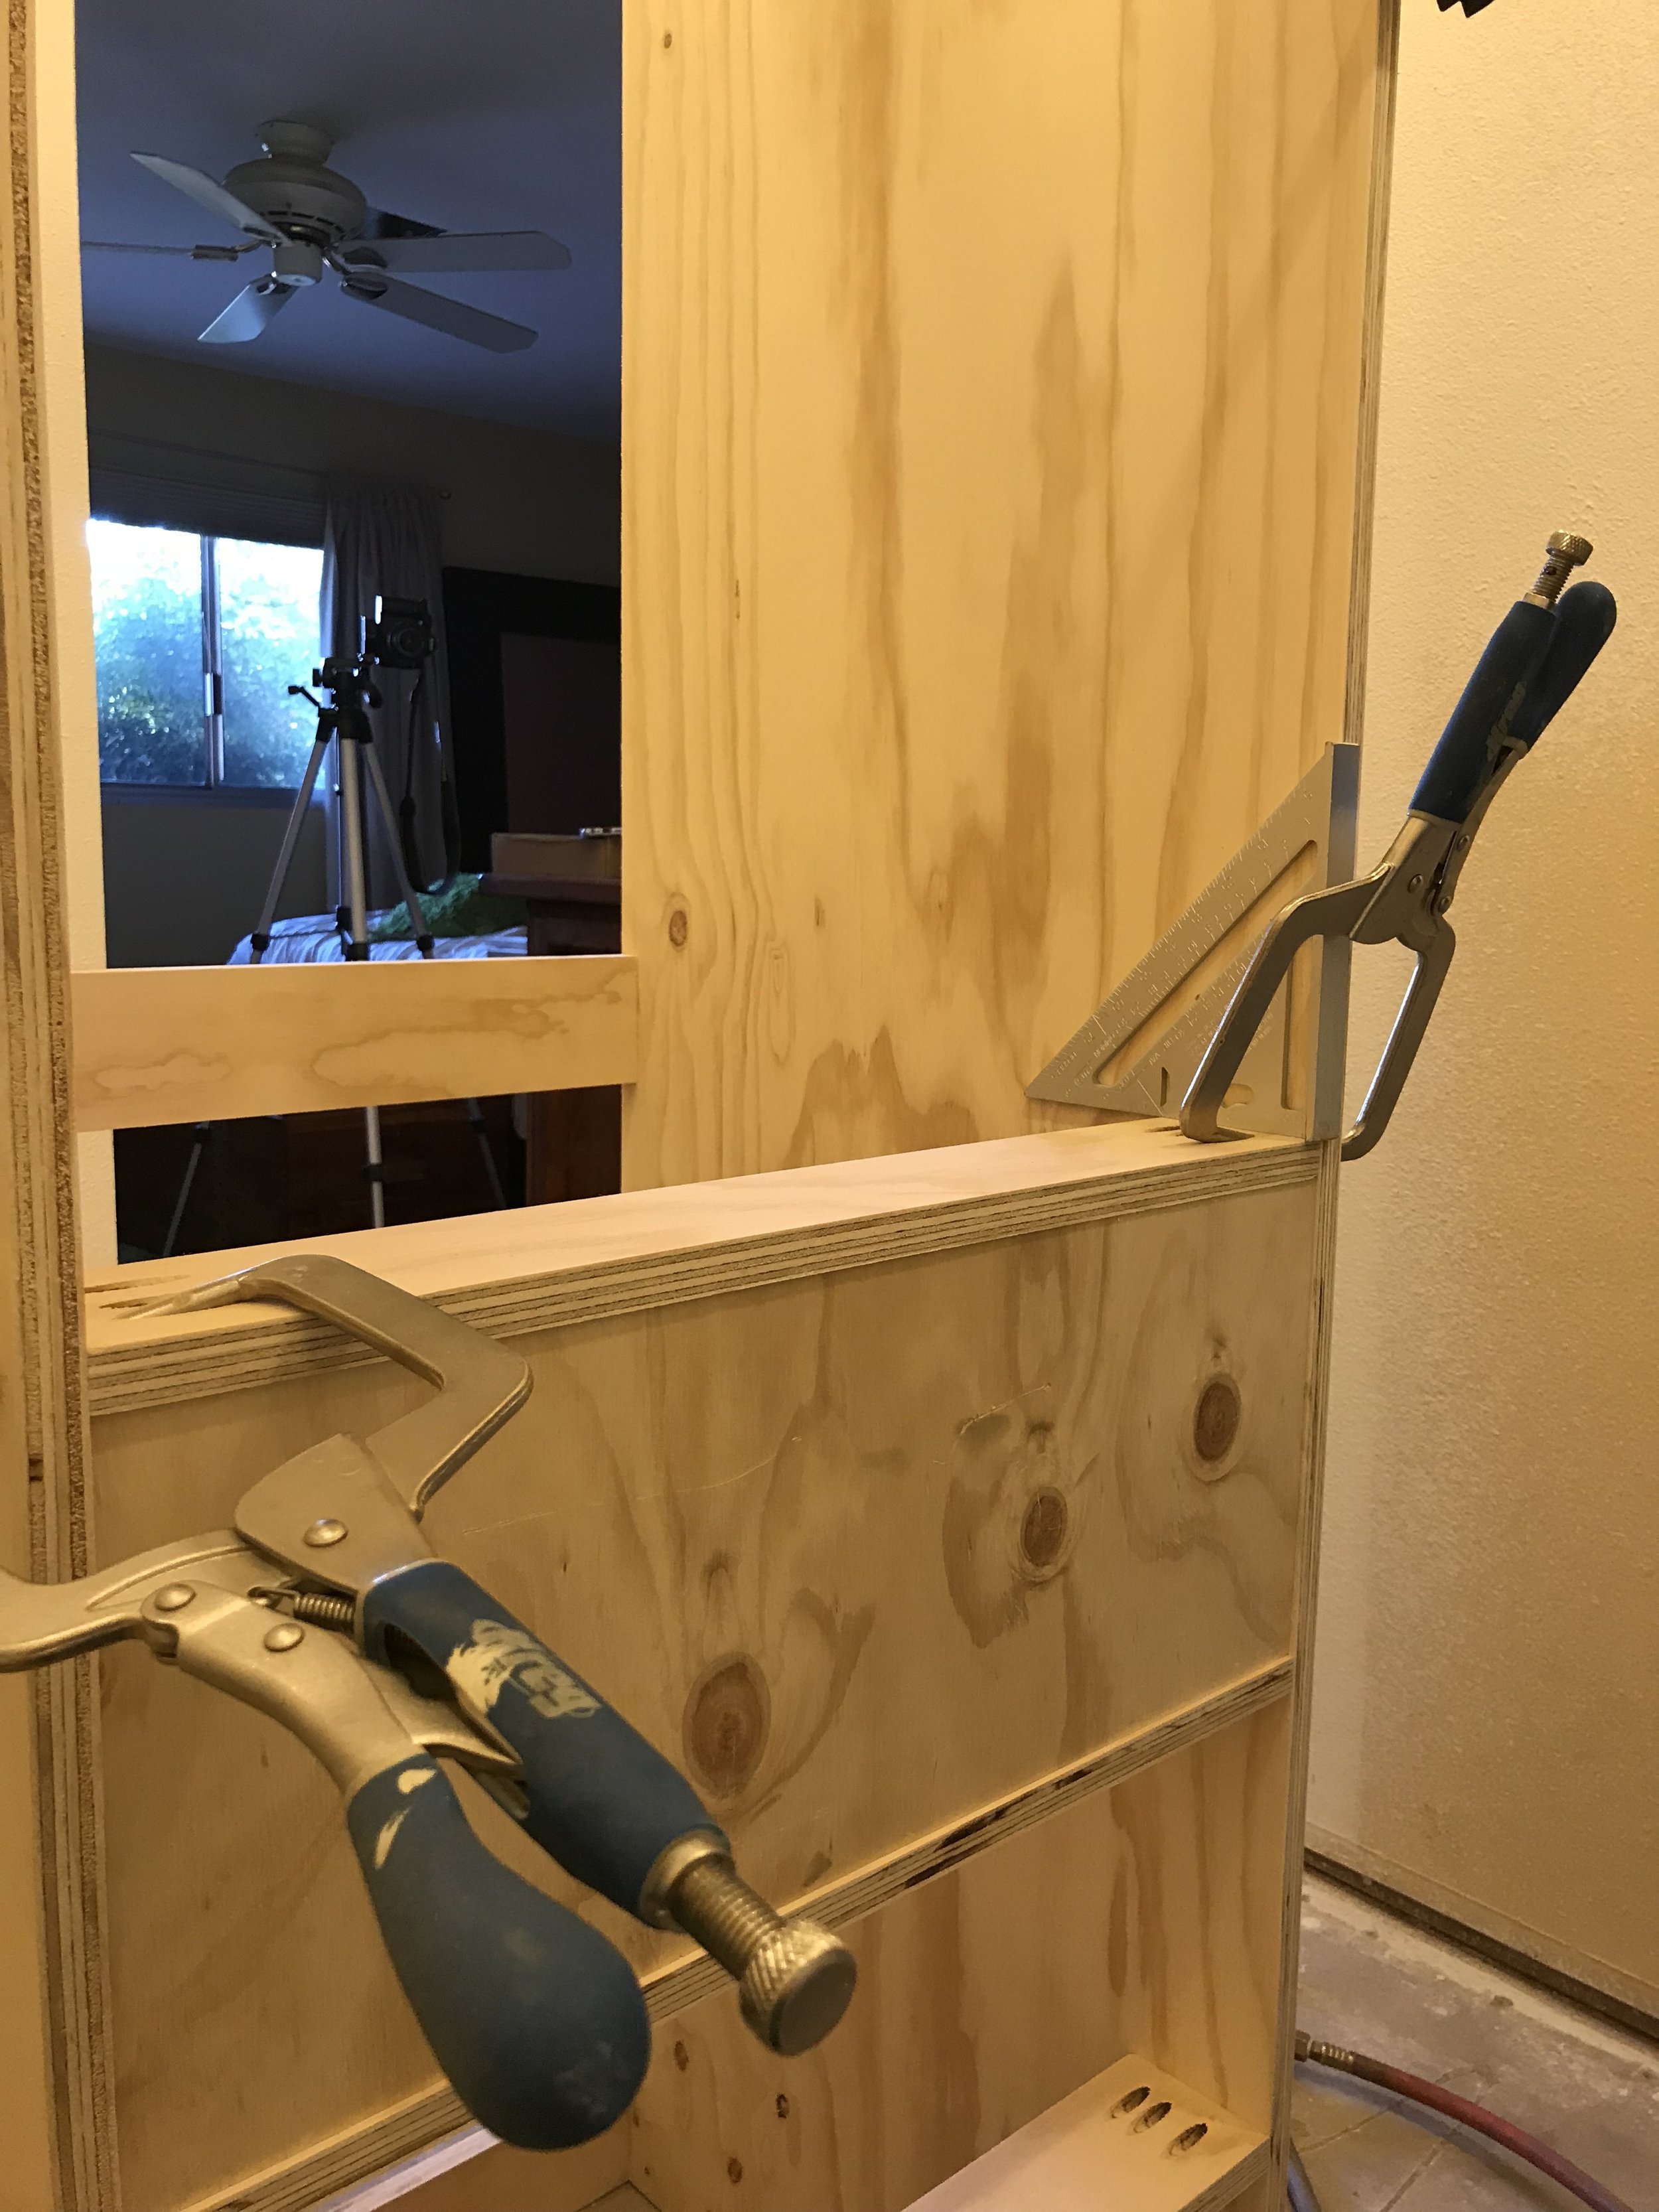

For a little history, we started this master closet renovation back in February of this year. (The first two pics above are from the real estate listing before we bought our house. They show where we put the new master closet!) We did this renovation project as an anniversary present to ourselves. We got a really good start on it, but never got it finished. We got the new walls built, drywall, can lights put in, built-in dresser frame built and installed, and primer. We only had about 5 days and that just wasn't enough time to complete everything. So the hubby's clothes have been living in the spare bedroom for over 6 months! Well this month I finally had the energy to finish this project. Or start to finish this project. I started by adding trim to hide the plywood edges, finished filling nail holes, adding shelves, primed some more and then finally painted, so then it was time to make the drawer boxes! And I dread making drawer boxes because everything has to be just perfect so that your drawers slide properly once installed. But the method I used to build these does make that a lot easier!
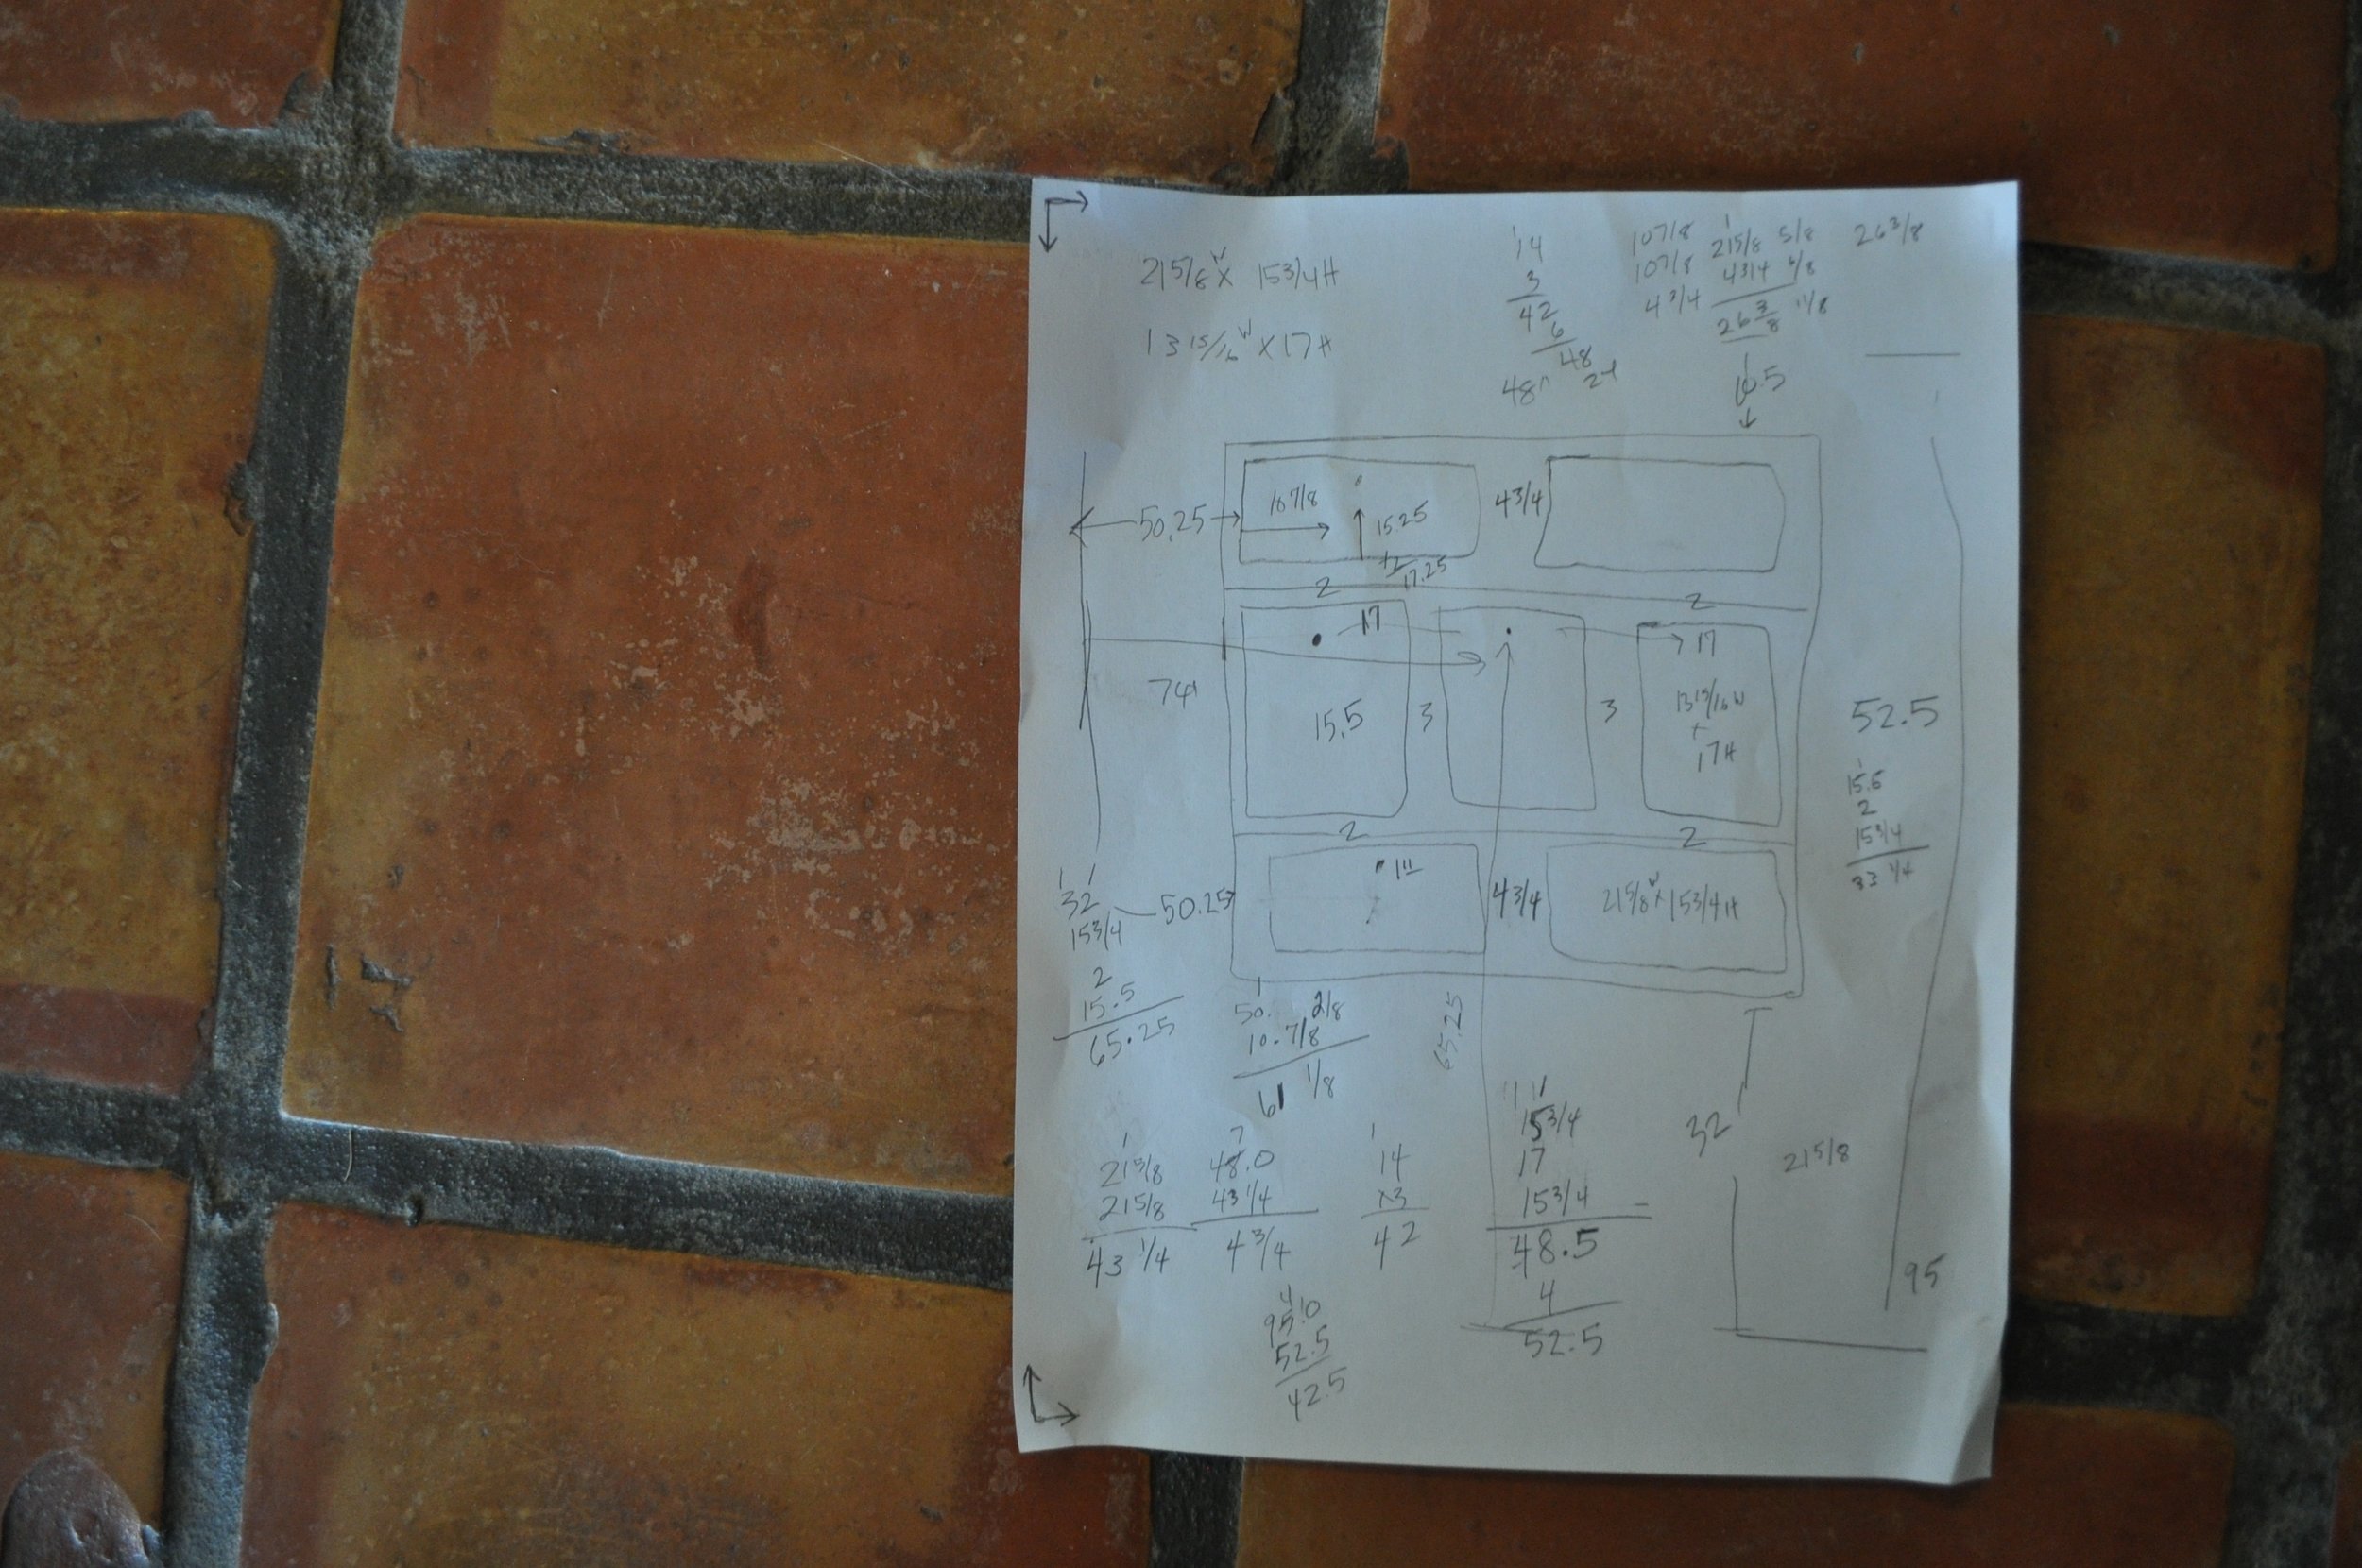
So this is how I did it. First you have to measure the size of the opening. In my case it is roughly 9 1/4" H x 22 1/2" W. I like to leave a 1/4" clearance on the bottom of the drawer and about an 1" on the top. The false front will cover the rest of the opening once I get to that point. So that gives me a height of 8" for the drawers. On to the width.... every manufacture of slides is going to have recommendation on how much room to leave for the slides based on their width and any wiggle room. In my case I am using some Accuride slides 3832EC. They sent these out to me free to try out and get my opinion on. Since I had never used them before I went to their website and printed off their installation tips sheet. And it calls for 1 1/16" for the slides or side space. So since my opening was 22 1/2" (minus 1 1/16"), my drawer boxes needed to be 21 7/16"W. And the last dimension you need is the depth. My cabinet is approximately 22" deep, so I got the 20" slides to leave a little clearance in the back of the cabinet. So the depth of my drawer is the same as the slides 20".
Overall drawer dimensions: 21 7/16"W x 20"D x 8 1/4"H

So first thing to do was to check all my scraps and see what I could use for this project. I roughly had enough for half of the drawer box sides, which was AWESOME! But off to Home Depot I went to get the rest of the supplies. At Home Depot I had them rip my 3/4" plywood down into 9" strips so that they would fit in my car. And I also picked up the bottom of the drawer material. I use 1/4" plywood/underlayment. I also had them rip these 4x8 sheets in half so they would fit in my car. When I got home I trimmed everything to final dimensions.

Now that I had all my materials first thing I did was rip all the side pieces down to 8". I wanted to do this all at home so that I could ensure that my scrap plywood and the wood I got from Home Depot would be the exact same size. If you are using all new wood you could have Home Depot rip them all for you and save this step. Once that was done I need to cut all the drawers pieces to size. The sides of the box are easy, they are the same as the depth of the drawer or the slides, so in my case 20". To figure out the front and back of the boxes you have to do a little math! Not much, so you should be okay! We know we what our overall drawer box width to be 21 7/16 (based on the opening minus the slide manufactures recommendation for slide width), so we just have to subtract the width of the two side panels to get the width of the front and back pieces.

***NOTE 3/4" plywood is NOT always 3/4", so be sure to use the measurement of the exact piece you are using for the sides. In my case I got lucky and my front pieces ended up being exactly the same as my side pieces. Totally weird, right!?! Stuff like that never happens to me.

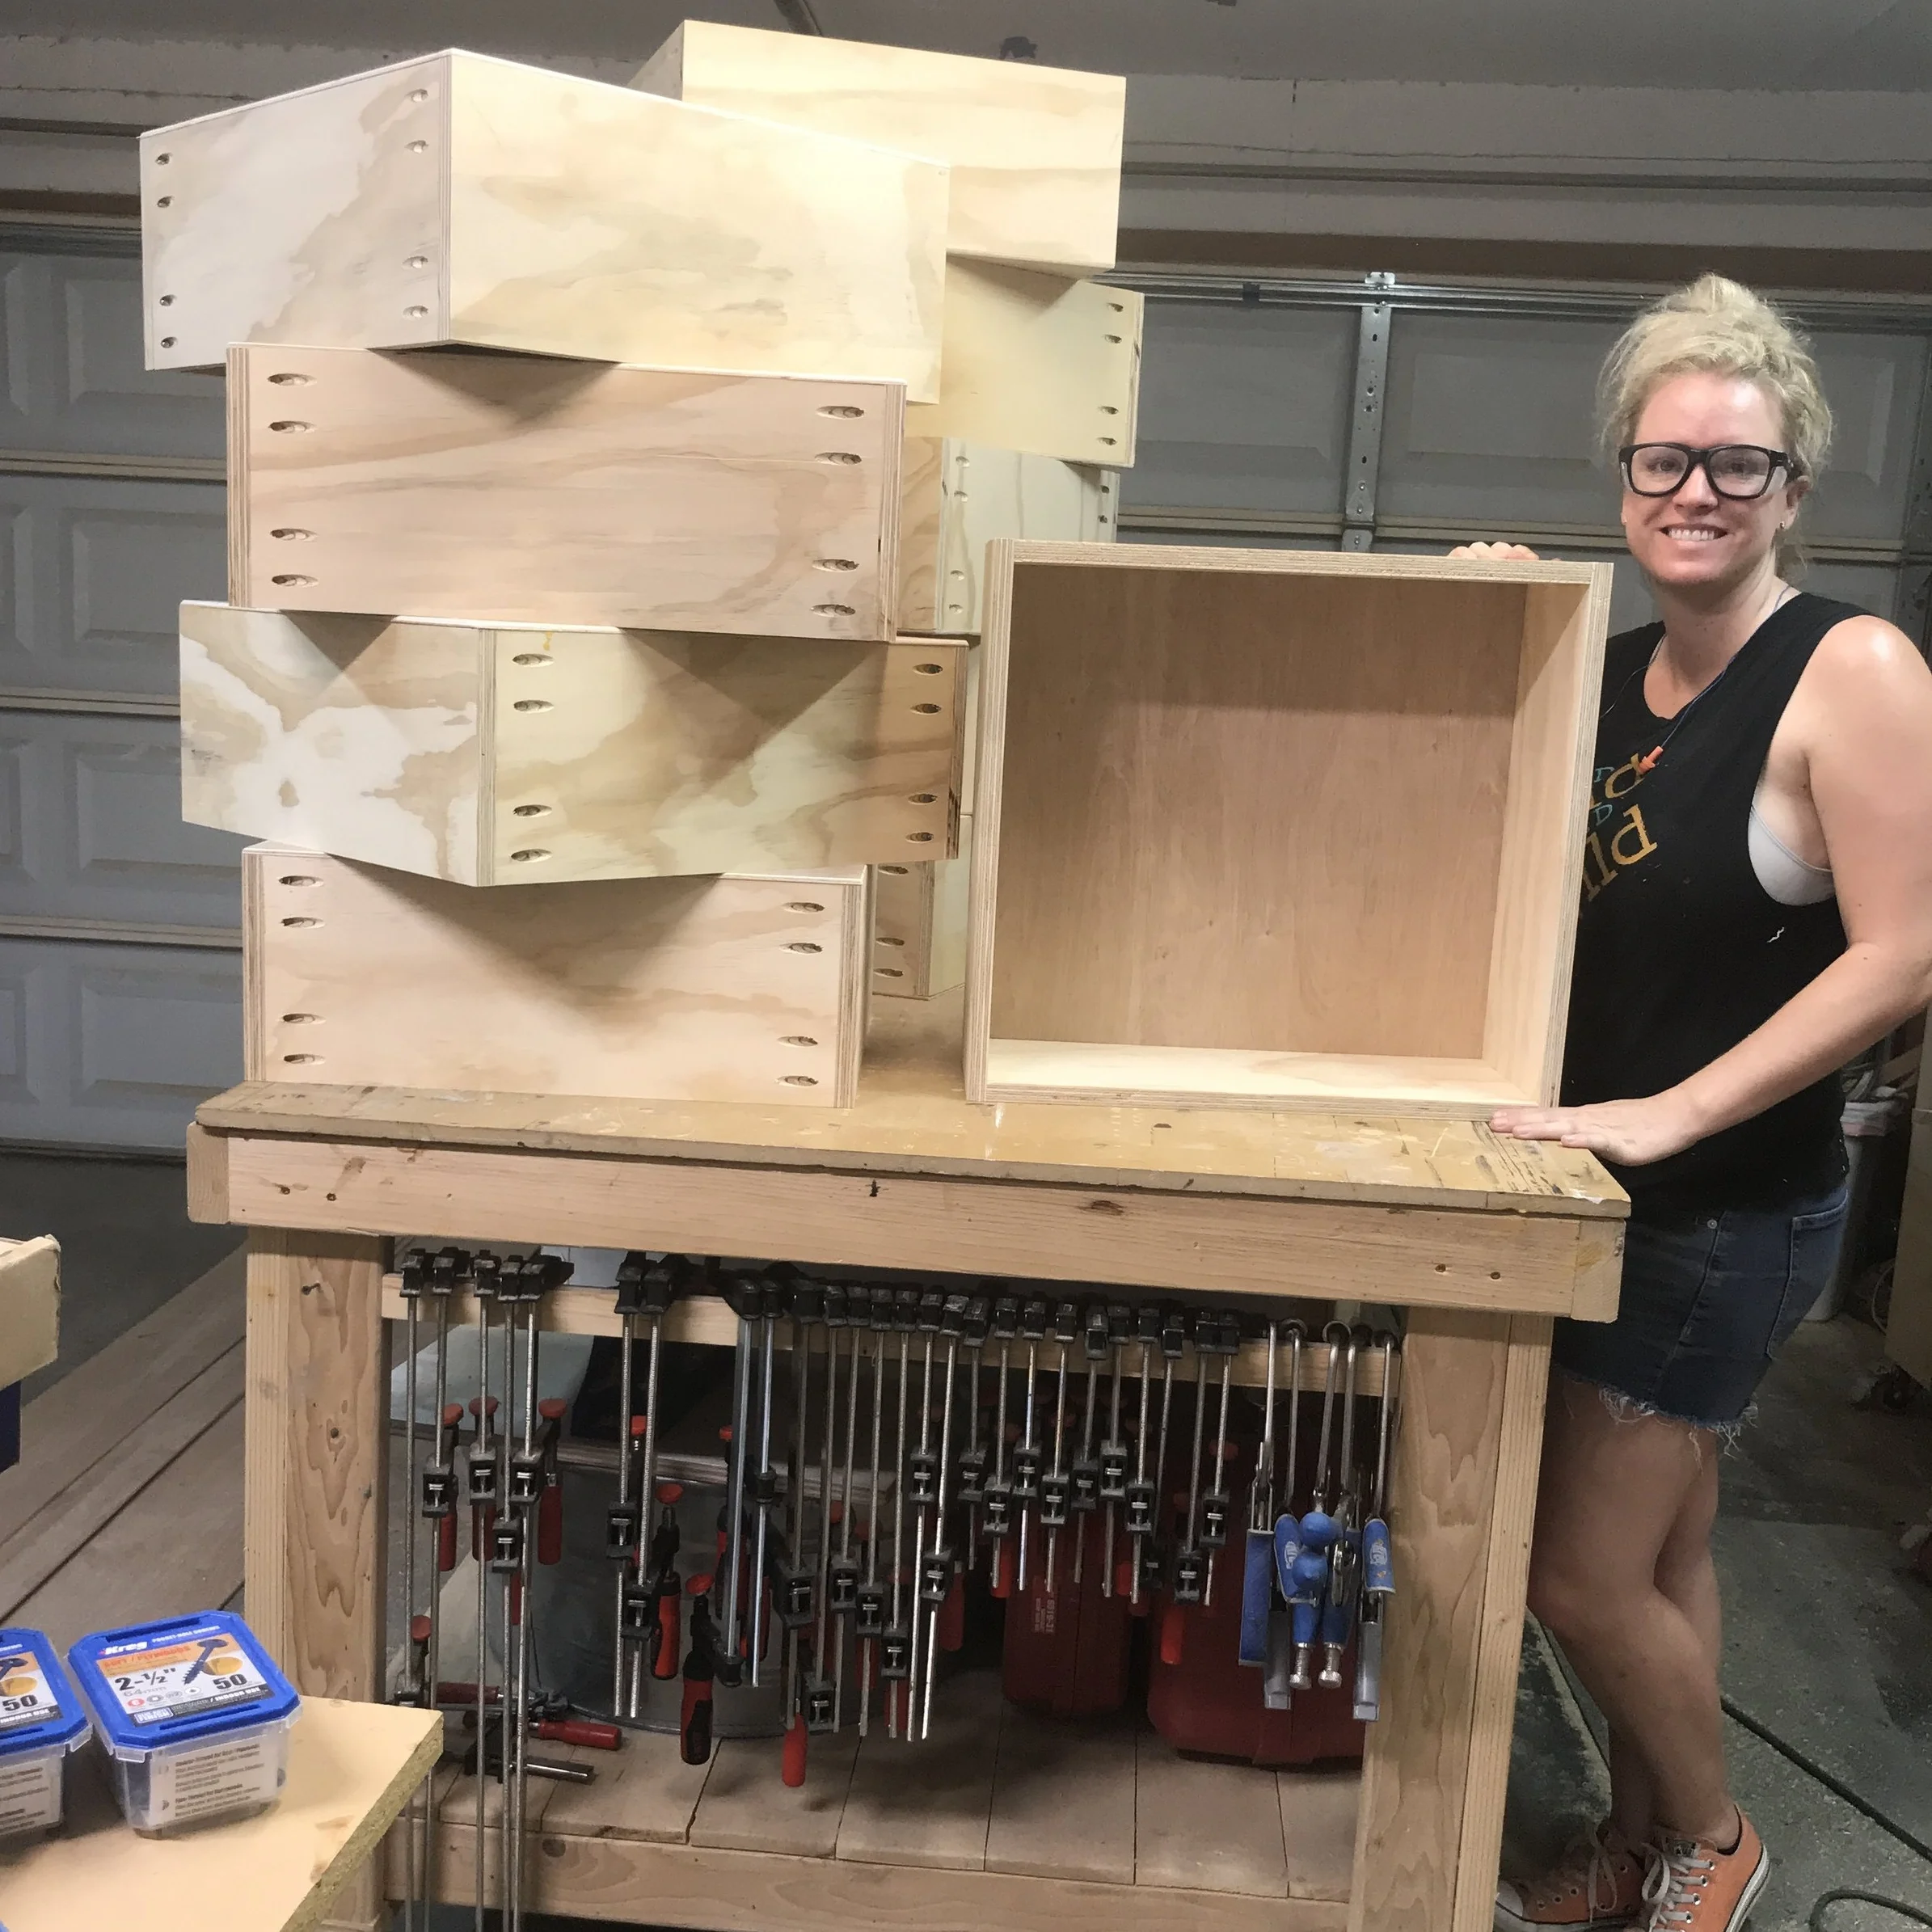
Test fitting to make sure I got all my measurements correct!
Once the were all cut, you take your front and back pieces ONLY and drill pocket holes. Remember to set the depth on your bit and your jig! I ended up drilling 4 for mine, but drill as many or as few as you feel necessary. I like four that way I can use two right-angle clamps when assembling and get a screw in the top and bottom before removing the clamps. Means less slipping. I had to drill only 160 pocket holes to complete mine!!! But it really did go fairly fast.
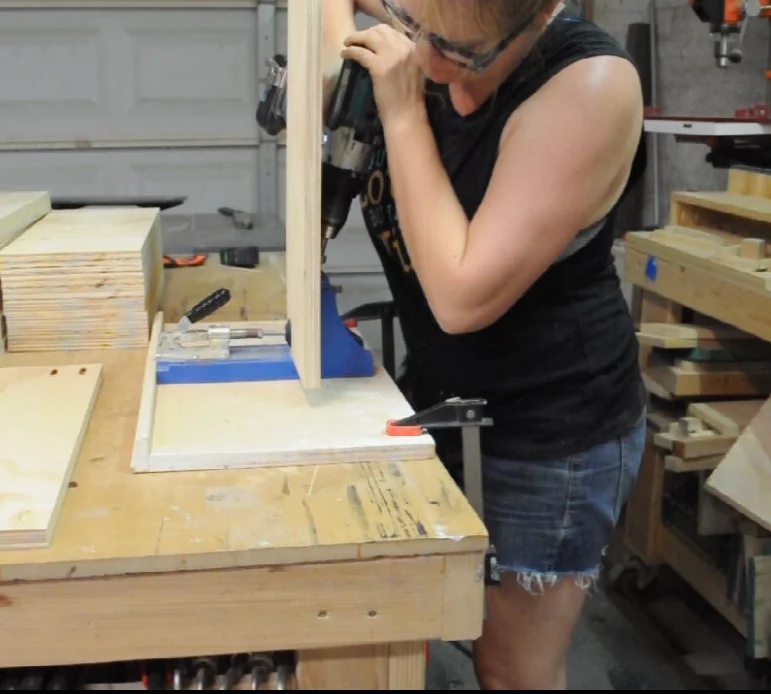
So now you have all your side piece cut and pocket holed you are ready for assembly. Again, I used to right-angled clamps to hold my pieces together while screwing in the pocket holes. But you can use all sorts of things to help with this step. I just found this the easiest and fastest way. Remember the side pieces go on the sides (NO Pocket Holes) and the front and back pieces with the PH's go inside the side pieces. Always check for square while assembling and get them as close to perfect as you can. If you drawer boxes aren't square you could have issues installing them down the road.

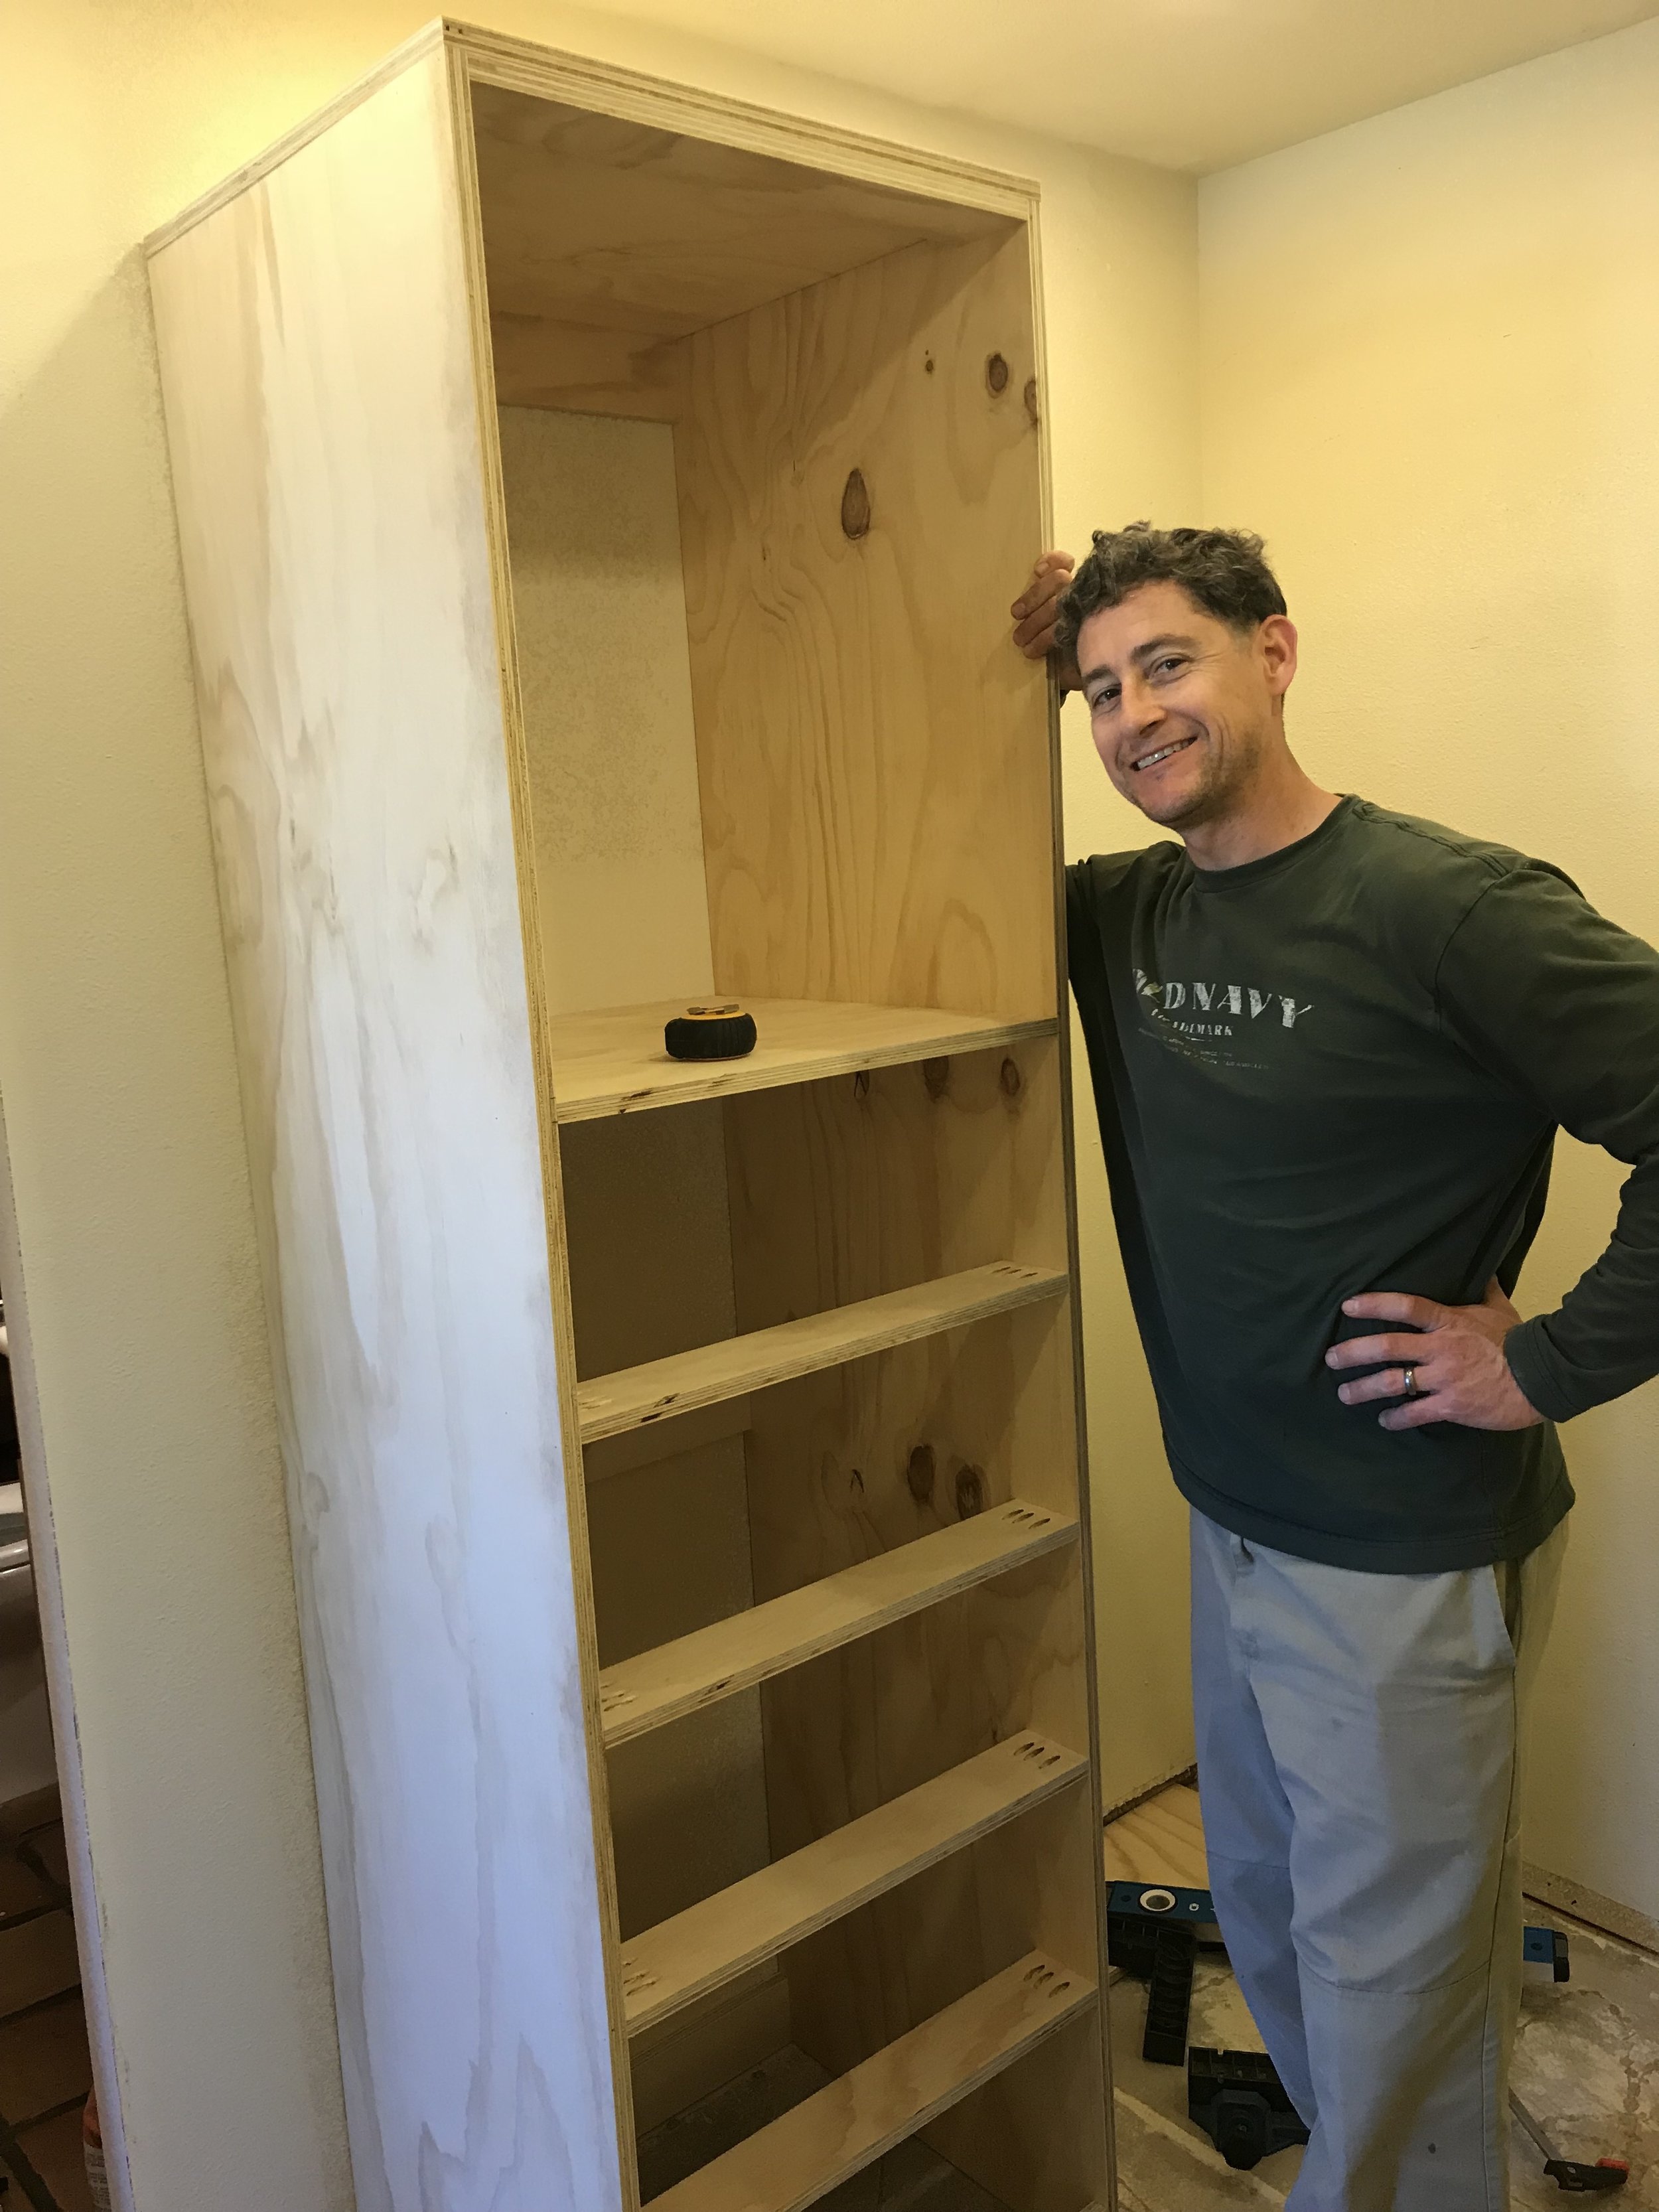
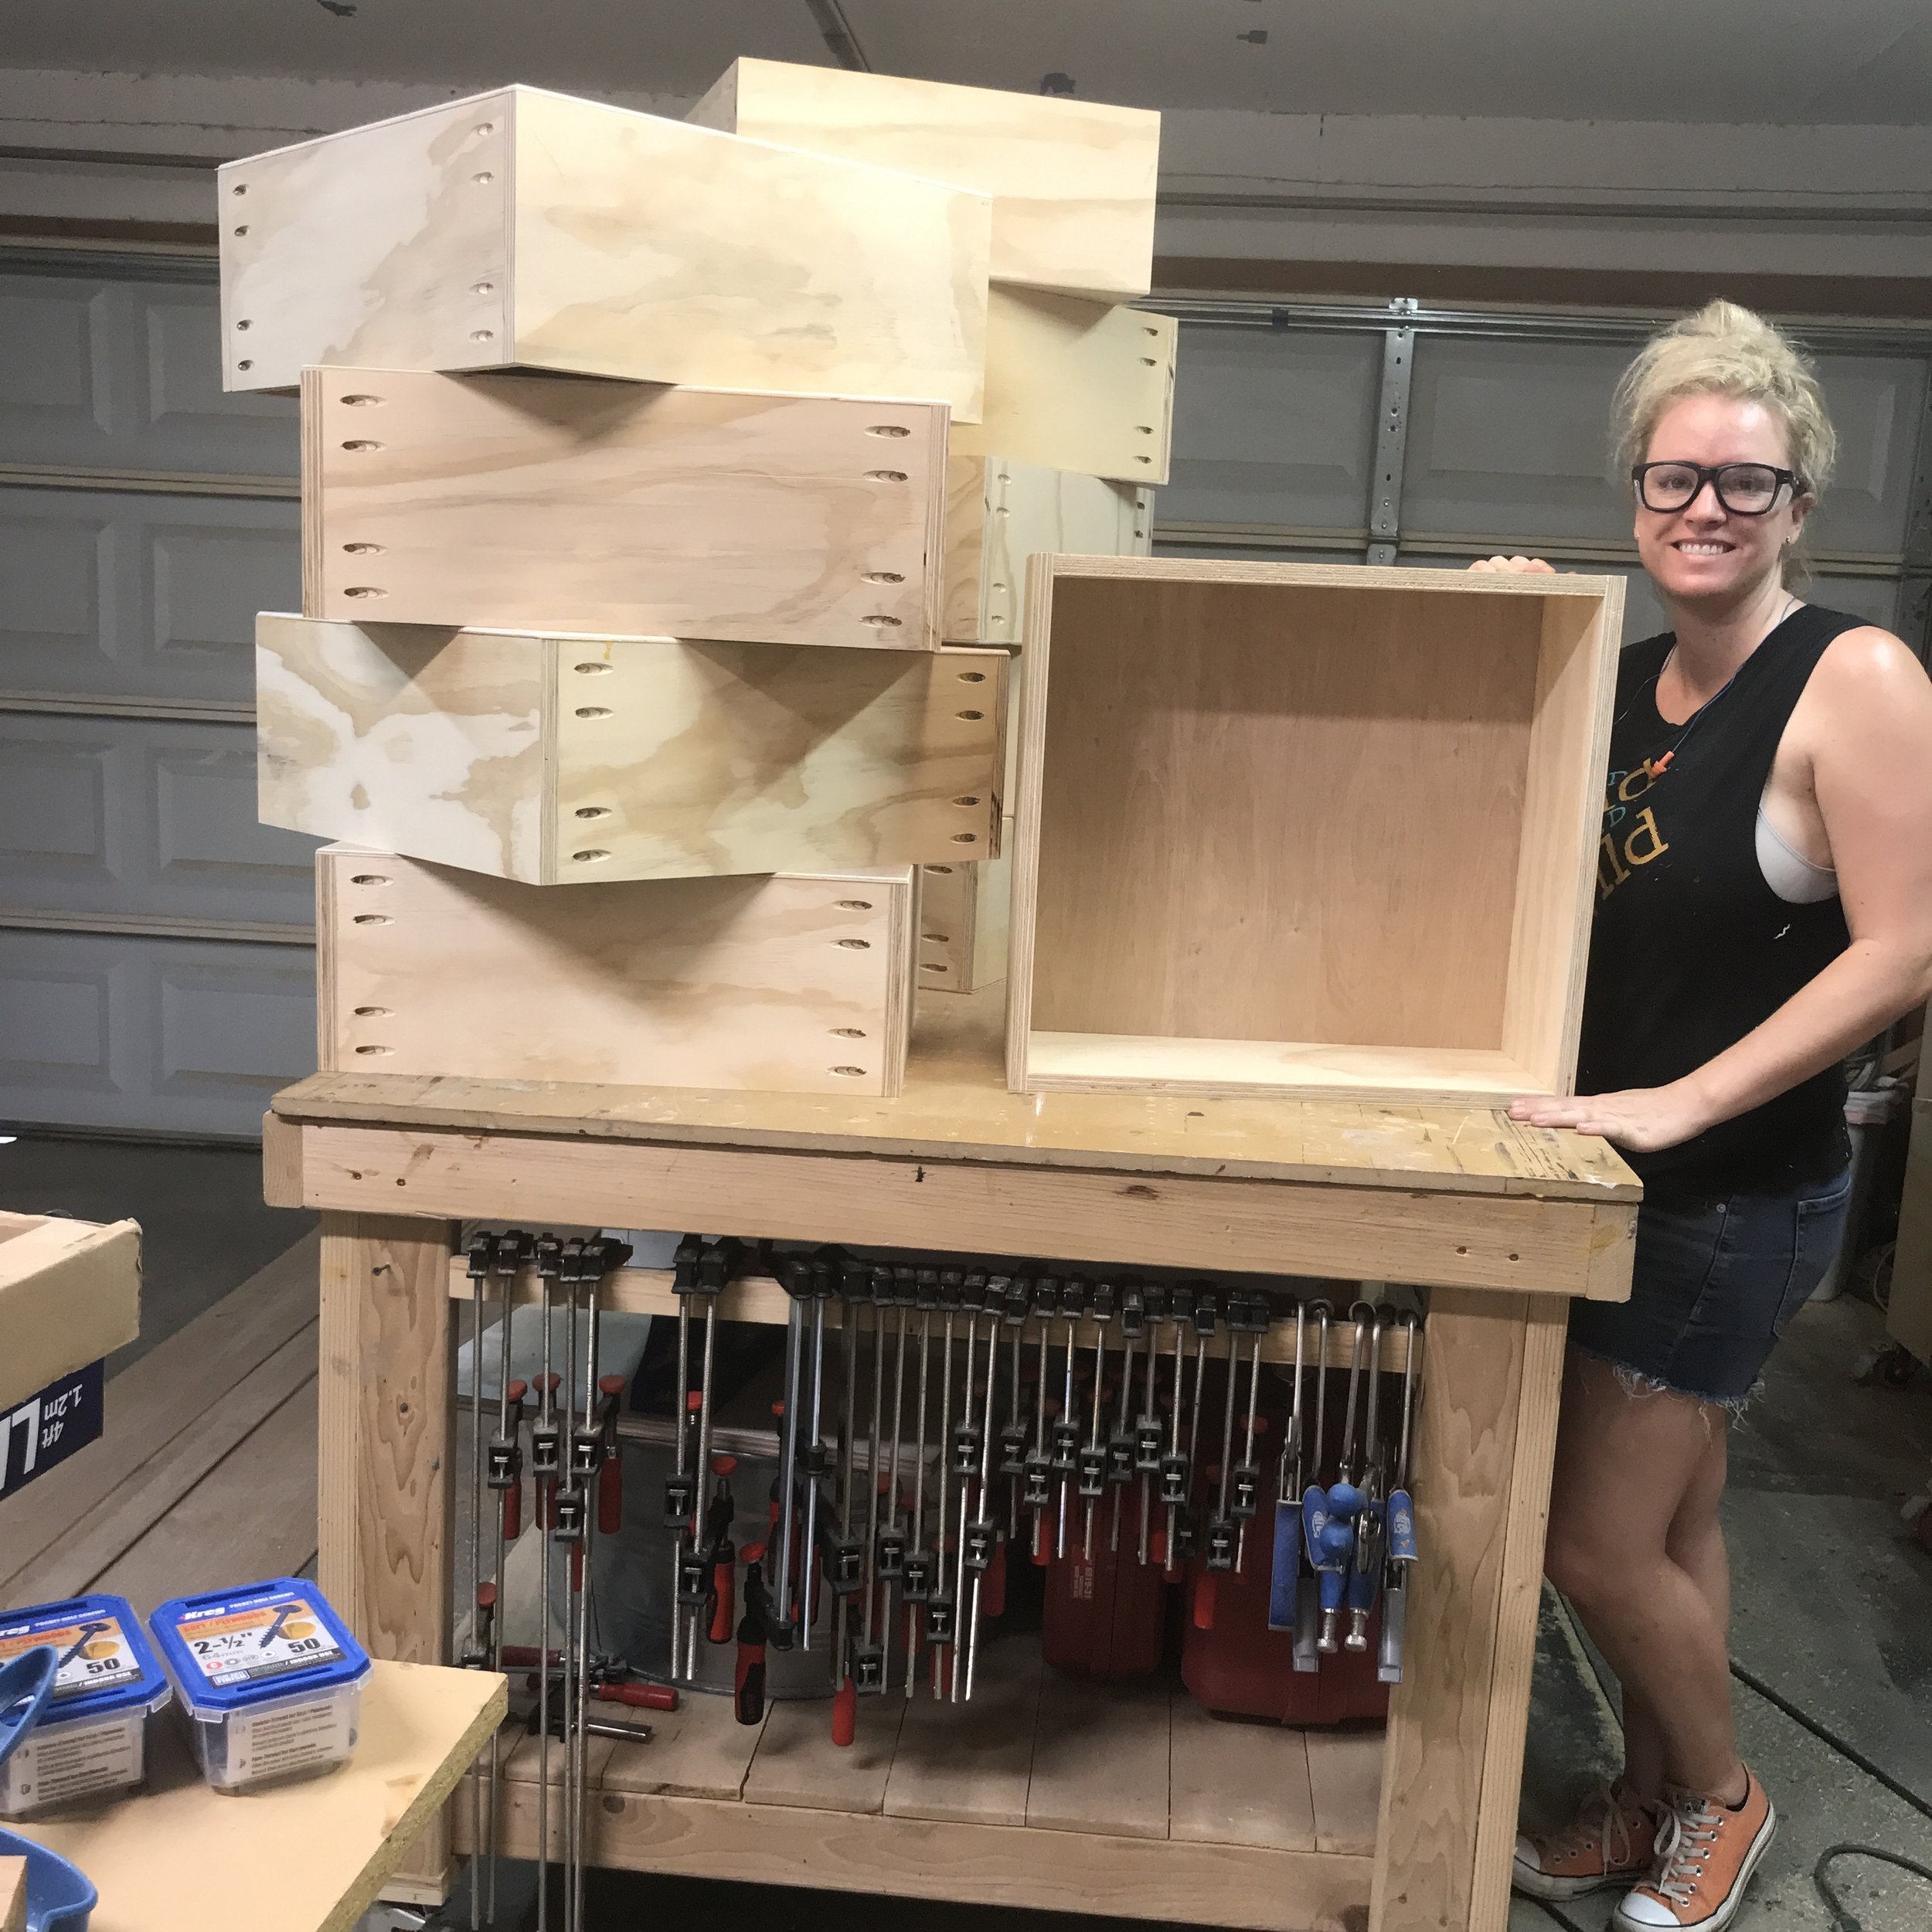
Once you get done assembling you always have to take a picture of yourself with your hard work and post it to Instagram... or is that just me?
And now that you have all the sides assembled you need to cut the bottoms to fit.

Can you find my shop visitor? I actually had two, but couldn't get them both in the frame.


In my case the bottoms (1/4" plywood/underlayment) needed to be 21 7/16" W x 20" L. So I ripped the sheets I got at Home Depot to 21 7 1/16 and then took them over to the miter saw to cut to final length of 20". I did have to flip the piece over to get a cut all the way thru, but I find this easier and more accurate then using a circular saw on such thin material. I highly recommend setting up a stop block so you get accurate cuts here.
***NOTE - You want your bottom pieces to be a square as possible, so that if your sides are a little out of square when you attach the bottom you can push or pull them to square and then attach the bottom to hold them square.


Attaching the bottoms, I just applied wood glue and then attached using 1 1/4' 18 gauge brad nails. And like I said above on any boxes (side pieces) that weren't 100% square I used clamps to help move them to square and then attach the bottom to hold it in square. I placed the brad nails closer to the middle inside of the side pieces so that I could go back and round over the bottom and the nails wouldn't be anywhere close to the router bit.
And finally I rounded over the bottom of the boxes to hide the 1/4" plywood bottom and then I sanded everything to 120 grit. I also made sure to break the edges of the top of the box with the sandpaper so that it wouldn't snag any clothes down the road. I didn't put any finish on mine because I thought they were smooth enough and really didn't want to go thru the hassle. But on all my client builds I have put a clear coat on the drawers for that extra touch. It is just up to you.
And viola! You have drawer boxes! Pat yourself on the back!
I hope this tutorial helped take some of your aneixty out of making drawer boxes. And like I said there are so many ways to make drawer boxes, this is just the way I choose to make mine for my master closet makeover. Maybe in the future I will cover some of the other ways.
To REVIEW:
Measure opening and calculate side pieces
Rip sides to drawer height
Cut side pieces & front/back pieces to appropriate width
Drill pocket holes in front & back pieces
Assemble pieces
Attach bottoms
Sand and finish, if desired
So was this tutorial helpful? What other tutorials would you like to see from me? Tell me in the comments below!
Thanks for all your support! Keep Building Awesome! And have an AWESOME day!
Sadie Mae


