DIY Modern Keepsake Box - Two Ways to Build!
I love gifts that keep on giving. That is why I love making special gift boxes to gift presents in that can be kept and used as a keepsake box. And whomever can keep all their special treasures in. And today I am going to be sharing two ways to build an AWESOME keepsake box… an easy way with butt joints and brads nails and one without any hardware with rabbets and dados… oh my!
The post IS sponsored by Saburrtooth Power Carving Tools. All opinions are my own. This post DOES contain affiliate links. For more information on my affiliate programs see my DISCLOSURES page.
The first way, the easy way, I first made about two years ago. You can find more details about that build here… DIY Keepsake Gift Box. With those plans you can use dimensional lumber and less tools to accomplish an AWESOME keepsake box. But this time I wanted to take it up a notch and challenge myself to use more traditional woodworking joinery and make a keepsake box that would last and be totally AWESOME!
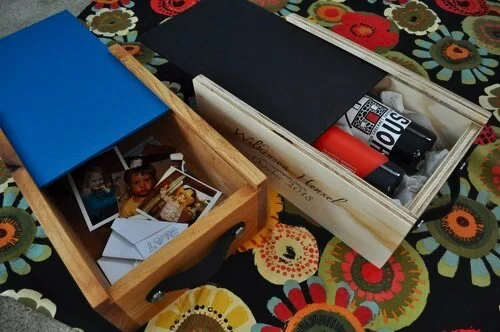
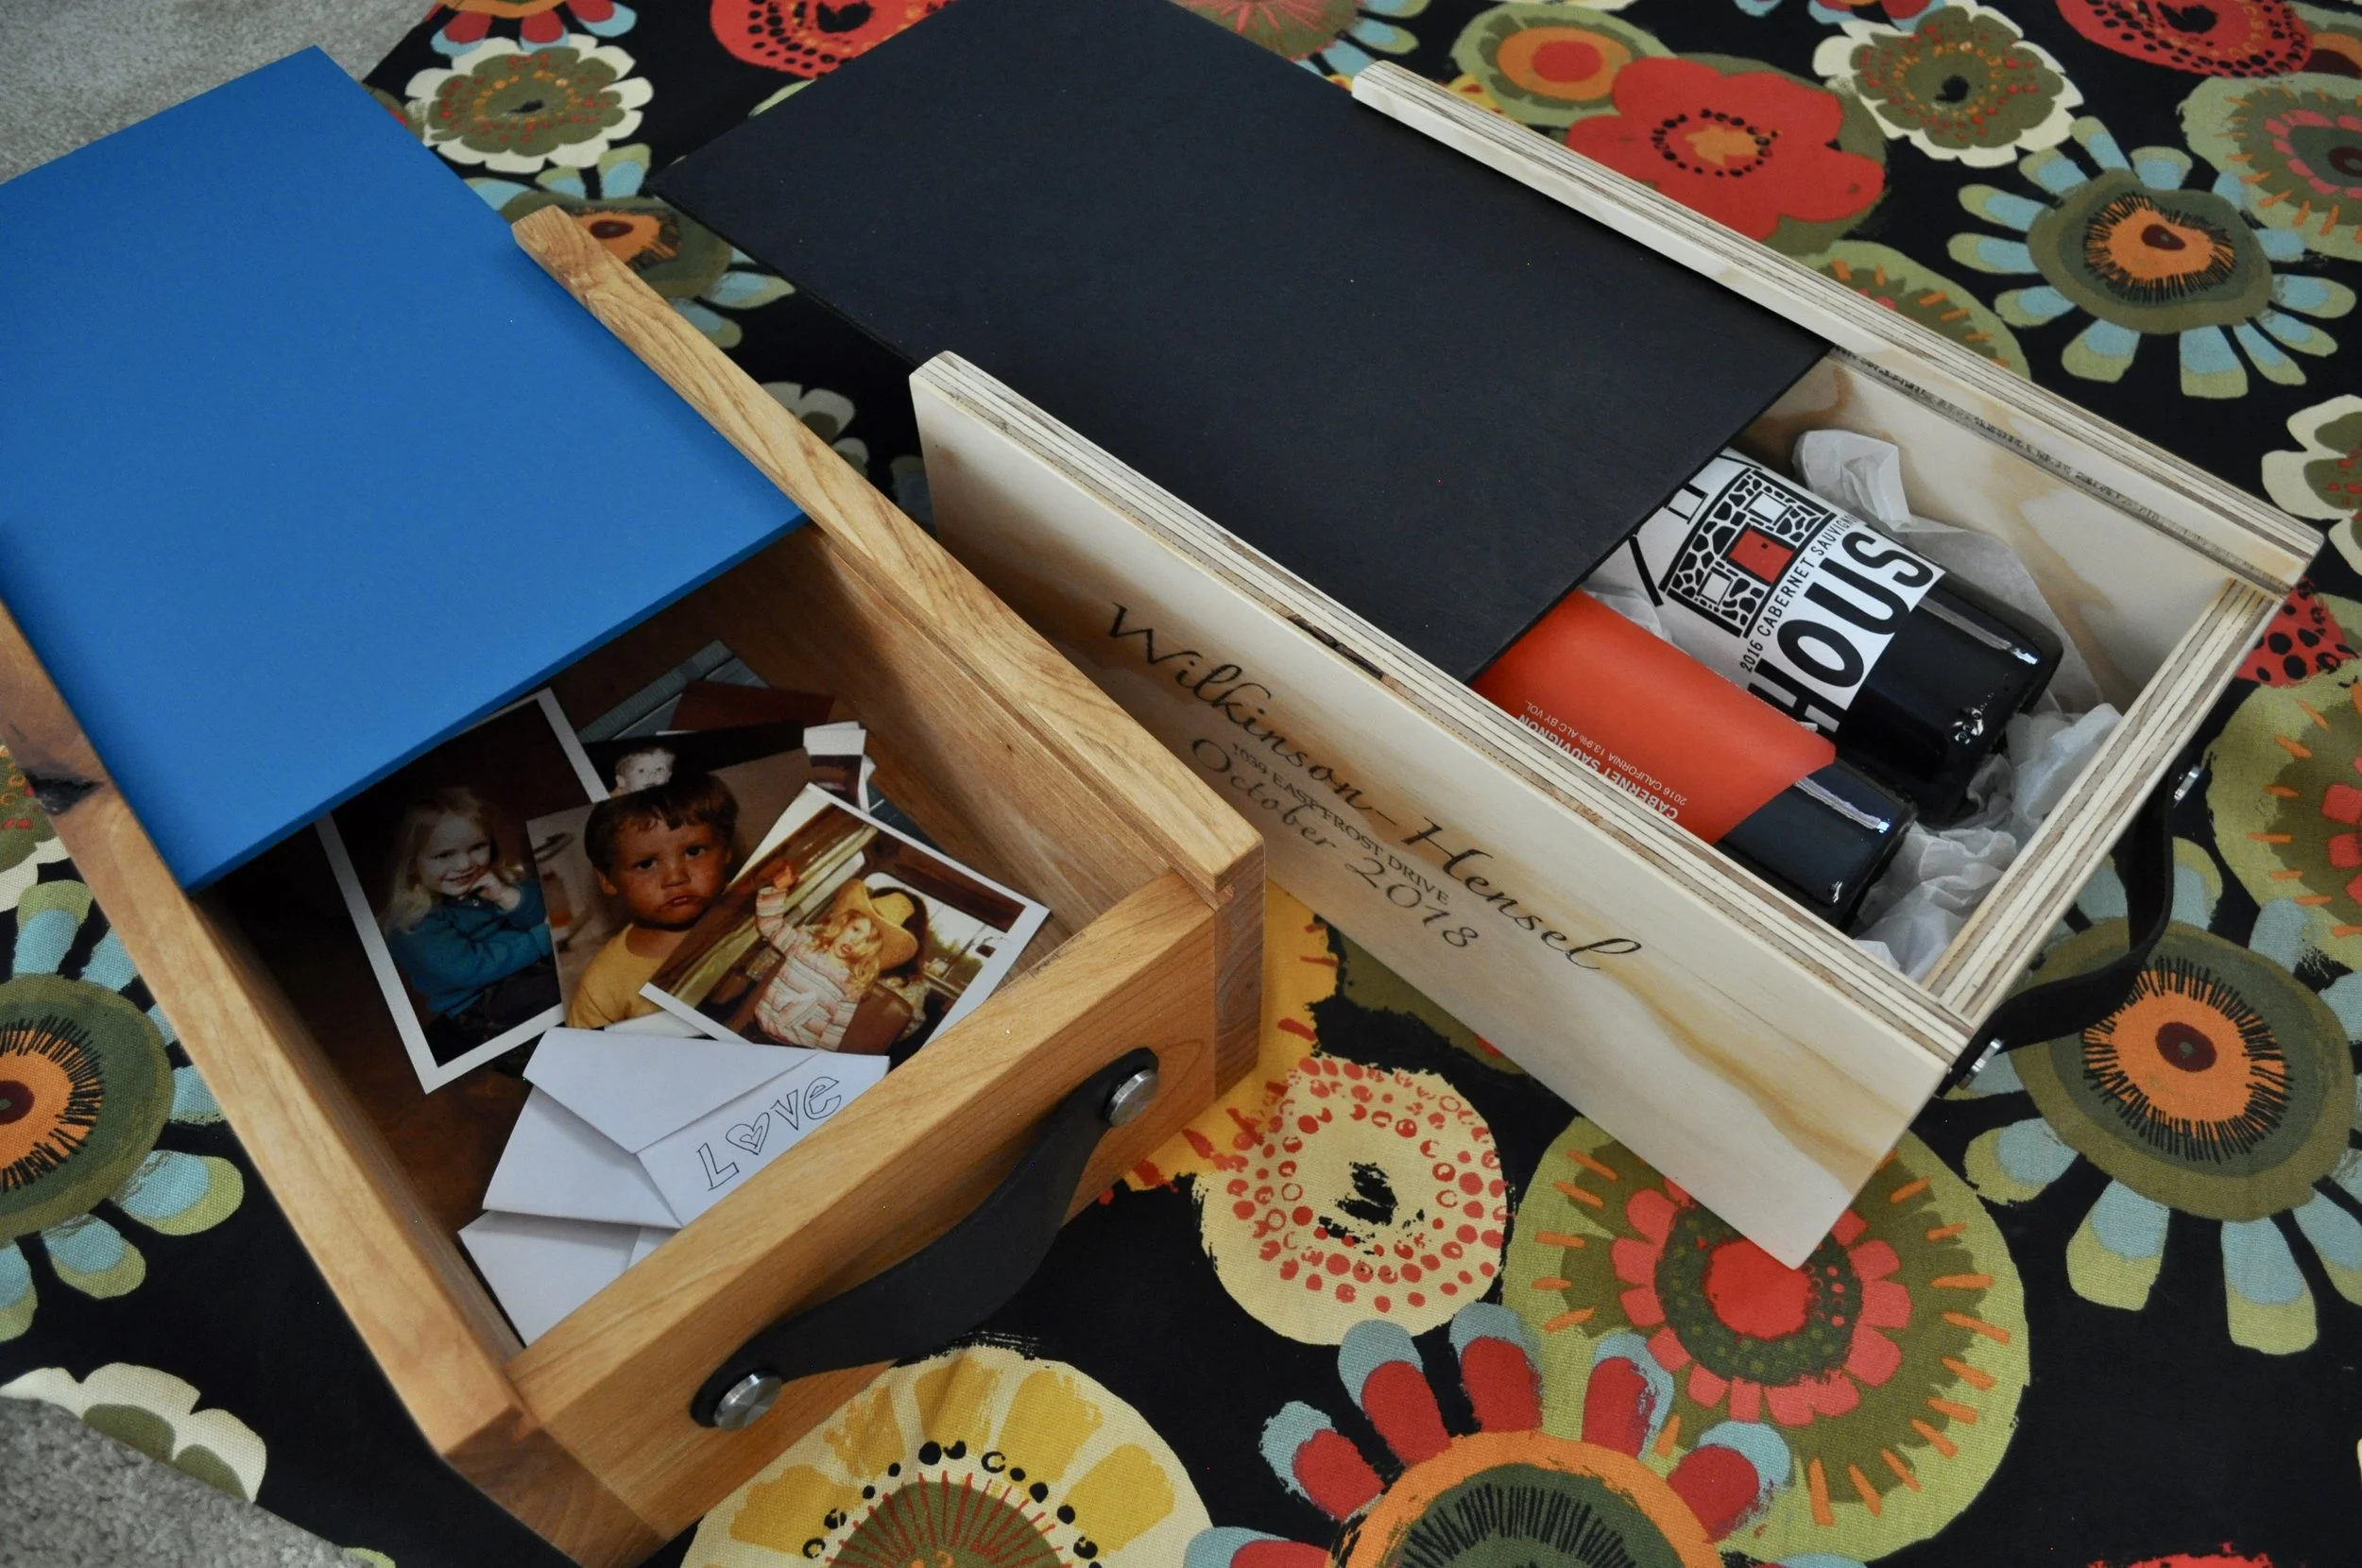
The Easy Way… these are the keepsake/gift boxes I made about two years ago!
So first I dug thru my scrap piles to find the perfect pieces of wood because I knew I didn’t want this one to be pine. Nothing against pine, I love it, but I wanted something different and more durable. And I ended up finding some perfect pieces of Poplar for the box. I love how poplar has a light wood tone to it and can have greens and purple colors as well. Plus, I think of poplar is more of a modern looking wood and I thought would fit the style of the box just perfectly.

The poplar after milling! I wish I would have taken a before pic, but you can see the before in my YouTube video.
Since the wood was rough saw, not dimensional, I started by milling it. Plane the face side on the jointer, then the edge side, then run it thru the thickness planer to make sure both sides are flat and all the boards are the same thickness. Then lastly rip the boards to my desired width. To see more about my milling process you can check out my Youtube video of the build here… How To Make A Modern Keepsake Box. Or I do have a saved highlight on my Instagram page with more detail of the step-by-step milling process.
Now that we have square flat boards it is time to start building.
Step 1: Cut four (4) sides to length at the miter saw.
Step 2: Using a table saw with a dado stack blade, rip a 1/4” groove/dado 3/8” deep 1/4” in from the top and bottom on all four pieces. Without moving the fence raise the blue so that it will cut all the way thru the thickness of the wood and cut the top off the two boards. This will ensure that the lid will be able to slide smoothly in and out.
Note: if you don’t have a dado blade for your table saw you can use a router with a dado bit to cut the grooves or you can make multiple passes on the table saw to achieve the width desired for the groove. The width of the groove is based on your lid thickness. In my case I used 1/4” plywood for the lid.

This is after dados for lid and box bottom and stop rabbets on the sides.
Step 3: Cut 1/4” plywood for lid and bottom of box.
Note: I like to do this once the box is cut so that I make sure my dimensions are accurate.
Step 4: Using trim router with guide and dado bit cut stop rabbets on both ends of the two long side pieces. They will be 3/8” deep and the thickness of your wood (in my case 3/4”). The rabbets will stop at the dado/groove for the box lid.
Note: I wasn’t able to get the stop rabbet perfect square because the router bit is round, so I did end up having to chisel a tiny corner out to allow the end pieces to fit tightly.

The bit and guide I used on my trim router.

I took several passes until I got to the 3/8” depth.
Step 5: Paint 1/4” plywood bottom and lid before assembly.

The Easy Way on top. NO Hardware way on bottom.

Both ways before assembly dry fitting everything.

I used my favorite Pony | Jorgensen Cabinet Master parallel clamps because the help keep everything square by squeezing with equal pressure from both sides.
Step 7: Add dowels for additional strength. I used 3/8” dowels.

3/8” dowel make the joints much stronger. Oh and I decided to paint the bottom and lid ORANGE!

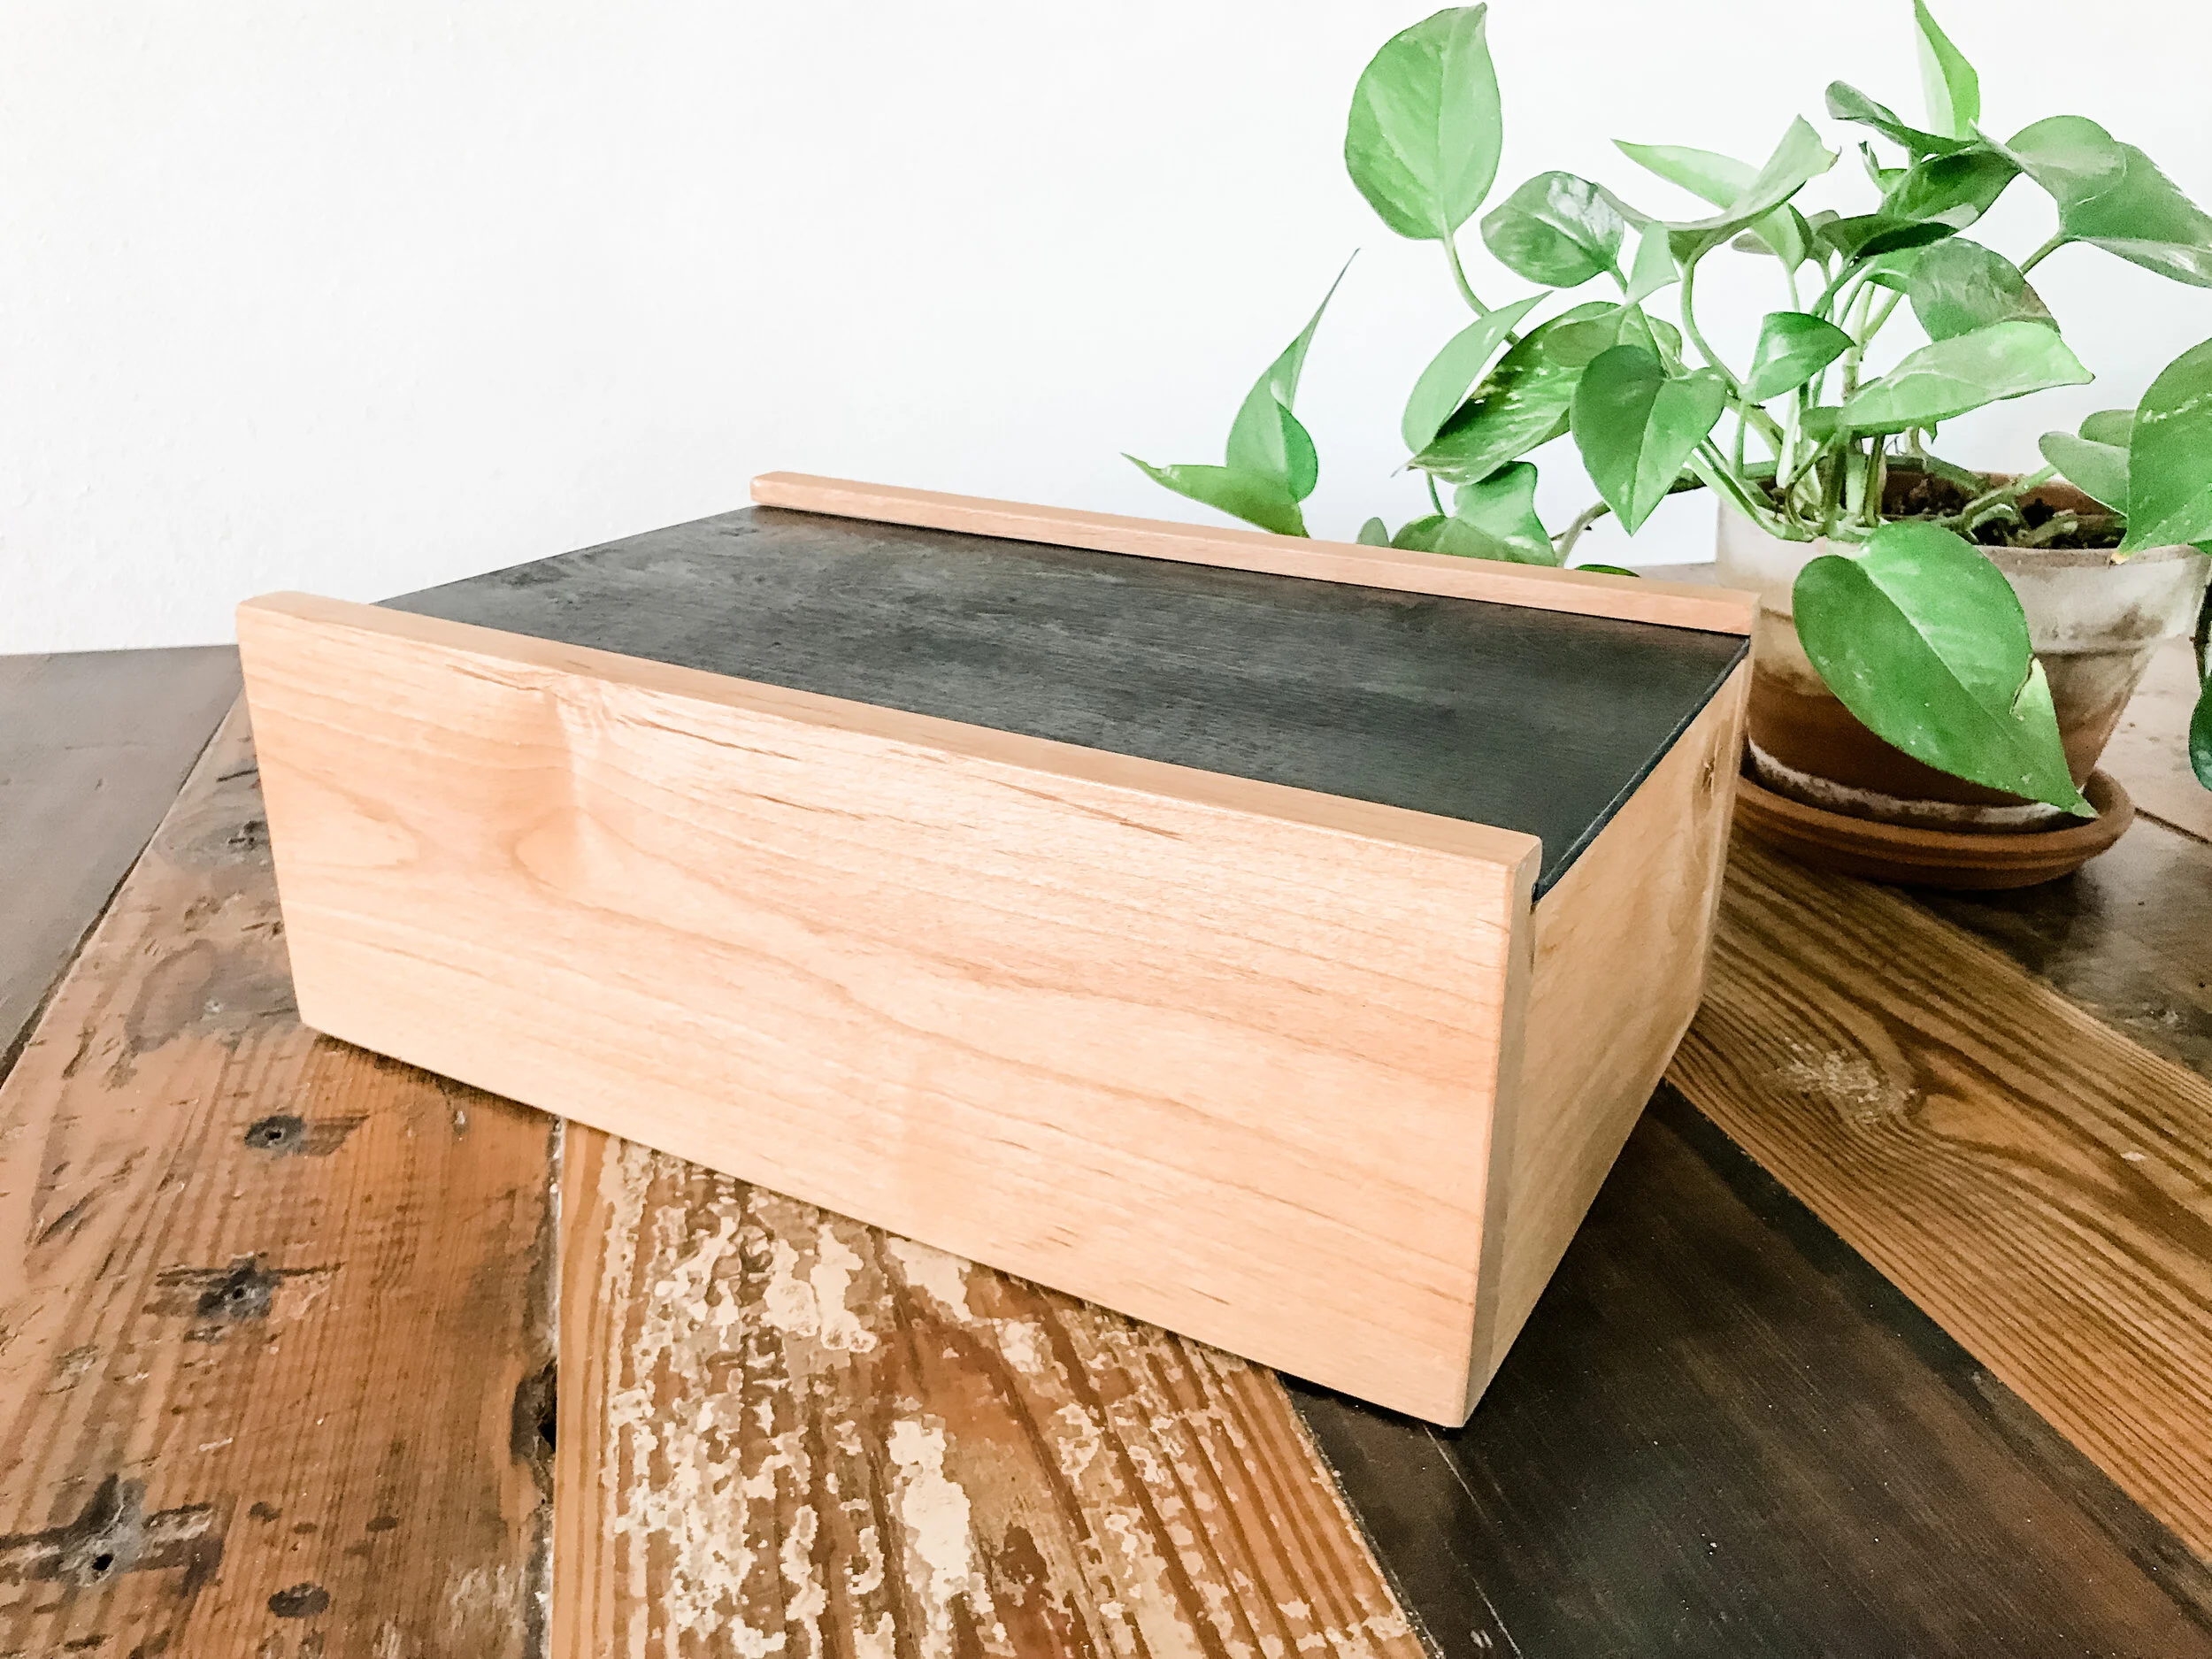
BEFORE Texture.
Okay now for my favorite part and what really makes this keepsake box AWESOME… ADDING TEXTURE!
Step 8: Add texture. I decided to go with two different size Saburrtooth sphere burrs to create my texture. I played out approximate dimensions of where I wanted each to start and end and then just went for it. First using the 1” sphere burr in fine grit (yellow). It is one of the same burrs that I used to create the texture on the Bubbly Bar Cabinet. This burr has a 1/4” shank, so I used my Makita die grinder to power it


Then once I had that how I like it I went back in with the smaller 1/4” sphere burr in whisper grit (white) and finished the texture on all four sides. This burr has a 1/8” shank, so I used Ryobi rotary tool to power it.


All the bits, no matter the grit/color, carve really well. The higher the grit just takes material off faster, but does require more sanding in the end. Speaking of sanding… when I do textures like this I generally just sand the top of the texture and not the inside of each divot. This just gets rid of any sharp edges and wood fibers. Then I like to finish the piece with a water based polyurethane. I like polyurethane for textured pieces because I can then sand in between each coat and give the piece a smooth finish.
Step 9: Add present and a bow and gift to a special someone!

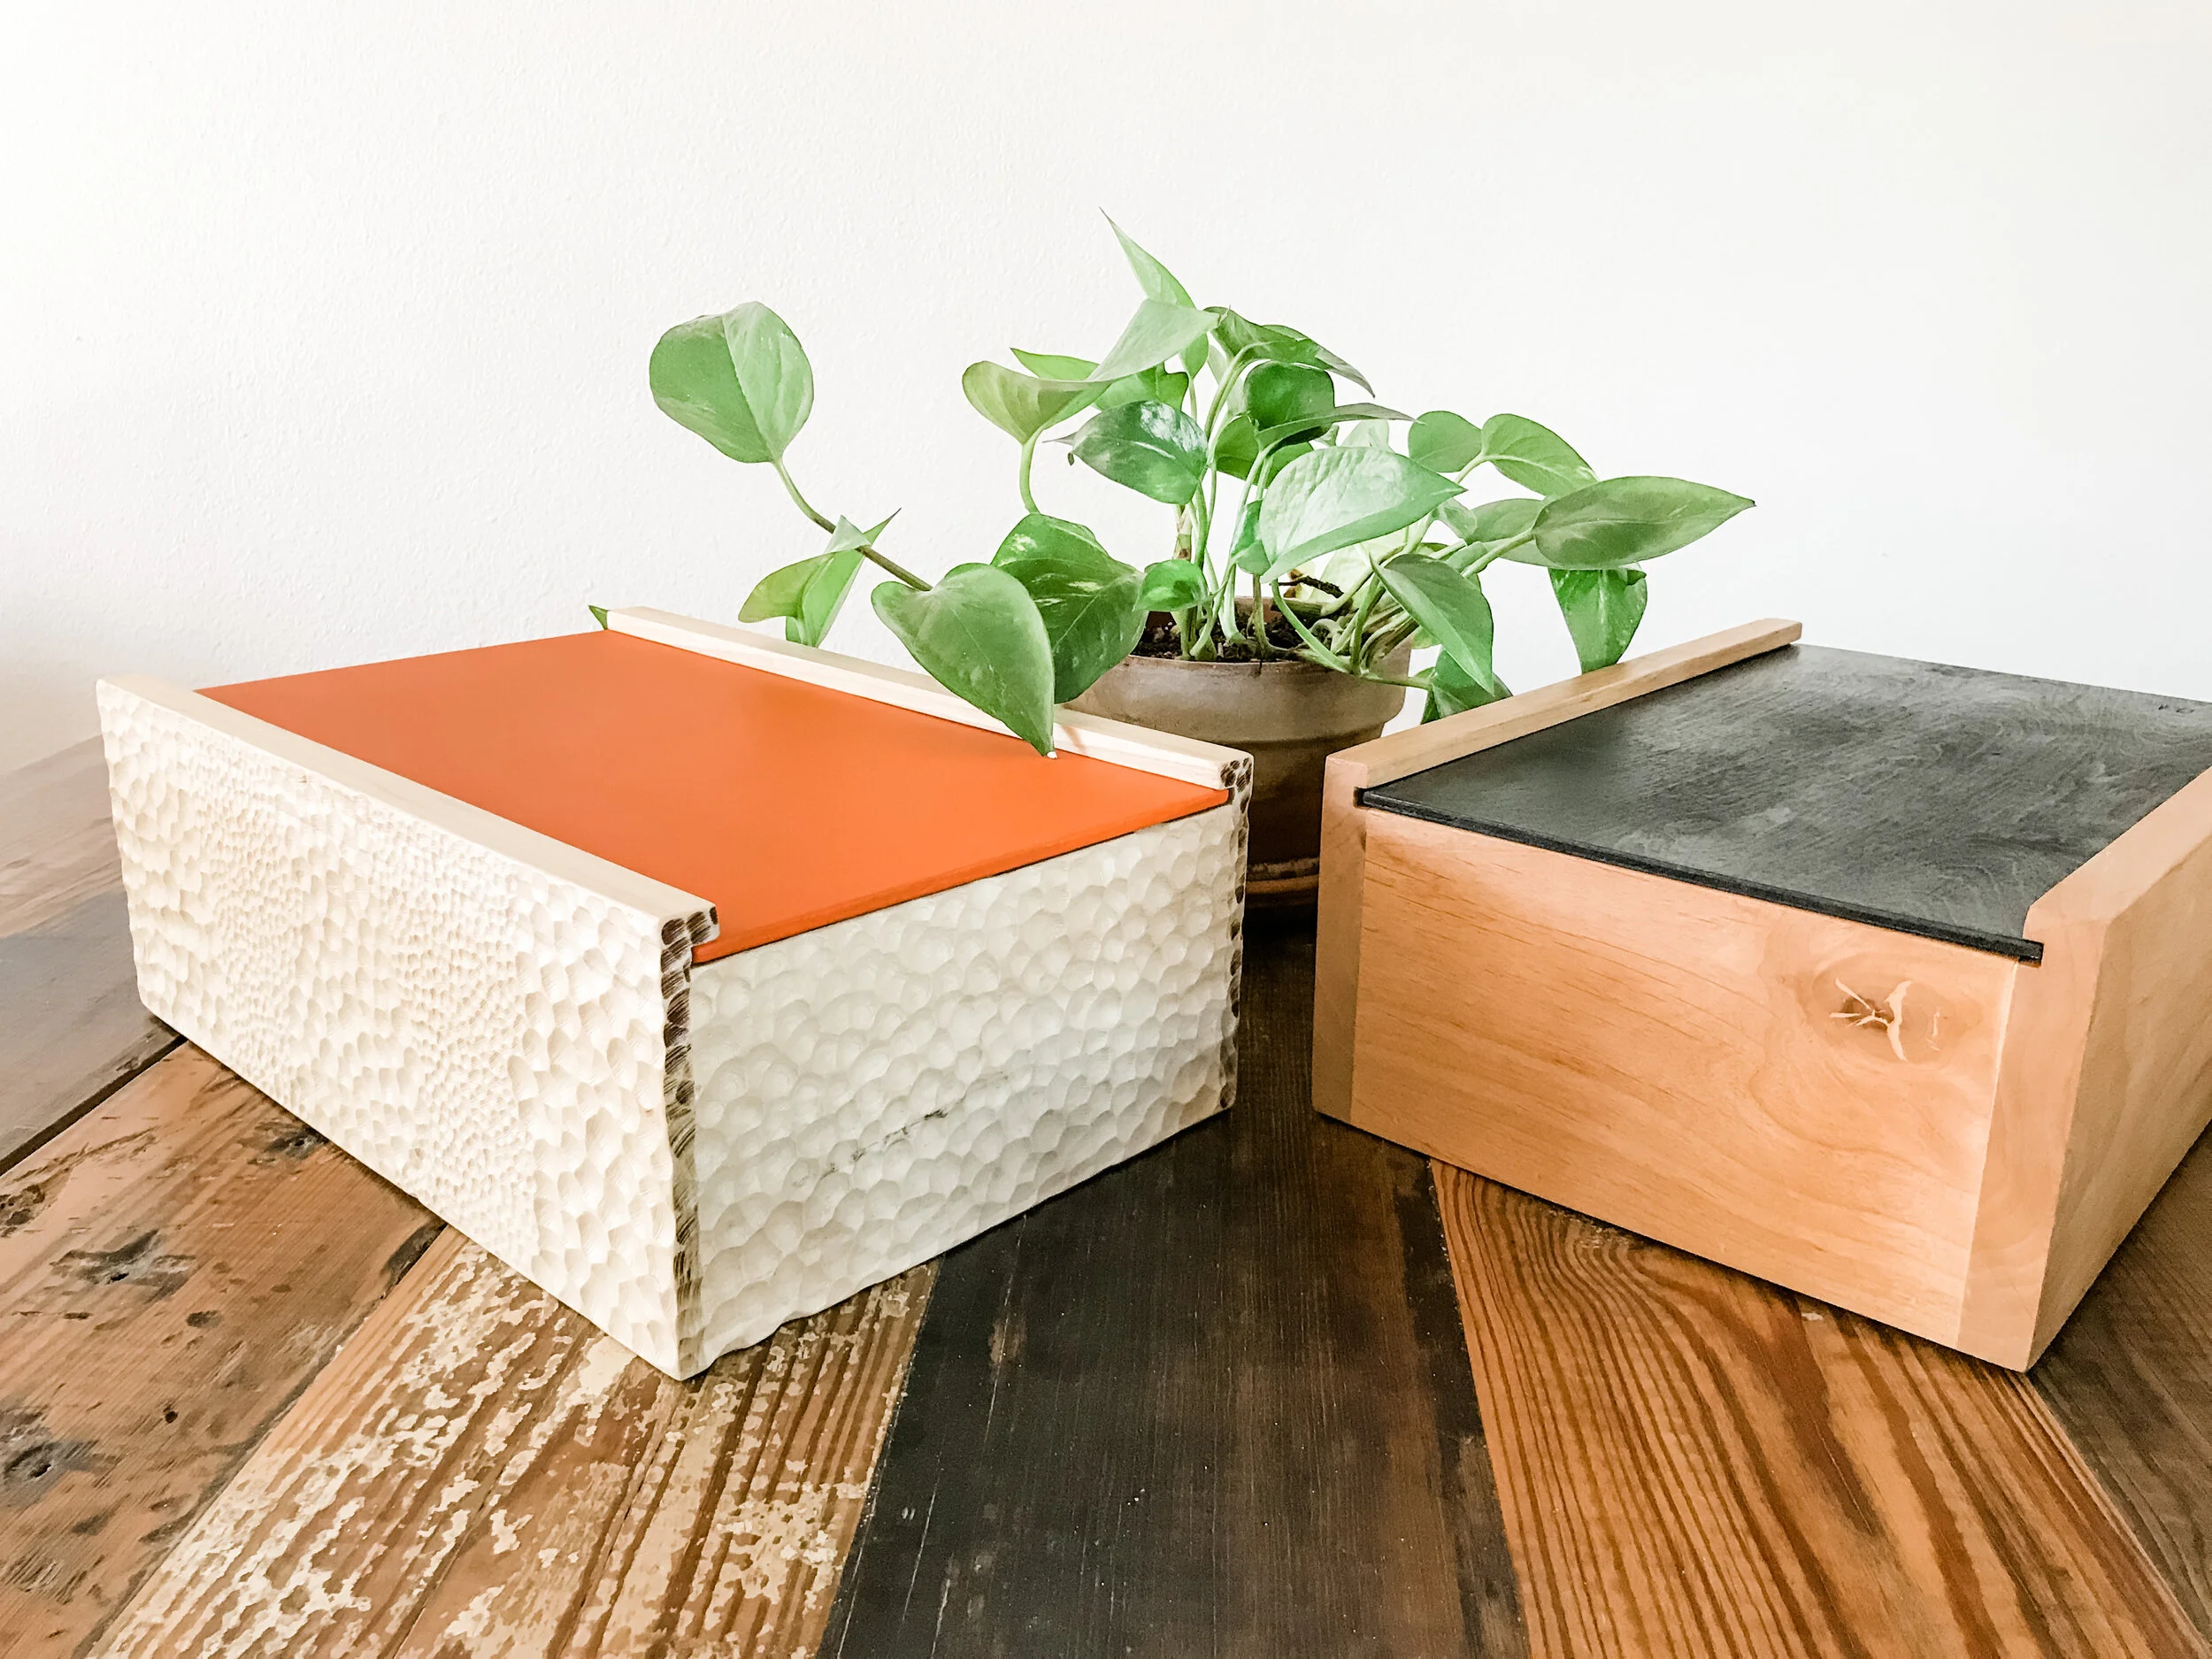
I just love how the texture and the traditional joinery made this piece even more AWESOME! And just think of all the ending texture possibilities your could go on a each box you make. You could really customize it for each person you give one to. And then hopefully they will keep it for years to come.

Change the lid to ORANGE to give it that special something!
But no matter your skill level or the tools you have there is always a way to make AWESOME stuff. Again for more details on the easy way to make a Modern Keepsake Box… click here!
Easy Way Construction - Butt Joints and Brad Nails
Let me know in the comments which is your favorite…. the easy way or the AWESOME one with texture!

Thanks for reading and if you end up building one, I’d love to see a pic! Oh and remember Build LOUD, Build WILD and have an AWESOME day!
Sadie Mae
Can build it now? No worries, PIN it and save for later!