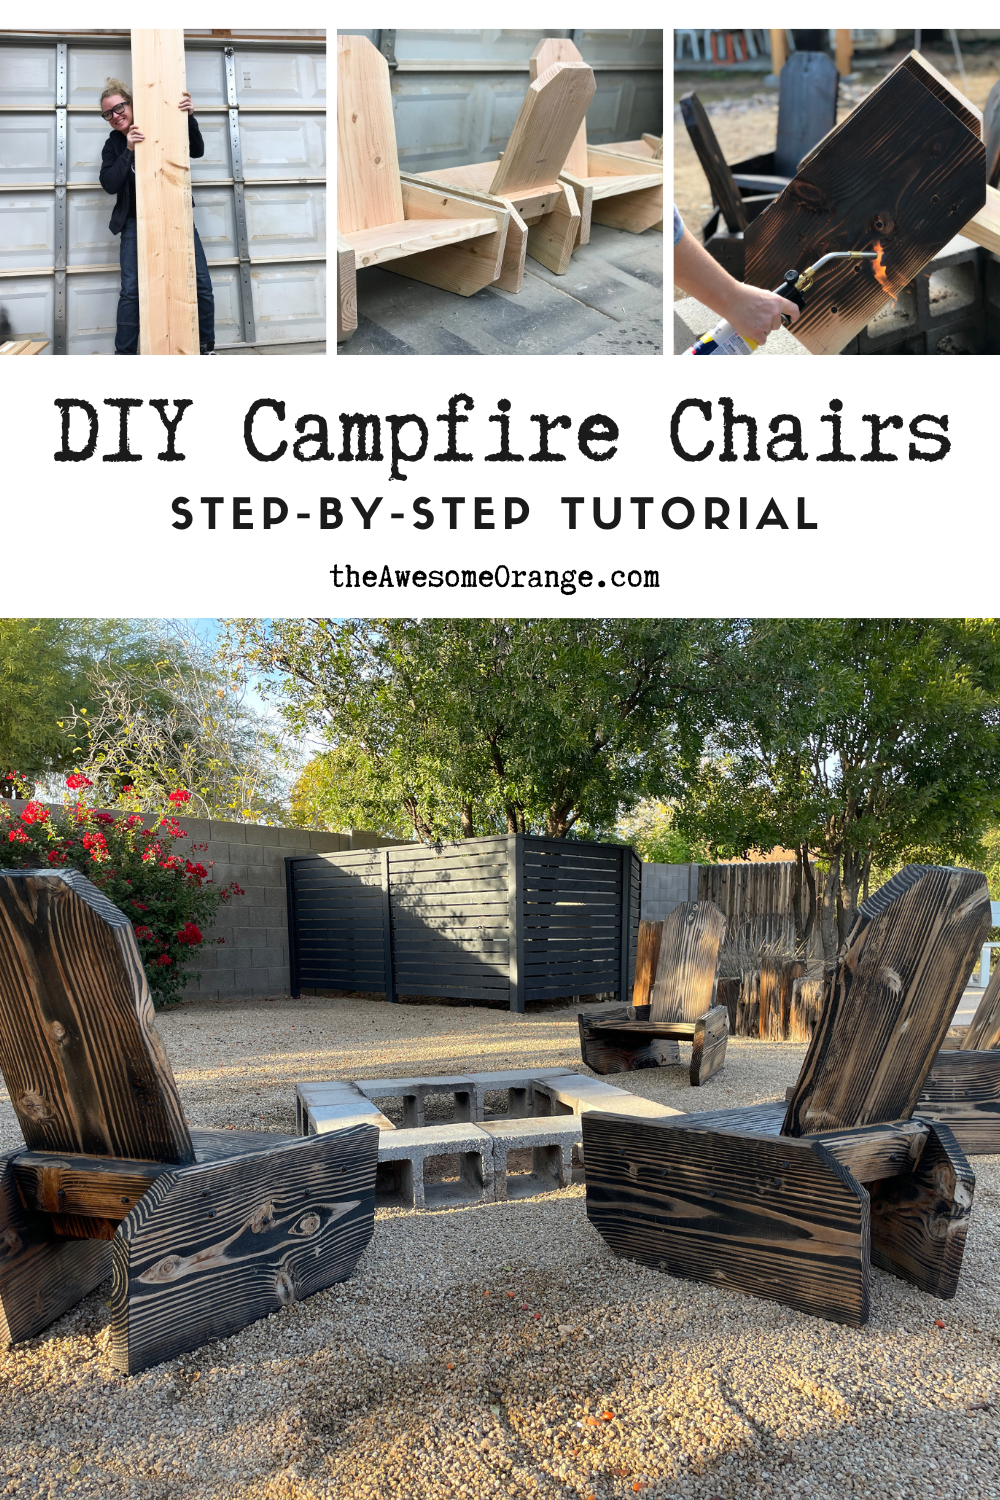
One Board Campfire Chairs | Shou Sugi Ban
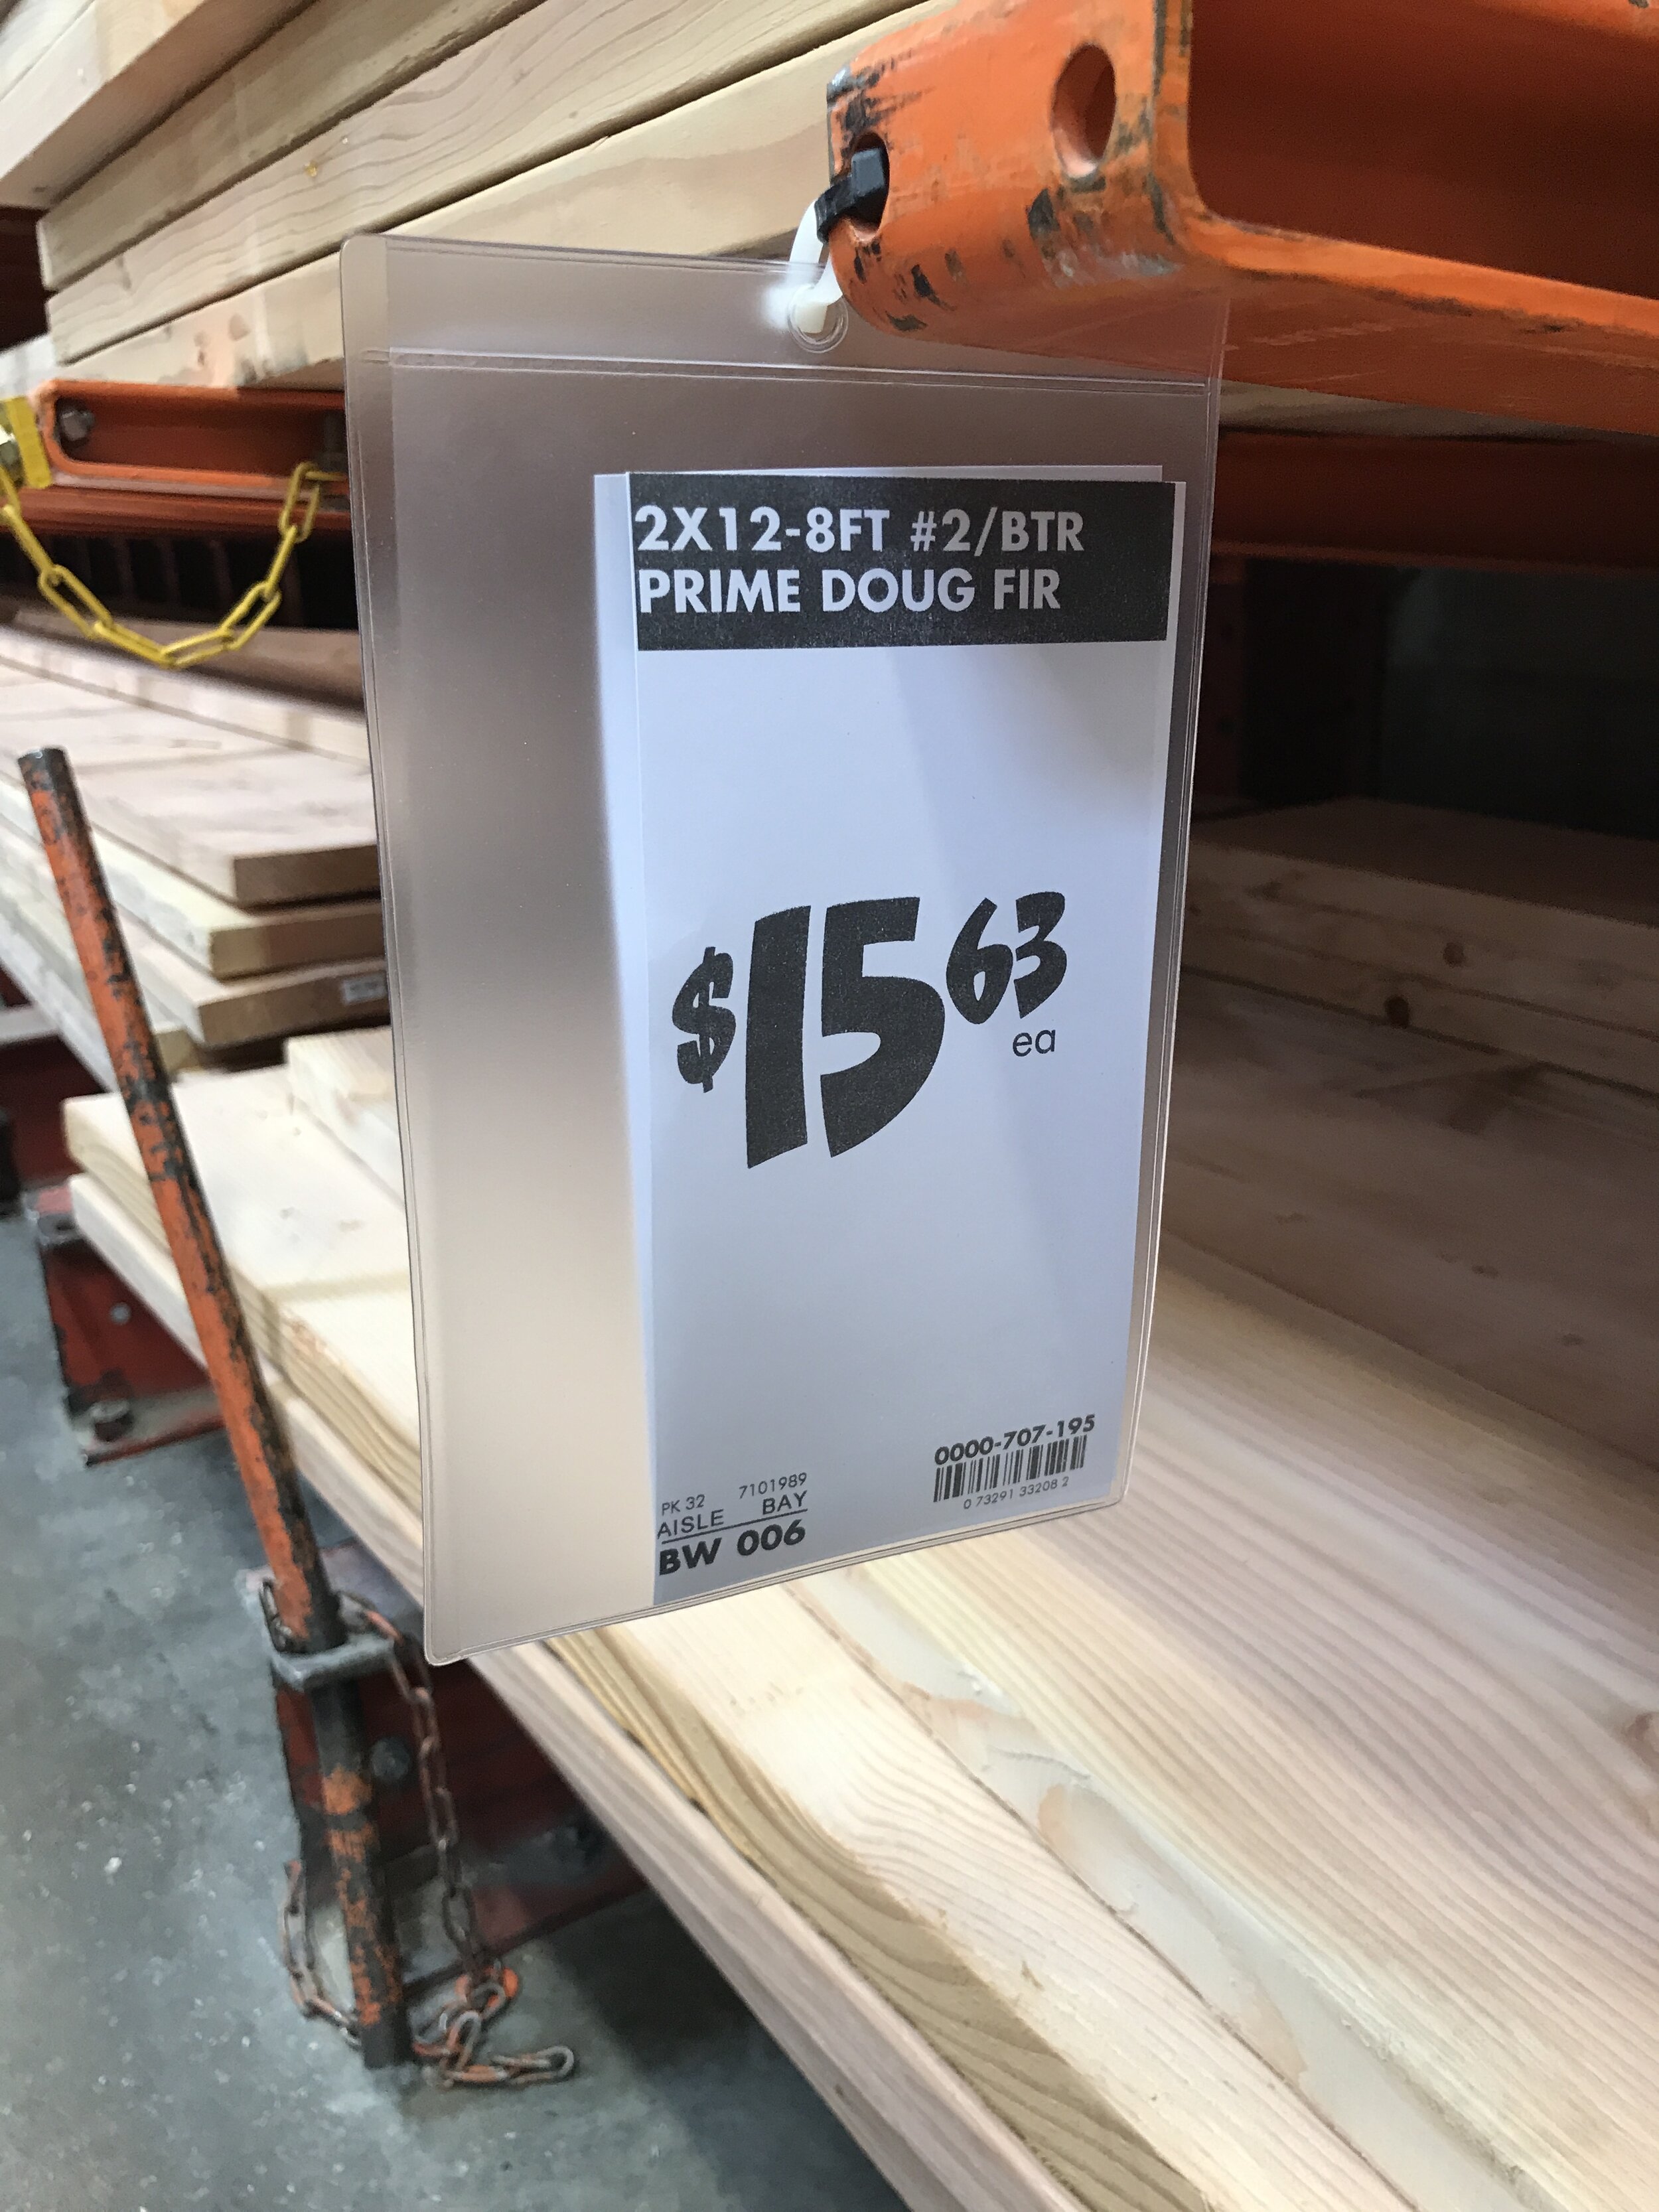
Who doesn’t love sitting around a campfire!?! I know I sure do and that is the reason I wanted to build these. But I also didn’t want to spend a ton of money on materials to make them because outdoor furniture can take a beating in the Arizona heat. So I decided to challenge myself to make them each with one (1) board… one 2x12 construction grade board. That along with the hardware brought each chair to a cost of $22. Can’t beat that, so let me show you how I did it.
This post is sponsored by Bernzomatic. All opinions are my own. This post contains affiliate links. See Disclosures Page for more information on affiliate programs.
First off you ONLY need a couple of tools for this build, the main one being a miter saw. You will also need a table saw to keep this a one board project, but if you don’t have one you can use a 12” scrap of a 2x4 in its place. And if you do that you will just need the miter saw and a drill to complete this build. And technically you could use a circular saw instead of miter saw…. basically what I am getting at is that you don’t need fancy tools to build this project!
Step 1:
Cut out all pieces to length and trim according to plans. You can purchase plans with exact dimensions and angles here. Plus, the plans give you step-by-step instructions.

1- 2x12x96 is all you need for each chair

Cut at the miter saw per plans.

Let’s start assembly!
Step 2:
Attach seat back to seat. Since I was making four chairs and the decorative 3/8” lag screws I was using came in a 50 pack, I used regular 2 1/2” exterior wood screws for this step. Once everything is assembled you won’t be able to see them so I’d rather save the money.

Pony | Jorgensen Clamps to help keep the boards in place with screwing them together.

So happy when I got to this step and figured out the angles…. calls for awkward selfie!
Step 3:
Attach sides to the seat assembly. I used these 2 1/2” 3/8 washer head lag screws and exterior rated wood glue. NOTE: Having an extra set of hands with will help with this step, but isn’t necessary. Also, you can add cleats to help support the seats for the assemble process… I did this for the 3rd and 4th chair I made.

These worked great and didn’t need to pre-drill.

I made my cleats short because I didn’t want them to be visible from the front.

Lots of angles and trys to get the layout just right. The plans give all this detail to make it easy for you.
Step 4:
Add back support. Since a lot can happen during assembly I recommend double checking this measurement before cutting and then sneaking up on the cut. We don’t want to waste your one (1) board!

Lags screws are attached from both the back support into the seat back and from the sides into the back support.
And that’s it, you now have yourself a One Board Campfire Chair.

We have chairs!
Want more details on this build, watch me make it!
But my favorite part of this build was actually the finish. Usually that isn’t the case, but this finish involves fire! Yup, I Shou Sugi Ban’ed the chairs. Totally appropriate for campfire chairs. To do this I used my Bernzomatic TS8000 Max Heat Torch and MAP Gas. The MAP gas burns hotter than propane and paired the TS8000 Max Heat Torch allows for faster work time charring the chairs. It also has a fully adjustable flame and a continuous flame lock so you don’t have to hold the button down the whole time.

Fire! Fire! Fire!

I recommend sanded off your layout lines, I didn’t and you can kinda still see them. Opps!

I love this finish for outdoor furniture.

Do you like the chairs torched or natural better?
If you wanna know more about Shou Sugi Ban, I talked about in one of my previous builds… DIY Torched Epoxy Table.

Oscar approves! or he is wondering what the heck I am doing now.

So good!
Once I had them burnt how I liked, I gently brushed off any loose material and then liberally apply 2 coats of General Finishes Outdoor Oil per the labels instructions. Like with any outdoor furniture they will require maintenance, but with outdoor oil all you have to do is clean the piece and then add another coat as necessary. Be sure let oil sit on the piece for about 10 mins and then wipe off any excess. If you don’t wipe off the excess it won’t dry properly and will become sticky.

And be sure to always finish the bottom side too!
Alright, so are you ready to start building your own One Board Campfire Chairs? If so, click here for printable plans that include step-by-step instructions with tool list, shopping list, cut list and 2D diagram drawings with all the layout and angles for this build. And then share your work and tag me using the hashtag #buildingawesome!
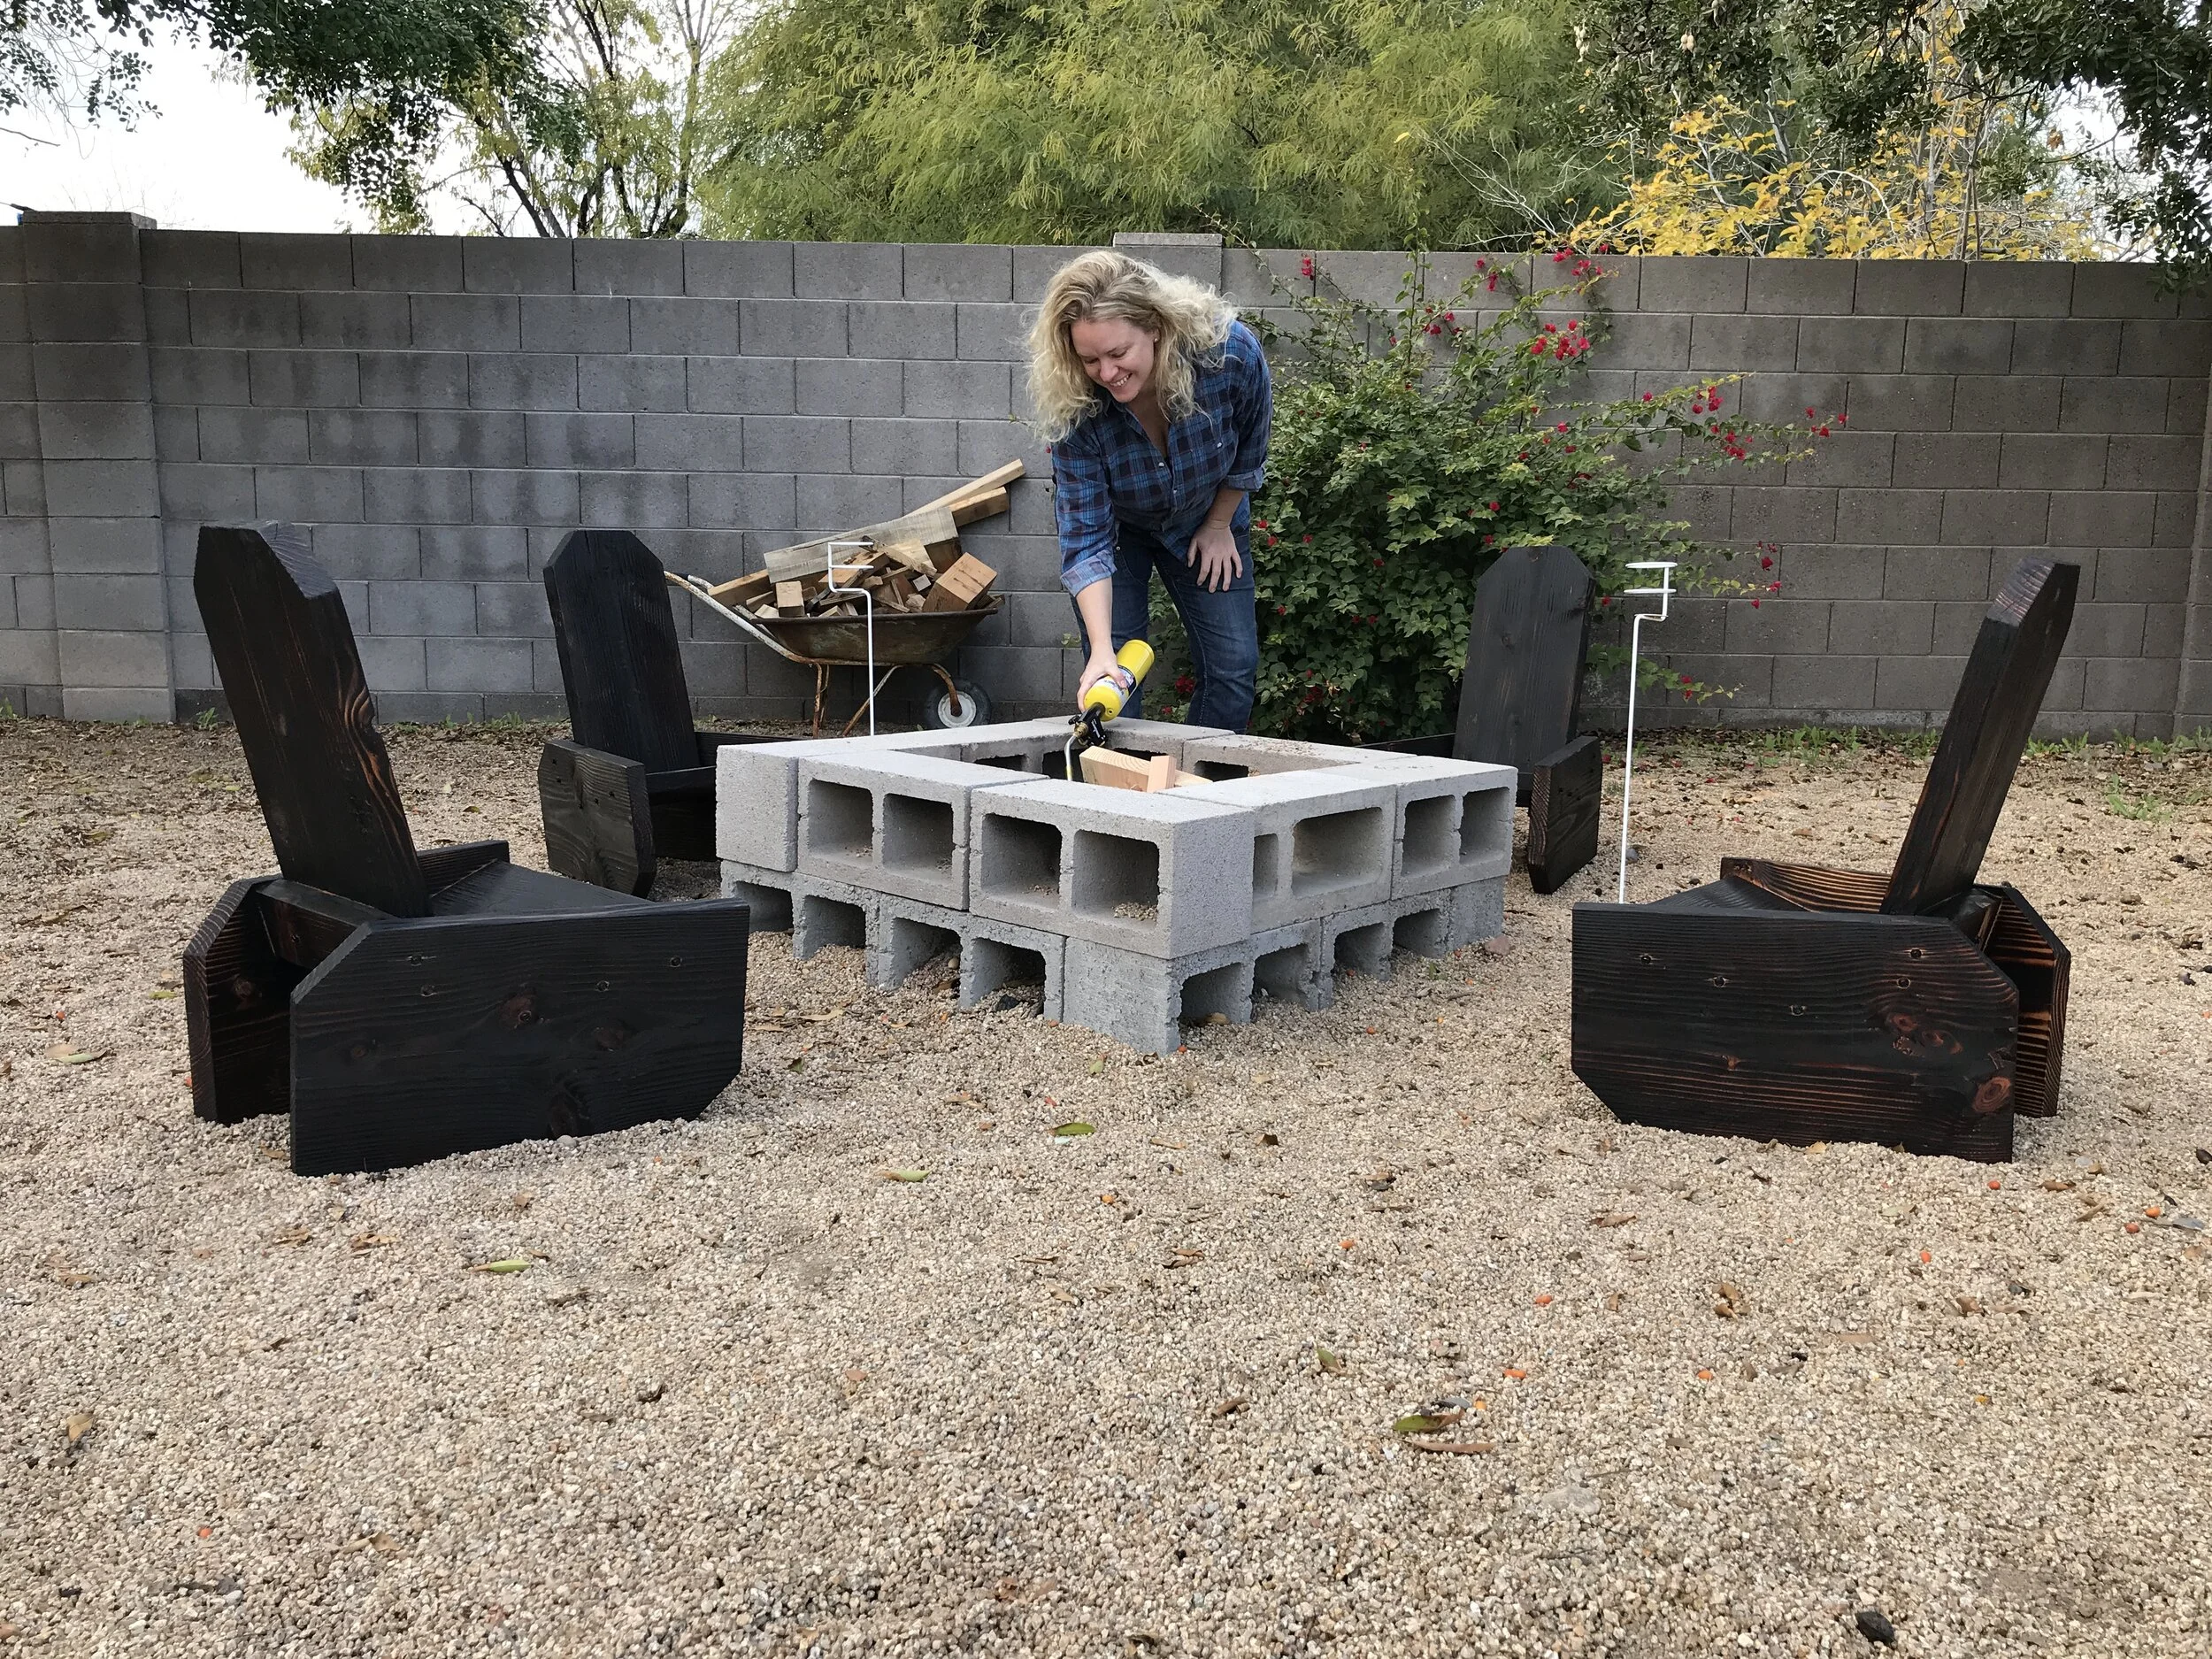
S’mores anyone?

I even had even scraps left over from the “one board” to start a fire!

UPDATE PHOTO 12-5-22… CHAIRS ARE STILL DOING AWESOME. THEY HAVE LIGHTEN A LITTLE AND COULD USE ANOTHER COAT OF OIL, BUT FOR SITTING OUTDOOR FOR THREE YEARS STRAIGHT THEY ARE HOLDING UP WELL!
Thank you for following my building journey… remember Build LOUD, Build WILD and have an AWESOME day!
Sadie Mae