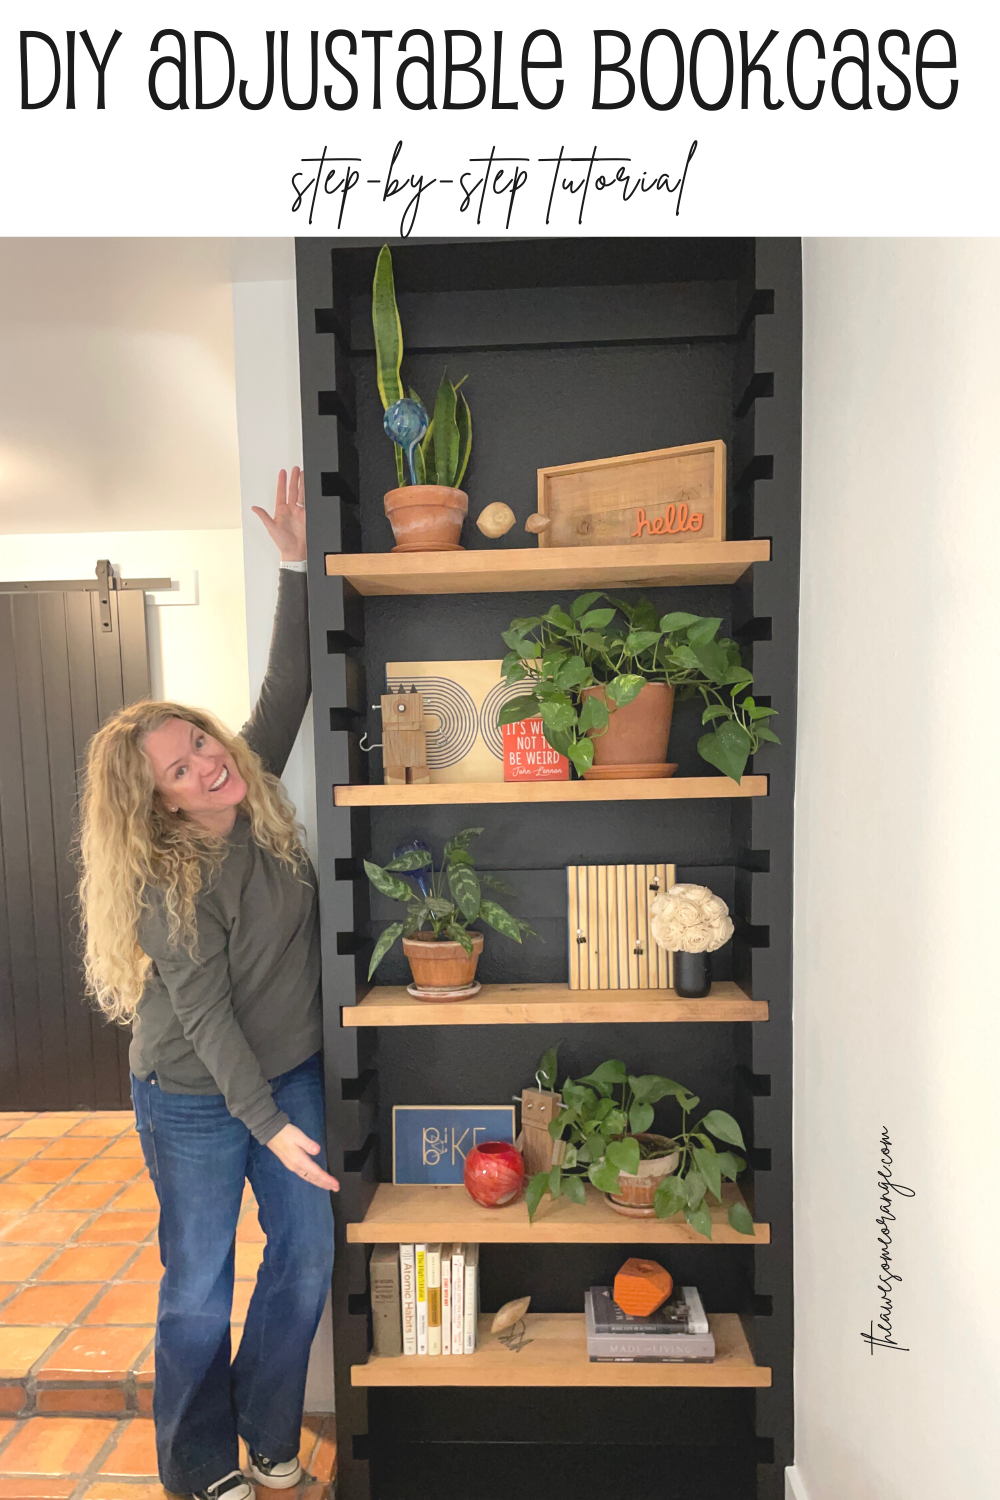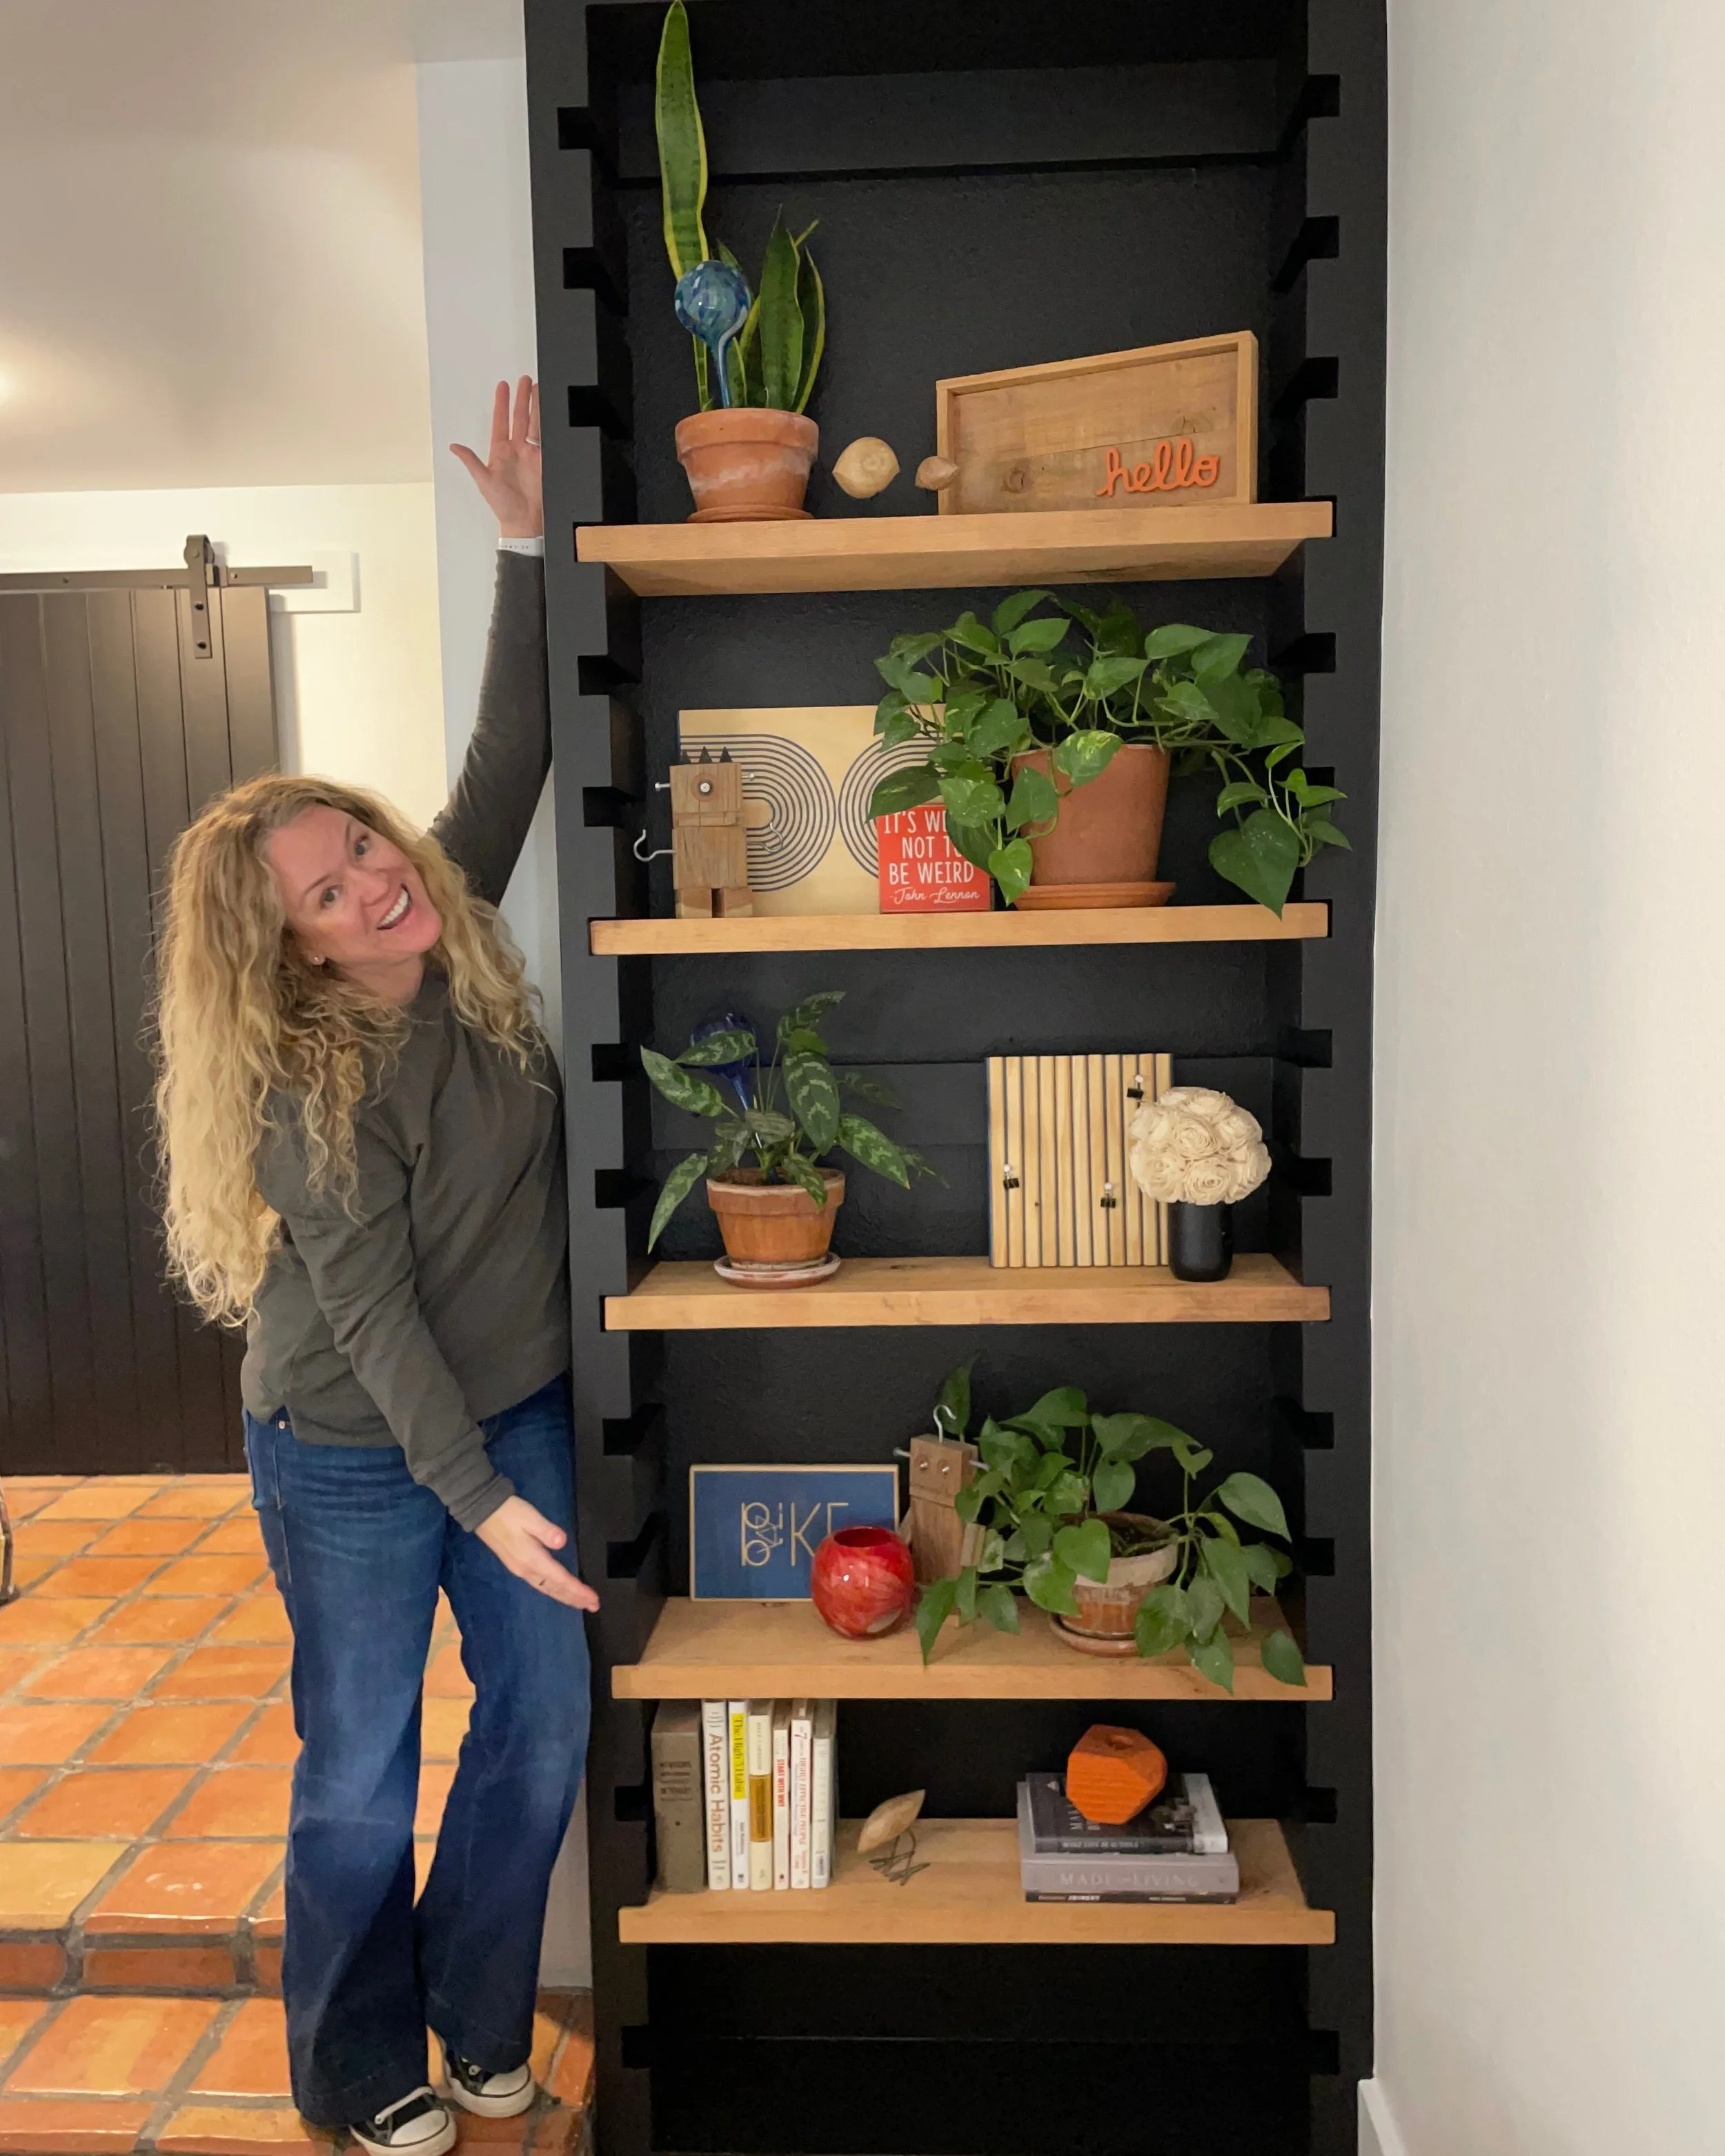
DIY Adjustable Shelf Built-In Bookcase
I had this corner with some shelves that I had my plants on and it was okay. But after installing my DIY Modern Room Divider, I knew I could do something better. Something that not only holds more plants, because we all need more plants in our lives, but that could match the look and feel of the room divider.
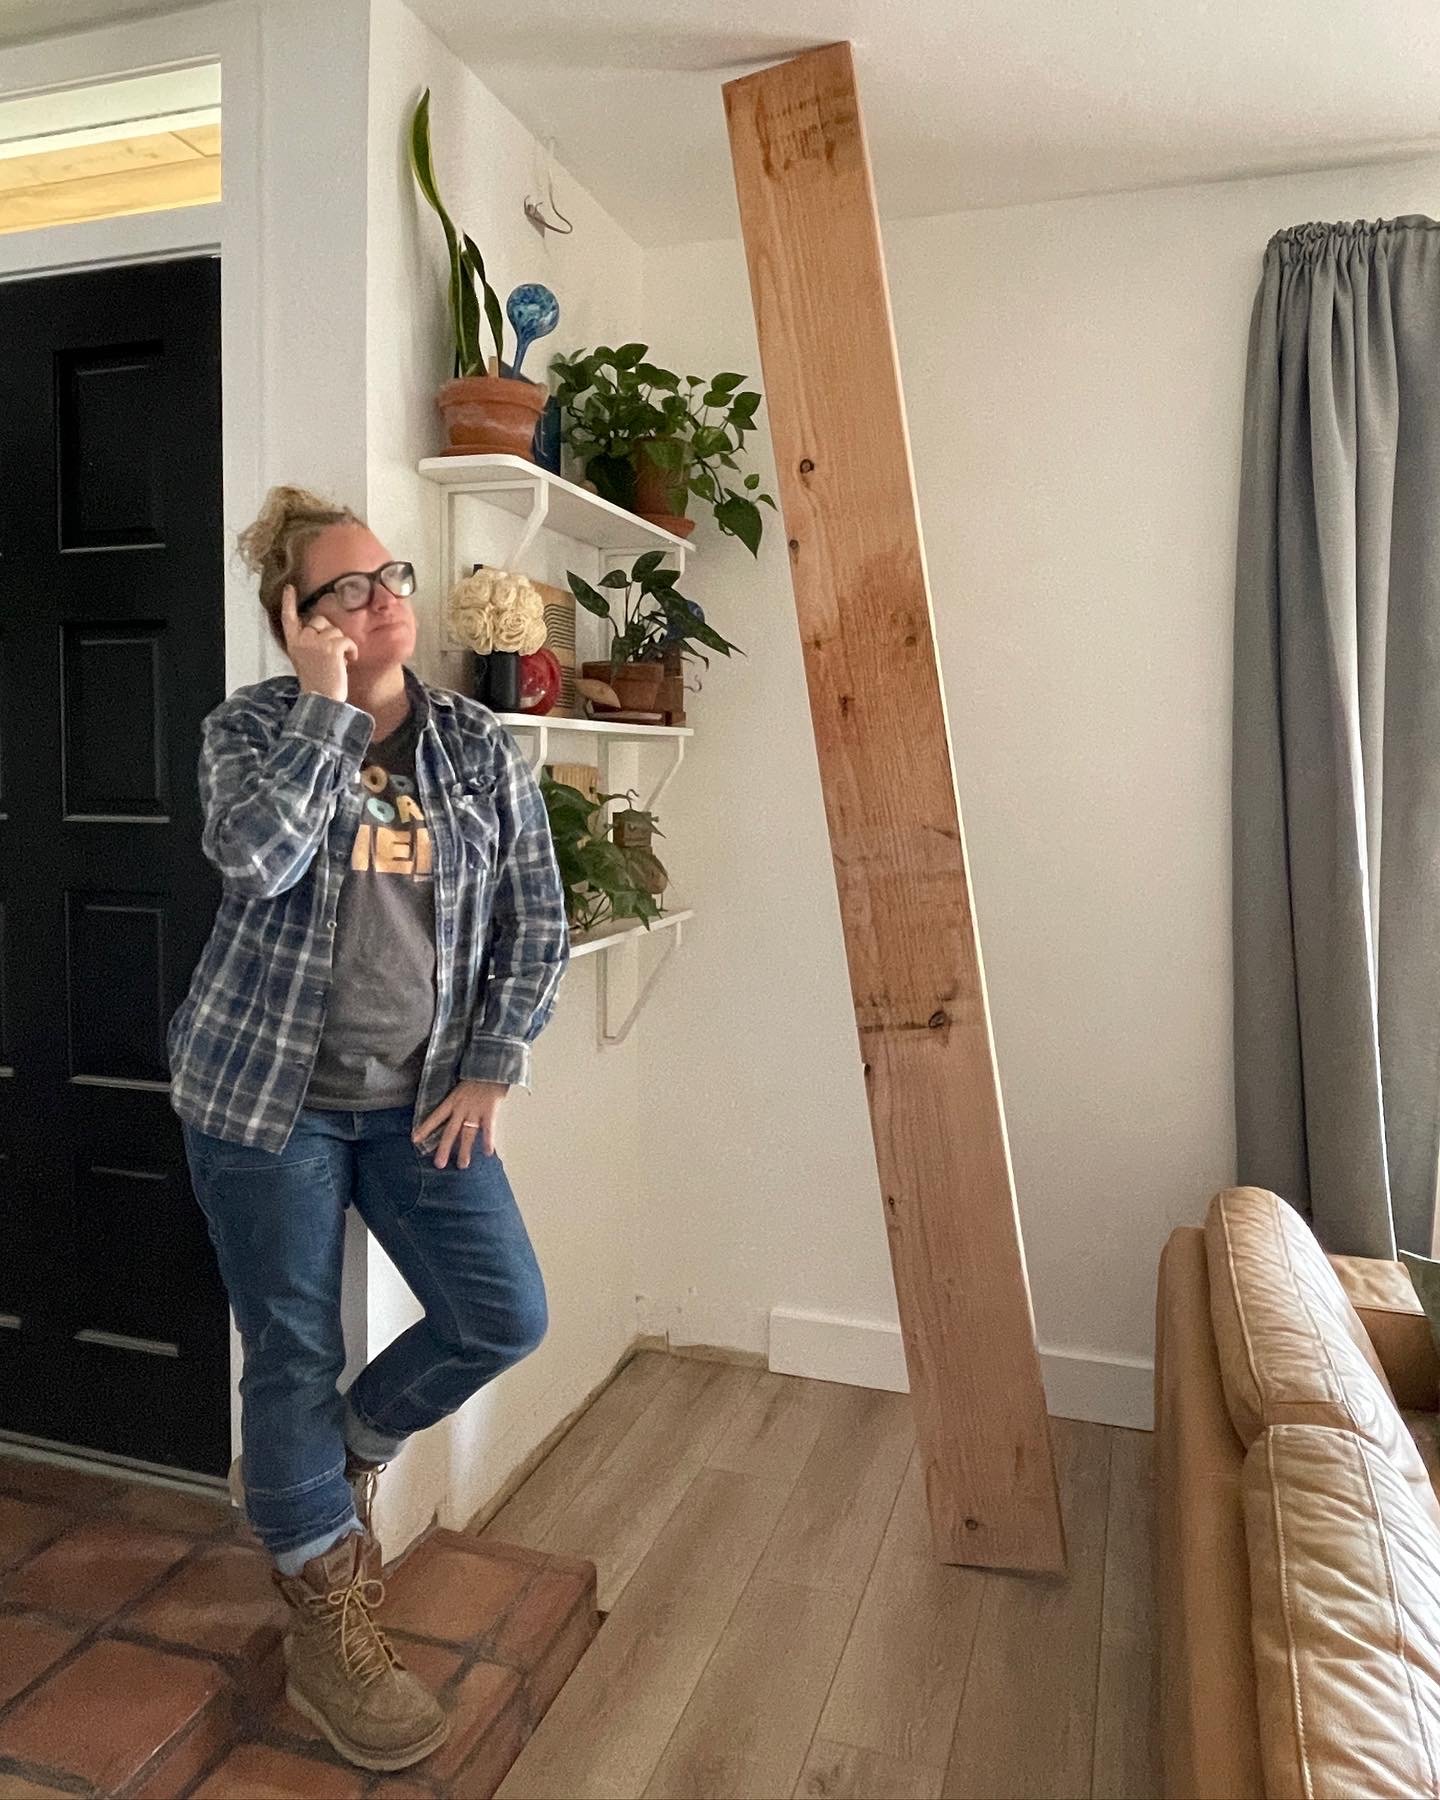
My shelves before… and me using the Pythagorean Theorem to figure out my bookshelf height!
So, I came up with a design for a built-in bookcase or bookshelf that the shelves were adjustable. That way as my plants grow or decor changes the shelves can change with it. Plus, the bookshelf is made from just 2x10’s and wood screws so it is a build that anybody can do!
This post IS sponsored by Simpson Strong-Tie. All opinions are my own. This post DOES contain affiliate links. For more information on my affiliate programs, see my DISCLOSURES page.
TOOLS:
Optional: Thickness Planer & Table Saw - saves on sanding!
MATERIALS:
Frame: 5 - 2 x 10” x * Construction Grade Lumber (*height depends on your ceiling height)
Shelves: 2 - 2 x 10’s for shelves or material of choice, I used scrap Knotty Alder I had lying around for mine.
Approx. 100 - 2 1/2” Simpson Strong-Tie Strong-Drive CSV Construction Screws
Approx. 10 - 3” Simpson Strong-Tie Strong-Drive CSV Construction Screws
Step 1: Math
Since everybody’s houses are going to be different I figured I would help with the math rather than just share the dimensions I used.
HEIGHT: Determine your ceiling height and then use the Pythagorean Theorem to determine the maximum height you can make the bookcase and still be able to install it. In my case my ceiling height is 103” and the depth of the bookcase is 9” so I made my maximum bookcase height 102 1/2”
A (height of my board) squared +B (depth of my bookcase 9”) squared = C (ceiling height) 103” squared
10,528 + 81 = 10,609 then square root of 10,528 = 102.6 and I rounded to 102 1/2”

Pythagorean Theorem
WIDTH: This is going to be determined by your space… mine was 37” wide.
DEPTH: Mine was 9” deep because I ripped one of the rounded over edges off of each board to give it a more modern look. But if you don’t have a table saw, yours would be the width of the boards.
2x10’s are suppose to be 9 1/4”, but since mine weren’t I only rip the rounder’s off of one side so I could keep the depth of my bookcase at 9”.
Step 2: Build/Cut Shelves
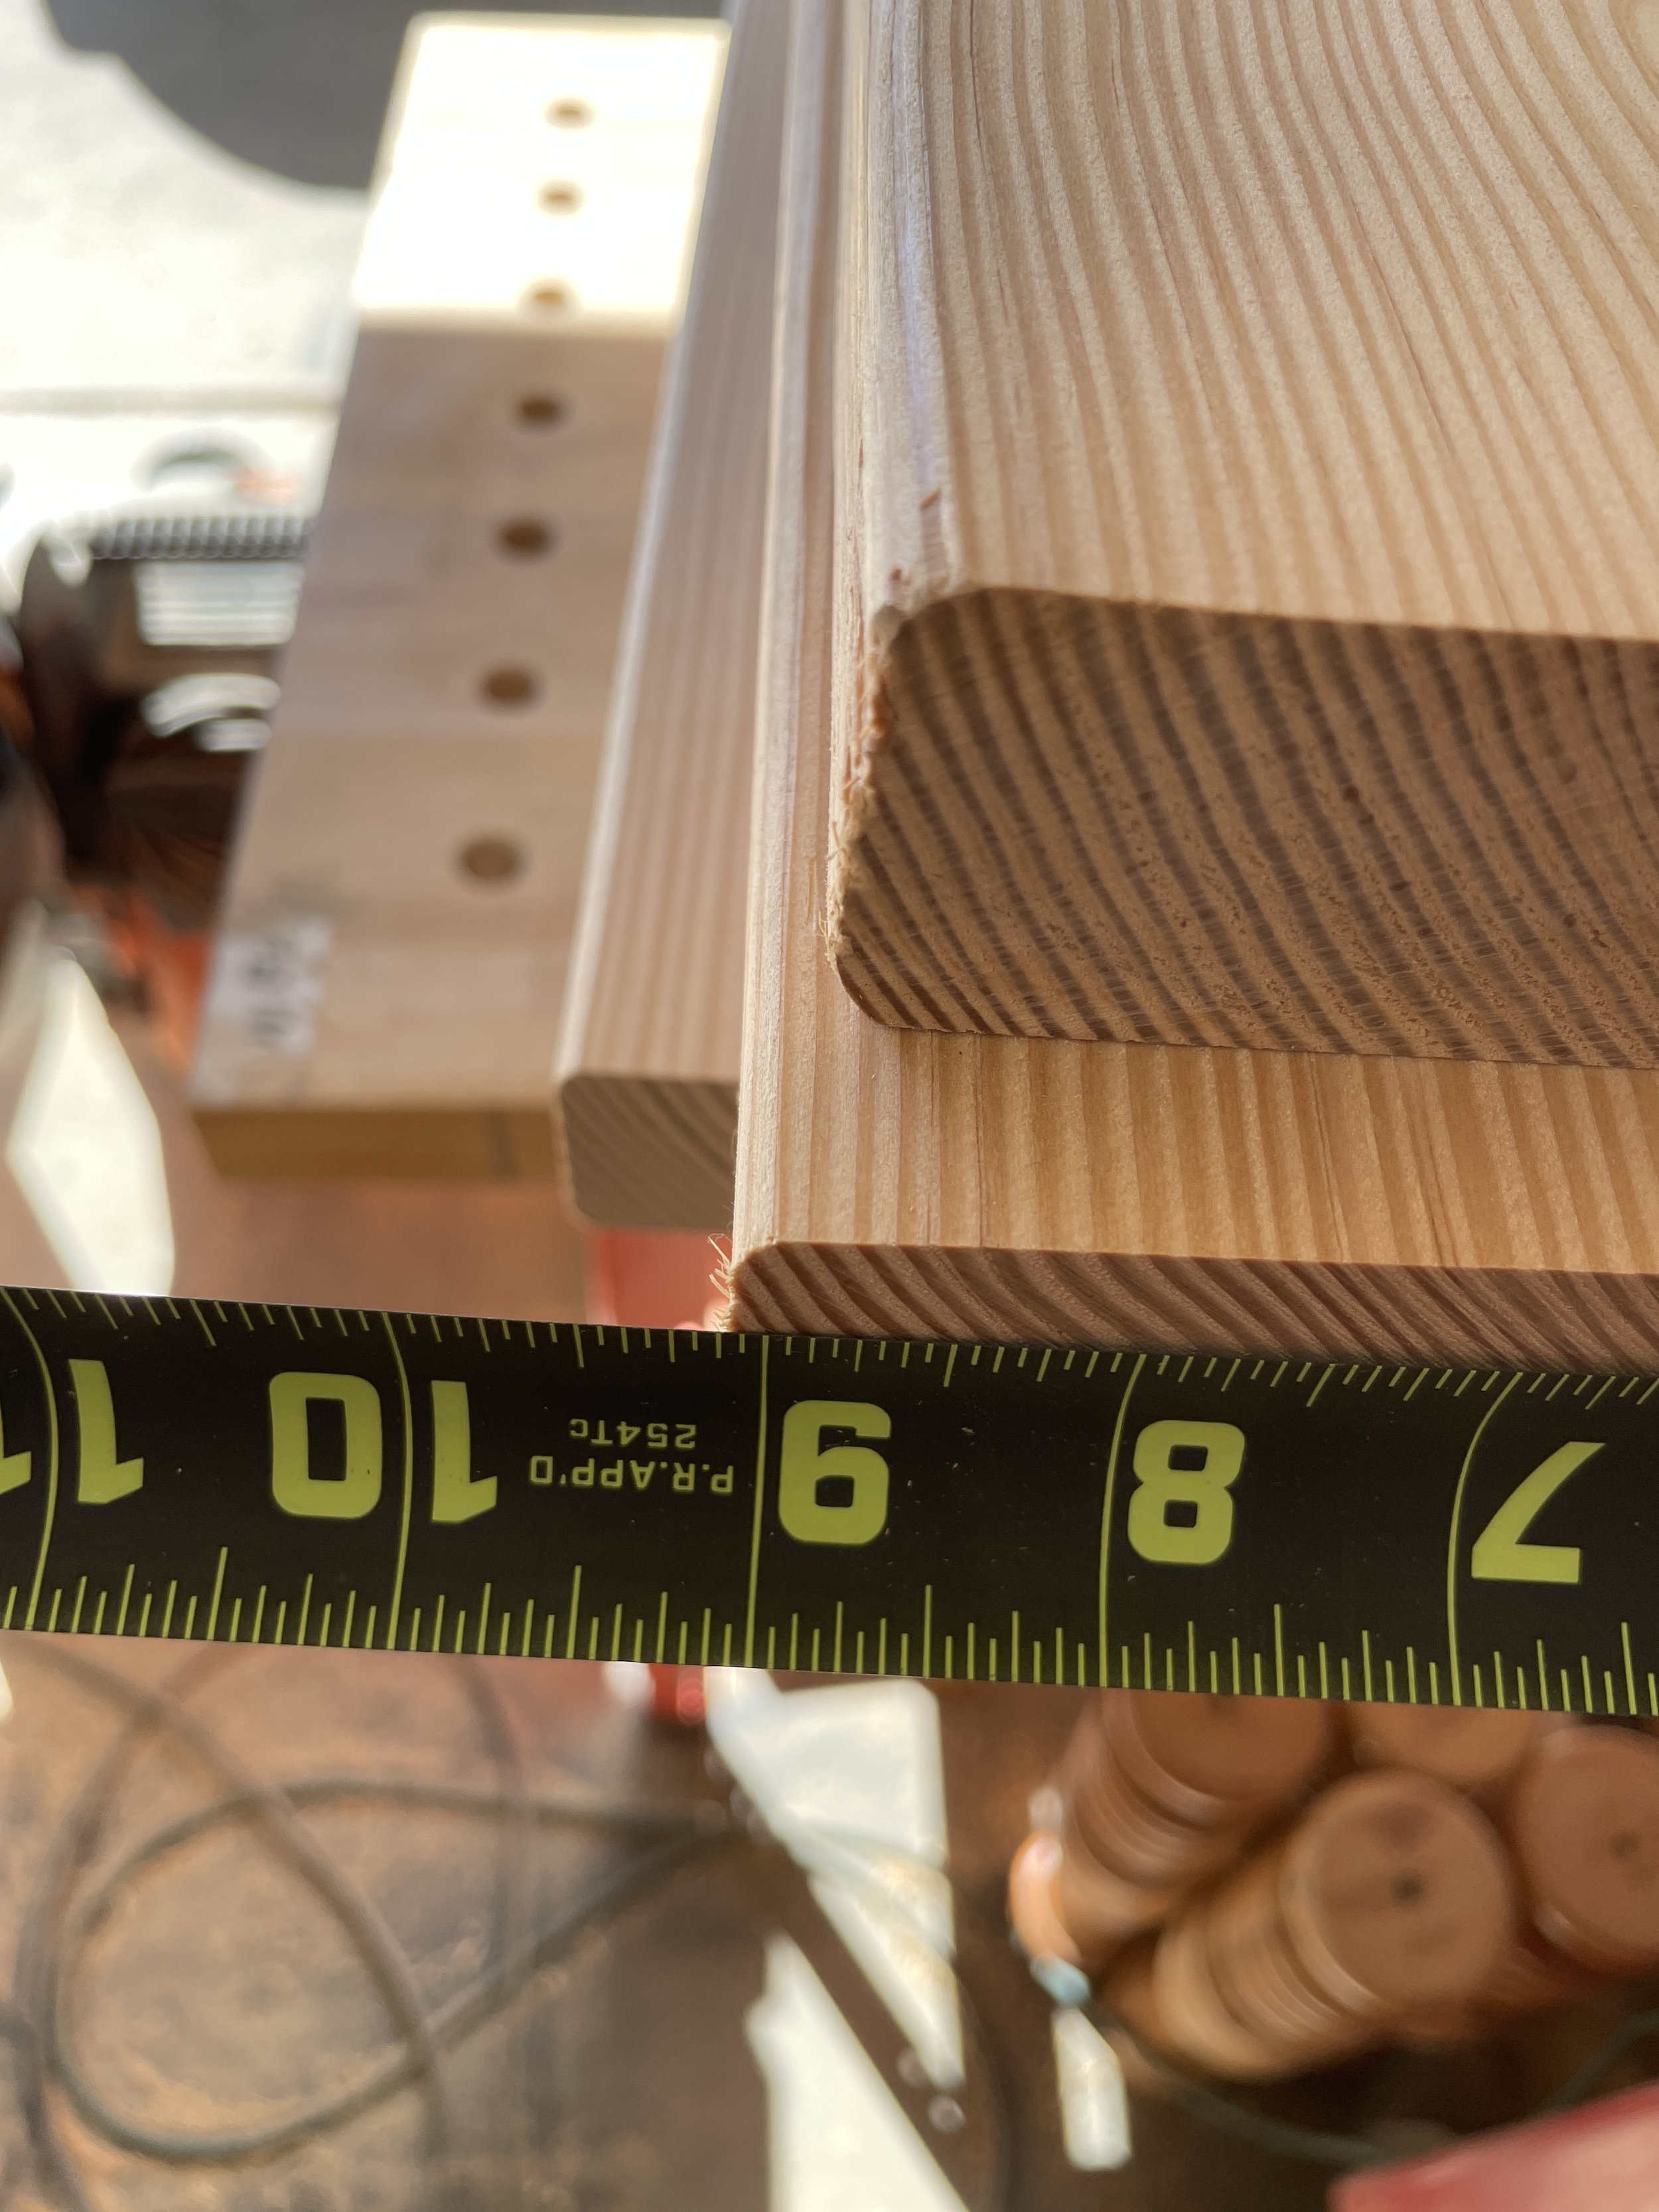
This is the second step because we need to know how thick the shelves are going to be in order to determine how big the slots need to be. After milling, glueing and trimming my shelves they came out to 1 5/8” thick. And since we know wood can expand and contract with the humidity in the air, plus I will be painting the frame I made the slots 1 3/4” wide. This will give plenty of room for expansion and paint and allow the shelves to be adjusted easily.

You need to know the thickness of your shelves before you can determine the spacing and short side pieces.
Step 3: More Math
Now that we now how thick our shelves are we can determine the how many and what size the short pieces are that create the slots.
Total height - minus thickness of top & bottom supports - minus (# of slots x gap) / divided # of short piece*
102 1/2” - 2 3/4” - (16 x 1 3/4” = 28) / 17 = 4.22”
The number of slots you want might be different than mine if your ceiling height is different, so you will just have to play with the math to determine how big you want to cut the short pieces at. I had 16 gaps and 17 short pieces for each side.

Optional: Rip round-overs off the boards using a table saw and plane using a thickness planer to save on sanding time and give a more modern look.
Step 4: Cut List
Now that we have done the math, it is time to cut everything out.
Cut Side Pieces - my case 2 - 2x10 x 102 1/2”
Cut Top and Bottom pieces - my case 2 - 2x10 x 34 1/4”
Cut Short Pieces - my case 34 - 2x10 x 4.22” - I recommend using a stop block on your miter saw to ensure all pieces are the exact same width. And then cut two pieces at a time, make sure they are the same width and place them on your side boards. This ensures that the short pieces will be the exact on both sides of the uprights. And will help you catch any mistakes before assembly…. watch the YouTube video to find out how I know this!
Cut to brace pieces - my case 2x 4.22” x 34 1/4” - these are put on the top and middle of the bookcase to support it and to secure it to the wall during installation.

I set up a stop block on my miter saw to ensure short pieces were cut consistently.

Laying out the short pieces to make sure they are the same on both sides.
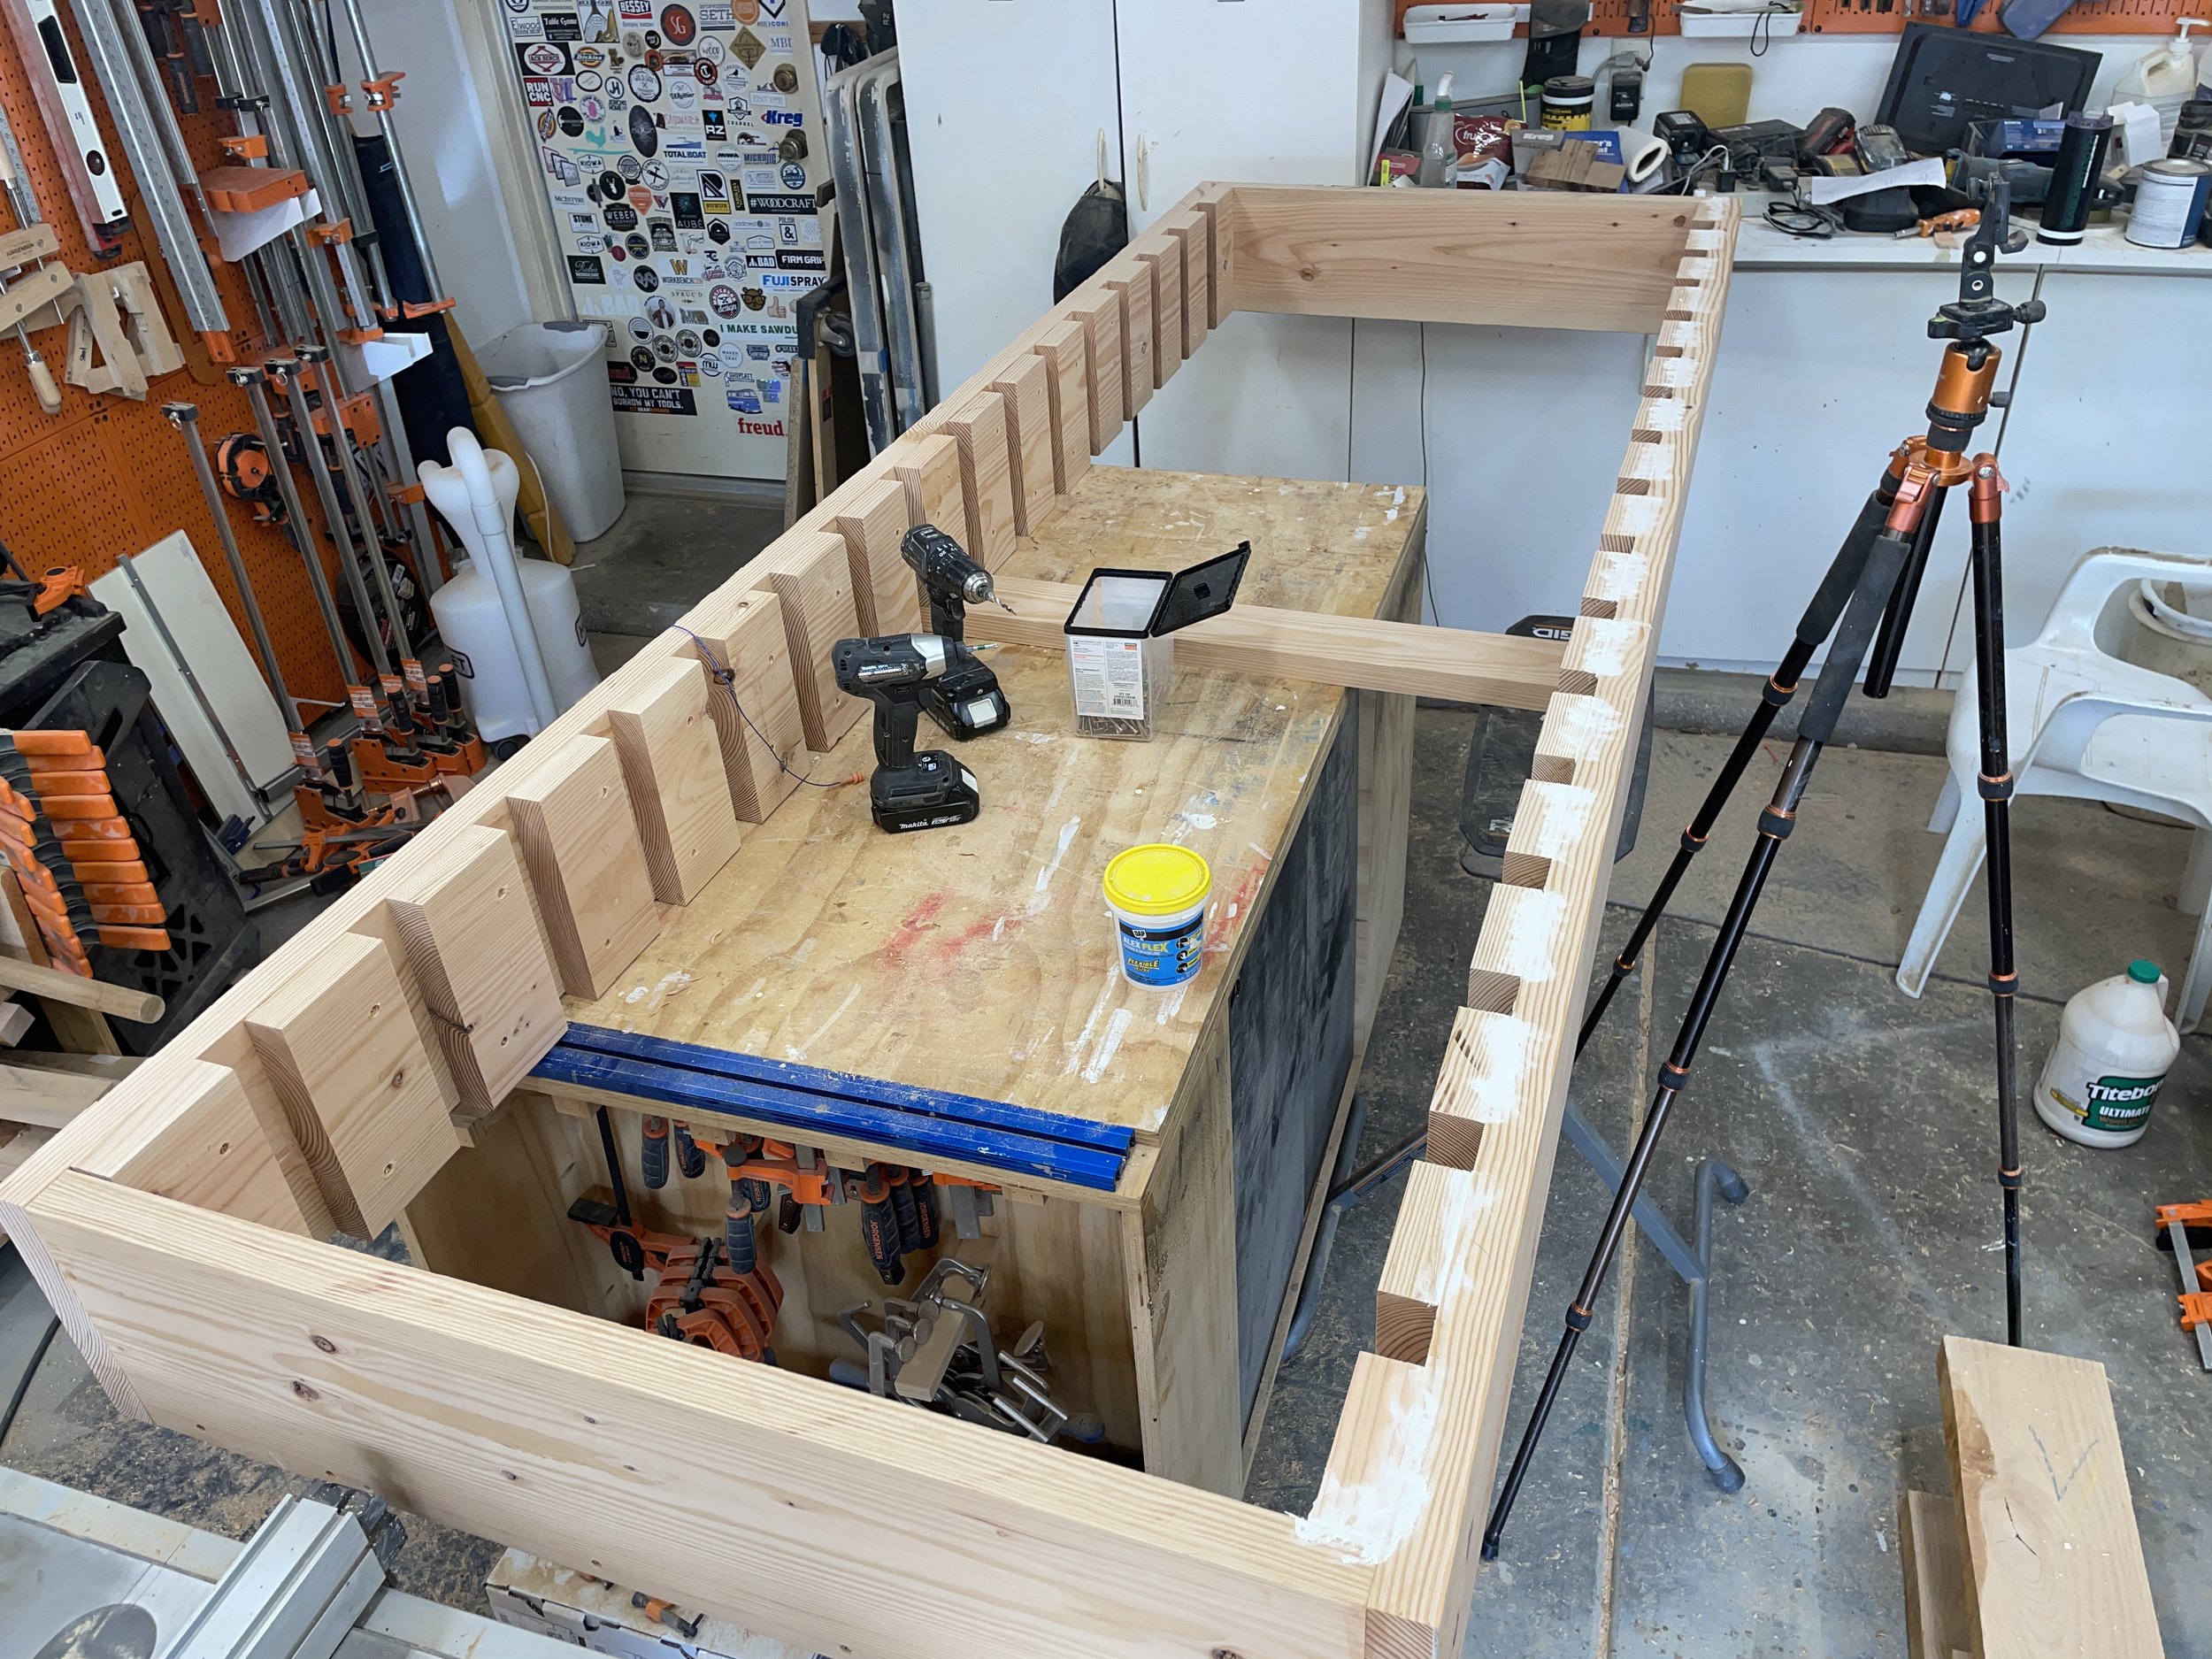
Step 5: Let’s Build!
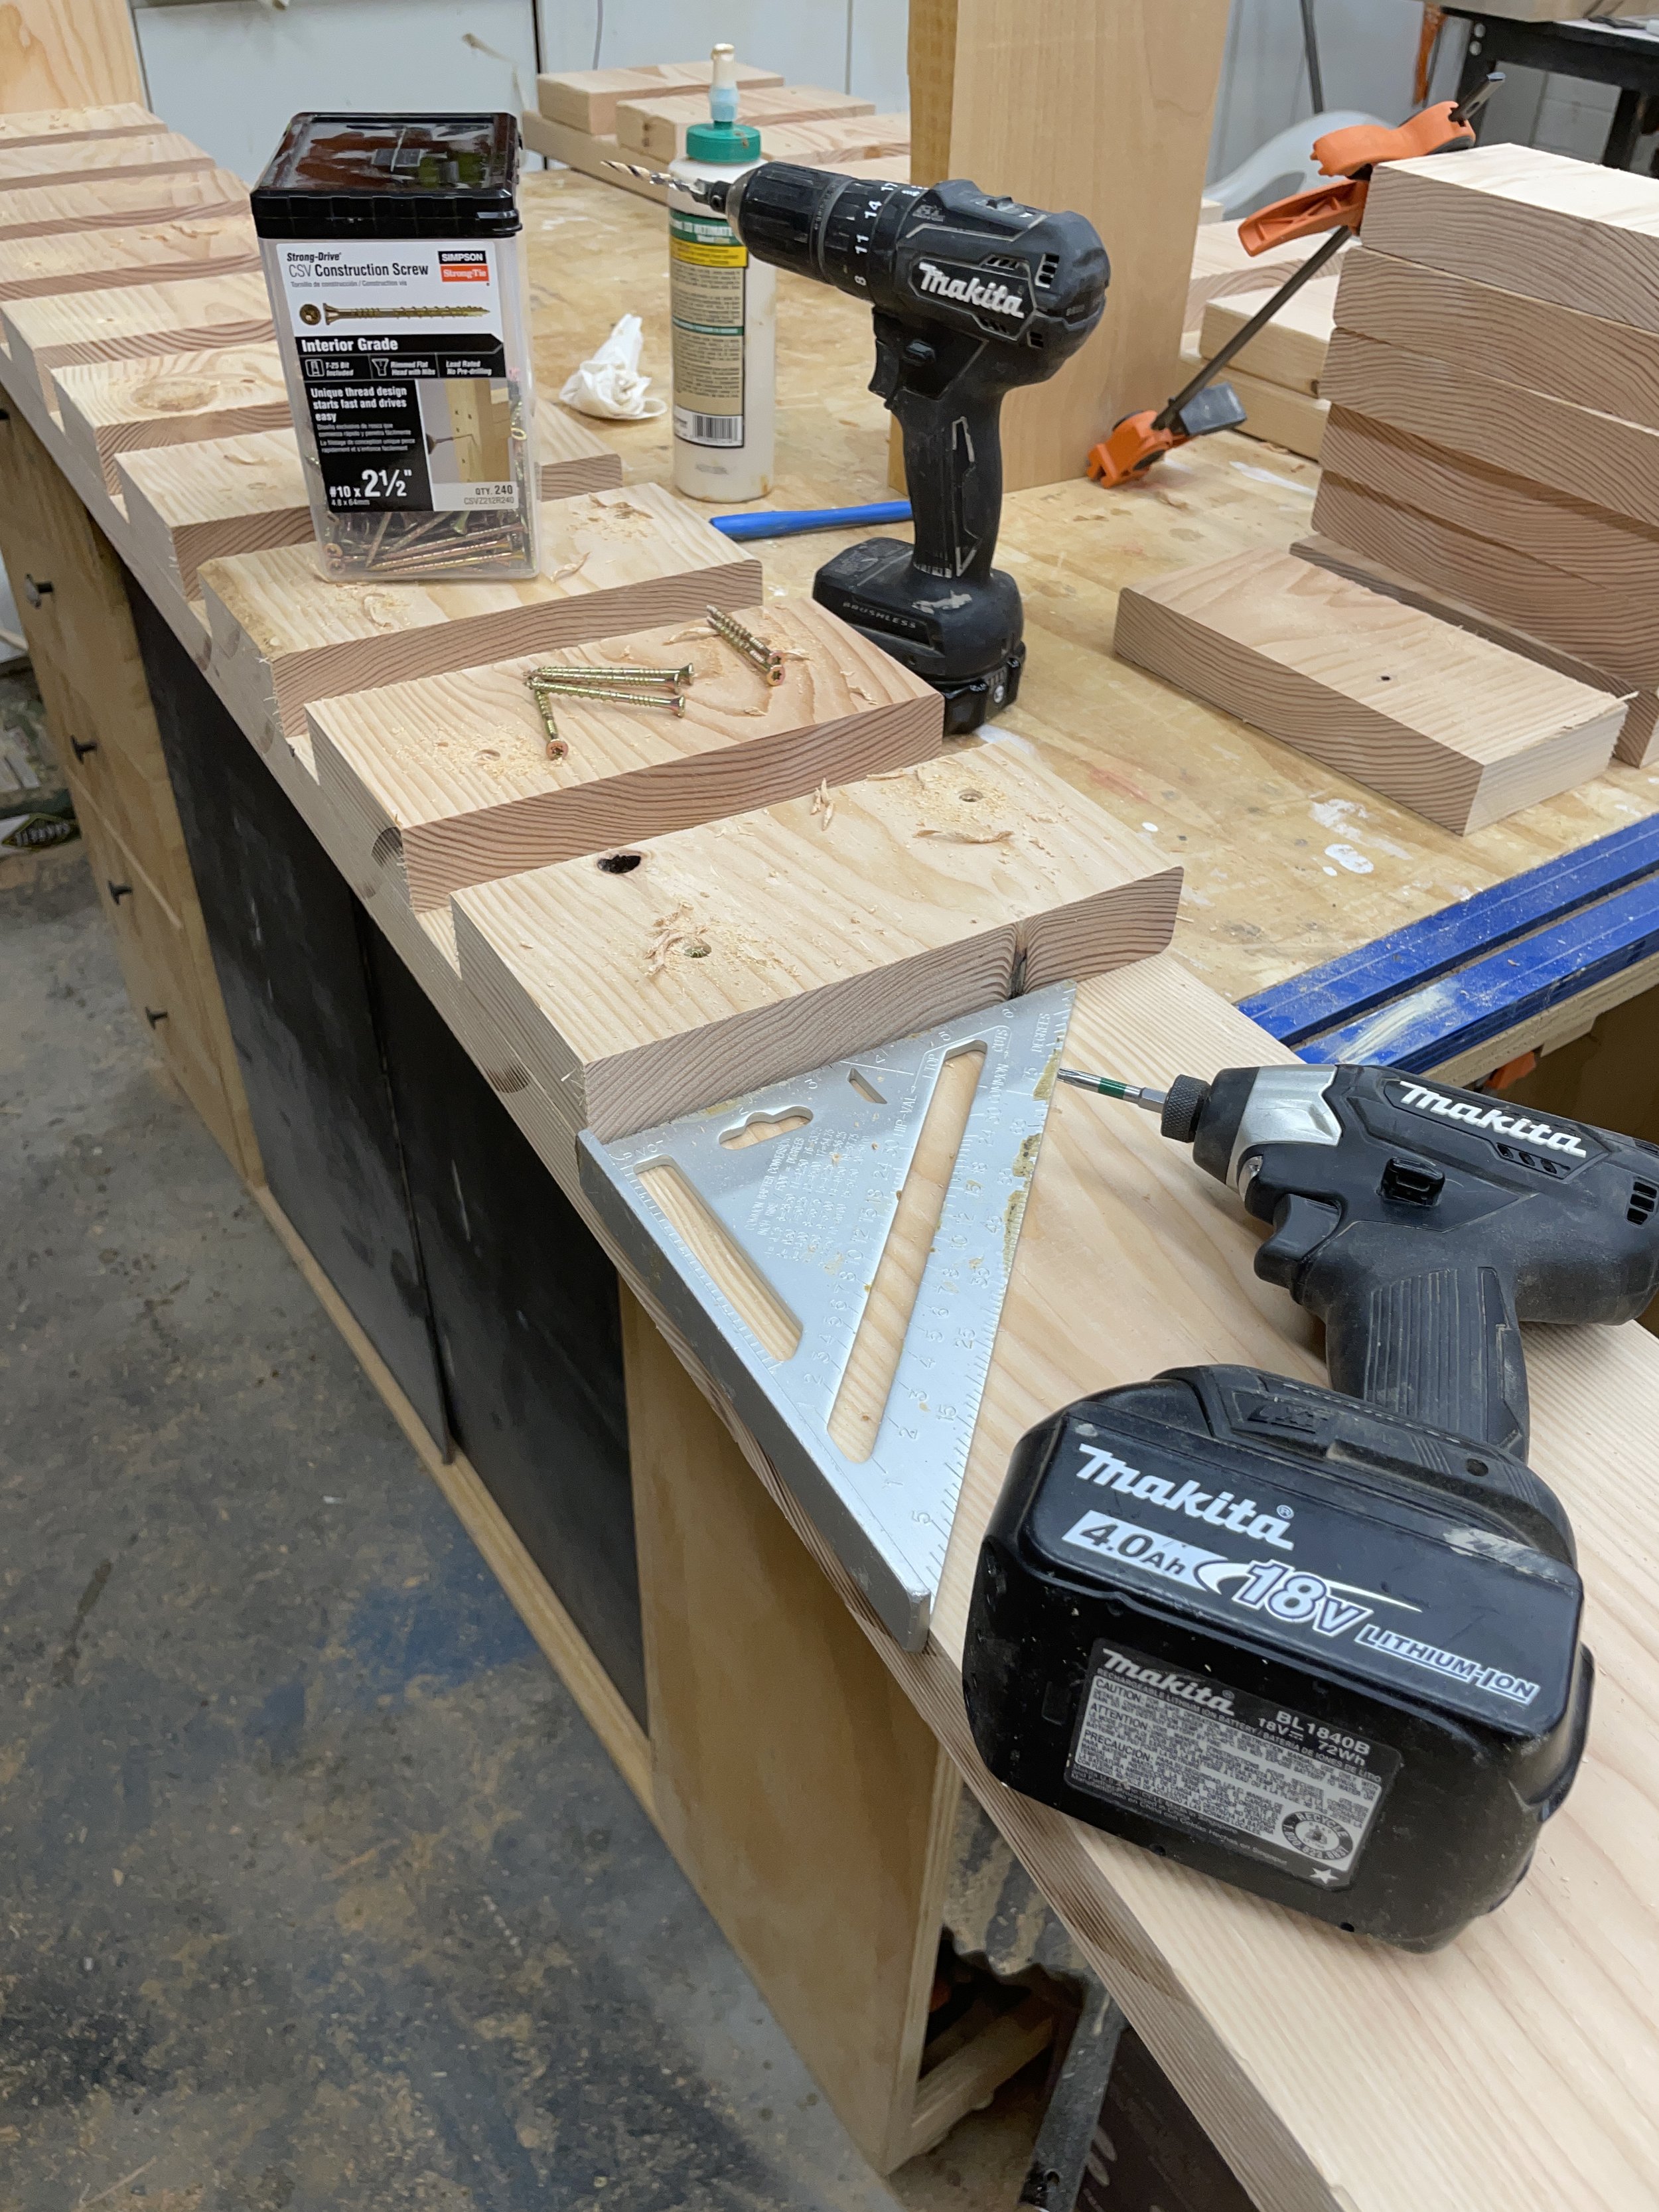
Using wood glue and Simpson Strong-Tie’s 2 1/2” Strong-Drive CSV Construction Screws attach the top and bottom to one of the sides.
Using wood glue and Simpson Strong-Tie’s 2 1/2” Strong-Drive CSV Construction Screws attach side two to the top and bottom.
Using wood glue and Strong-Tie’s 2 1/2” Strong-Drive CSV Construction Screws attach top brace piece.
Trim 1st Short Piece on each side so that it is fits flush to front of bookcase.
Secure 1st short piece to bookcase using wood glue and two (2) Strong-Tie’s 2 1/2” Strong-Drive CSV Construction Screws
Create spacer block the exact size of your slot gaps. Mine was 1 3/4”.
Using spacer block, speed square and possibly clamp to position your next short piece and attach using wood glue and Strong-Tie’s 2 1/2” Strong-Drive CSV Construction Screws.
Repeat down side one. If there were any errors they can be fixed or adjusted on the bottom gap and short piece as they will be less noticeable.
Flip bookcase carcass and repeat on other side. Consistently verify that each short piece is level with other side inserting one shelf in slot and verifying its level.
Fill, sand, prime.

Assembling the carcass before attaching the short pieces help ensure everything stays square.
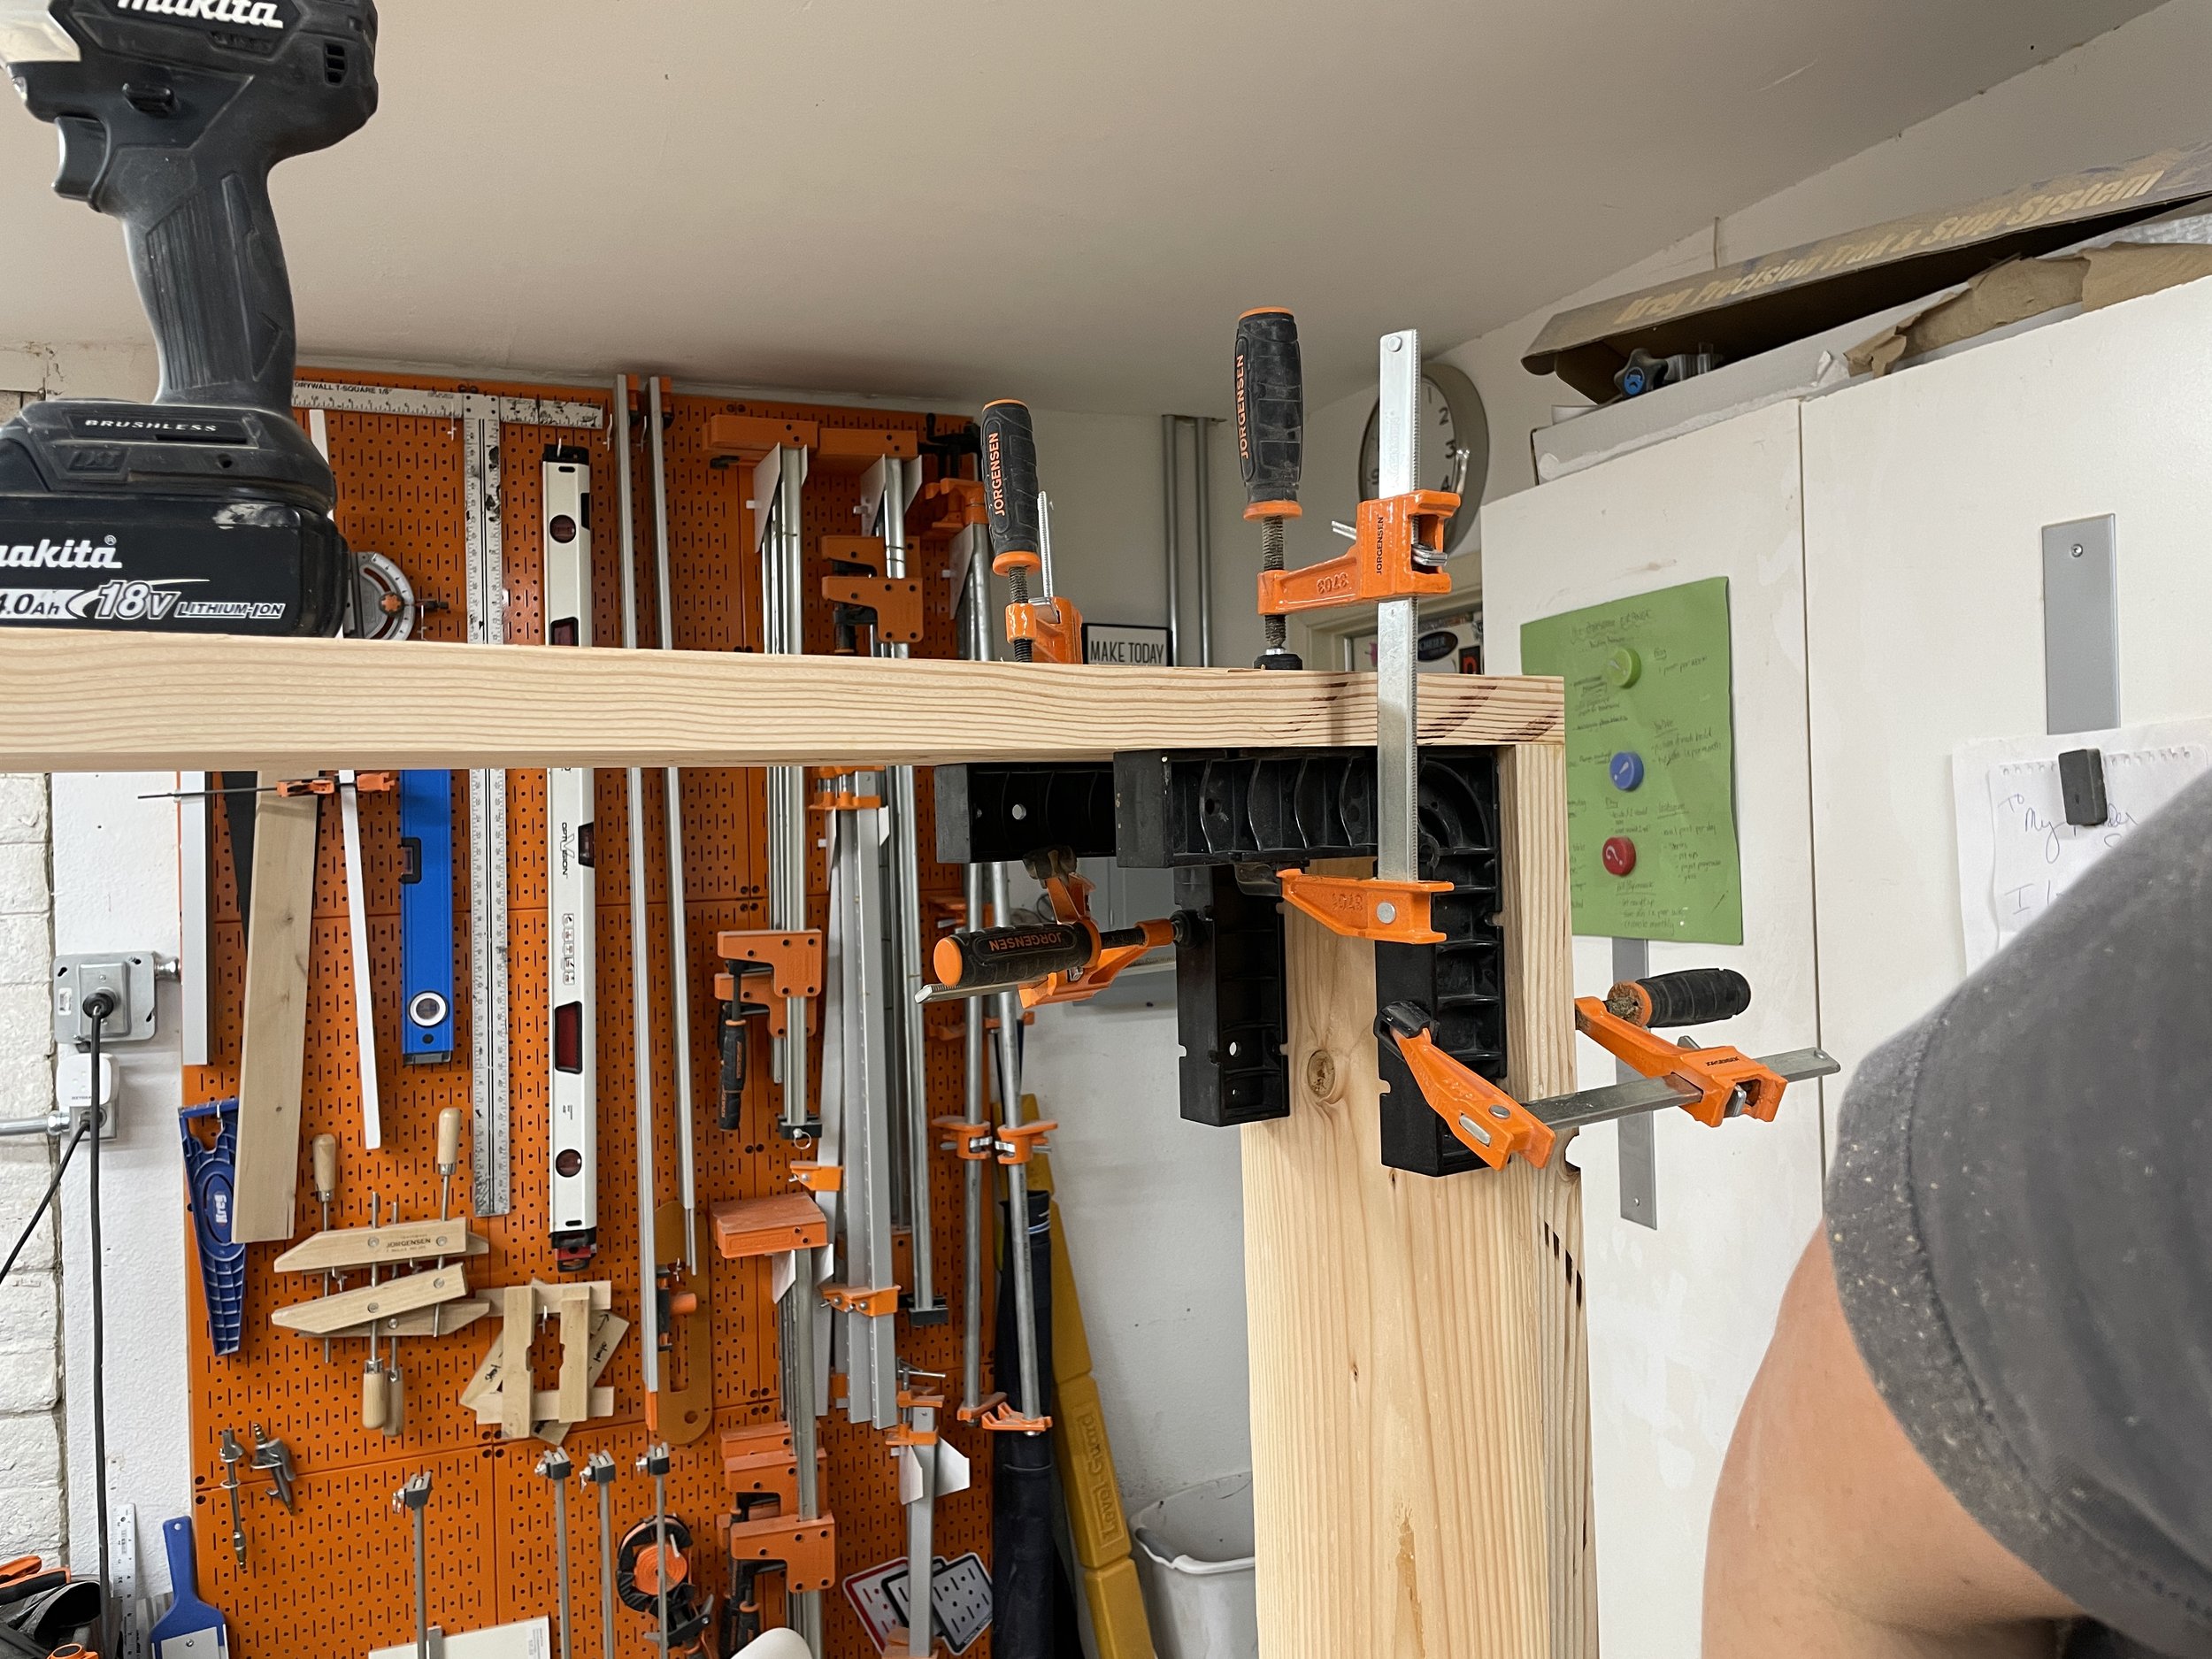
I used clamps and my right angle jigs to ensure the bookcase carcass started out square.

Lay out and number the short pieces for each side so that you can ensure they will match.
Use spacer black to ensure consistent spacing between block and a speed square to make sure everything is staying square and level.

These screws don’t require pre-drilling but I did use a countersink bit to drill first and then screws so I could hide screw holes later.
Fill all screw holes with wood filler and any seems and sand flush.
Step 6: Installation
With the help of a friend place bookcase in place and secure to walls into studs using Strong-Tie’s 3” Strong-Drive CSV Construction Screws. You will need a level to ensure that the bookcase is plumb. You also might have to scribe trim on the sides depending on how level your drywall is.
Then add a simple trim to the top of the bookcase to close the gap from the top of the bookcase to the ceiling.
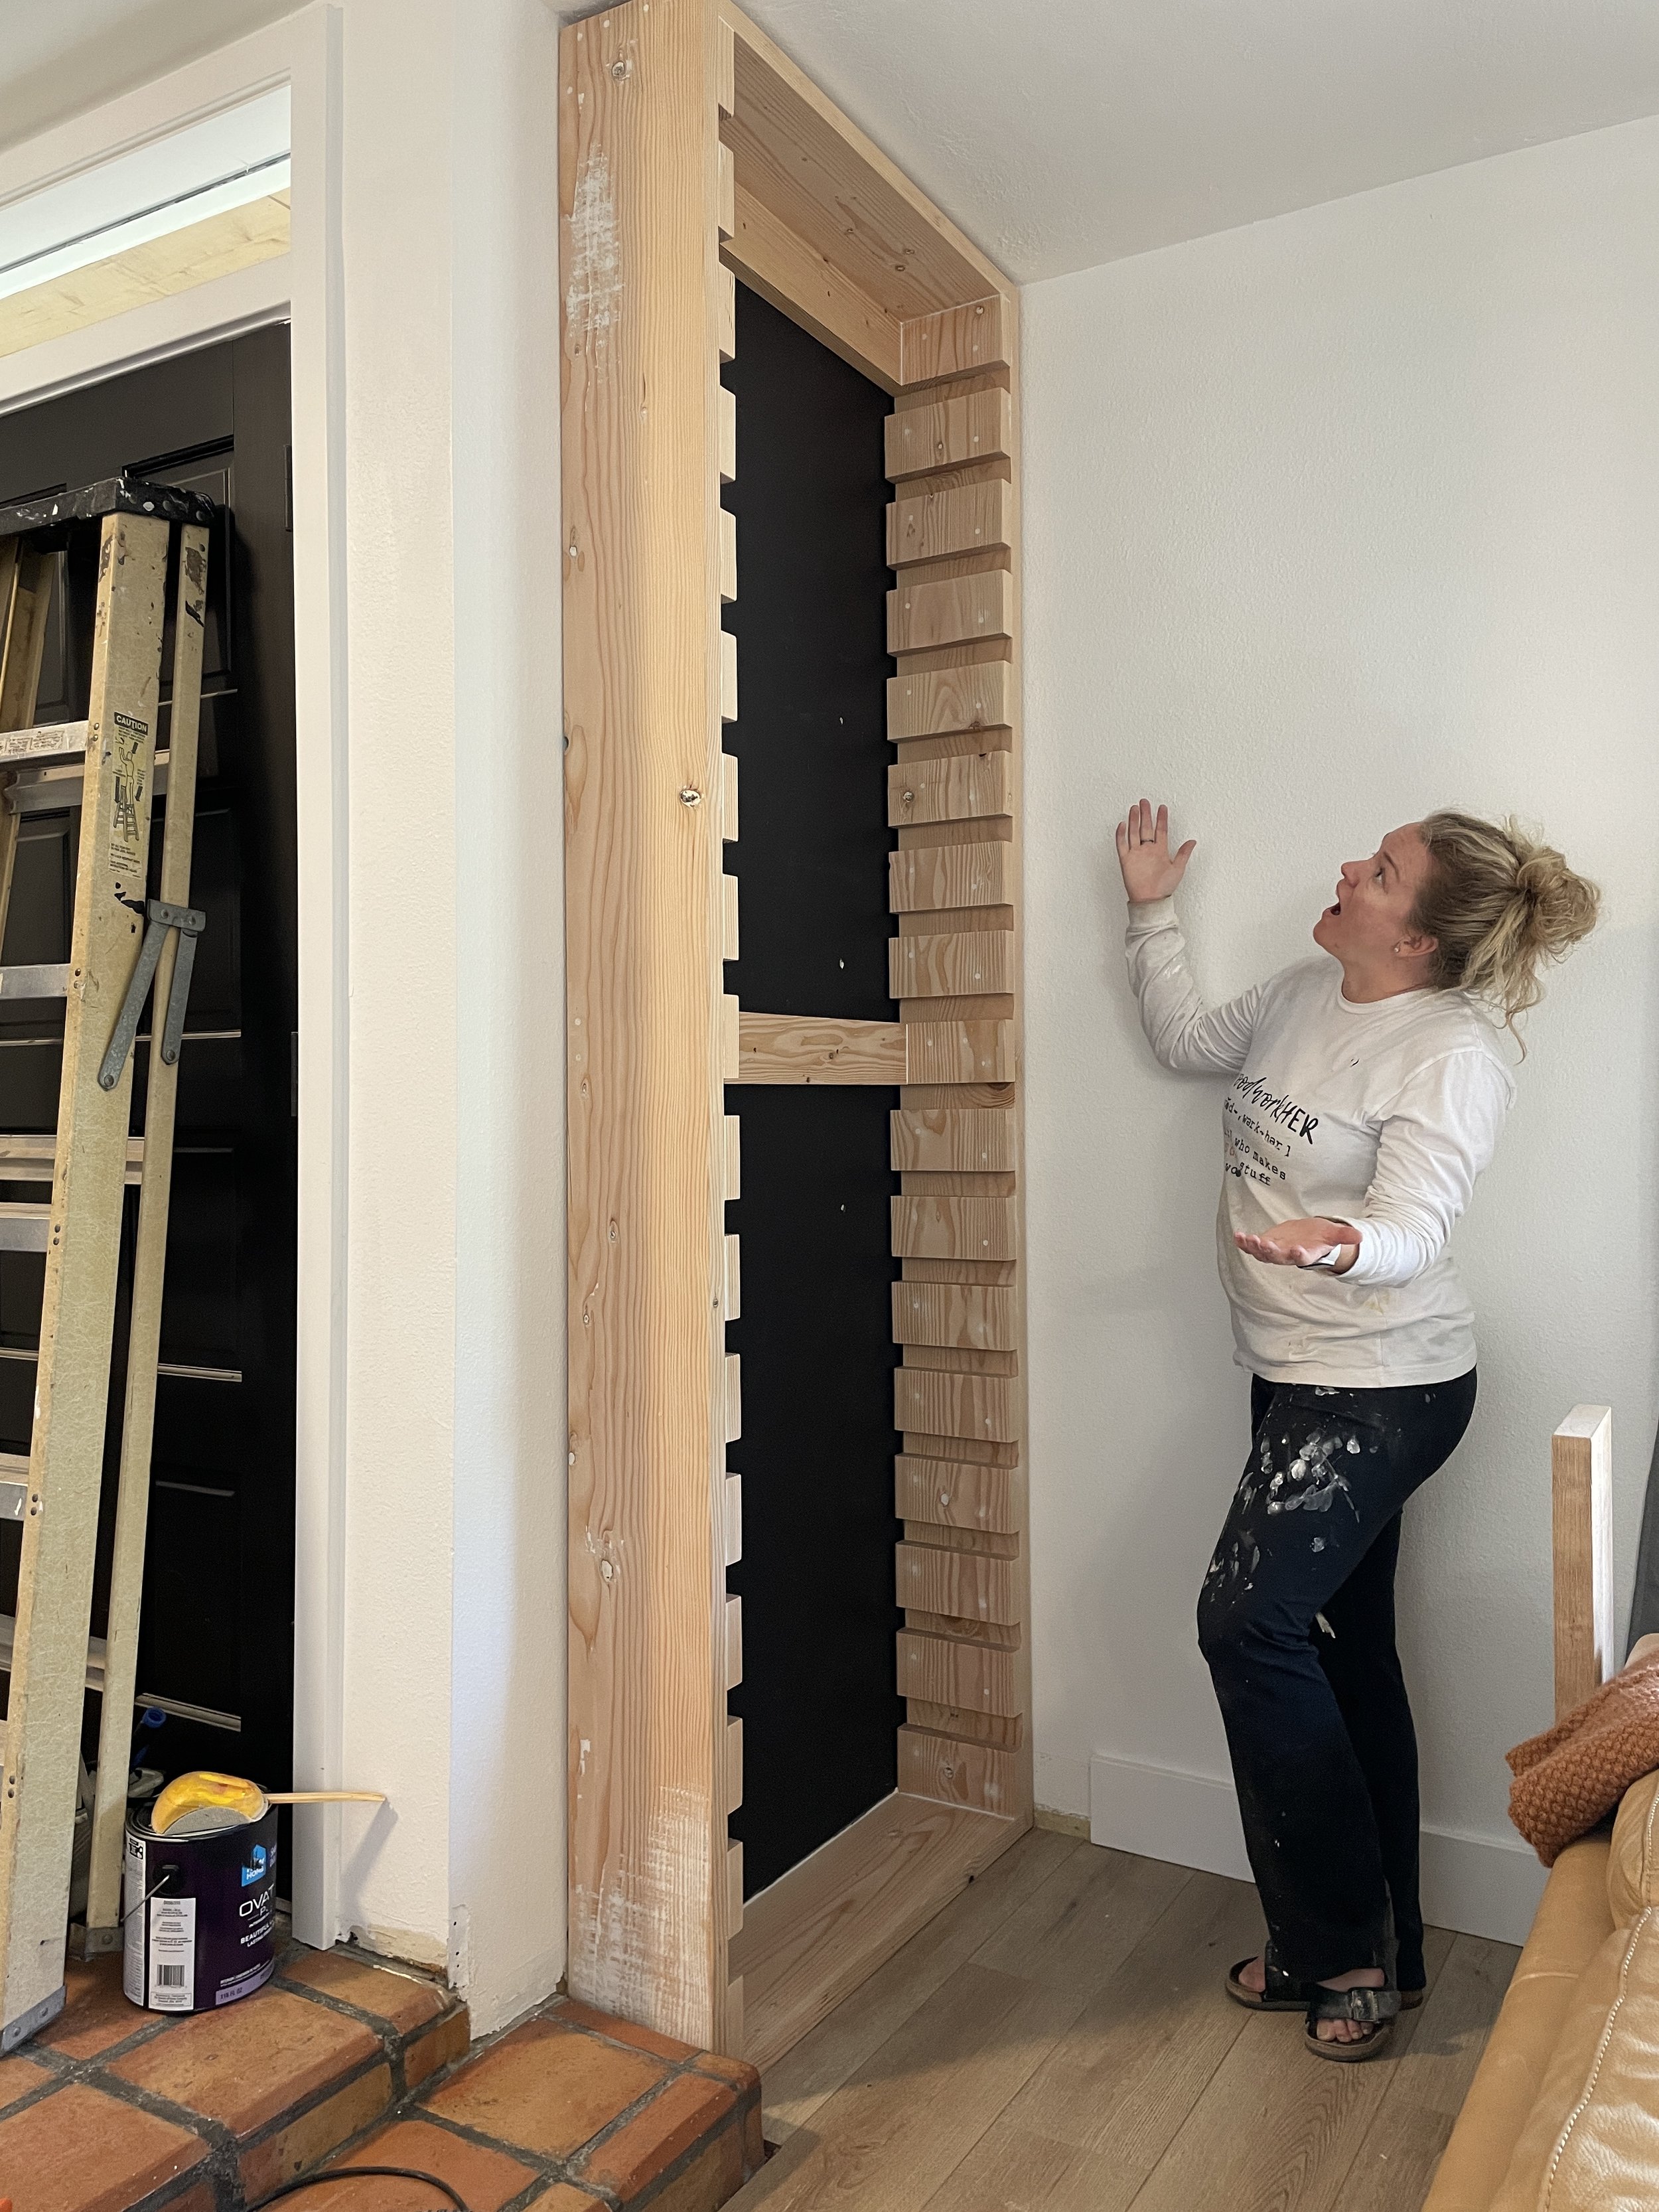
Before installing I painted the back wall the color of the bookcase to save time down the road.
Step 7: Finish
Caulk any gaps, fill any nail holes and paint your desired color. I painted mine Sherwin Williams Tricorn Black. And I sealed my shelves using General Finishes High Performance Top Coat in Flat.

Caulk, scribe, trim, fill, prime, paint…. this prep took the longest of this build, but was worth it in the end.

Before sealing my shelves I used a wire wheel on my restorer to create some texture.

So dramatic…. I can’t wait to add shelves once the paint cures.
Step 8: Style
Style your shelves and adjust the shelves to fit your decor!

I might not be the best at styling shelves, but I can make an AWESOME bookcase!
I absolutely love how this built-in adjustable shelf bookcase turned out! It adds the drama that my living room was lacking and gives me more room for plants! The slots add the right amount of character and look like I cut dados in a really thick piece of wood rather than use 2x10’s.
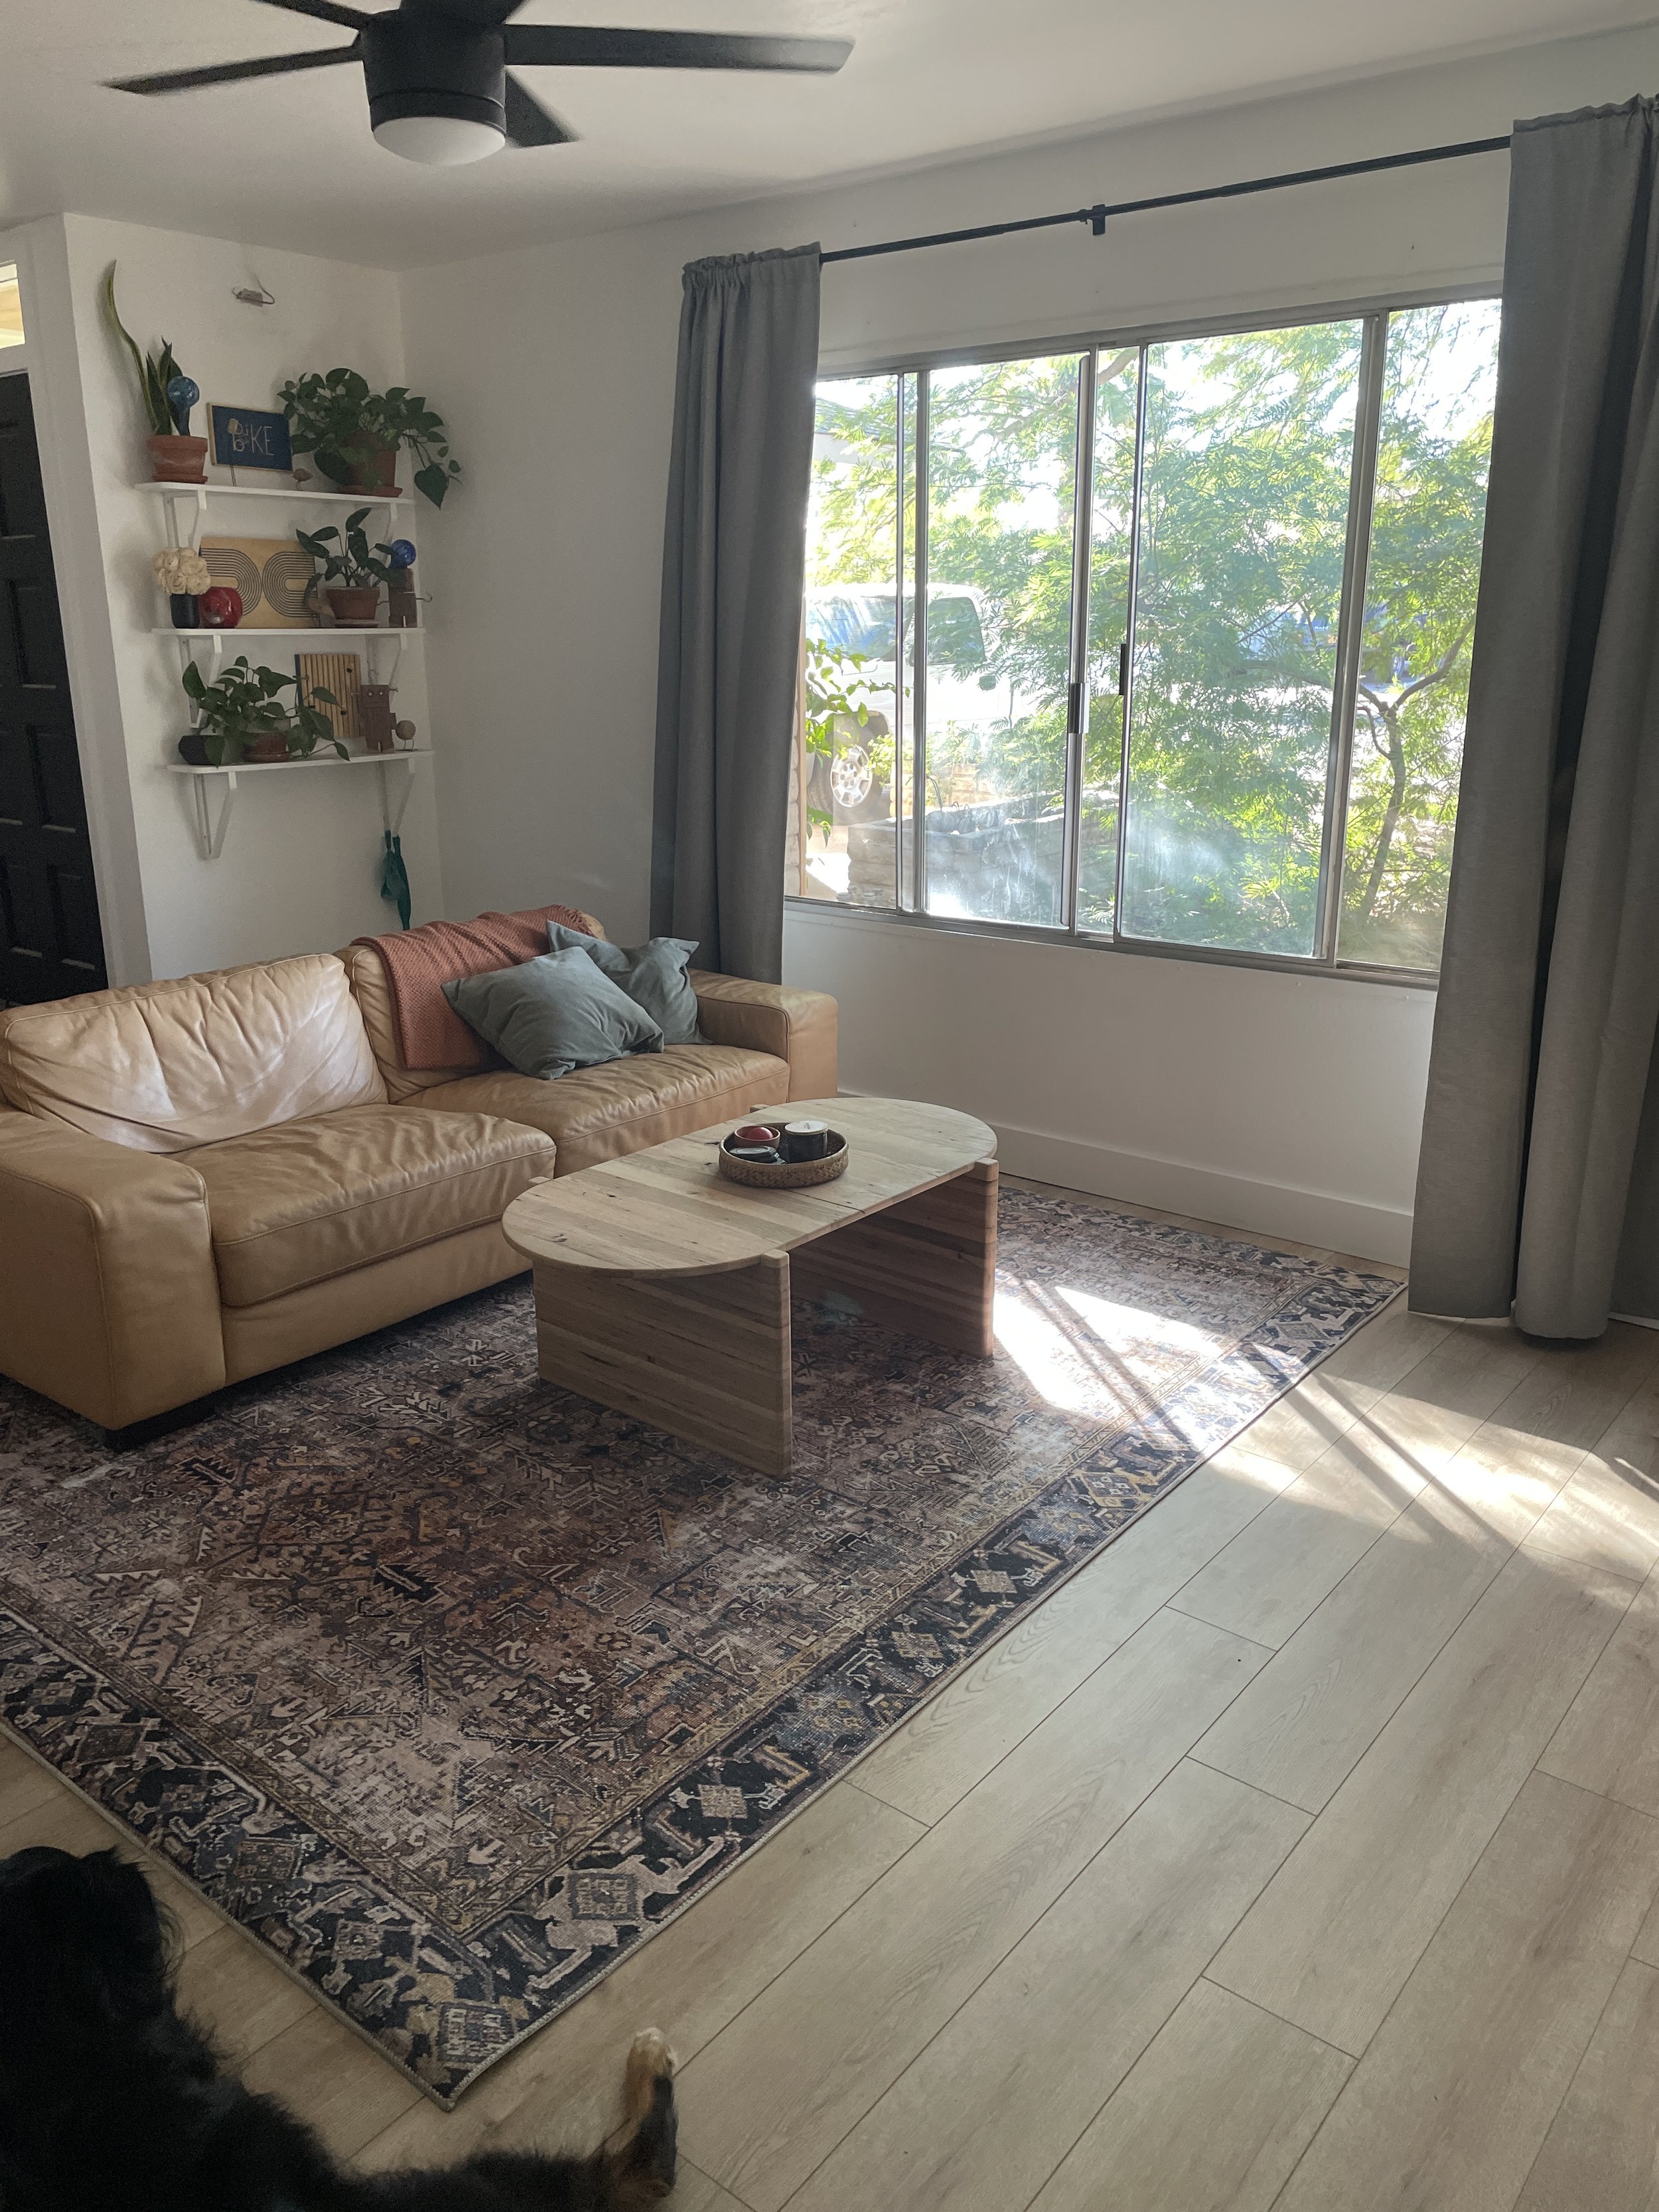
BEFORE
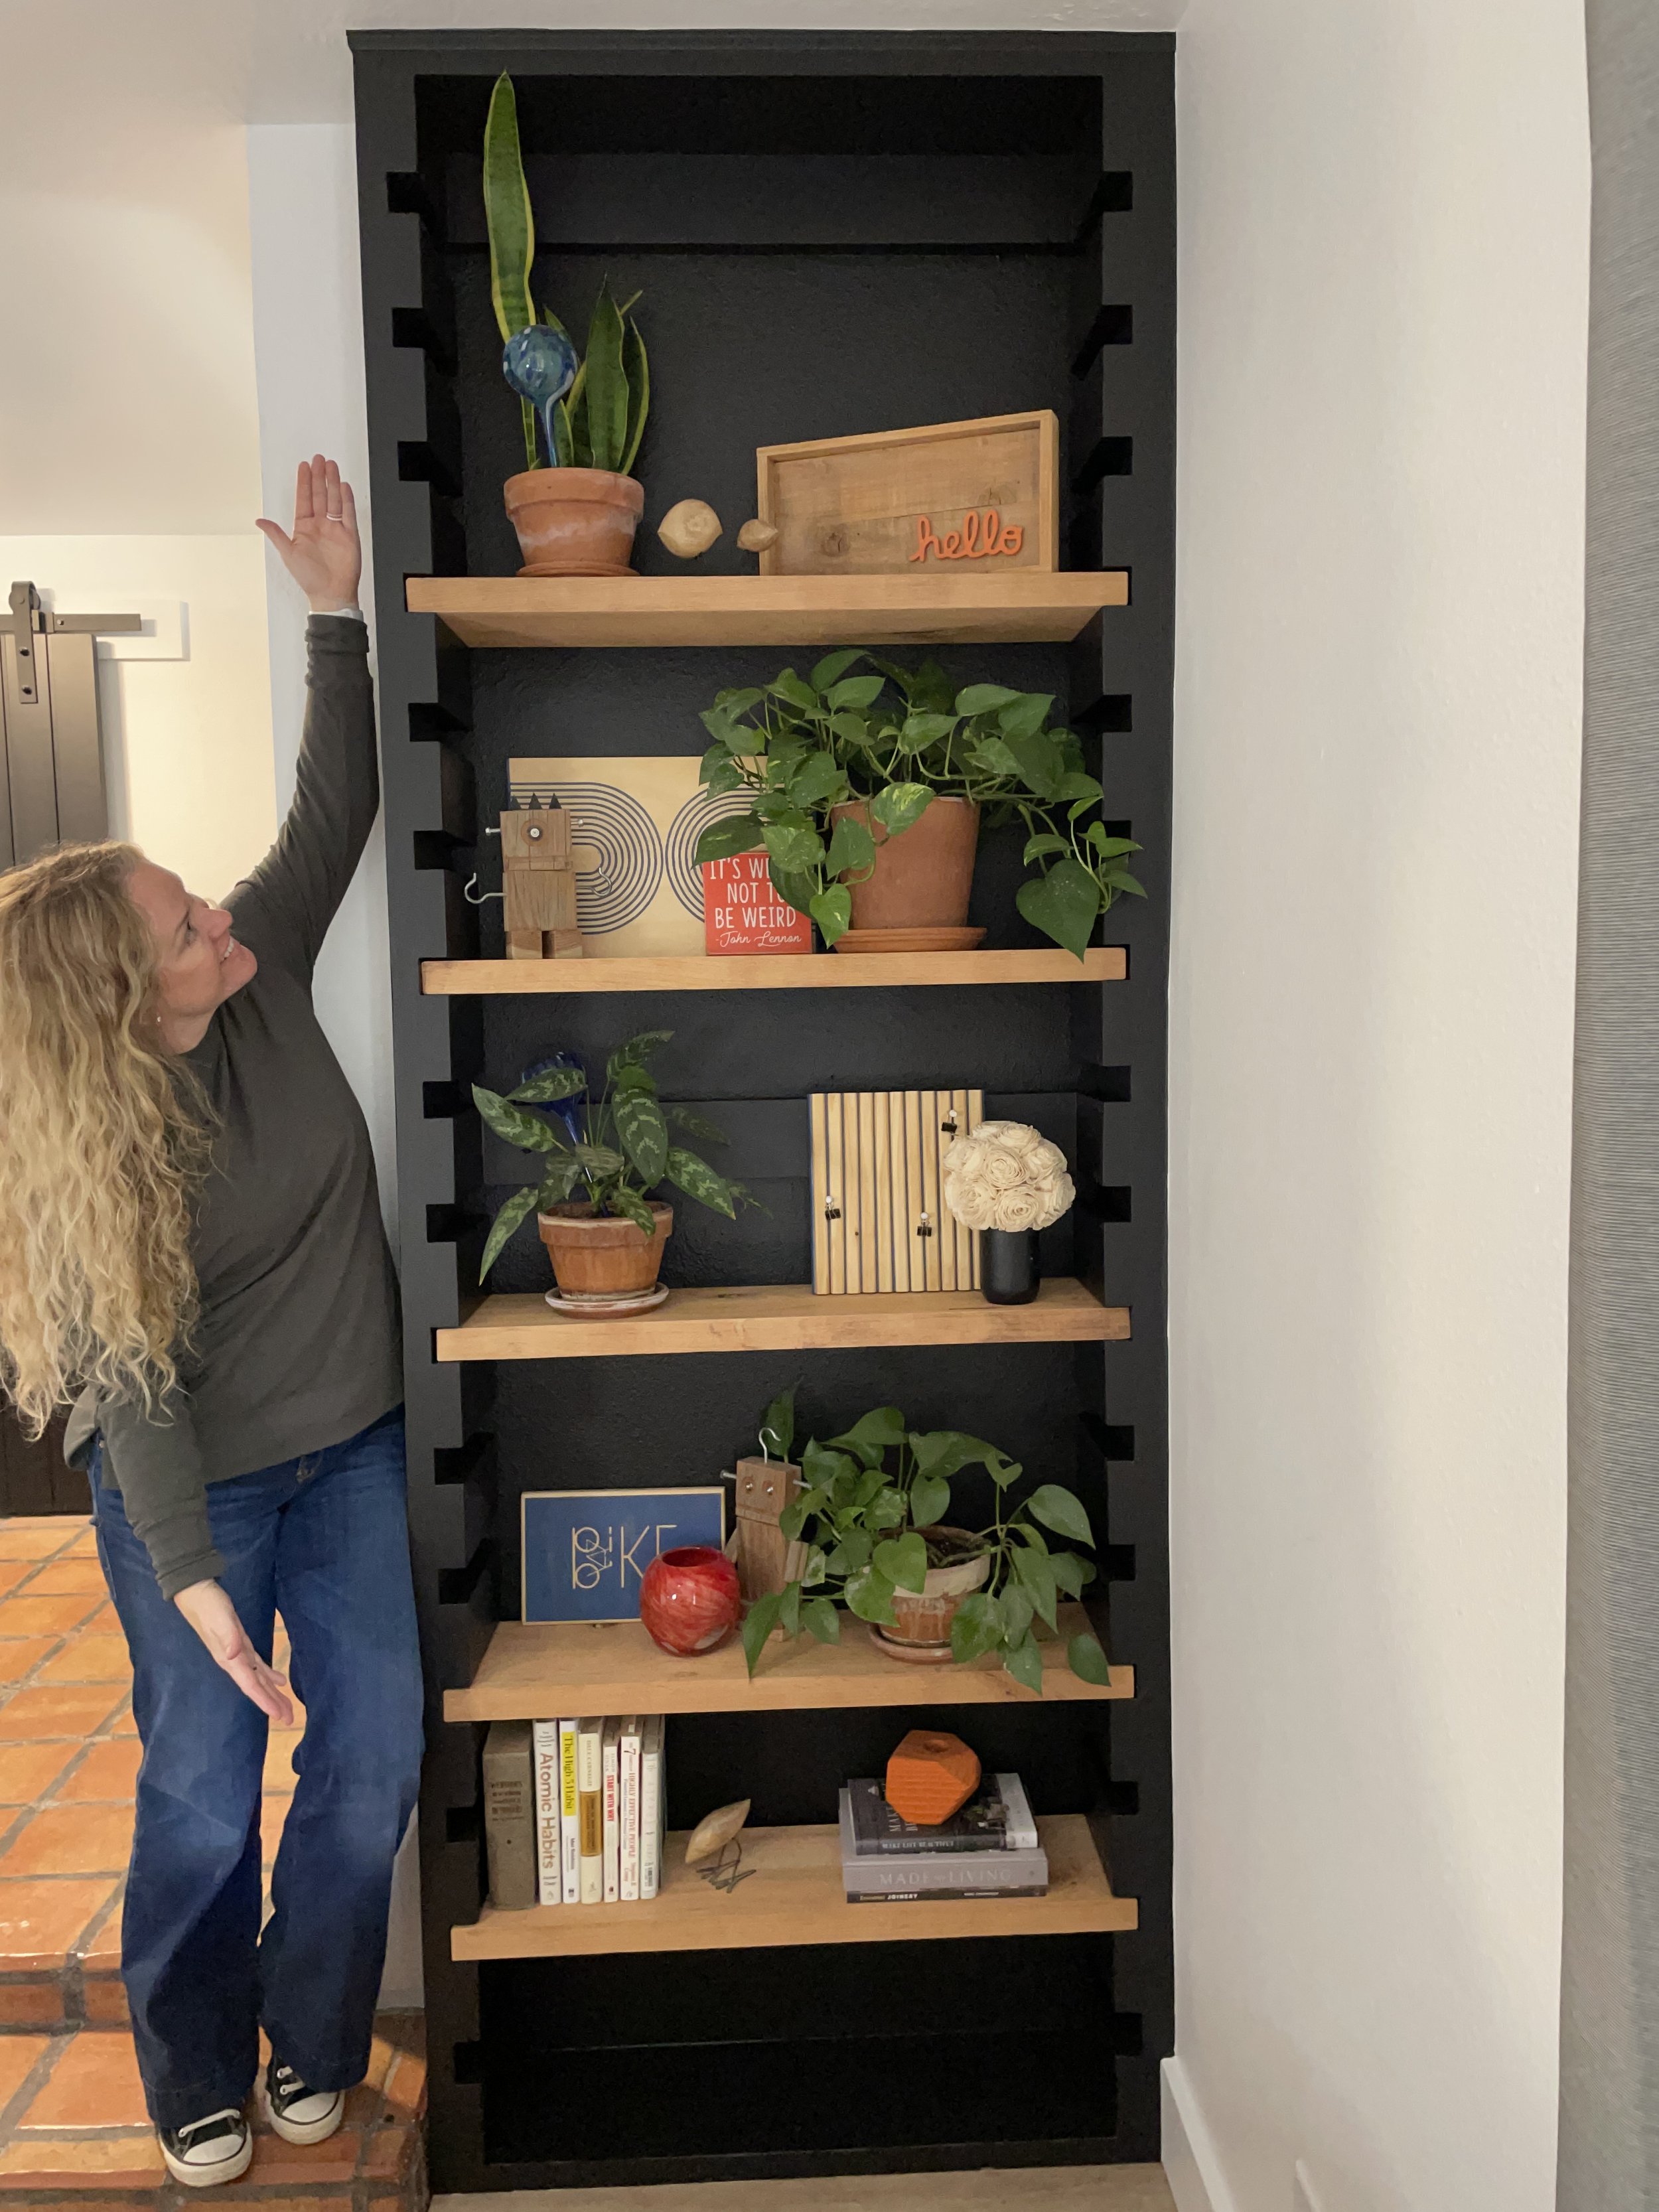
AFTER
And since I used Strong-Tie’s Strong-Drive CSV Construction Screws I am confident that my shelves can hold the weight of many more plants to come! Crazy awesome what you can make with some 2x10’s and screws!

Simpson Strong-Ties interior strong-drive CSV screws give me piece of mind this isn’t going anywhere!
I hope this tutorial was helpful… I know there was a lot of math! But if you do end up making one for yourself I would love it if you sent me a picture!
Thank you so much for following my building journey… remember Build LOUD, Build WILD and have an AWESOME day!
Sadie Mae