Rebuilding The First Dining Table I Ever Built
Seven (7) years ago I built my 1st dining room table. I didn’t know anything about wood movement, tabletop fasteners or how to use a saw! But I tagged along with a friend to go look at some barn wood and fell in love with some reclaimed wood from the Pabst Blue Ribbon factory. It was their old factory flooring and had so much character… nails holes, paint, some boards were saturated with who knows what… all I knew it that is was beautiful. I later learned that it was heart pine and very old because look how tight the grain is on these boards.

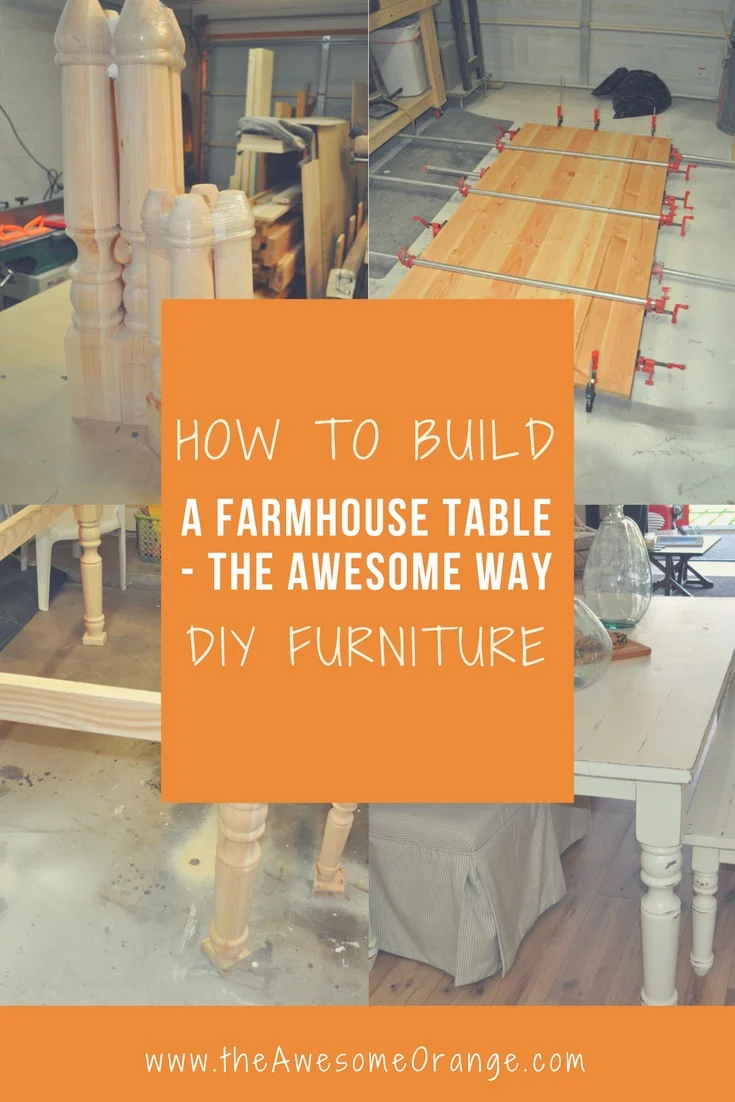
BEFORE - 1ST with Pipe Legs, 2nd with Farmhouse Legs
I had the lumber yard where I bought the wood straight edge the sides and I just basically glued up the boards with some hand me down pipe clamps and attached some screw on pipe for the legs and had my first table.
But when I attached the table to the base I was at a loss. So I came up with the idea of using wood cleats. These cleats attached to the apron and then to the tabletop using wood screws… no oversized holes and washer and no hardware that allowed the wood to expand and contract… so 7 years later my table was wavy!


The top got wavy over the years because the cleats didn’t allow for the wood to expand and contract.
And it was in need of a modern makeover!
I wasn’t willing to start from scratch and new wood for a new table… because it had sentimental value!
Previously, I had changed out the pipe legs for some farmhouse styles legs, but I knew I could do better. Something that would reflect my style more. So, I set out to rebuild the first dining table I ever built.
Watch me Rebuild My 1st Dining Room Table here.
I first took it apart and then cut the tabletop down all the glue lines, using my track saw, to get it back to rough lumber. Once I had all the indivdual pieces, I milled them up… you see in the 7 years since I built that table I have acquired not only a love for making, but some tools and knowledge.

It felt so weird cutting up my 1st dining table, but my Kreg Plunge Saw was perfect for this task.
First through the jointer to get a face side flat, then a back through the jointer to get an edge side flat or a 90 degree angle. Then I ran all the boards through my thickness planer… three sides flat. And then lastly, I ran the last edge side through my table saw to get my boards square.
When I was milling these boards, I knew I was going to lose some of that character I loved of my first table, so I was very picky on which side was going to be facing up and which down and tried not to mill everything off. And I am happy to say that in the process the boards ended up being a little bit lighter and I think it is going to be perfect.

The character before milling.
With the boards milled it was time for glue-up! I no longer have those hand me down pipe clamps, even though they worked great I have some new PONY | Jorgensen Cabinet Master clamps that I use on pretty much every project. They are great for helping keep the boards flat by clamping with equal pressure from both sides.

I glued up two sections separately and then glue those two sections together to make it easier.
But since I was putting my tabletop together in a non-traditonal way, short planks or wild style, I needed really long clamps. My longest are 48” so I had to use a trick that I saw on Instagram at some point… use 2 clamps to make 1 really long clamp… or clamp my clamp to my clamp.
This worked perfectly!

I love these Cabinet Master parallel clamps from PONY | Jorgensen.
After getting the tabletop into clamps I always make sure to wipe or scrap off any glue squeeze out before it cures. Doing it now can be a little messy, but if I wait til it cures I risk getting chip out on the wood.

Oh, did I mention they stand up perfectly and out of the way while the glue dries!?!
Then next day after the glue dried and the top was out of the clamps, I trimmed the edges using my Kreg Plunge Saw…. I did lose a couple of inches of width by doing this, but I wanted this table a little narrower to fit my new space. Plus, I’m not a fan of really wide tables… they seem too formal. I like my tables 30” wide and no wider than 36”. Still enough room to serve from the table, but small enough that the people across from you don’t feel far away.

I used my Kreg Plunge Saw with my PONY | Jorgensen guide rail because it was long enough for the table and love the crisp clean edges.
Then it was time for everybody’s favorite…sanding. And well I was actually looking forward to it on this table because I was trying out 3M Abrasives new Cubitron™ Xtract™ | 710W Discs for the first time. They are net discs, so no holes to line up and the dust collection, when hooked up to my shop vac, was AWESOME!

BEFORE - Cubitron™ Xtract™ | 710W Discs

AFTER - Cubitron™ Xtract™ | 710W Discs
After sanding up to 150 grit I decided to finish the top with Rubio Monocoat, because I like how easy it is to apply and that it leaves a matte finish. I didn’t want to change the color of the top, but I did want to take out some of the yellows, so I used the color White 5% and ended up with the perfect color. It looks like I left the wood natural, but no yellows.
And then lastly it was time to add the legs… and the modern touch to this table. I used some white metal powder coated legs from DIY Hairpin Legs in a U or square shape. I have used them several times before when I building commissioned dining tables for other people, so I knew the quality was gonna be good. Plus, they have so many styles to choose from and you can get custom sizes to fit your workpiece.
And then the last last thing was to add some supports. Since the planks on my table run the short ways I didn’t want any bowing in the middle of the table. Or extra support in case someone sits on the table. I am not worried about the glue joints cracking, but since this is reclaimed wood I was worried that the wood rain cracking.

Install the supports with oversized holes and washers.

Supports to help stabilize top.
When I installed the boards to the top, I made sure to drill oversized holes in the support pieces and then attach the support pieces to the table top using screws and washers. Installing them like this will allow for the wood to expand and contract with the moisture in the air and I won’t have a wavy table in another 7 years!

I love my new table with these AWESOME white legs from DIY Hairpin Legs.

I love that the table still has a ton of character and is lighter than before.

Can’t wait to add some finishing touches to this space… think trim and an AWESOME wall treatment!
I absolutely love how my new old table turned out. What do you think? Let me know below. And if you haven’t built yourself a dining room table before, I have a more in depth tutorial here. And if you want more information regarding wood movement, check out the article I wrote about moisture meters here.
Thanks for following my building journey. Remember Build LOUD, Build WILD and have an AWESOME day!
Sadie