
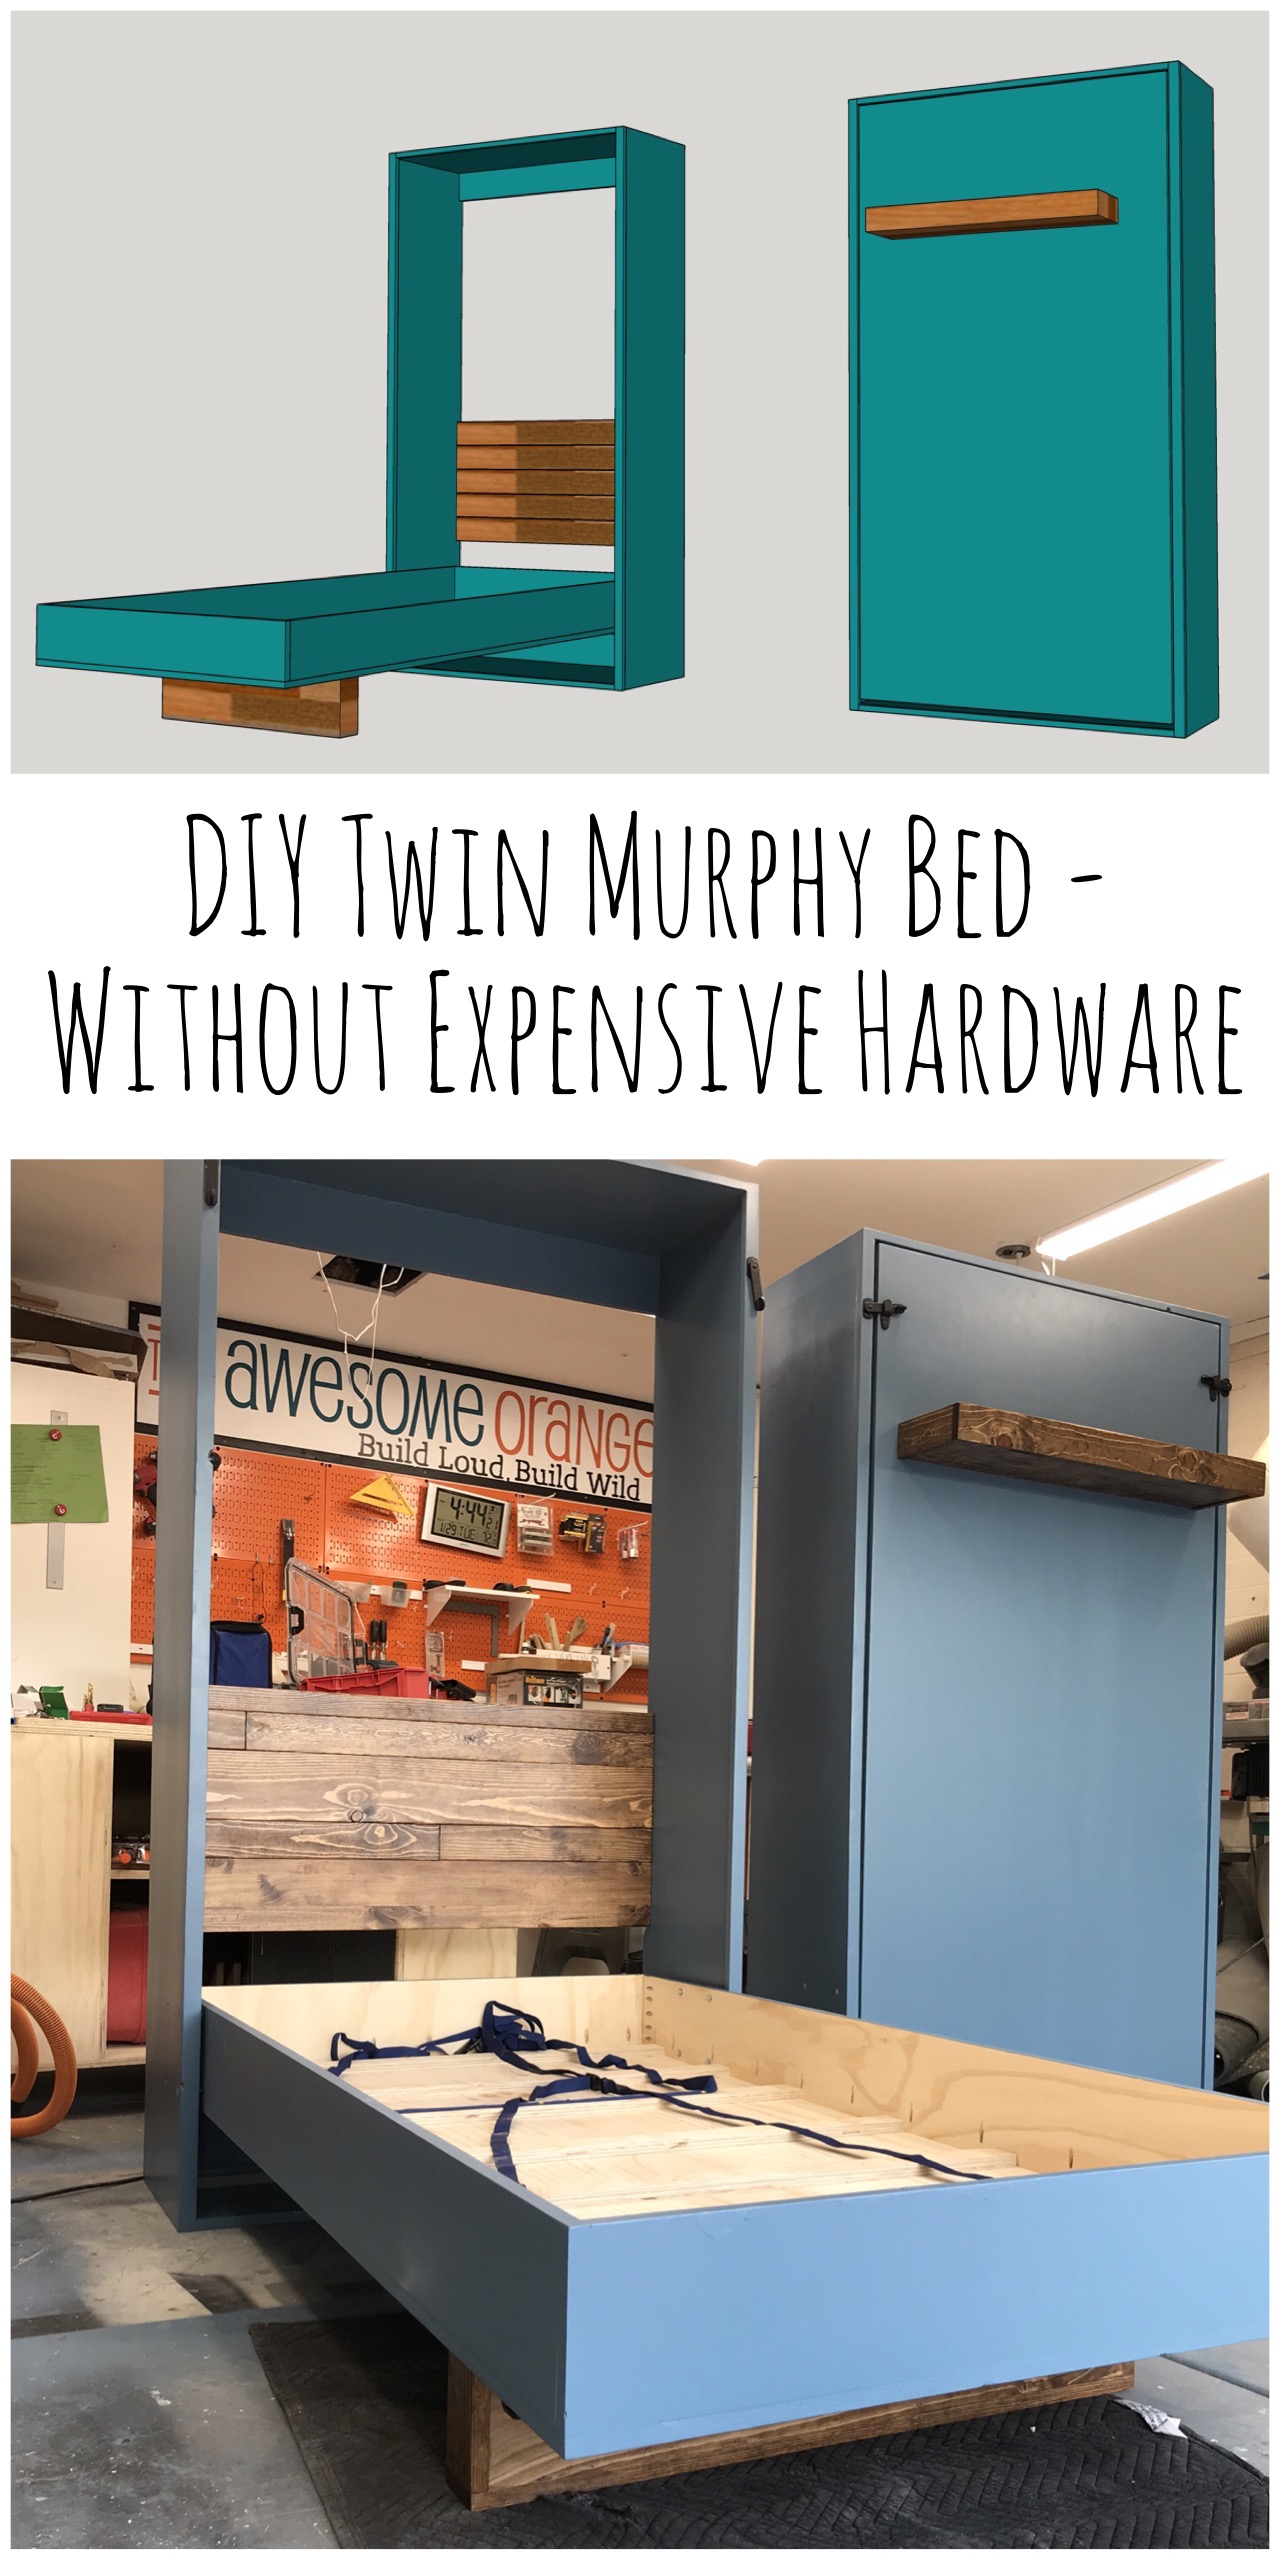
DIY Twin Murphy Beds - Without Expensive Hardware
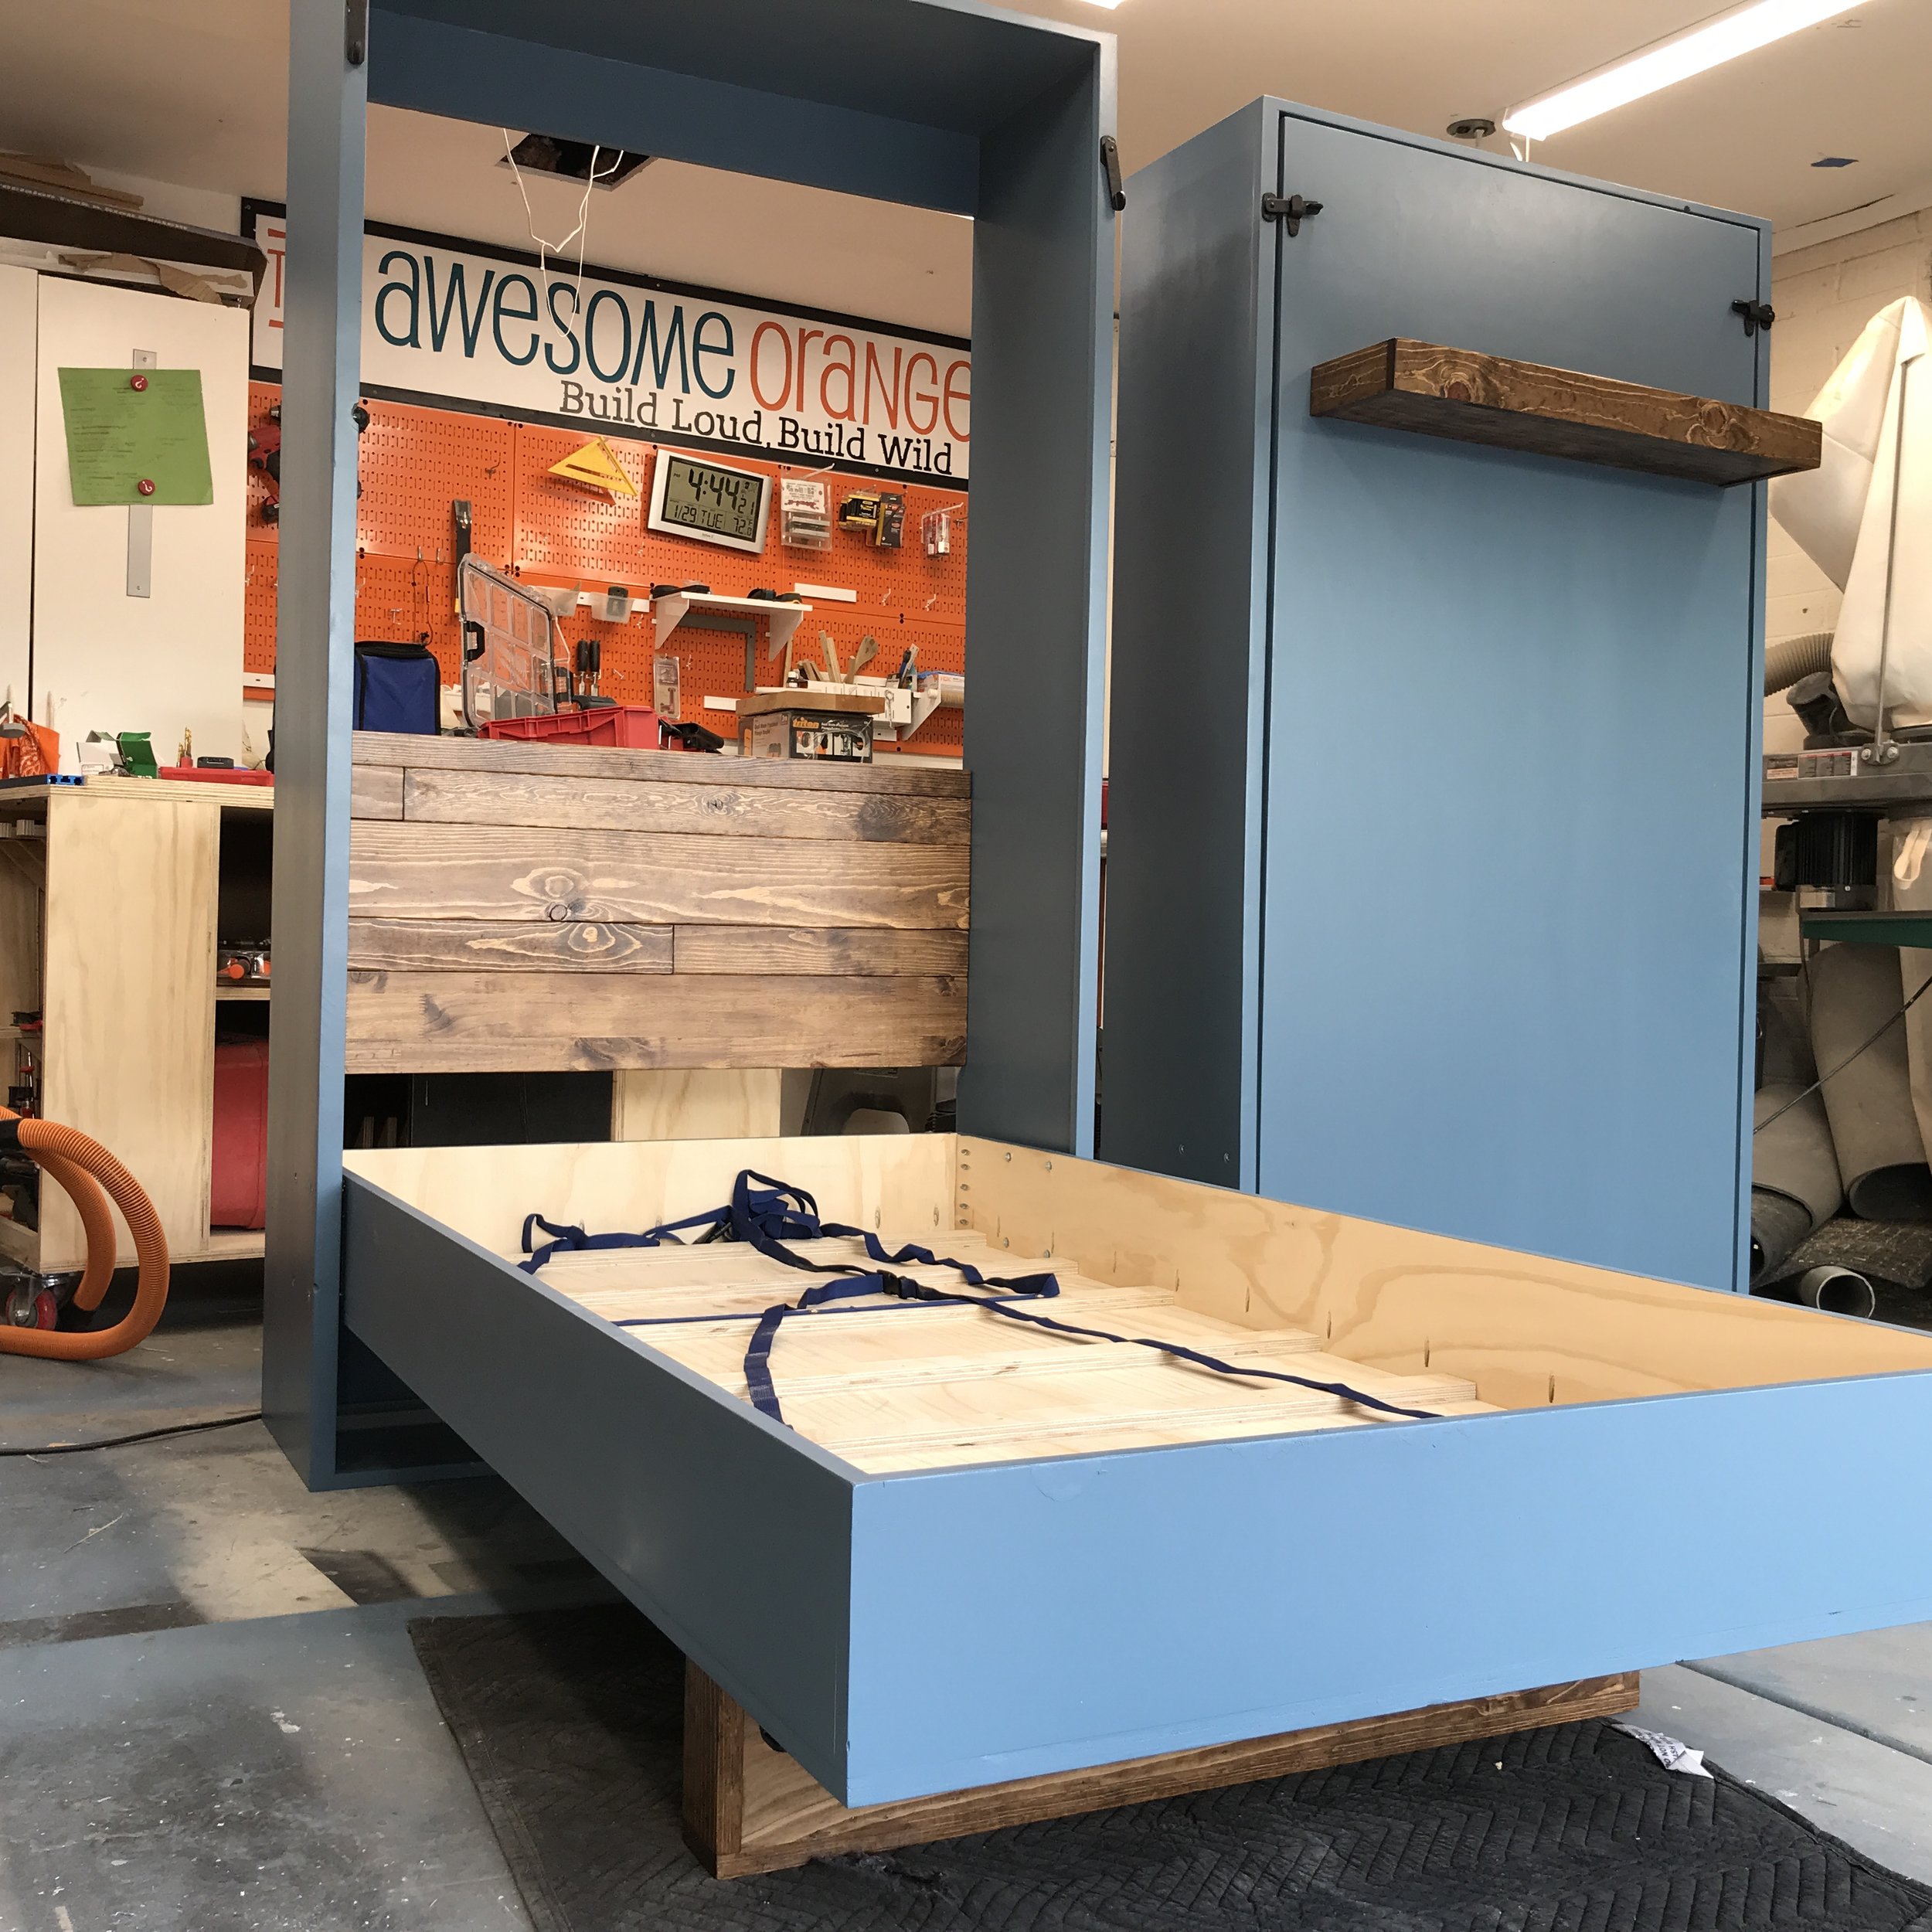
When my clients said okay to the price I had given her for the Murphy beds I kinda freaked out a little. Even though I had created plans and went thru the whole build process on paper and my head a couple hundred times I was still nervous I was forgetting something! But in the end I made some pretty awesome Murphy beds and learned a ton. Let me share with you what I learned.

This post contains affiliate links. This is NOT a sponsored post.
Plywood is a pain in the butt to work with.
Never make changes on the fly midway thru a build, especially when making Murphy beds.
Having two people to move things around is super helpful.
Mistakes are just learning experiences, so fail fast and move on!
Patience is a virtue!
Plywood is a pain. It seems that no matter how well the boards look at the store and how well you take care of moving them and storing them, they are going to warp on you. So on this build I ending up putting in way more pocket holes that I really thought were necessary, basically every 4-6”. I did this so I could force the plywood back to the shape that I wanted. It also helps to have lots of clamps and squares to help out with this part especially on such big pieces.

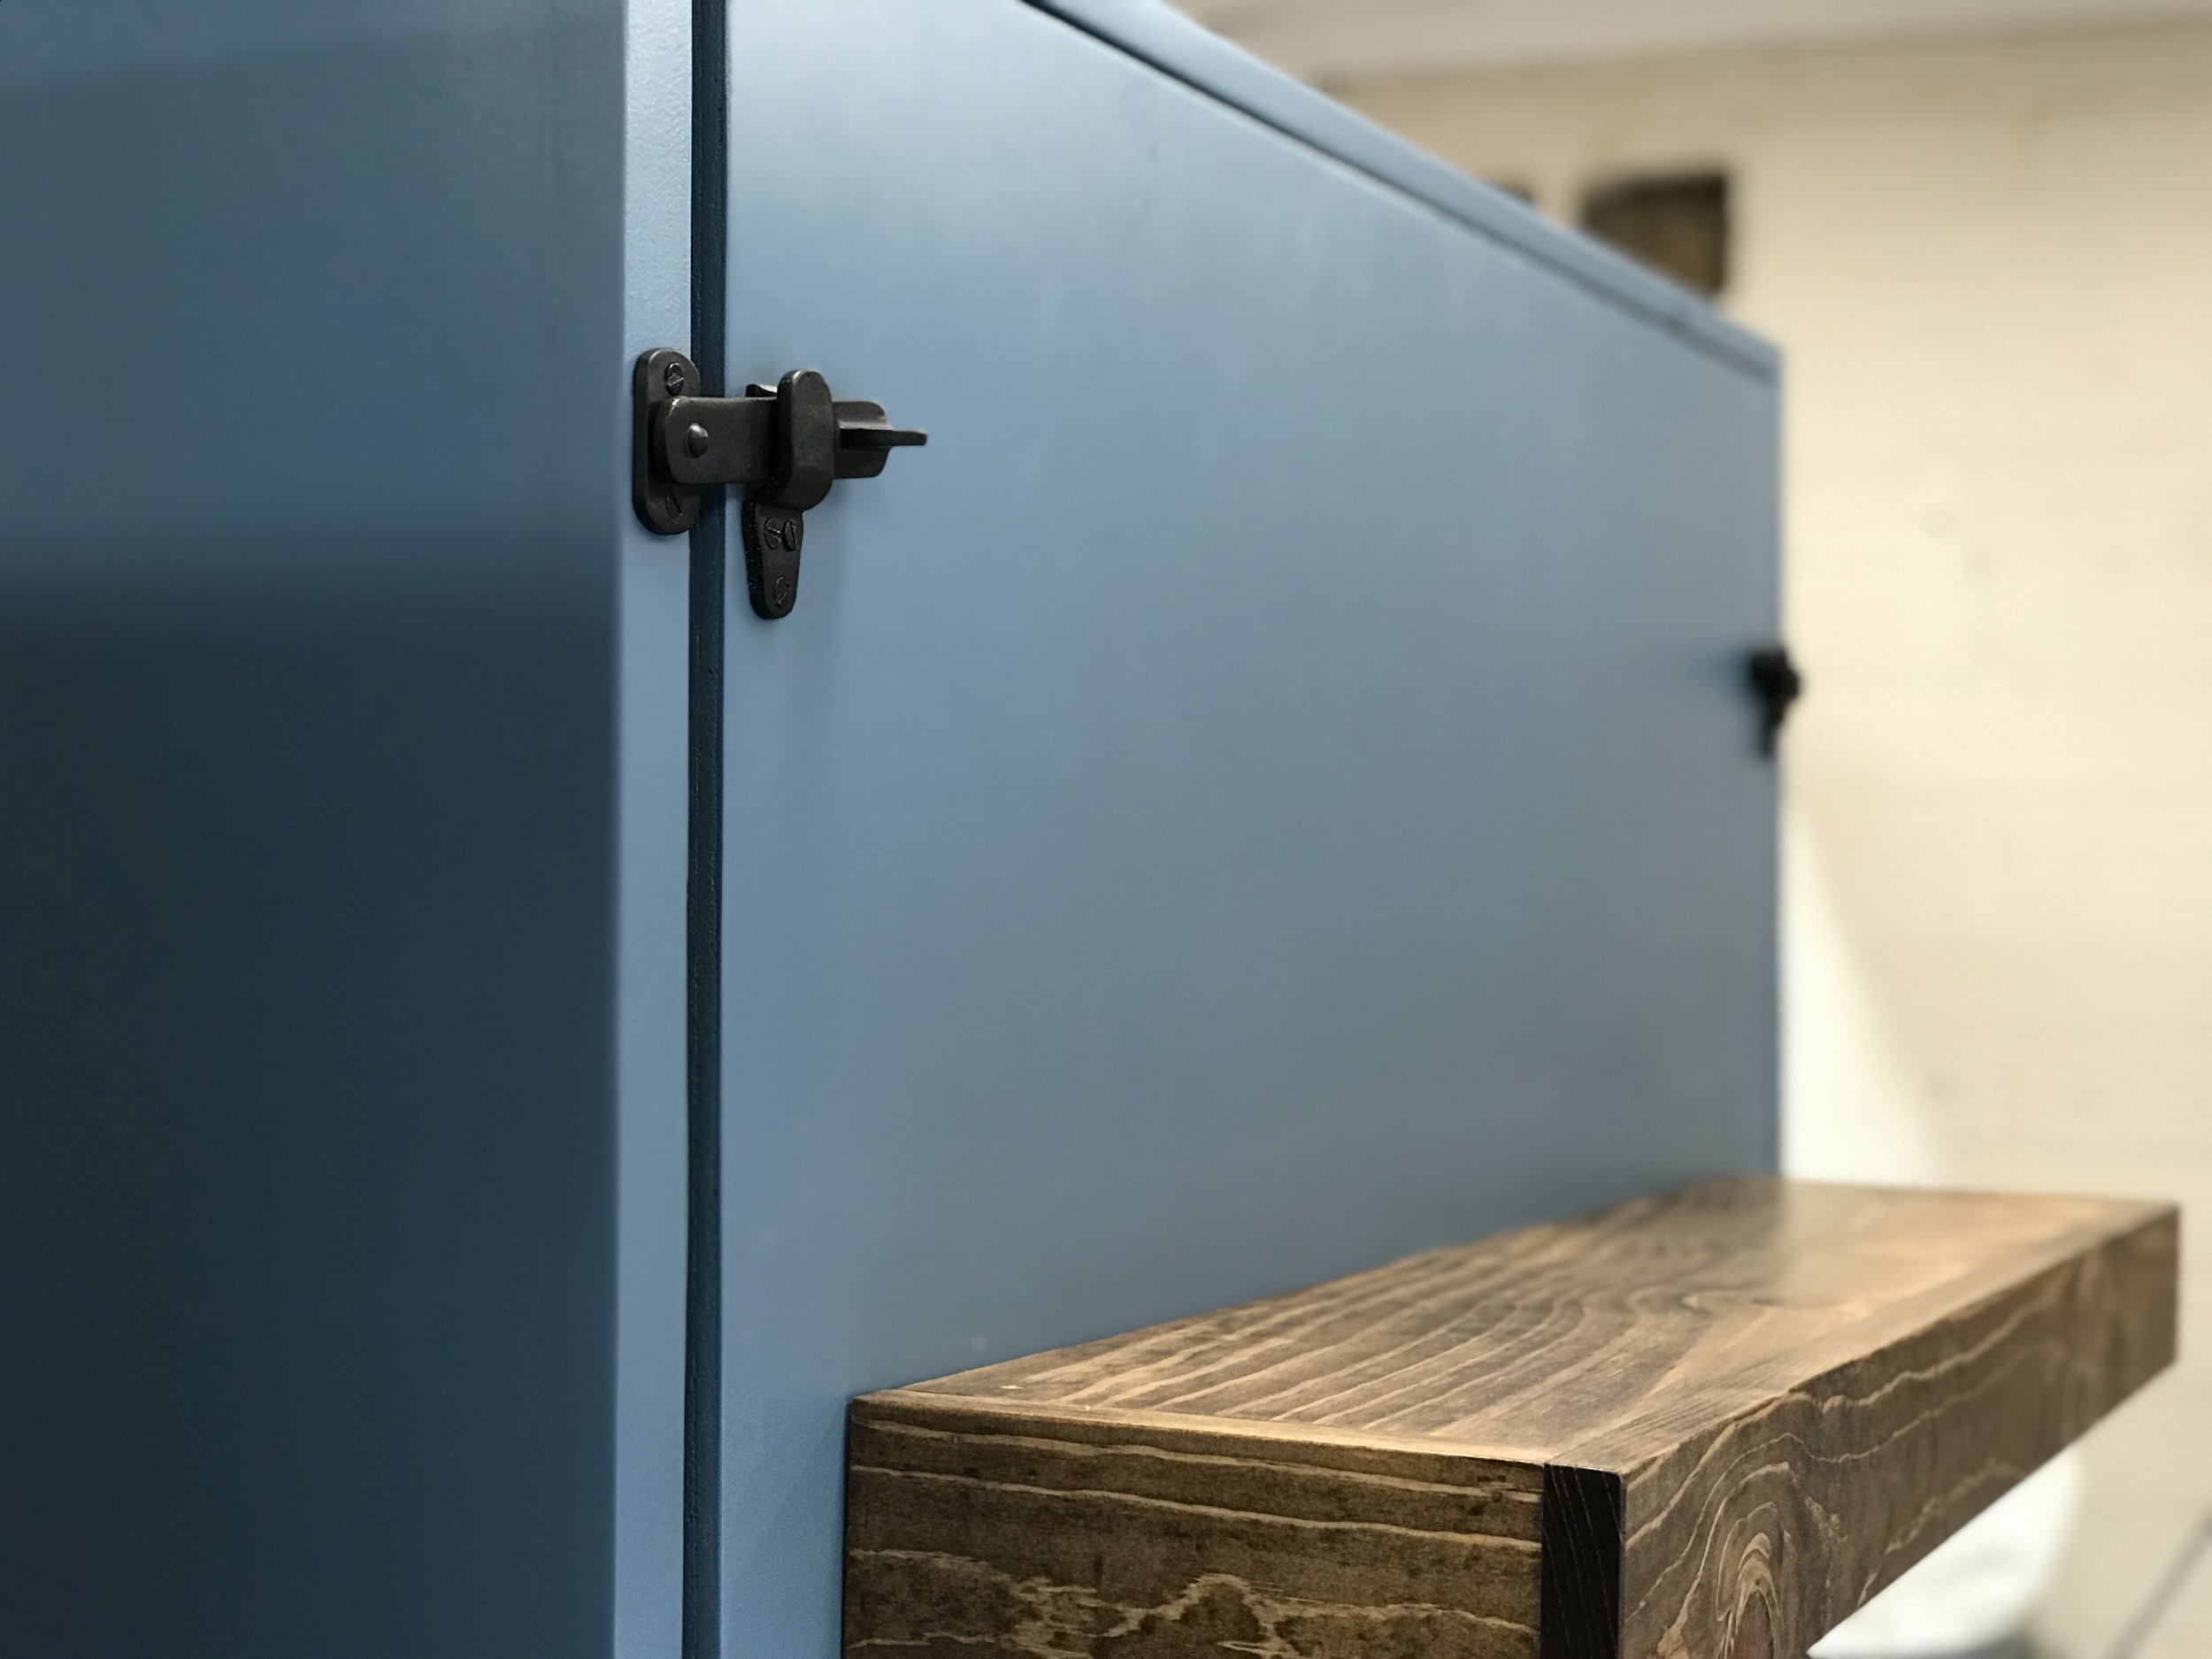
Making changes. So as I was making the floating shelves portion, I decide to change the depth of the shelf from 7 1/4” to 8”. Eight (8”) sounded like a good number and fit will the dimensions of the wood I had. But what I didn’t do was compensate for the extra height in where I attached the hardware to the frame; therefore when the mattress box pivoted it was too high and wouldn’t fit into the frame when closed. Isn't that why I created a plan in the first place!?!

Four hands are better than two. This build gets big really fast which means it also gets really heavy. The first day I tried moving stuff around myself and it was hard. I even had to put a sacrificial piece of wood as the front of the floating shelf so I could drag it around the garage floor without messing anything up. I also created a couple of scraps exactly 8” (same depth of the shelves) to help set the front half of the mattress box on while scooting it around the shop. Just be careful if you do this because it can cause dents in the plywood that are hard to sand or fill later on. So, I learned it is definitely nice to have a second set of hands when fitting the hardware.


Mistakes or learning experiences. So you know how I said that I made a change on the fly and the mattress box didn’t fit… well I thought I knew exactly where my error was so I compensated for it moved on and guess what? I over compensated. I thought I was all cool and it came back to bite me. So at this point I was really frustrated, so I went into my SketchUp program and got very familiar with the rotate button. So what I learned here is when doing something new, it pays to actually follow your original plan or walk thru the entire rest of the build if you do make a change.

Patience is key. Attaching the mattress box to the frame is a super tedious process, not necessarily difficult, just tedious. You don’t have much room to work with and all the washers and nuts are super tiny, so I did have to get creative to get them installed. I used a magnet to help get the washers over the bolts. It felt like I was playing a game of Operation (buzzed it you touched the sides during surgery) and every time I missed the washer would fall and be lost forever. So another tip… buy extra nuts and washer because you are sure to lose a few with them falling and rolling all over your shop. I also used blue tape on a small wrench with the nut. It help the nut so that I could place it on the bolt and start to get it threaded and then the blue tape came off super easy and I could continue to tighten it down. I was really proud that I figured that out… hadn’t seen that trick before.

So with all the things I learned from this build this biggest one was…. if you want to build it you will find a way. Even though this build was so different than anything I built before it didn’t mean I couldn’t build it. It just meant I had some learning to do and experience to gain. And guess what? With everything thing I learned I created a full set of plans so that you could build your very own DIY Twin Murphy Bed and not make the same mistakes that I made. I created a step-by-step plan that includes shopping, tools, and cut lists. As well as dimensions and 2D diagram models. Plus, more building tips. It is a digital 15 page .pdf download and is available in my SHOP. And to purchase supplies for this build, click here.


And if you build one, SHARE YOUR WORK!!!
I would LOVE to see you building your DIY Twin Murphy Bed, so tag me in your photos!!! Or use the hashtag #BuildingAwesome and I might even share your AWESOME work on Instagram!
Can’t make it right now?
Then PIN IT and Save it for Later!
Thank you for being a part of: #TRIBEAWESOMEORANGE
Have an AWESOME day! And keep #BuildingAwesome
Sadie Mae


