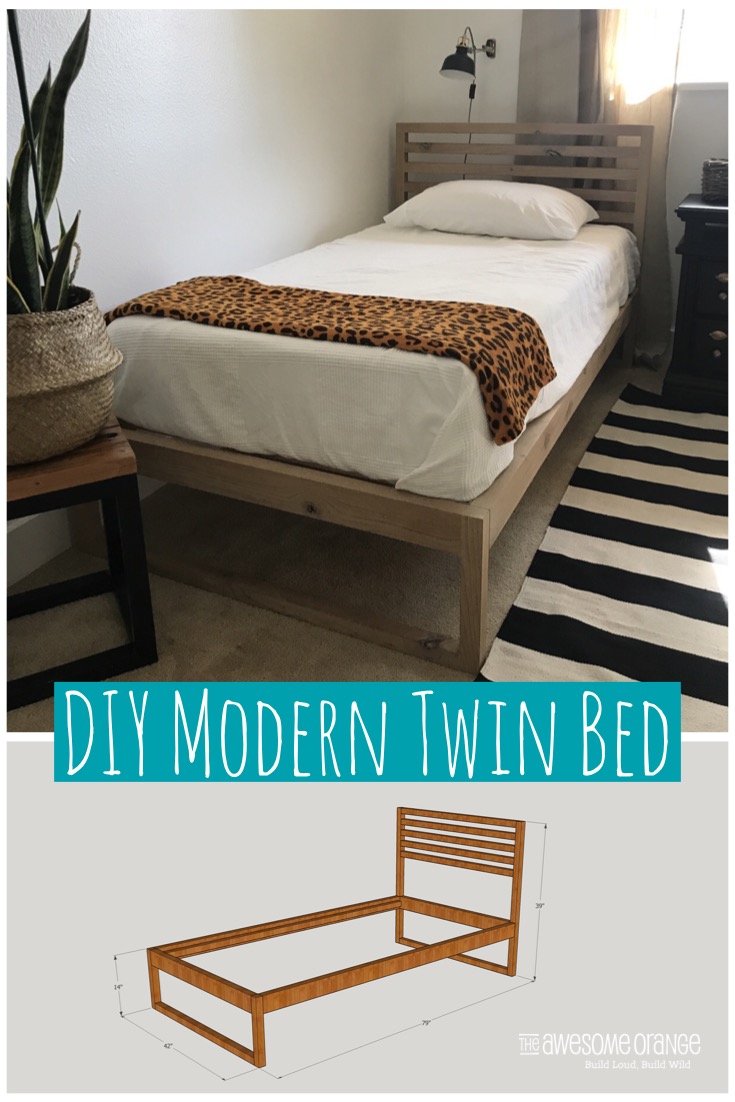
DIY Modern Twin Bed
My guest bedroom used to be more of a spare bedroom… it had a queen bed in it and the room was a catch-all of stuff decor stuff (from when we downsized) and camping stuff (my shop took over the entire garage)! So it was definitely time for a makeover. As part of my Guest Bedroom Makeover I got to build new beds! I have never built a bed before, but have been wanting to for a long time. So when my friends at Kreg asked me to partner on a project for BuildSomething.com I knew the perfect project! You can read more about the entire room makeover at Guest Bedroom Makeover - Before & After, but the real star of the makeover are the beds!!! At least IMHO, so lets get to them!
This post contains affiliate links. This post is sponsored by Kreg Tool & BuildSomething.com. All opinions, pictures, design, and published plans are my own!
I knew when I started designing them that I wanted something that was simple, not only because I had a tight deadline before company was coming, but because I wanted parents to feel like they could tackle this project in a weekend from start to finish. That way their kiddos could have awesome beds and the parents wouldn’t feel bad when the kids grew out of them.

The plans for the bed are designed around 2x dimensional lumber which is available to everyone. Just be sure to pick out the straightest boards you can find and the lightest (meaning the most dry boards). Wet boards can move after they dry and you don’t want your hard working moving on you. Also you only need a couple of tools to complete this build.
Tools Required
Miter saw (or handsaw)
Kreg Pocket Hole Jig
Drill
I’d also recommend a random orbit sander, but you can hand sand if you are one of those crazy people who loves sanding! Also, if you do have a table saw I would recommend buying 2x6’s and milling your own 2x2’s (1.5” x 1.5”) pieces from them. You tend to get a more quality and straight pieces of wood that way.
The full plans and cut list for this build are at BuildingSomething.com, but before you head over there let me give you a couple of tips on the assembly portion of the build.
Tip #1 - Stop Block: Use a stop block on your miter saw to ensure you can make accurate and repeatable cuts of the pieces that are the same size. I currently have the Kreg Precision Trak & Stop on my miter station and it makes making repeatable cuts a breeze.
Tip #2 - Pocket Hole Direction: Be sure to place the pocket holes on the bottom rail of the headboard and footboard facing down (or the ground) that way you don’t see them or need to plug them. All other pocket holes will face the wall and will either be hidden by the bed slats or up against the wall, so no need to fill those.

Tip #3 - Assemble Footboard First: I recommend assembling the footboard first and then using it to line up on the headboard where the middle (3.5” x 1.5” x 39”) rail should be attached. Don’t have to fiddle with a tape measure and it ensure that they both match.

Tip #4 - Scrap Spacer Block: When installing the four (4) decorative rails on the headboard I recommend using a scrap piece of your 1.5” material as a spacer block to ensure even spacing of the rails during installation.

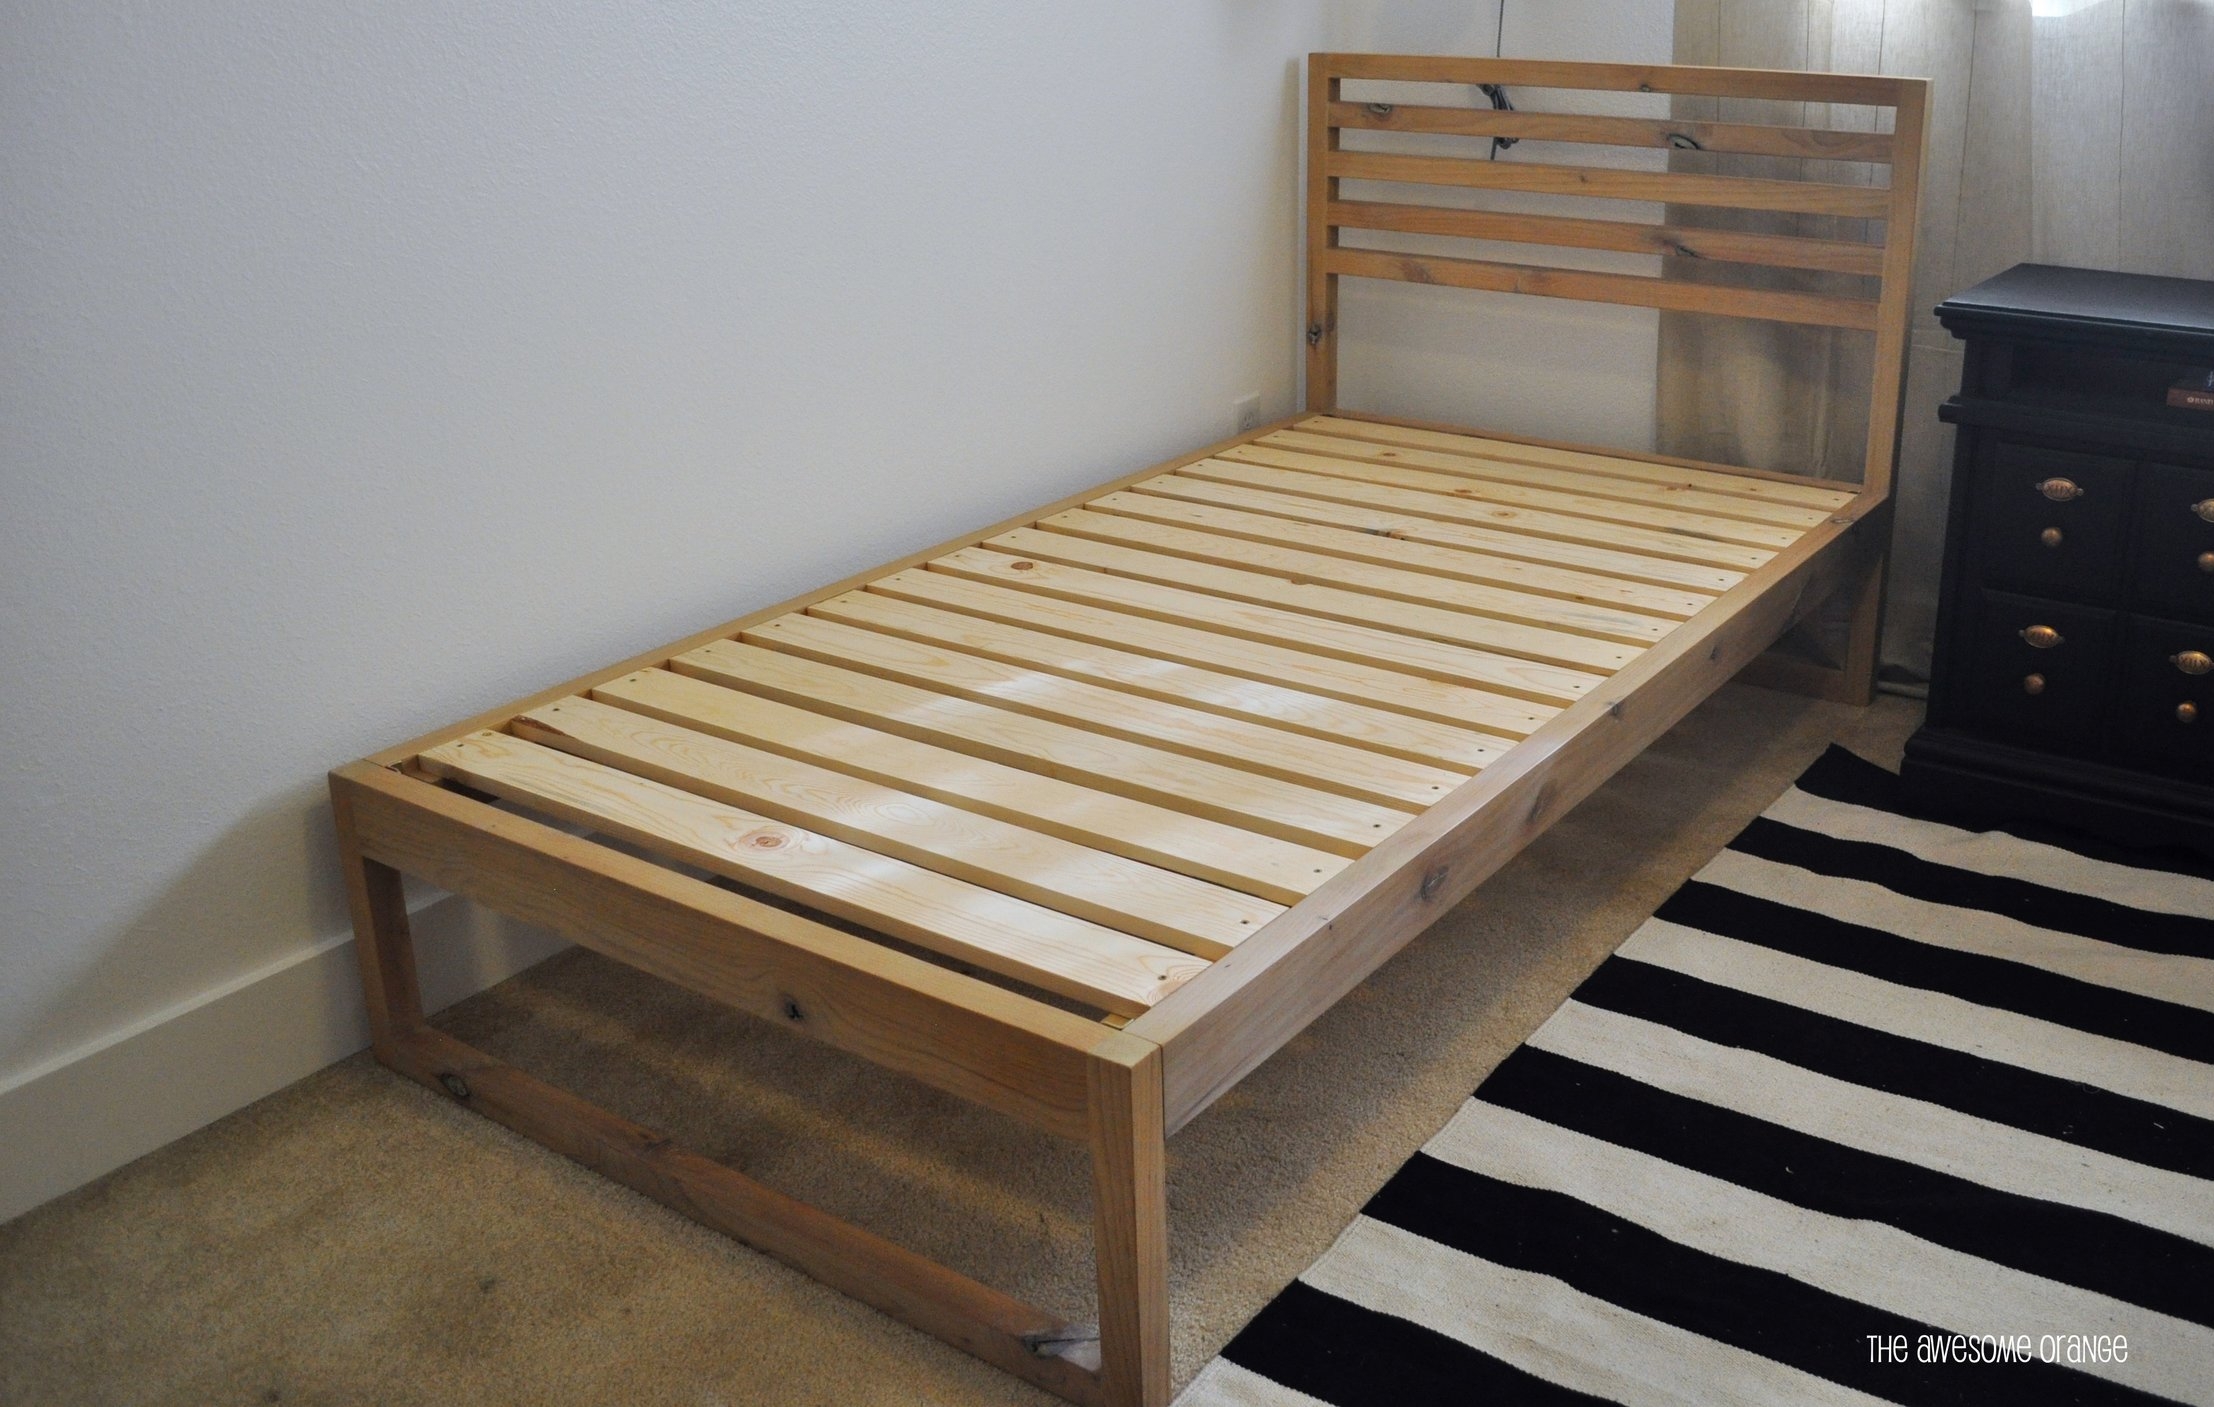
Tip #5 - Attaching Slat Supports: When attaching the slat supports to the bed side rails, use a couple of the bed slats as spacers to ensure the proper depth of the support. That way when slats are installed they won’t rise above the side rails. ***NOTE: you can also install the slat support even lower (say 1.5” or the width of 2 slat supports) so that the mattress sinks into the sides of the side rails. This will help to ensure that the bed slats aren’t visible depending on the size of your mattress.

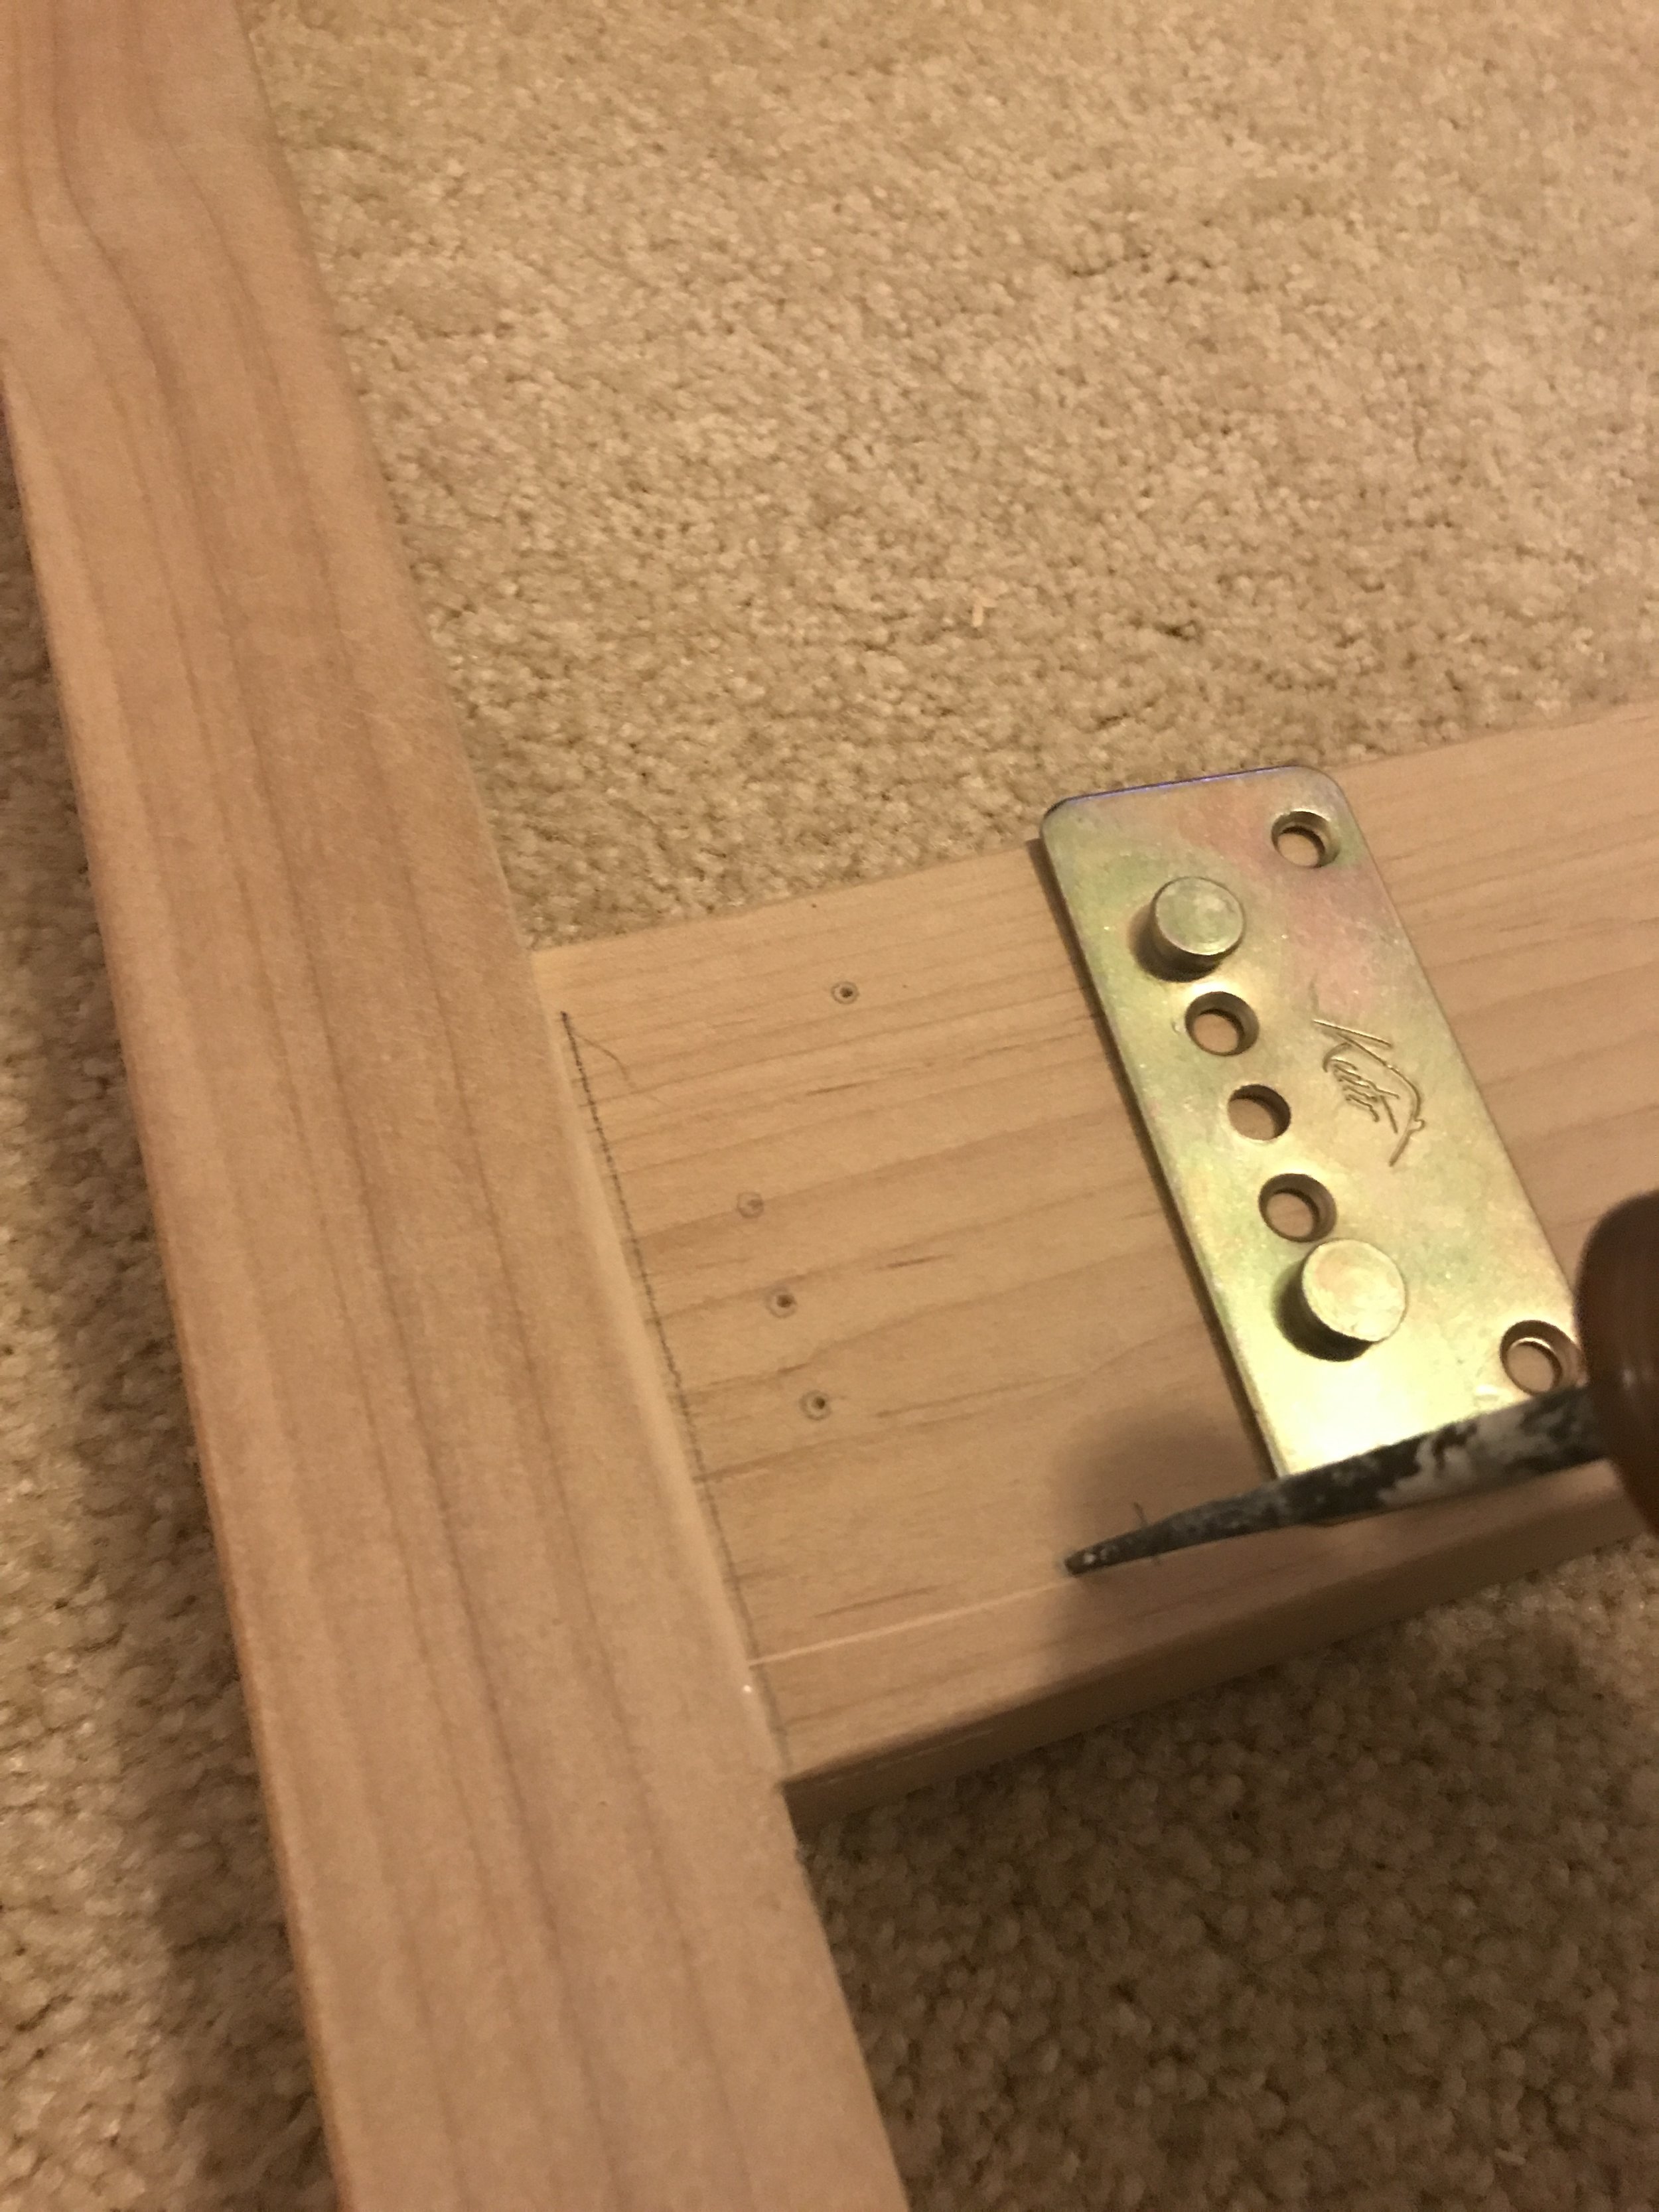
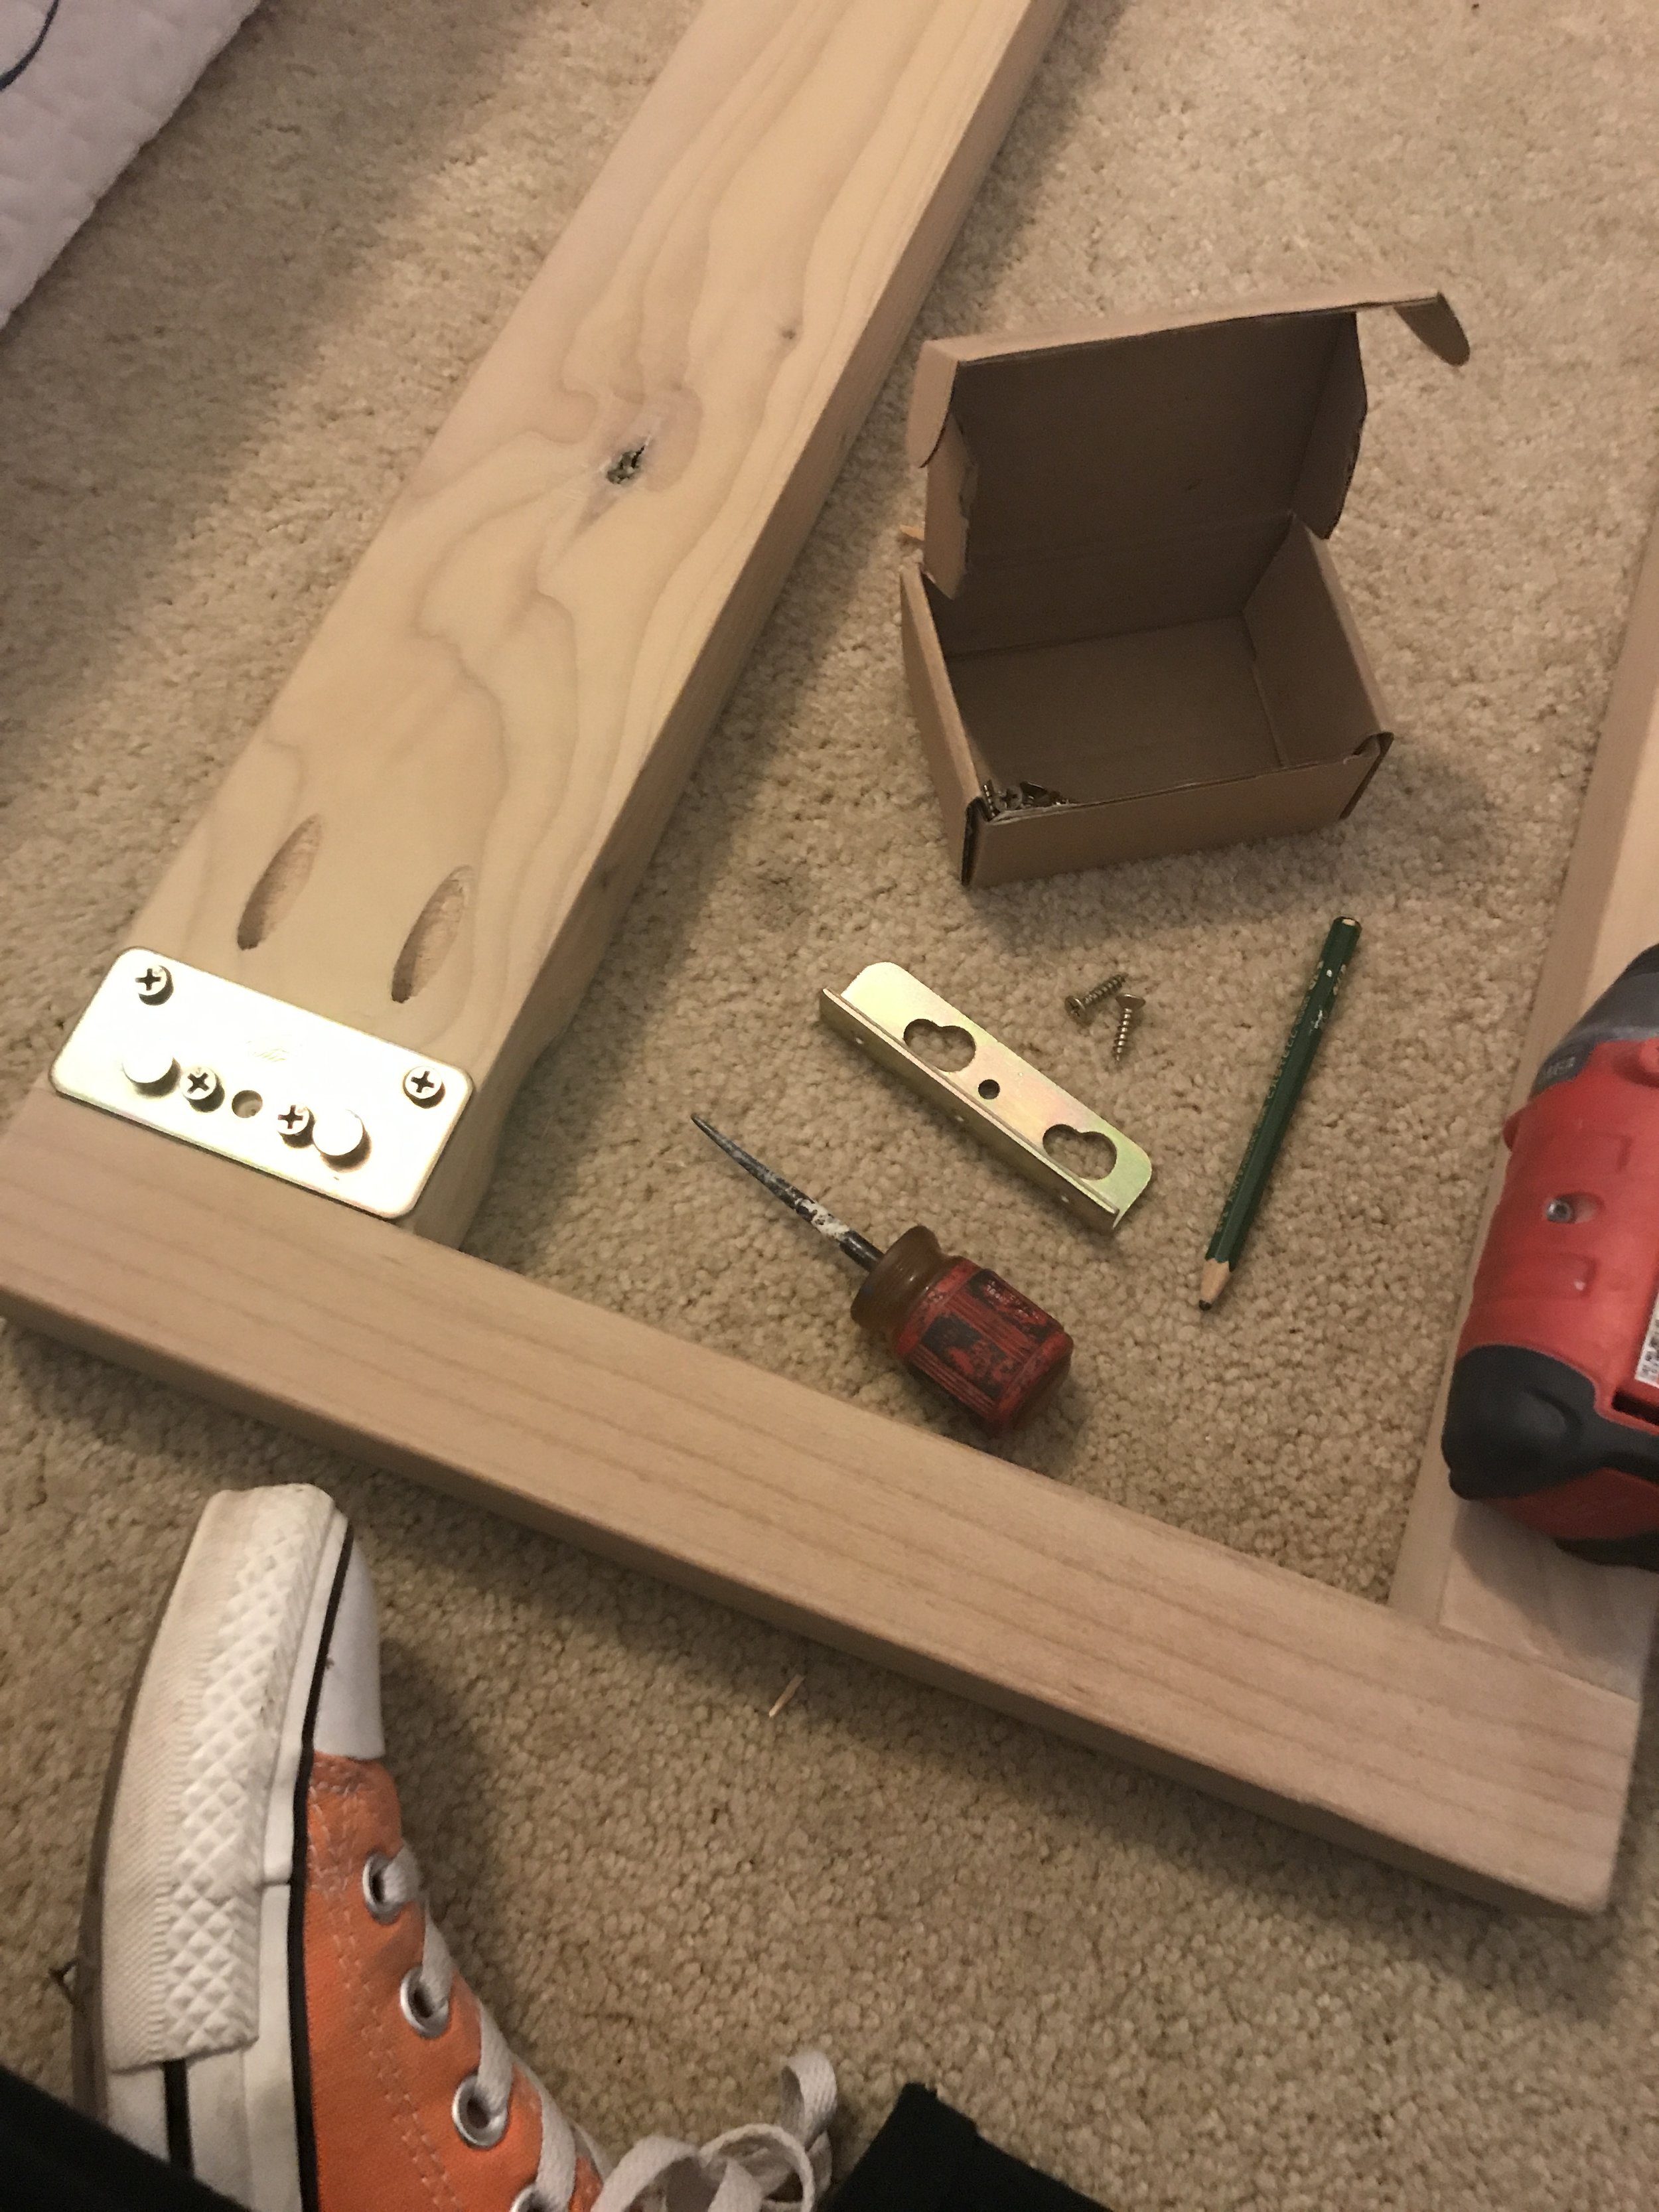
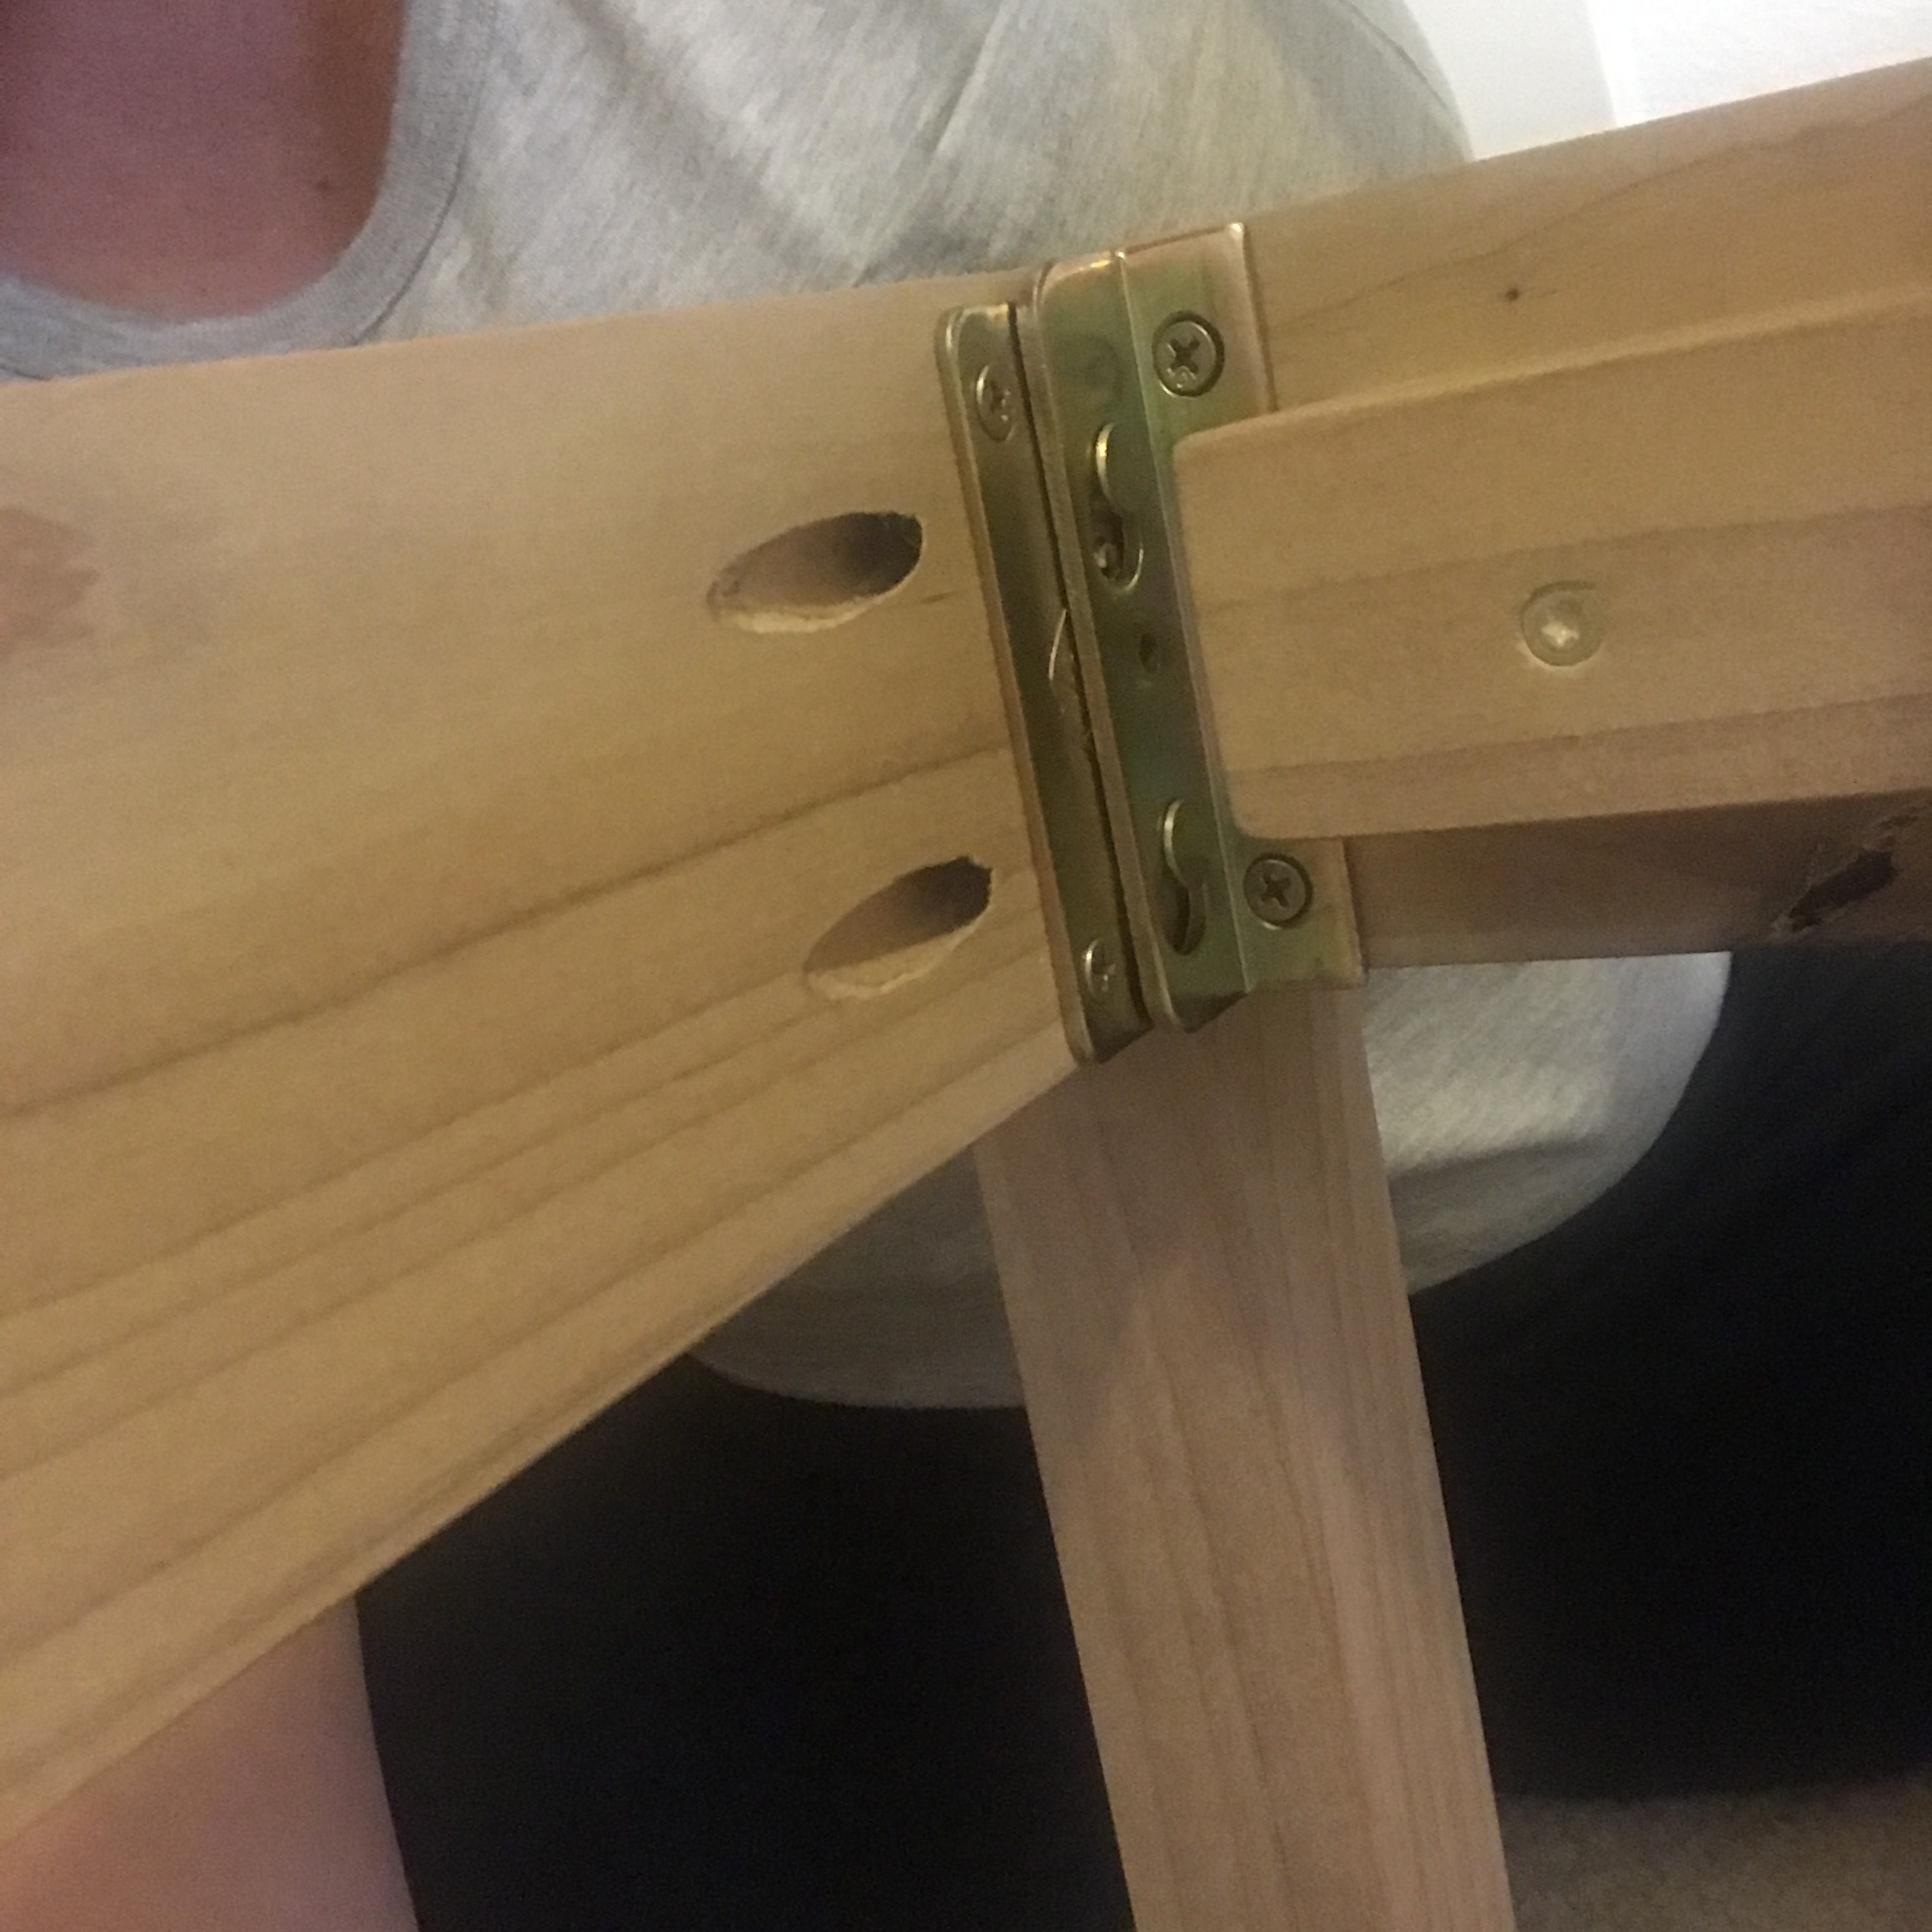
And then once all the pieces are assembled (the footboard, the headboard, and 2 side rail w/ slat supports) you just have to add the bed frame brackets and put the pieces together to make your new DIY Modern Twin Bed! Here is a link the the brackets I used. They were easy to install, came with their own screws, and were the exact height (3.5) to be hidden when the bed was all put together.
So, like I said in the beginning this is a super simple awesome build. You can get a little fancier on this build if you want like I did. I made my beds out of rough solid Knotty Alder…. so I had a lot of milling to do to create mine, but they were all the same dimensions as the 2x material. And in case you are curious I finished my beds in Rubio Monocoat in Natural!!! And you guys I think I have found my new favorite finish on Alder!!! It comes out to a light creamy color. This post isn’t sponsored by them, I just like how simple it is to apply and the look I get out of it. It can be a little pricey, but the time saving of not having to add a top coat is what sold me on it.
Okay, so are you ready to start building your own AWESOME DIY Modern Twin Bed? If yes, then head over to BuildingSomething.com for the full FREE plans. And just in case you didn’t already know BuildingSomething.com is Kreg’s DIY project plan site and is full of all kinds of awesome projects!
Aren’t quite ready to start building? Wanna save this for later? Then PIN the pic below!
This post is sponsored by Kreg Tool & BuildSomething.com. All opinions, pictures, design, and published plans are my own!
And once you are done building your DIY Modern Twin Bed I would love to see it, so please tag me in your posts or use the hashtag #BuildingAwesome!
Happy Building!
Sadie Mae