Simple Router Bit Storage
If you are anything like me you struggle with keeping things organized! Well today I am going to share how I organized my growing router bit collection. And it is a simple solution that will work for 1-16 bits, it is mobile and could be easily modified to fit with your space!
This post is NOT sponsored. This post DOES contain affiliate links. For more information on my affiliate programs check out my DISCLOSURES page.
When I bought my trim router it came with this bag and that is where I am currently storing all things router. It is chaotic and not a safe way to store the bits to keep them sharp, plus I always seem to not be able to find that one bit, the one I need to use. So with my new solution I wanted them to all be easily seen and know when something is missing. And I decided the best way to do this was to create an insert for this bag. But this insert could easily be modified to fit in a drawer or a different bag if you don’t have this one.

BEFORE
STEP 1:
This first step was to empty out the bag and take some measurements to figure out spacing and just how many bits I would be able to store.

The Ridgid trim router bag I am using came out to 3” deep by 7 1/2”x 7 1/2”.


Step 2:
Once I had those measurements I cut a piece of scrap 3/4” plywood down to 7 1/2” x 7 1/2” and held it up to the bag to see how it fit. It was close, but the corners on the bag are curved, so I would either need to make the insert smaller to fit or radius the corners.


Step 3:
And since this was a router bit storage solution I figured it was only appropriate to use my router and radius the corners. I got these radius corner jigs from a friend who 3-D printed them, but you can find similar ones here. I love these jigs for all sorts of things, but especially for cutting the corners on table tops.

I used a flush trim pattern bit.
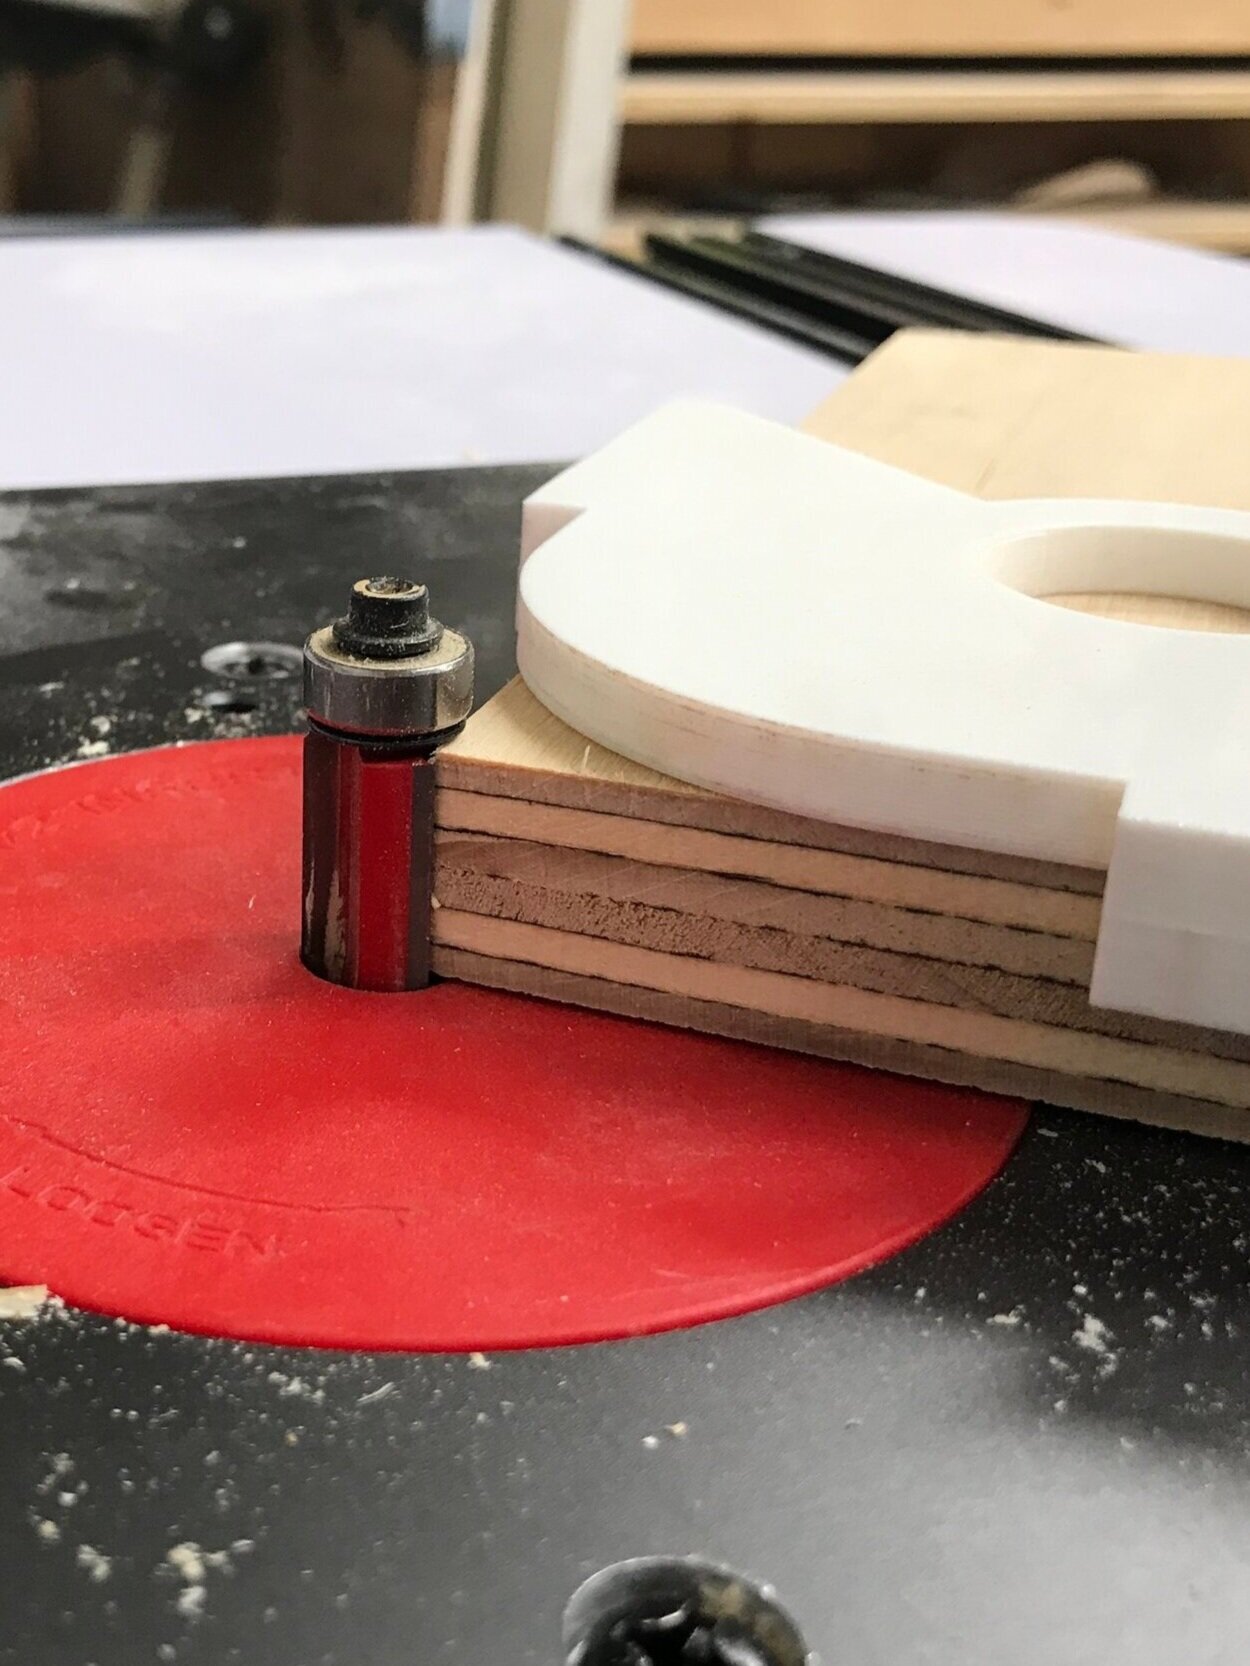
The bearing follows the jig.

Perfect fit!
Step 4:
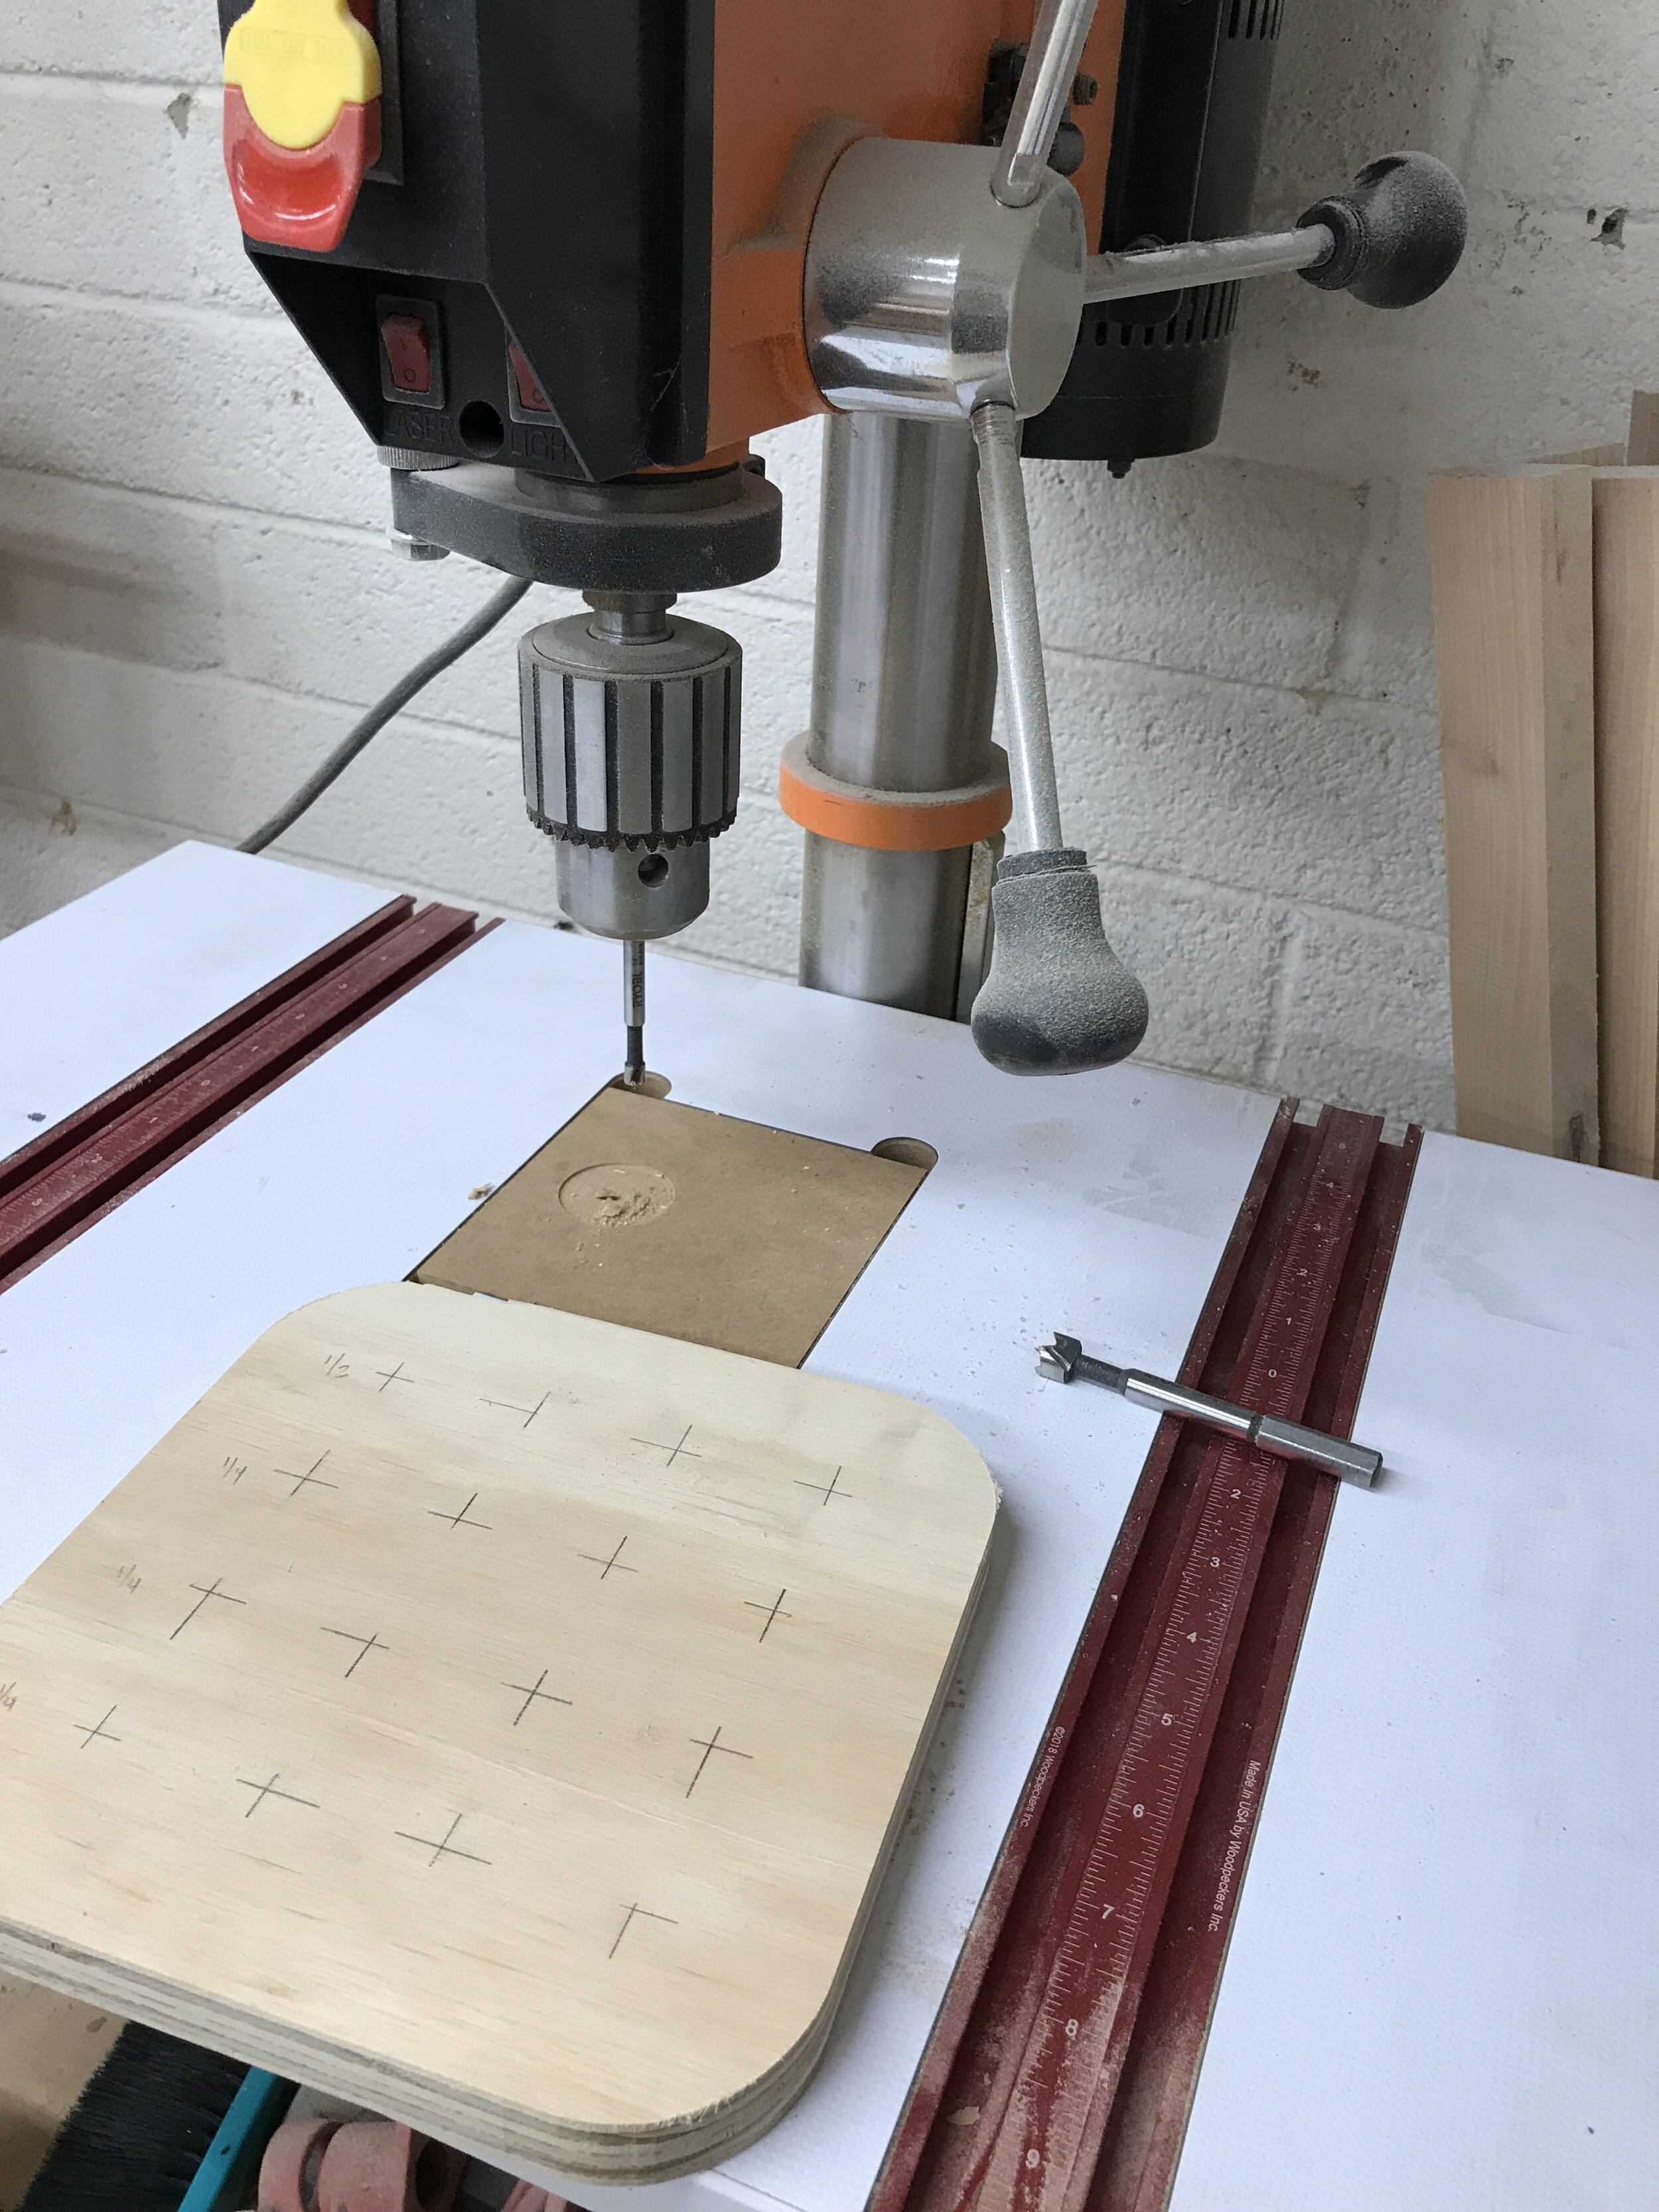
During the layout process I figured out I needed 1 1/2” between each bit. Some bits needed less, but if I did them all at this spacing I could put the bits anywhere and they would fit. All of my bits have a 1/4” shank except for one (1) bit that has a 1/2” shank. So I ended up with enough space for twelve (12) 1/4” shank bits and four (4) 1/2” shank bits. And I used my Kreg Multi-Mark to layout where all the holes were gonna go.

Figuring out spacing.

Layed out spacing.

Used 1/4” & 1/2” Forstner Bits
And then used my drill press along with a 1/4” and 1/2” forstner bits to drill the holes. You could drill will a drill if you don’t have a drill press, but since I do I used it to ensure my holes with a perfect 90 degrees.

Step 5:
Since the shanks of the bits were longer than 3/4” I needed to create some sort of feet or stand off for the holder. Using my biggest/tallest bit I knew I needed 1 1/4” on the top side of it and since the case was about 3” deep that left about 1” for the feet. So I ripped some of the leftover 3/4” plywood into 1” strips, countersunk some holes and attached them to the holder, avoiding the holes, with 1 1/4” pocket hole screws or washer head screws.

More information on the bits and tools I use, check out the TOOLS I USE page in my Amazon shop.


More information on the bits and tools I use, check out the TOOLS I USE page in my Amazon shop.

Since I added the feet this left space under the holder that I could put some bit accessories and bearing that I don’t always use. And the holder is easy enough to remove when I do need to use them.

Step 6:
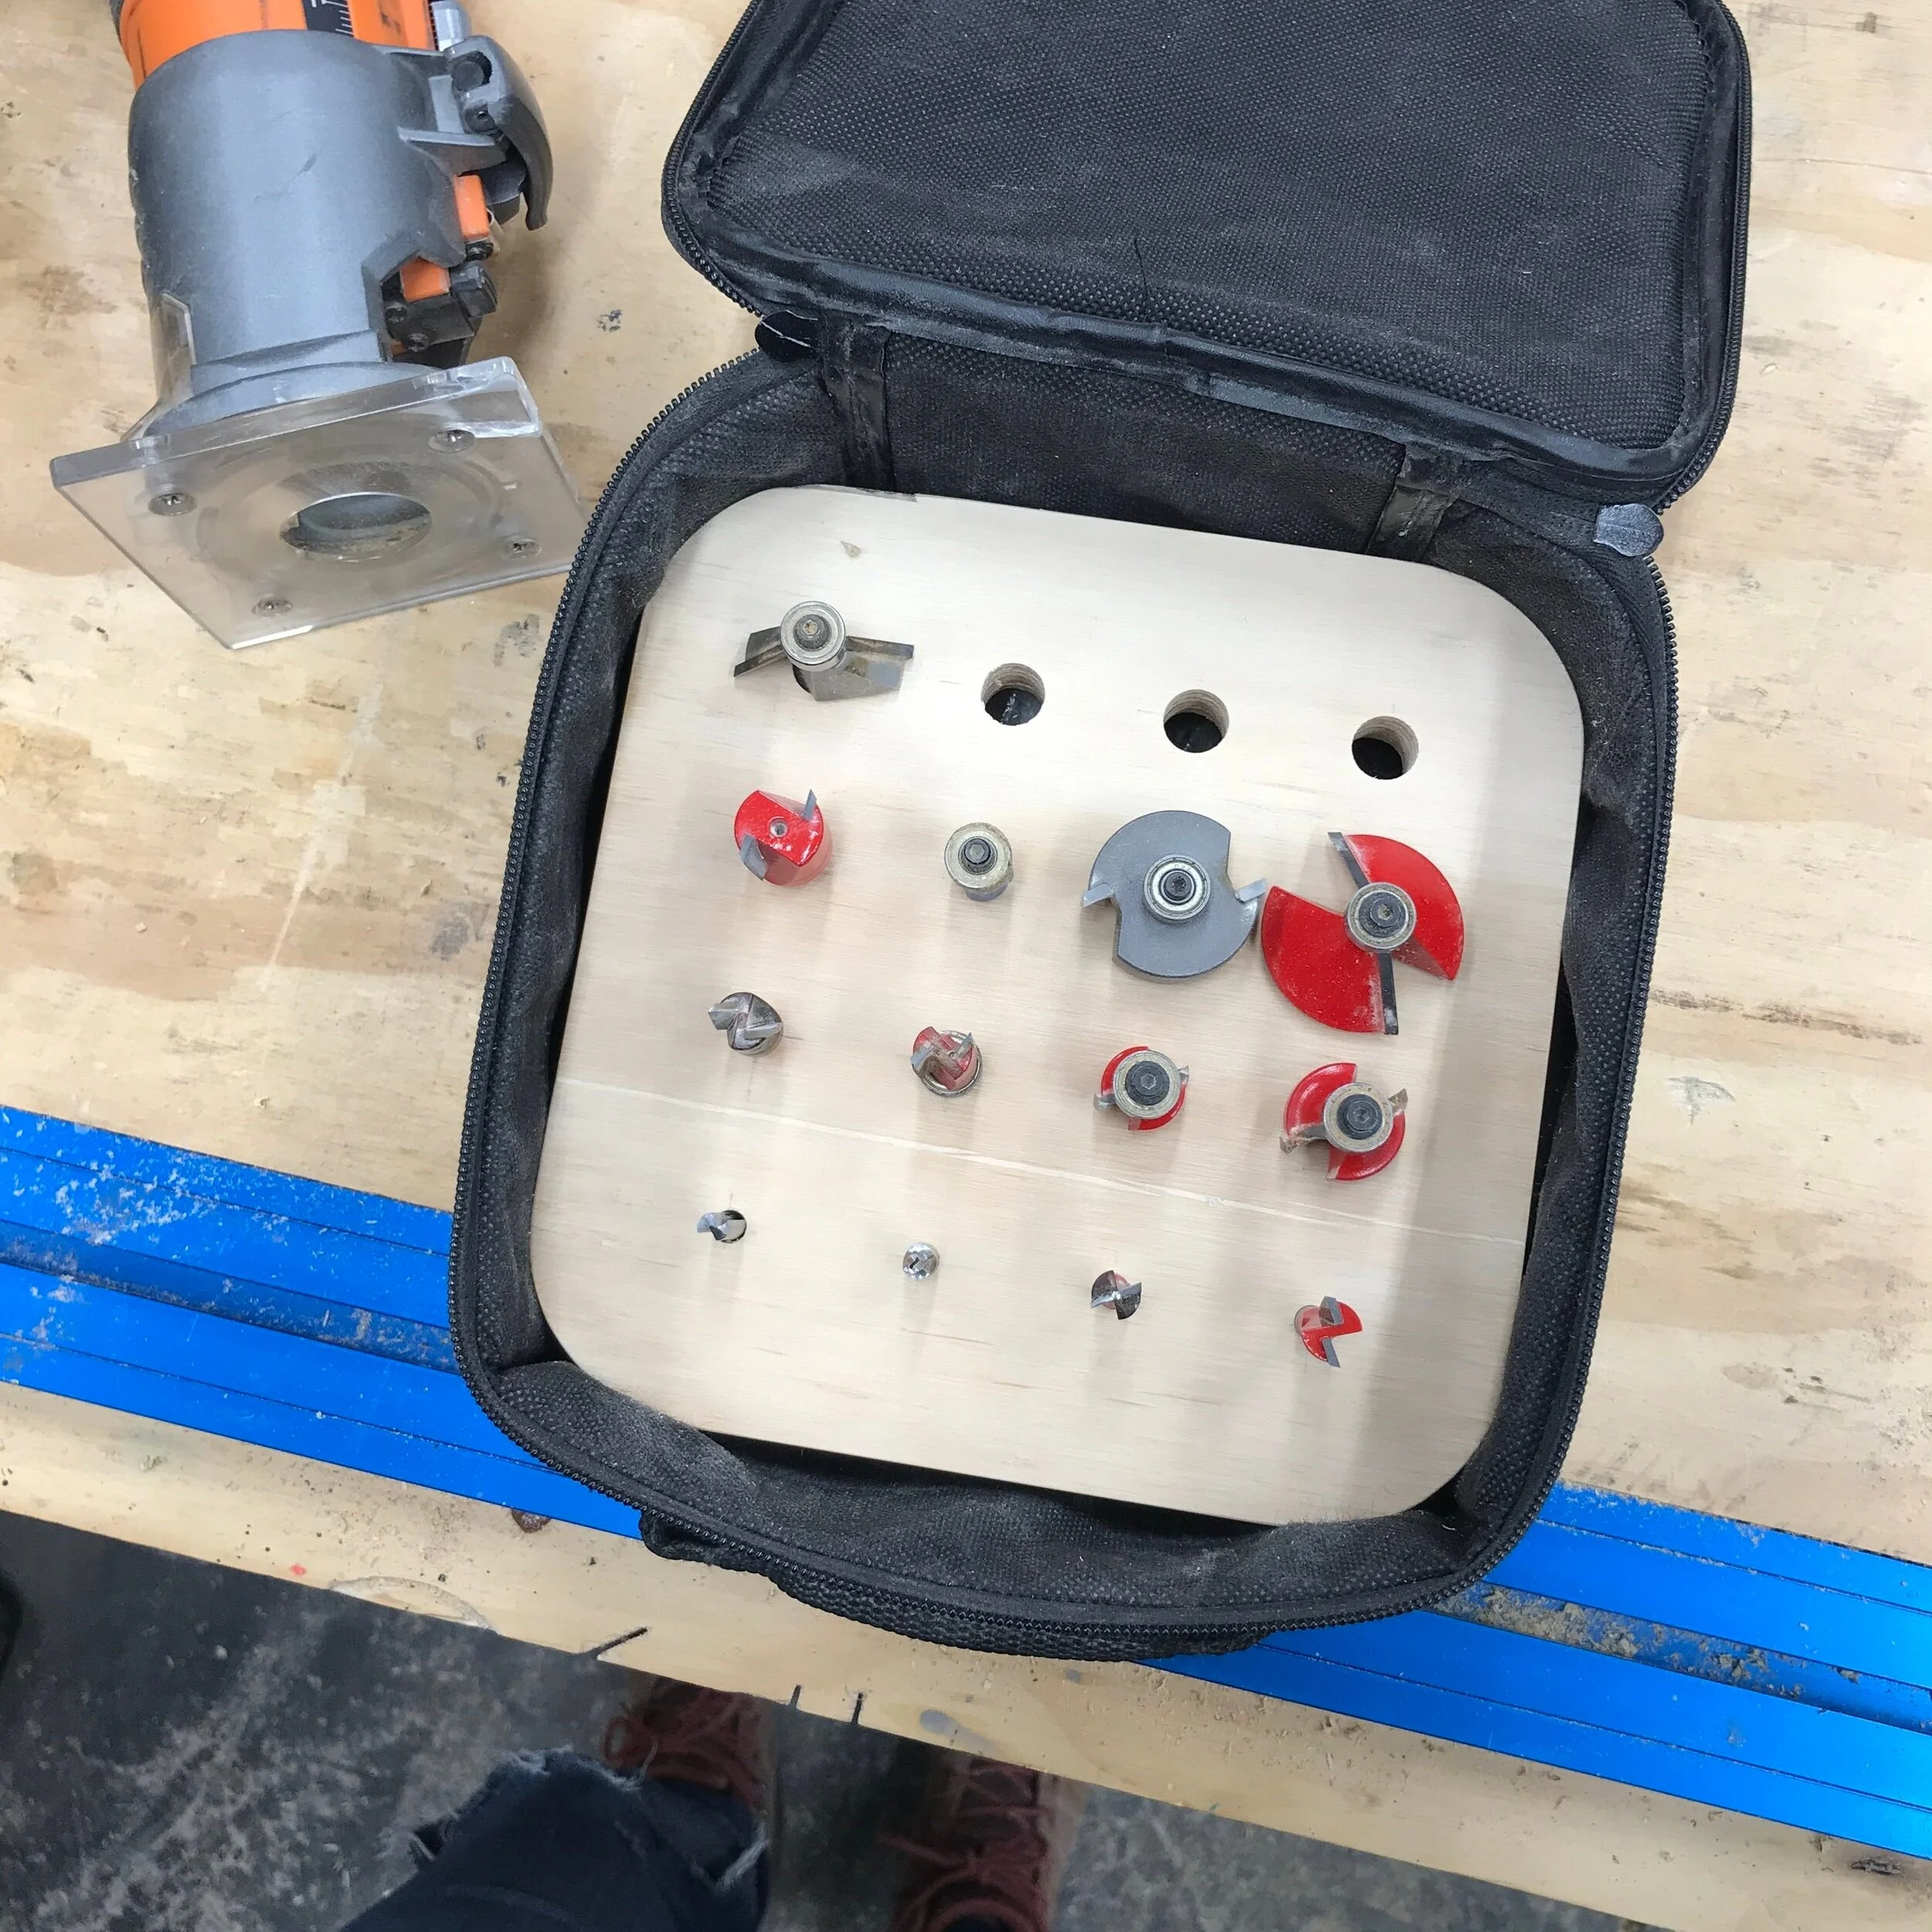
Last step was to fill up the holder with all my bits and throw away all the trash.

So pretty… I might even label them!?!

So happy to get rid of this mess!

BEFORE
AFTER
It feels good to complete a project in about an hour and be a little bit more organized in the end. Small projects like this definitely pump me up for the next project and now next time I reach for my router bits I won’t have any problem finding just the right one.
I hope you liked this project and if you did please let me know in the comments below. Also let me know if you would like to see more of these types of projects and as always if you build this project please share it using the hashtag #buidlingawesome.
Happy building and have an AWESOME day!
Sadie