How To Decorate An Odd Corner Space
So I have a very odd shaped living room… long and narrow with two openings and a big picture window. It has been a challenge to figure out how to arrange the furniture in the space, especially because my husband will not give up his giant speakers and giant tv! But I have settled on a layout that works for us and have lots of plans to completely makeover the space. I want all sorts of built-ins to hide speakers and get stuff up off the floor so it is easier to clean up all of Oscar’s hair and dirt. But until the time comes to do all that I wanted to something that would spice up the room, its totally boring right now, and give me something pretty to look at. Plus, I have been acquiring lots of plants lately in hopes of becoming a “crazy plant lady” , so I decided to makeover this odd corner space because it gets good light for my plants.
This post contains affiliates links. This post is NOT sponsored. All opinions are my own.

THE FLOORS HAVE BEEN LIKE THIS FOR OVER A YEAR!!!

GIANT TV AND GIANT SPEAKERS!!!

BEFORE - GROWING MY PLANT COLLECTION!
Since it was such a small area I really wanted to do something bold and beautiful, so my first thought was a crazy fun wallpaper… like this one or this one. But after pricing them out I knew they weren’t in my budget so I decided to try out some wall decals. I was definitely skeptical and I thought they were gonna look like I had stickers on my wall, but heard good things from other bloggers so I figured it was worth a shot. I got the boho inspired ones here, and they were so easy to apply. I did a random pattern so that made it even easier. And yes all I did was peel and stick! Even on my orange peel walls they look great and once you rub them in they look like they are painted on or wallpaper, definitely not like a sticker. Highly recommend! And for only $12.99 you really can’t go wrong, because if you hate it you just have to peel them off. No harm no foul.

So next up was display shelves for my plants. I had these shelf brackets from Ikea sitting around that house that I was going to use for my guest bedroom makeover but never did so I decided to use them here. They are pretty cool because you can install them a short way or long way. I decided to install them the long way to show off the hardware and so that the shelf itself would be more narrow. I did that because they were going into a small space and I didn’t them to stick out too far.

Don’t think they sell these anymore!
For the shelf itself I was thinking of painting them white because I really wanted the wall treatment and the plants to be the stars of the show. Plus, I knew I wanted some wood accents in that room down the road, but still wasn’t 100% on the color or wood type. So going white was a safe bet for the changes I want to do down the road. And since I was going white I decided to go with a 1x8 MDF board for $8 rather than a pine 1x8 for $14. It made it easier too because it was already primed…. WIN! WIN!

You could easily just cut the board down, sand the edges, paint and install… but I had just gotten a brand new router table, so I wanted to try something fun. I radius’ed the corners of my shelves to give them a little more custom look and love how they turned out. I used some homemade jigs that a friend 3-D printed as the guide, but you can also use these if you want radius on your shelves too.
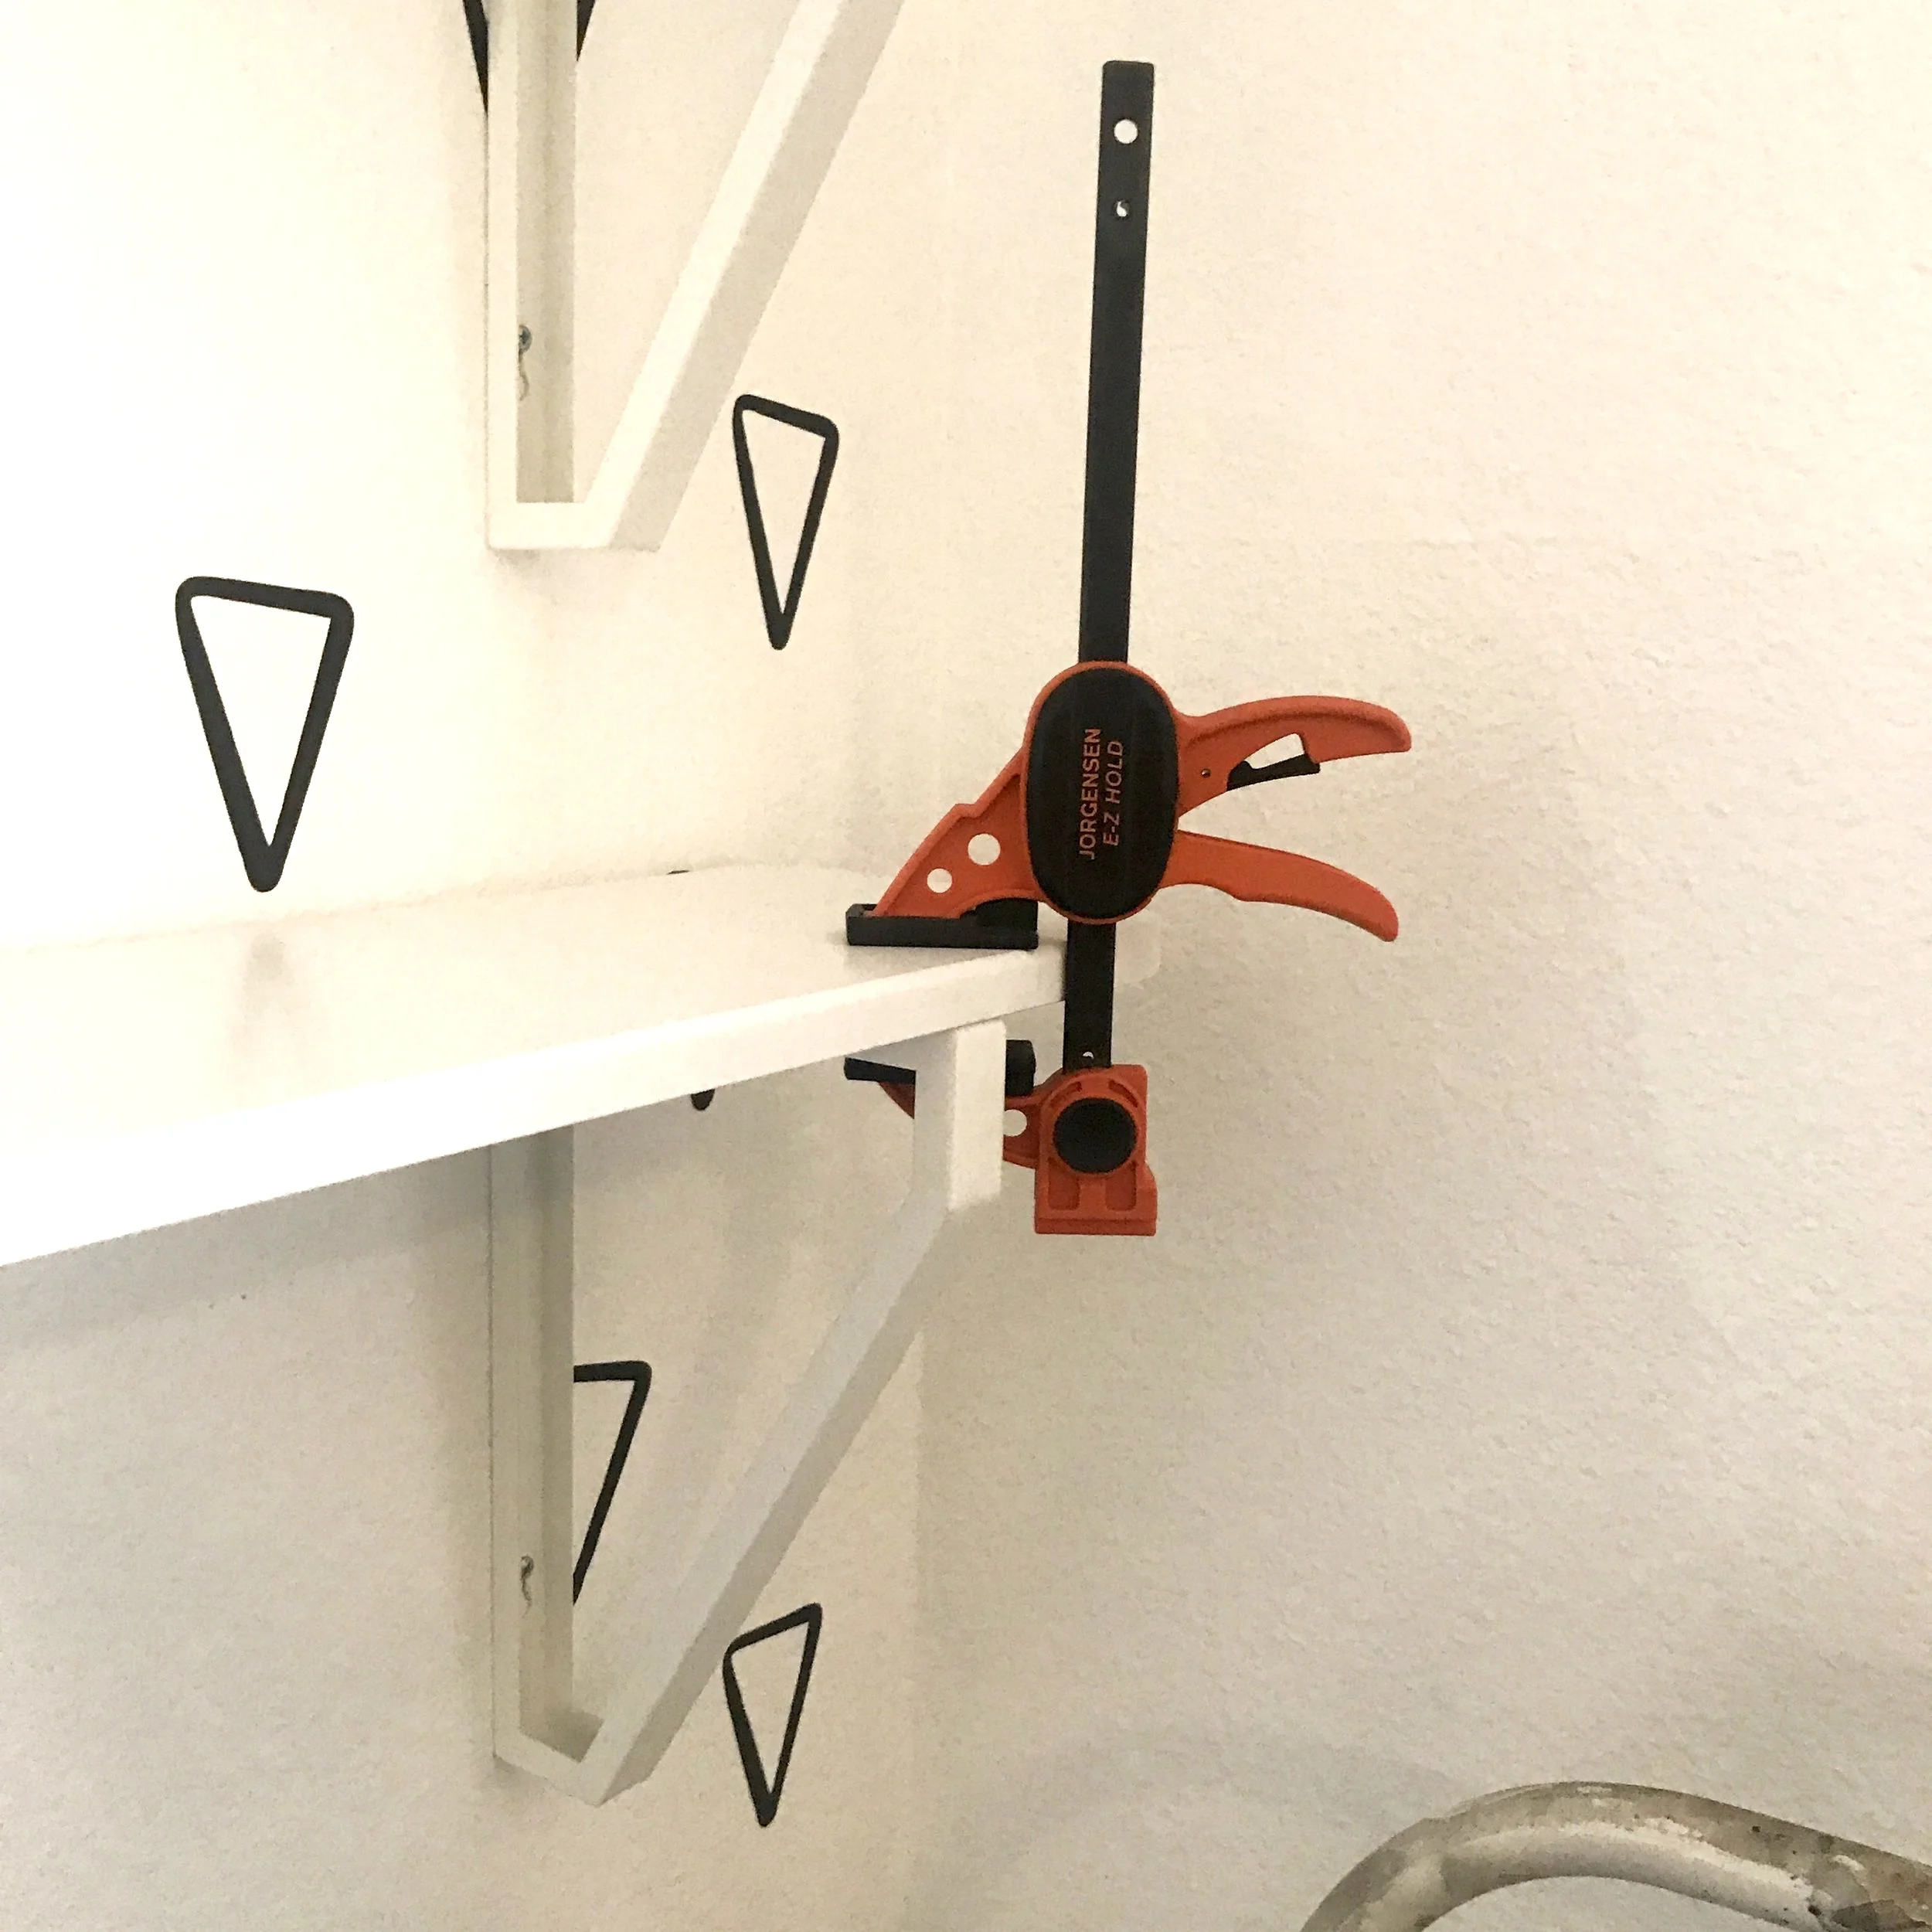
Using a clamp to hold them down while screwing them in. These Pony | Jorgensen clamps ROCK!!!
Once they were all painted and installed came the hard part… decorating the shelves. I feel like I have an eye for designing spaces and big pieces, but when it comes to shelves or gallery walls I struggle. And I am sure that I will change what is on these shelves a million times especially as I get more plants, but for now this is how it turned out.

So, since I already had the shelf brackets all I had to pay for was the decals and the one (1) mdf board, so this project only cost me about $22 and a days worth of work. Crazy how such an easy simple cost effective change can make such a dramatic impact on a room. Can’t wait til phase two of this rooms makeover, but for now I’ll be enjoying this view and again hopefully turning into a crazy plant lady.

Hope you enjoyed this odd corner space makeover. Until next time keep #buildingawesome and have an AWESOME day!
-Sadie Mae