

DIY Mid-Century Modern King Bed
I made myself a grownup bed! A DIY Mid-Century Modern King Bed with an AWESOME textured headboard. I have been married for 22 years and this is the first time since we have had a king bed that I actually have a headboard, side rails and a footboard! Seems crazy say that, but now that this one is built… it was worth the wait!
This post IS sponsored by Saburrtooth Power Carving Tools. All opinions are my own. This post DOES contain affiliate links. For more information on the affiliate programs see my DISCLOSURES page.
I went thru so many different version of what type of bed I wanted… farmhouse, modern, platform… there are so many awesome options out there. But how I came up with this version started with a recent build, my DIY Textured Storage Bench. I love how it came out and currently have it in my bedroom, so I wanted something that would coordinate with that. It has a bubble hammered texture to it and I thought that would look great on the headboard, so I started my design there.

DIY Textured Storage Bench
I also like beds with a little platform, so you can still see the bed even when it isn’t made… because to be honest I am horrible at making my bed! I was also wanting my bed to be lower than it currently was, roughly 30”H, because it is hard for Awesome Oscar to get up and down sometimes. Plus I like the look of a lower profile (MCM) bed and I think it makes my room look bigger!

Current set-up bed is about 30” H. Metal frame, box springs and mattress.
Click here to purchase complete build plans for the DIY Mid-Century Modern King Bed.
They come with all dimensions, tool list, materials list, cut list and step-by-step instructions.
Here are a few build tips and things I learned while building this bed.
Tip #1
Most of the bed frame pieces are made from 2x2’s. It is almost impossible to find good straight ones at the store… so I take the extra step and rip mine from 2x4’s. It takes more work, but it is totally worth it in the end!

Making my own 2x2’s also gets rid of the rounded edges and gives a more modern look.
Tip #2
I recommend cutting the short upright pieces for the footboard, headboard and center support after you have the sections assembled. I didn’t do this and mine ended up being a little short.

I also attached the bottom of the support thru the 2x2 using 2 1/2” Power Pro wood screws. The top was with PH’s.

Tip #3
I added pocket holes to the frame pieces, so that I could dry fit it together before adding the hardware. I also ended up using my pocket holes during assembly for added support. You don’t need to, but it can’t hurt and I don’t plan on moving my bed anytime soon so I didn’t mind the extra step.

I always mark arrows on my boards so I know which side to put my PH’s.
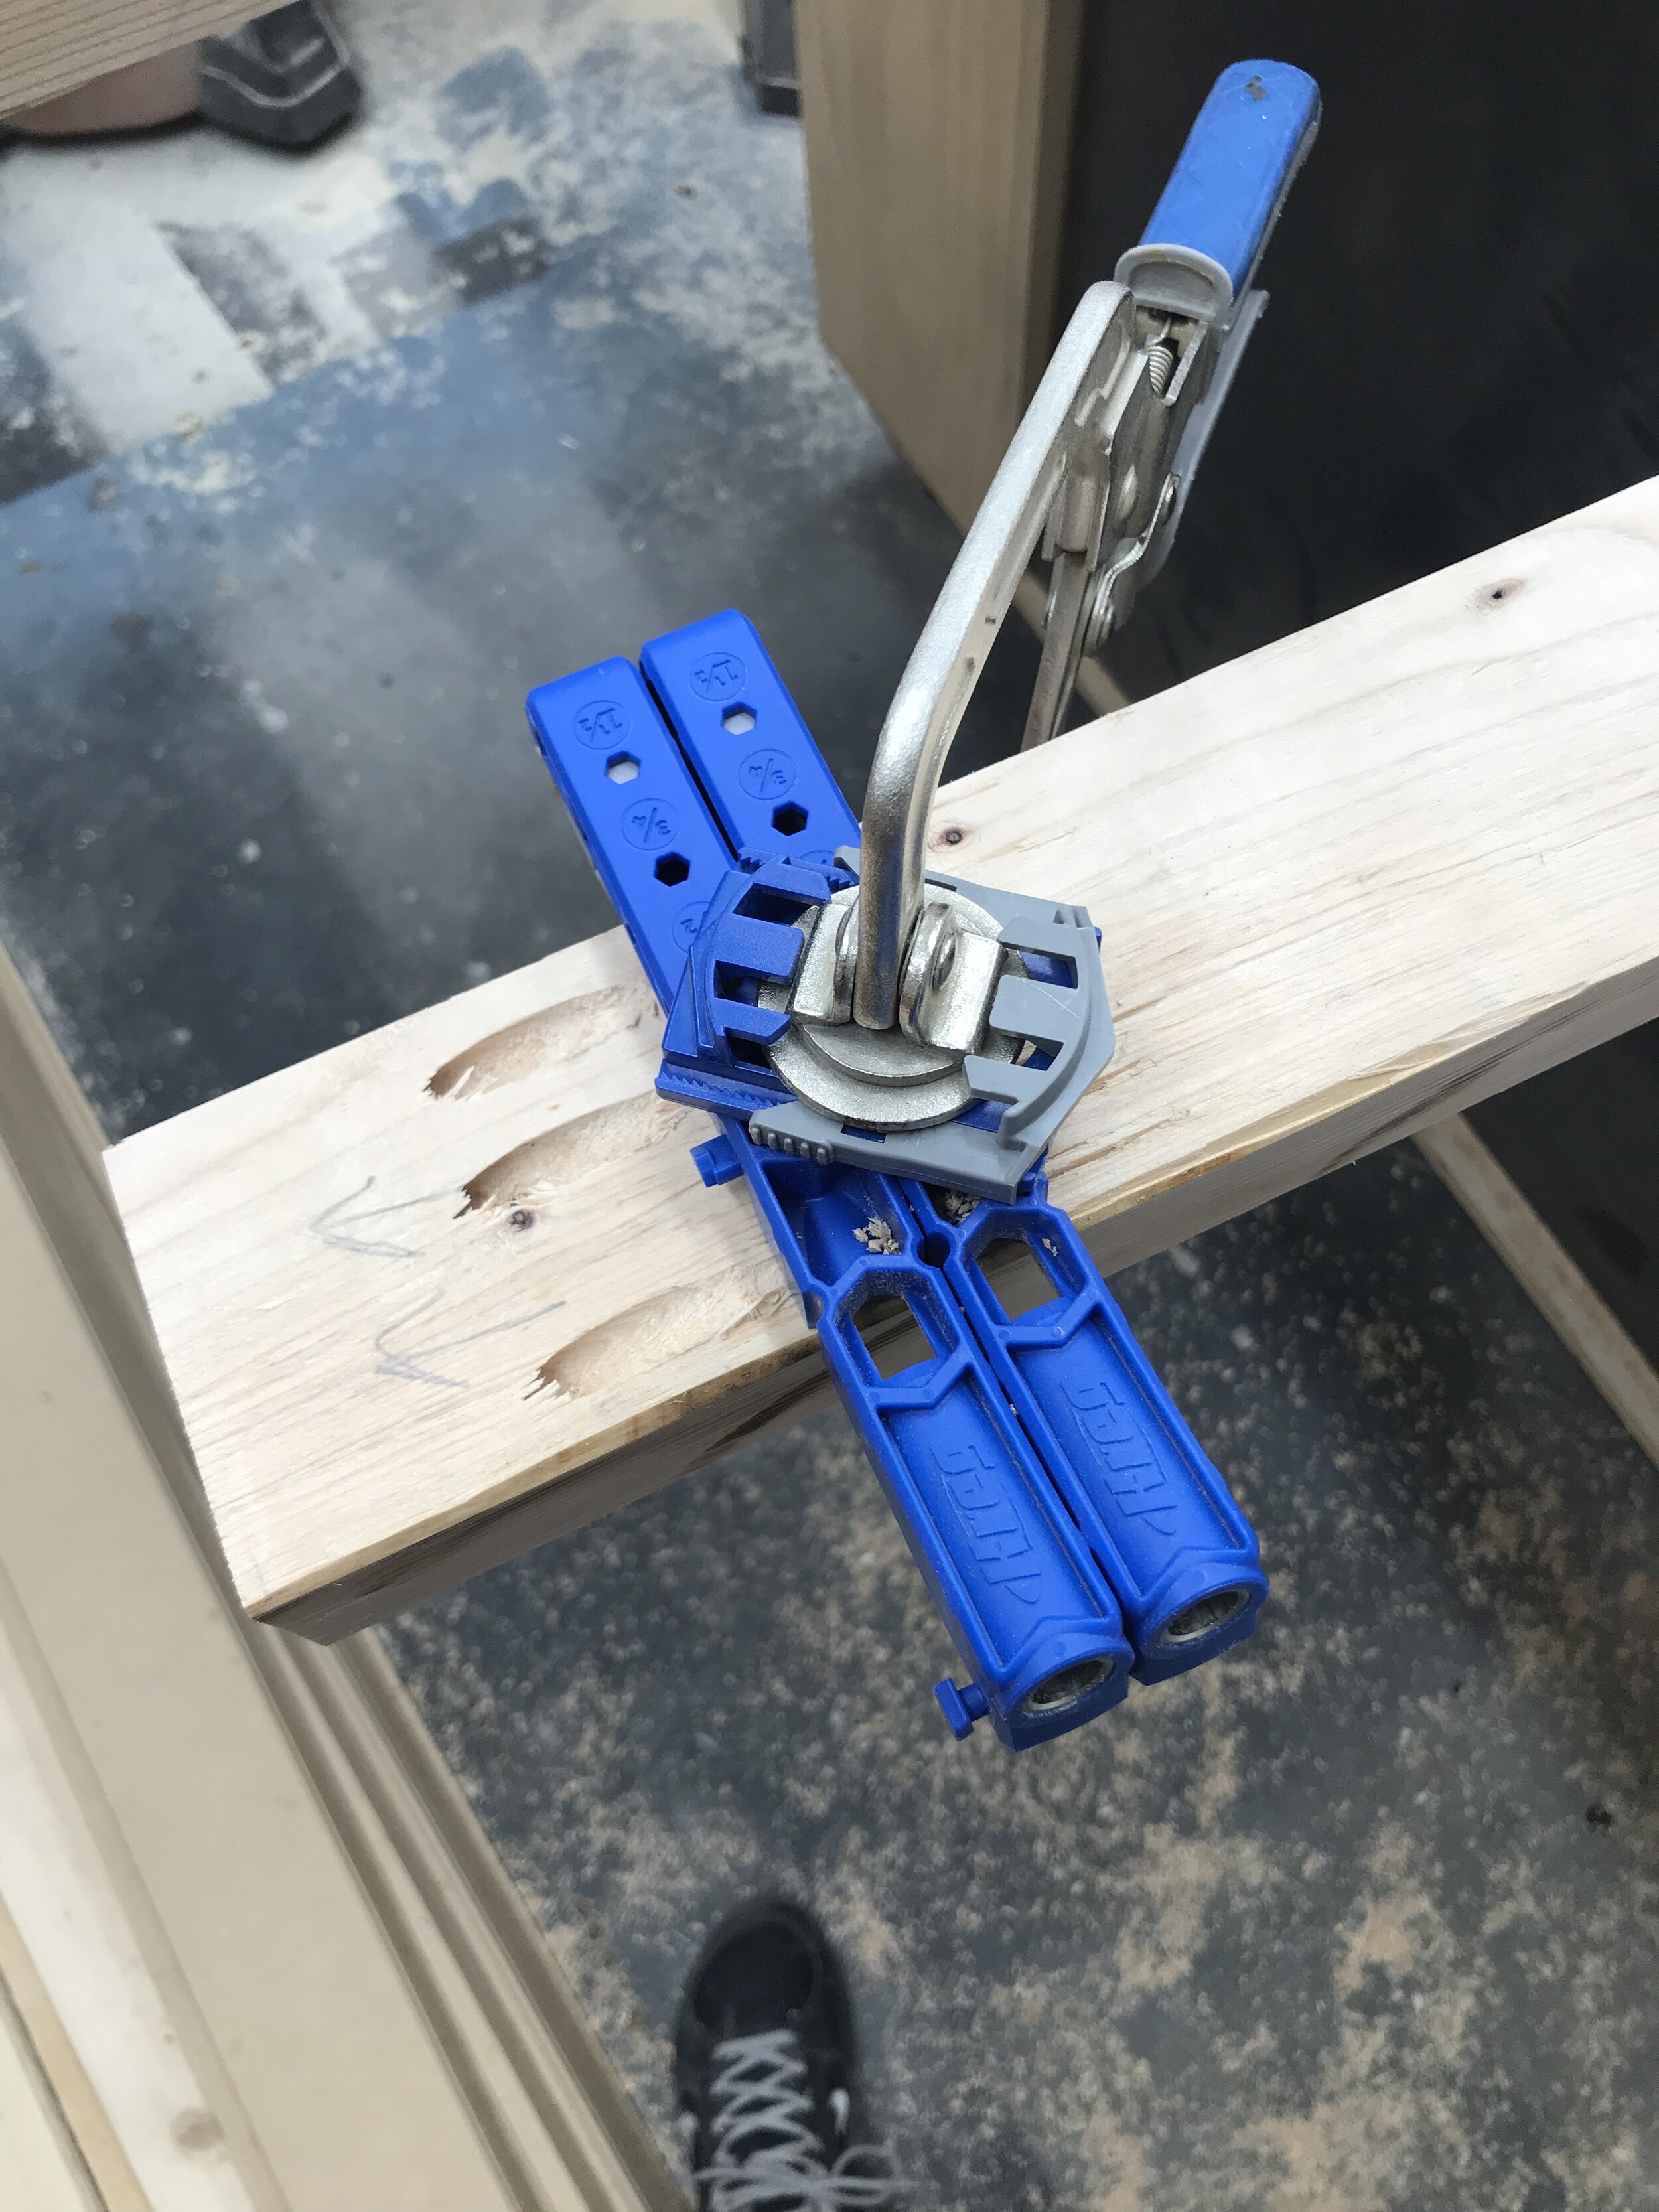
I used the Kreg Pocke-Hole JIg 320 and it worked awesome for this big project.
Tip #4
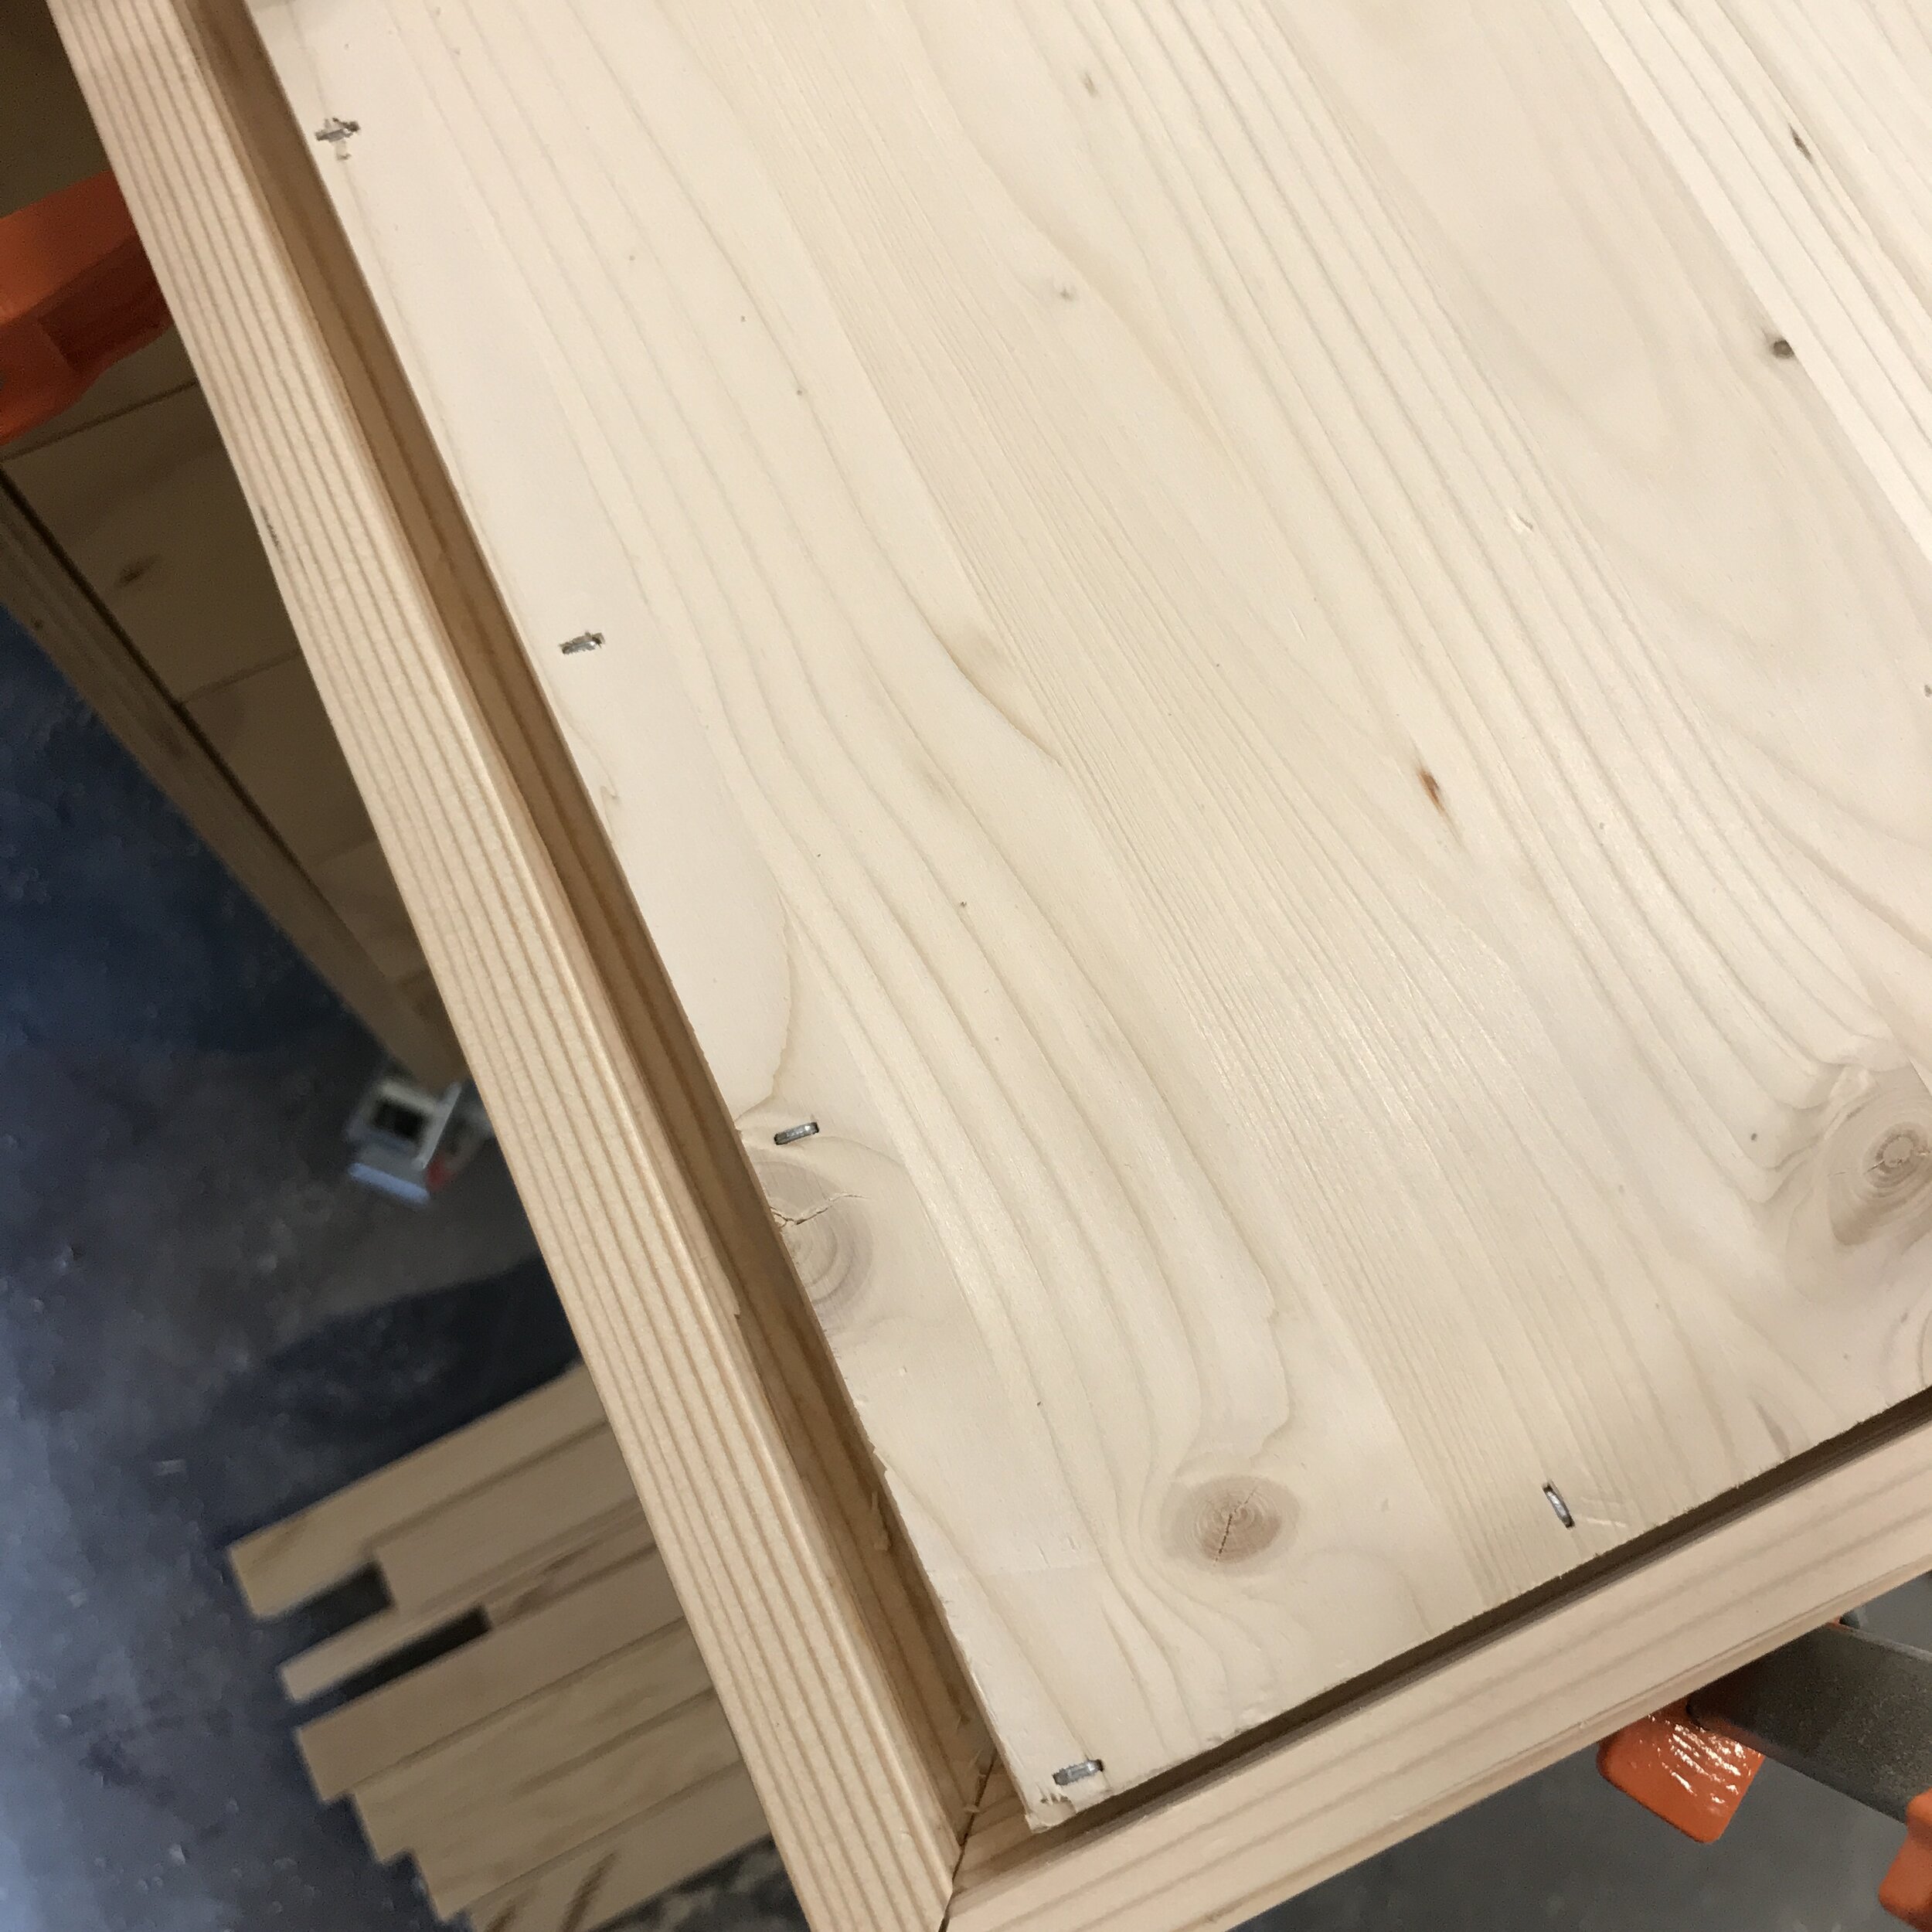
Sand pieces before assembling. This will safe you a lot of time down the road trying to sand corners once everything is put together. I did touch up sand any needed spots after assembly.

Minimal sanding was needed after assembling pieces. Just a little glue squeeze out clean up.
Tip #5
Once the frame is assembled, add the bed hardware. The pocket holes should hold everything, but I added the hardware for additional support and if down the road I move it will be easier to reassemble the bed. Or if one of the pocket hole screws gets striped you have the extra support. NOTE: Be aware when screwing in the bed hardware that the screws need to be perfectly flush with the hardware or else you won’t be able to get them to slide together. There is not any play, so I recommend pre-drilled and making sure screws are drove in straight. This is the hardware that I used and fits perfectly for this bed.

Everything held together with PH’s and now time to add hardware.

Be sure screws are flush as possible. Mine weren’t and I had trouble getting hardware together easily.
Tip #6
You can purchase pine project panels from your big box store for the headboard, that way it is solid wood for carving and you don’t have to mill or glue up a panel. It saved me a ton of time and looks just a great as if I would have put in the extra work.

Time is money, so I totally think these project panels are worth it on a lot of projects.

Got started ripping my own 2x2’s.
You need to carve the headboard before adding the frame, that way you get a nice clean edge and the texture goes all the way to the edges. Speaking of texture… the texture to the headboard is what really makes this bed unique and AWESOME. I used a Saburrtooth 1” sphere burr in yellow or fine grit in my Makita die grinder and created a bubbled hammered texture look. I really like this look and think it adds so much character to the build. Saburrtooth has a ton of awesome carving burrs, I suggest buying a starting kit and testing out a few designs to find the look that works for you.

Saburrtooth burrs are Made in the USA. But be careful power carving is addicting… and AWESOME!

I used a 1” sphere burr in fine grit to create my bubbled hammered texture. d

I used some clamps to hold carved insert into frame and then attached using staples.
Staples hold better than brand nails. My Ryobi cordless crown stapler works great for this.

Sanded, framed, stained and ready for clear coat. I used this one in matte!
Check out my YouTube video of this build to see how the carving brings this piece to life!
Tip #7
When staining pine always use a pre-stain conditioner. The conditioner helps the soft wood take the stain more evenly and helps prevent splotching. This is the one I used.

Pre-stain conditioner is a must with soft woods like pine. It helps the stain go on evenly.
Tip #8
This piece isn’t a difficult build, but because it is big it can make it seems a little overwhelming. One thing that really helped and saved me time was spraying the bed with a clear coat protective finish rather than trying to brush it on. I used my Q4 HVLP sprayer from Fuji to do this. It is a professional machine and is AWESOME, but it can be pricy if you don’t use it all the time like me. So for a cheaper options I recommend the HomeRight HVLP sprayer. It works great for spraying clear coats, but I’m not a huge fan of it for spraying paints.

I sprayed outside because my shop is too small. Love how the texture show up in the sunlight.
Tip #9
During final assembly, I used the pocket holes on the frames and then bed hardware and then lastly added the bed rails that support the slats. I attached the rails using some Power Pro screws because they don’t require pre-drilling. I did it in this order for the extra stability, but if I do ever need to move my bed I will have to remove the rails in order to take it apart. This might be an overkill step, but I think it is worth it.

Once the frame was assembled, I screws the cleat for the bed slats in using 2 1/2” wood screws.

Bed is ready for slats… I think I was ready for a nap at this point!
Tip #10
For the bed slats I ended up using rough cut boards. They are smooth on one side and rough on the other. I placed the smooth side up. I used them because they are cheaper than standard 1x material.

I used slats that were 76” long, so I didn’t have to worry about screwing them down in the middle.

My bed height to top of mattress is now closer to 20”… perfect for Awesome Oscar and makes the room look bigger.
Tip #11
Get some help with assembly. Whether it be a friends or several clamps. I used these AWESOME EZ-hold ones from Pony | Jorgensen. You can close them with one hand which is helpful and saves some time and frustration.

An extra set of hands and clamps are your friend at this stage.

I attached the headboard once frame was assembled using screws from the back.

Clamps are your friend.
If you would like to build yourself a DIY Mid-Century Modern King Bed like mine, I do have complete build plans available. They come with all dimensions, tool list, materials list, cut list and step-by-step instructions. Plus, this build cost me less than $150 in materials. Even if you have to purchase a couple of tools to build this bed along with the materials, you will be getting a more affordable and AWESOME bed in the long run than you could buy. And the pride in knowing you made it yourself is priceless!
Click here to start building today… DIY Mid-Century Modern Kind Bed Plans.

Ta-Da…. looks so much better. Can’t wait for the rest of the rooms transformation!
I hope you enjoyed this project as much as I did and I can’t wait to share with you the rest of the projects that I have planned for this space… this is only the beginning. Think plant shelf, floating nightstands, flooring, wall treatment, built-ins… oh my! Lots of work to do, but I am excited for the challenge.
Thank you so much for following my journey! Remember Build Loud, Build Wild… just got for it and have fun! Oh… and have an AWESOME day!
Sadie Mae
Can’t build it now? PIN it and save it for later!


