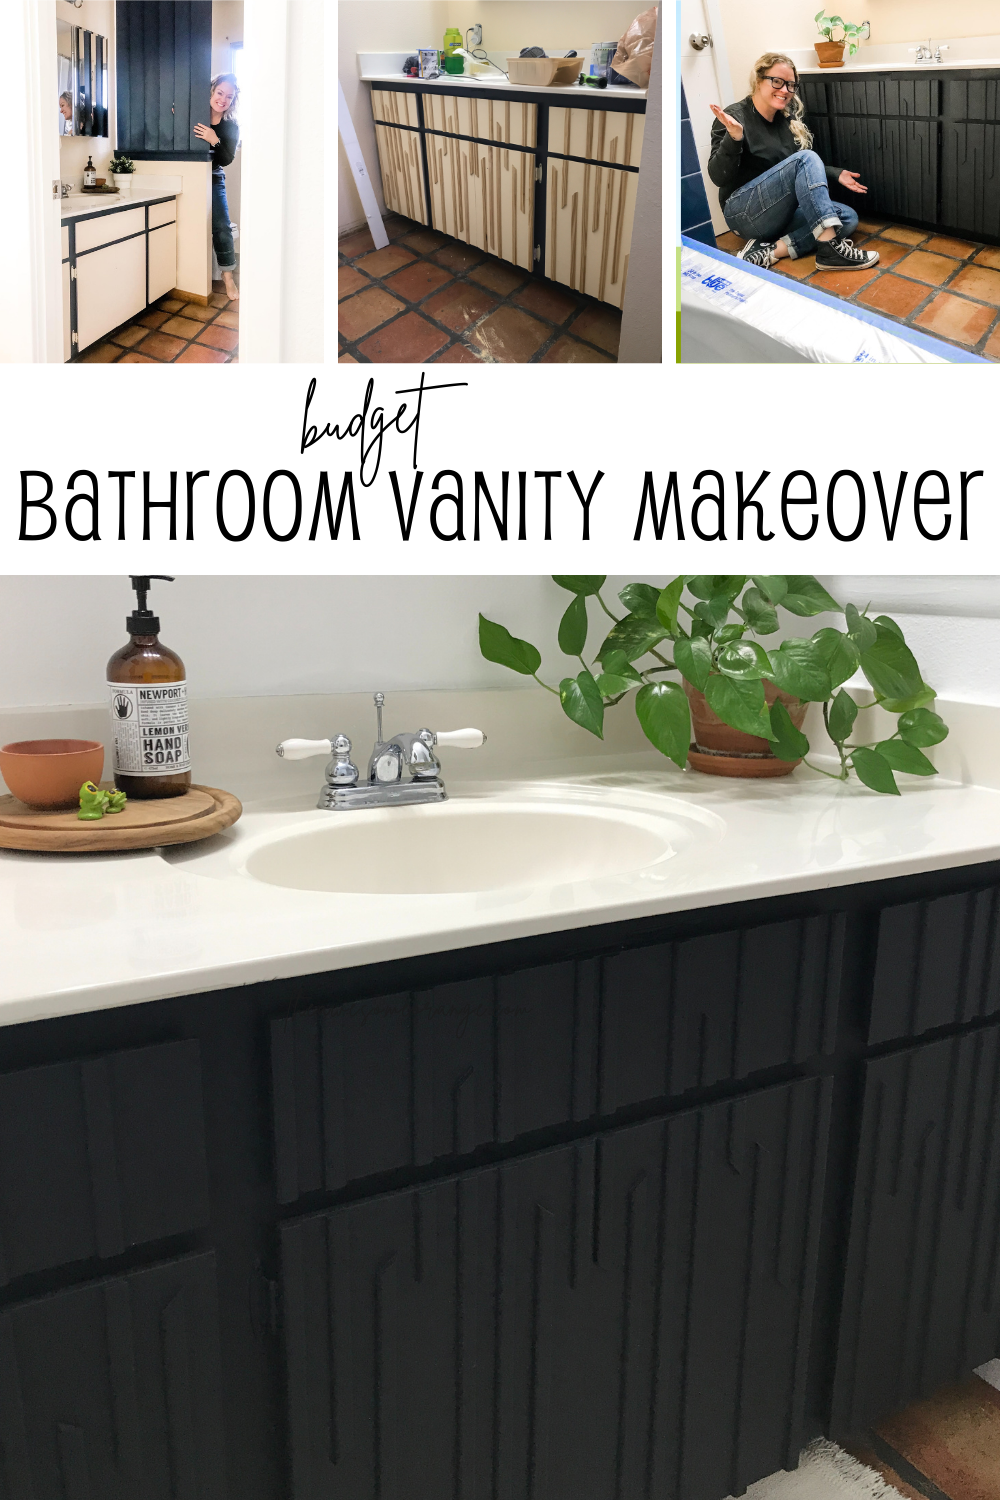
Budget Bathroom Vanity Makeover
I think my vanity is 50 years old. It has layers and layers of old paint on it… purple, yellow red, peach, navy and who knows. Well, since I am not able to replace it yet… I totally want to build an AWESOME one… I decided what is one more layer of paint!?! Well another layer of paint and some scraps and I transformed this vanity into something that will last til I can build a new one.
This post IS NOT sponsored! This post DOES contain affiliate links. For more information on my affiliate programs, see my DISCLOSURES page.

Before - Can’t wait to say goodbye to the peach and navy!

So many layers of paint! They even paint the hinges. I don’t recommend doing this, but I did because well I’m on a budget and hoping to replace the vanity in the next year or so.
Here is the before!!! Ugh… I hate everything about it. The two-tone paint is the worst. Plus, the peach with the saltillo floors is not my favorite. First up, I knew I wanted to paint it black. I am doing a mini makeover of this entire bathroom and need to do it on a budget, so I used some black exterior paint I had on hand.
I also had some scraps leftover from a built-in buffet type project I am working on. It is these 3/4” screen door lattice type pieces of wood. They are flat on one side and then have a rounder on the other. They are only 1/4” thick so they will work great as an accent.

Scrap wood! These are the slats I used.
I didn’t have enough just to do a vertical pattern and I’m that that big of a fan of mosaic type stuff. They are cool, but just don’t fit with my decor. So, I ended up going with a pattern that I saw a friend use on her wall treatment. It is basically a random pattern of vertical pieces with 45 degree cuts on the ends.

Totally random, but also kinda organized.
I started by apply the strips on the outside of the two outside doors and then worked my way towards the middle. That way when I was done the piece would look symmetrical and kinda like an art piece.

The pattern starts on the outsides and meets in the middle.
I didn’t even use a powered saw for this… just a little hand saw, my cordless pin nailer, tape measure and speed square. I measured a piece, marked where I wanted the 45 degree angle with the speed square, cut with the hand saw and then nailed them up. I didn’t even use glue!

All the tools used for this job. The scrap of plywood so I didn’t scratch up the floor.
If you are doing this on a newer piece that you want to last longer than I do… then I would suggest using wood glue.
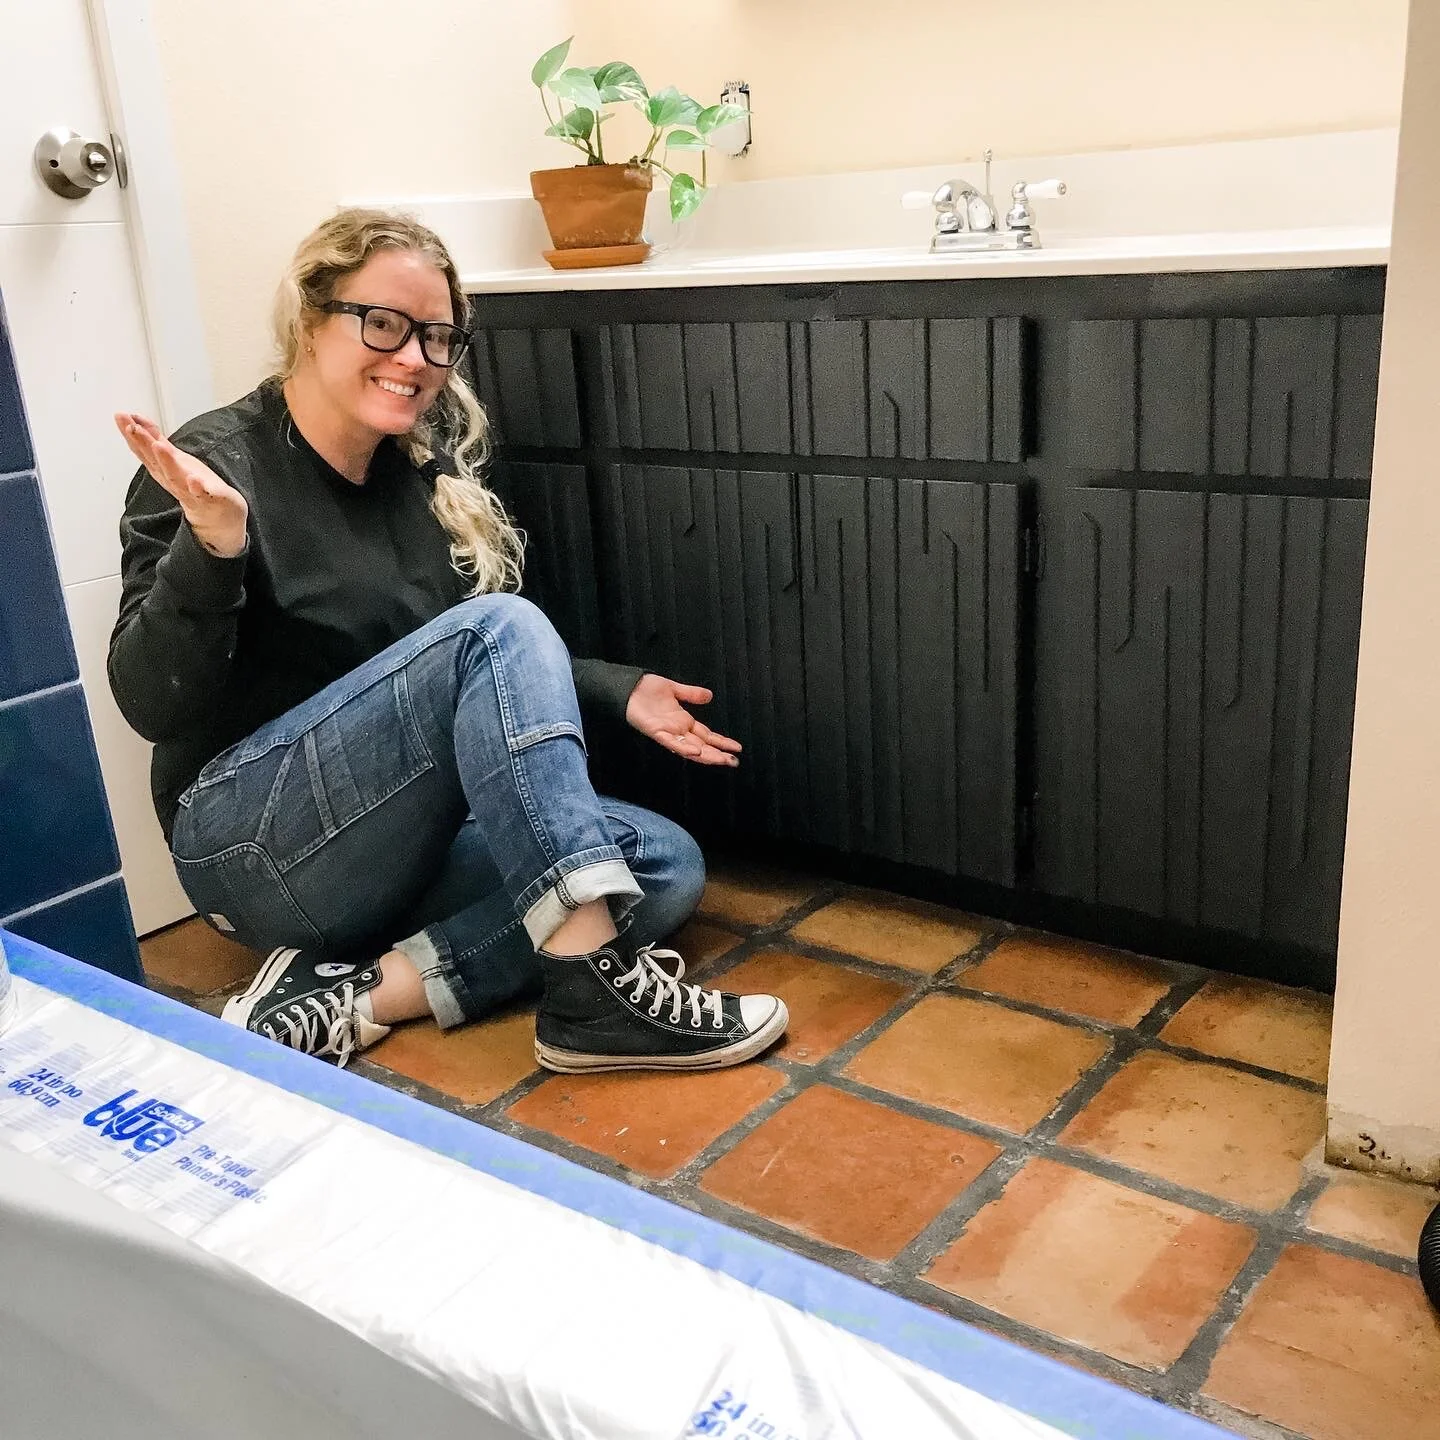
Once the pattern was all installed I sanded any rough edges and then painted it black!

Black paint was some old exterior paint I had sitting in the garage.
Yup, it was that easy to take my 50 year old vanity from awful to AWESOME!
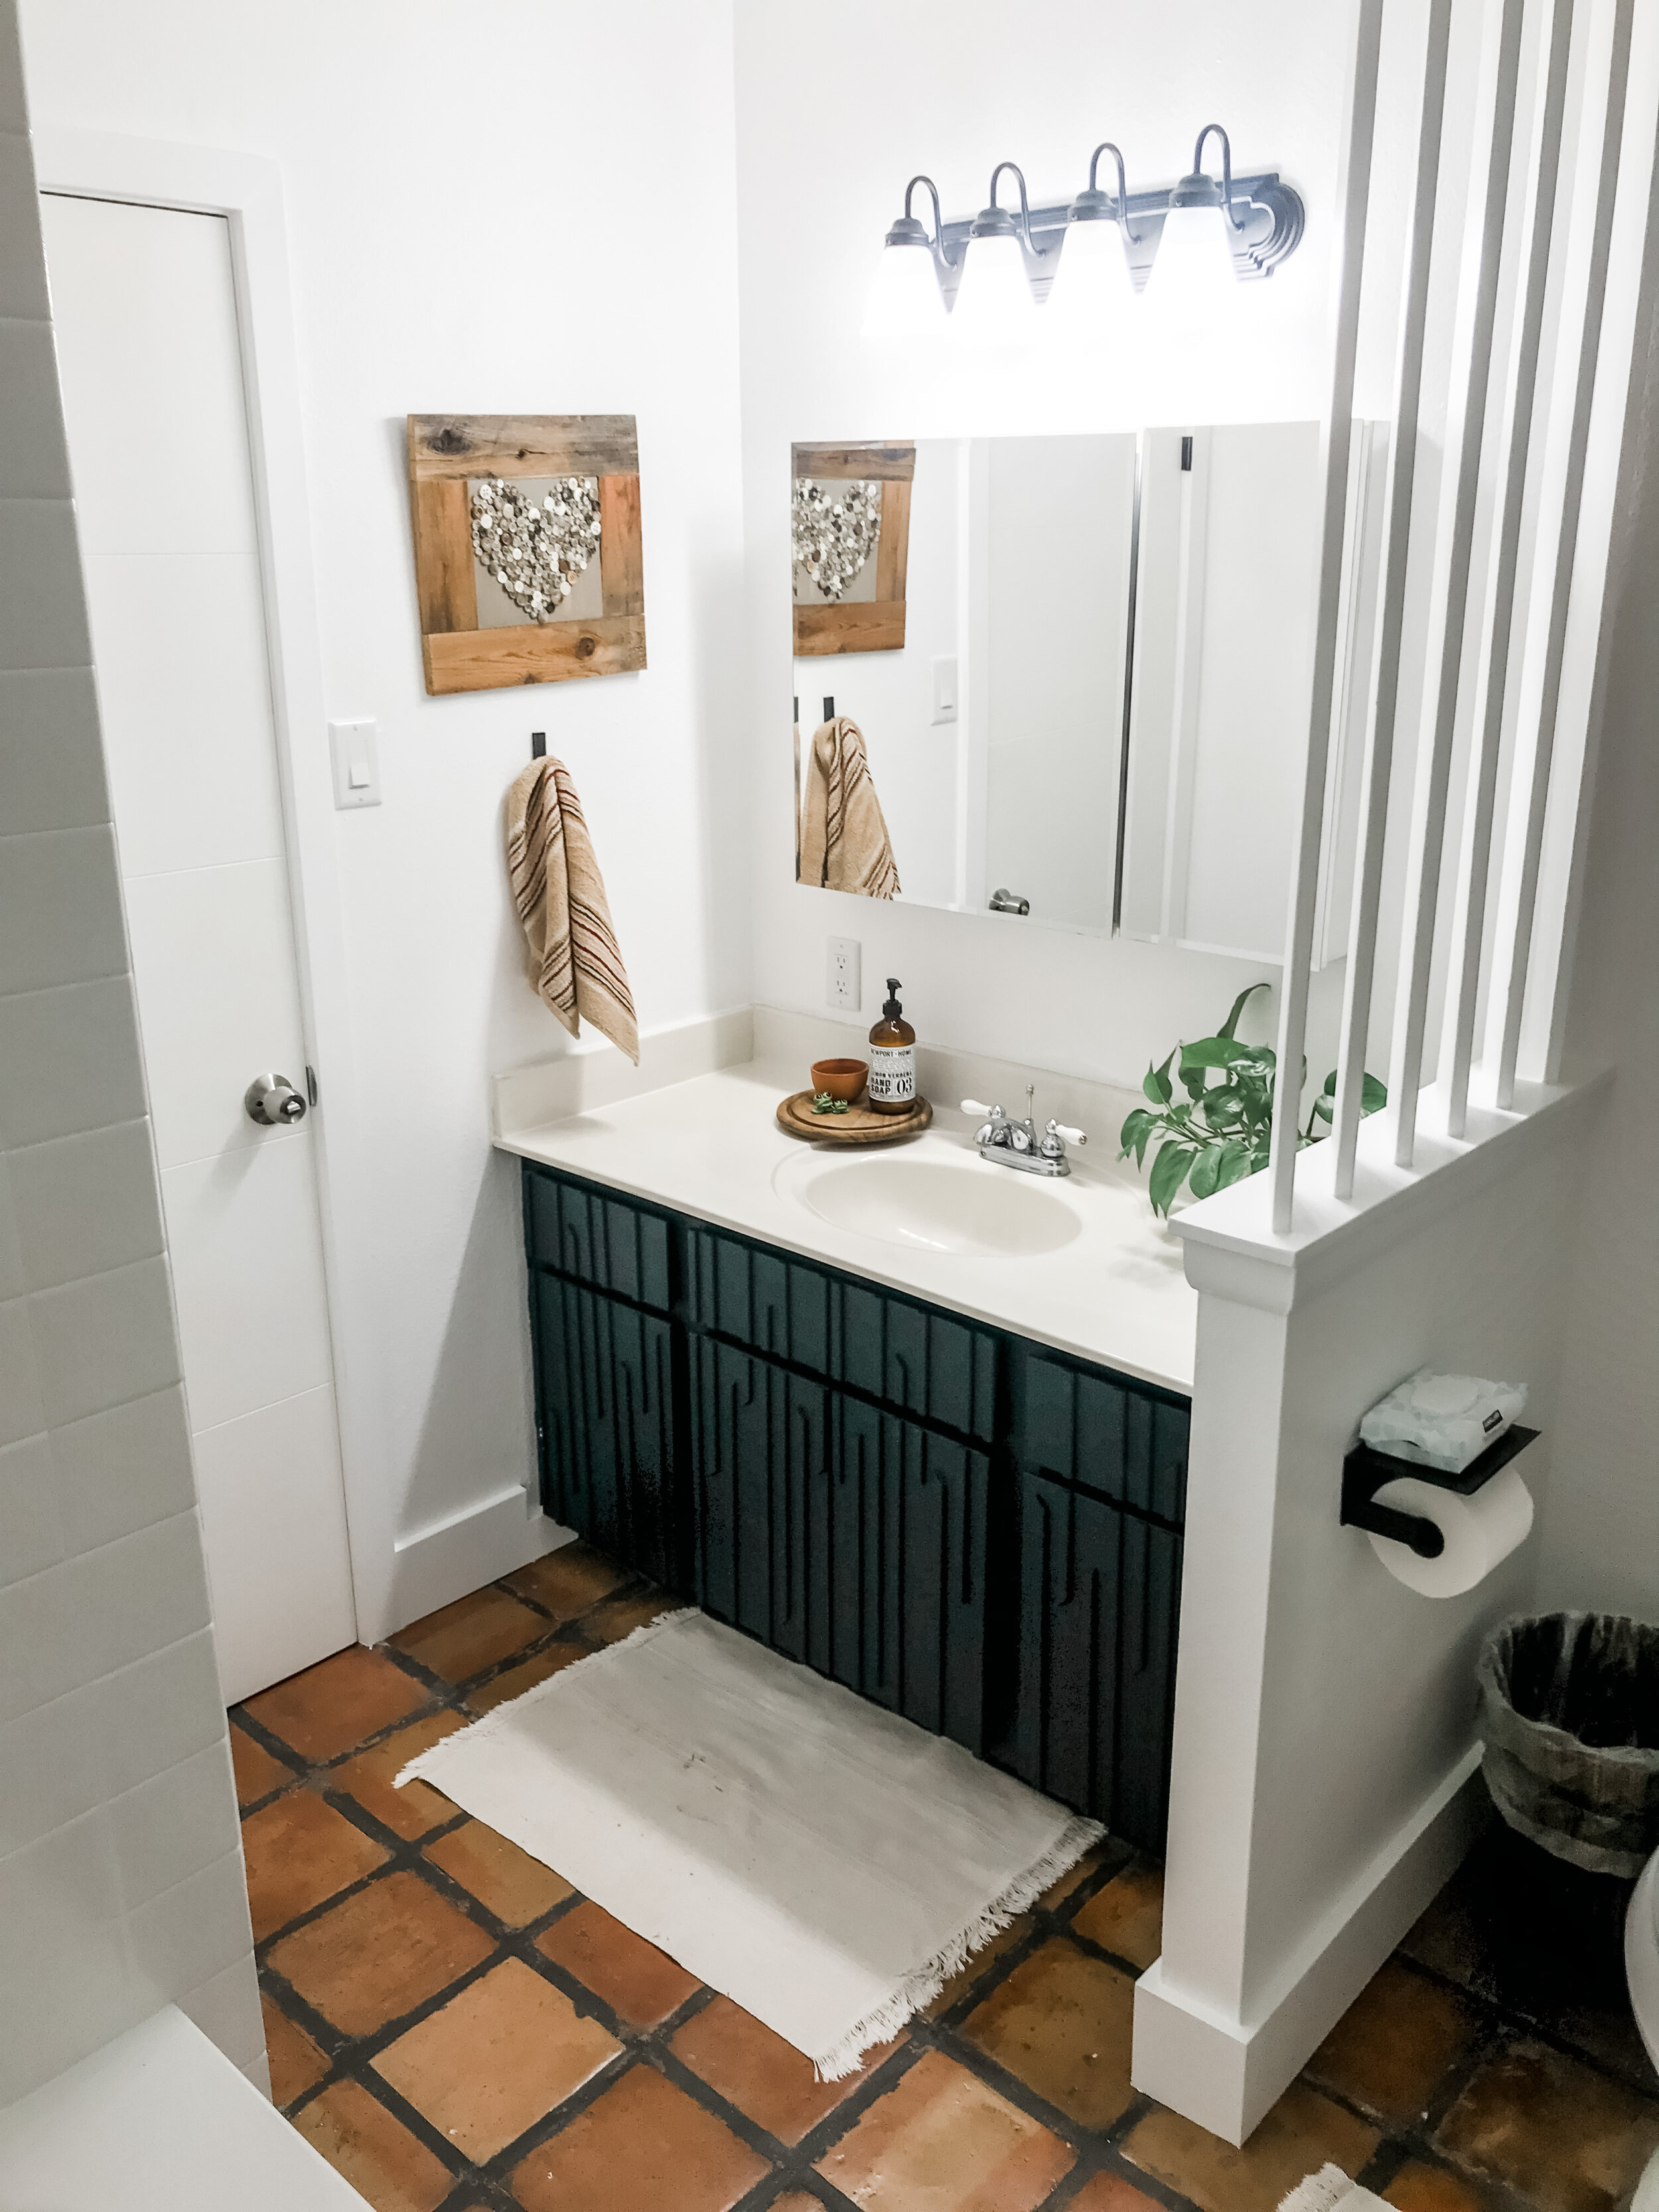
Ta-Da! So much better. The new colors totally brighten up the space and give it some personality.

Before

After
Tell me what you think below. And if you end up doing this on your vanity, I’d love to see a pic.
Thank you for following my journey! If you would like to see the full budget friendly makeover of the entire bathroom, check out the blog post here!
Remember Build Loud, Build Wild and have an AWESOME day!
Sadie Mae
Can’t complete this project now? PIN It and Save It For Later!