

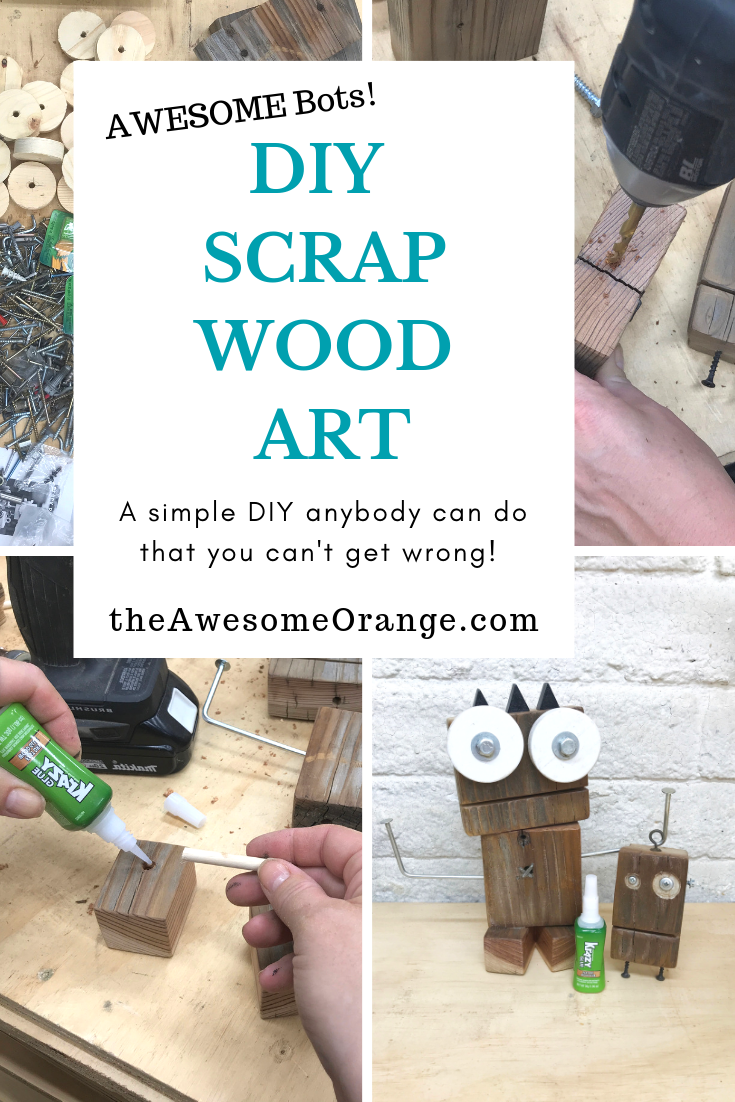
AWESOME Bots - DIY Scrap Wood Art
Have you ever seen a project and been like, I wanna make that? Well that is exactly what I said when I saw my friend make some wooden robots. I of course bought one and knew one day I would build some with my own little twist. So when Krazy Glue wanted team up for me to try their new Krazy Glue Fast Dry Wood Glue, I knew exactly what I wanted to use it on….. AWESOME Bots!
This post is sponsored by Krazy Glue. All opinions are my own. This post contains affiliate links.
I think the reason I like these bots so much is that they are:
A scrap wood project - I have so many scraps that are just waiting to be used.
I get to be creative - Sometimes building another table isn’t that fun.
AND I love how you can make each one different and they have their own little personalities.
This is a super simple DIY and you really can’t mess it up. You just use what you got and start making! So let me show you how I made mine.
Step 1
I gathered a ton of scraps, new and used hardware, my friends wooden bot and some pics for inspiration and dumped all on my workbench!!! The scrap wood I ended up going with was some reclaimed wood that I had left over from my old patio. I had just used it to make my new DIY Outdoor Dining Table (Post coming soon) and love how it turned out so I thought it would be great for this project. I also saved the circles from the holes saw when cutting the attic vent holes on the patio. Okay so most of these scraps are patio scraps, point being… use want you got and just go for it.

Step 2
Just start cutting or drilling and inspiration will come. I found the longer I stared at this pile the harder it was to decide. But since I had enough scraps it didn’t matter if I didn’t like something I did I could always grab another piece. So don’t be afraid of messing up, just start! And I started with the head and eyes!

I grabbed piece of the scrap wood and cut to a random size (about 3 1/2” x 3”) and then I cut a dado (the shallow groove) on the table saw for the mouth. And then placed the hole saw circles on it for the eyes and knew I wanted to them. So I painted them white and then glued them to the head using Krazy Glue Fast Dry Wood Glue. This stuff fully cures in 6 minutes, so I just held each piece down for about 30 seconds and then let gravity do the rest. No bulky clamps needed on such a small piece.

Step 3
Attach the head to the body. I did this by drilling a hole in the body and then gluing a wooden dowel into it.


Then I drilled another hole on the head piece to fit the other side of the dowel, but this one I didn’t glue in. I want the head to be able to move so depending on where I display it it can be looking in several different directions.
Step 4
Accessorize your Bot! I cut up some triangles, painted them black and glued them his head for a mohawk! I really liked that the Krazy Glue Fast Dry Wood Glue is clear, so if I get a little extra somewhere it is hard to see. But it is also sandable and paintable, so I can also make any touch ups if needed.
I also had some really long nails, so I bent them and used them as arms. And I used some wire staple things and made an X on his chest, you know kinda like a button or heart maybe? I also thought about adding some bolts to his head, but didn’t. I thought that less is more for this guy… maybe on the next one.

Step 5
Add the legs… or well in my case we skipped the legs and went straight to the feet. I attached these the same way as the head to the body, but this time I glued both sides so that the leg wouldn’t fall out.

Step 6
Apply finish. I clear coated mine with a water based polyurethane in matte…. boy is he cute!

Oh and the little guy on the right was kinda my scrap piece dummy, but he still looked cut so I put finish on him too!
I really love how easy it was to use the Krazy Glue Fast Dry Wood Glue. It saved me a bunch of time not having to wait overnight for glue to dry and makes it really easy if I want to batch out a whole bunch of these in the future.
If you are curious and want to try some of it for yourself it is available on Amazon.com or in the crafting aisle at Walmart!
So, what do you think of my AWESOME bot? What do you think I should name them? Tell me in the comments below!
Do you want to try and make some for yourself? If so, I’d love to see them so please share with me or tag me in your posts!
Can’t make them now? Pin this and save for later!
Well, I think this is a project I will definitely be doing again. It got my creative juices flowing. So watch out for more AWESOME Bots in the future, keep #BuildingAwesome and have an AWESOME day!


