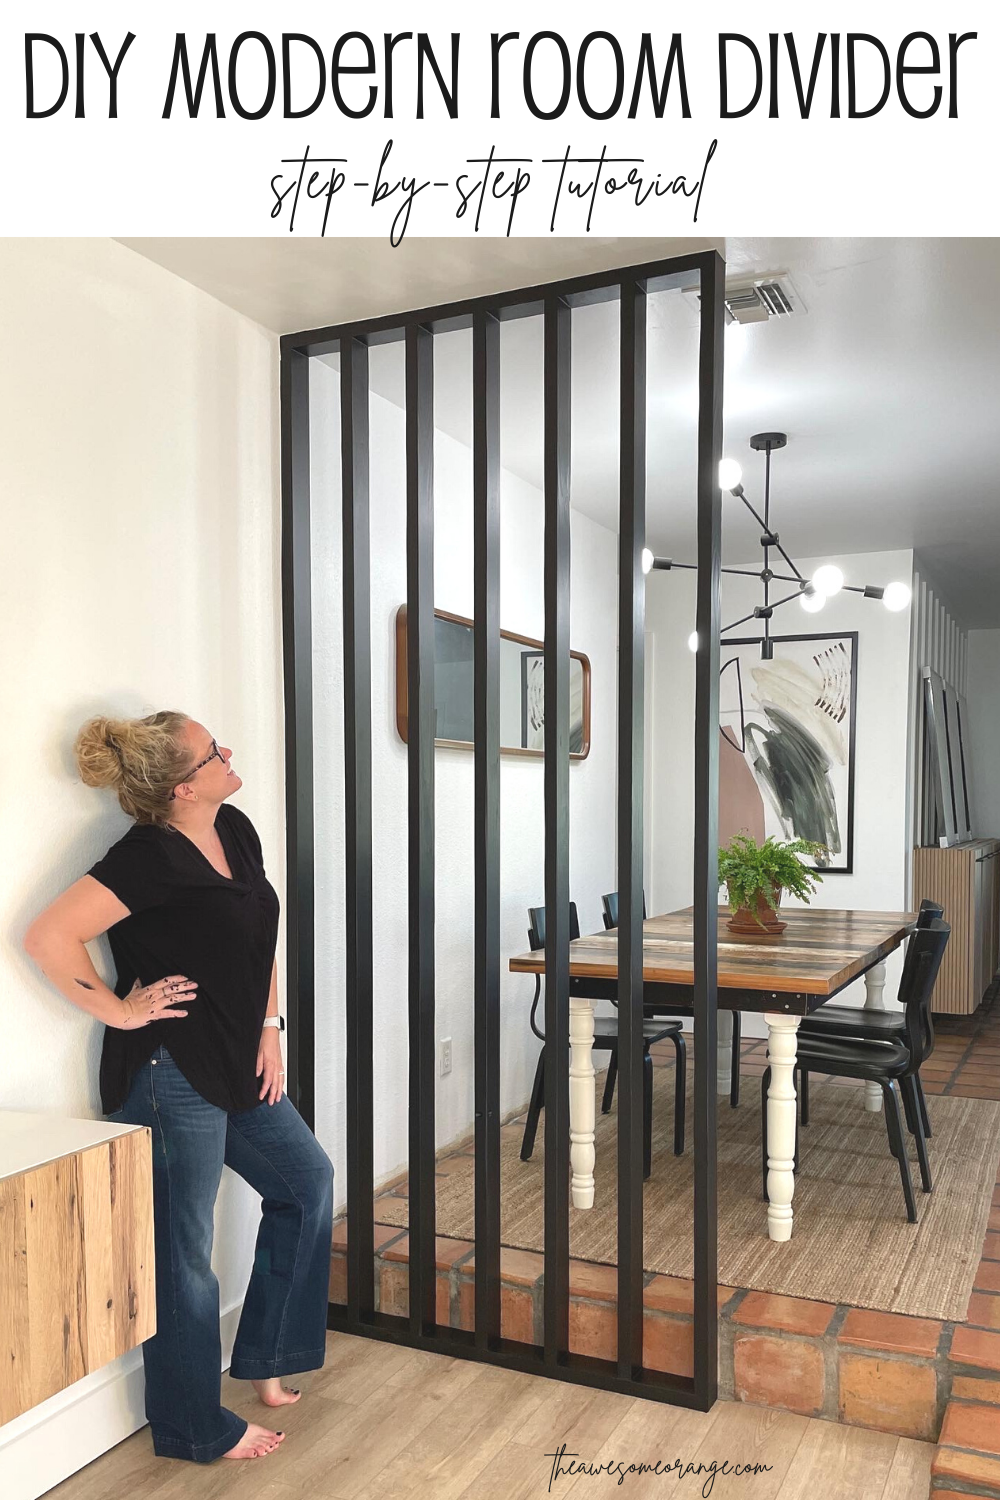
DIY Modern Room Divider
I am finally to the remodeling stage of my house where I get to make things pretty! I’ve lived in this house for 6 years and never really knew what to do in this space… is it the living room or the dining room? Should I put up a railing so nobody falls off the step when sitting at the dining table? Should I do a wall treatment on the really long wall to join the spaces? And then one day it just clicked!
This post IS sponsored by Kreg Tool. All opinions are my own. This post DOES contain affiliate links. For more information on my affiliate programs, see my DISCLOSURES page.
BEFORE
I need a room divider! But not any room divider… a wood slatted modern DIY room divider! One that would give the space personality, allow light to come through and just be AWESOME! So let me show you how I did it.
For full plans and others like this, visit… Kreg Tool’s website.

This is the approximate dimensions of my DIY Room Divider.
This DIY is super simple and only takes a couple of tools to make.
Tools Required:
Optional: I planed my boards through my thickness planer to save time on sanding and ripped the rounded edges off at the table saw for a more modern look. If you don’t have those tools you can get a very similar look, it will just take more sanding!
Prefer a video tutorial? Watch me make this below!
Step 1:
Fill, sand, prime boards. I used 2x4’s to create this room divider. Be sure to pick the straights and flattest boards with the least amount of knots. It would be nearly impossible to get perfect boards, so I filled any imperfections will wood filler to and sanded the boards to 120 grit and then primed them. I primed them before installation because there are less corners and therefore easier to paint this way.

I used sparkle to fill all the knots and imperfections because it dries fast and I am painting these.

After planing and before!
Step 2:
After determining the size of your divider, install the bottom board into your subfloor. I used two (2) concrete anchor screws 1/4” x 3 1/4” long to do this. You want this board to be flush against the wall and perpendicular to the wall, remove baseboard if necessary.

Securing bottom board to subfloor - in my case through 2x4 and laminate floor to concrete subfloor.

Concrete anchor screws and concrete drill bit.
Note: Everybody’s room will be different sizes, so each room divider will be different. The ceiling height in my sunken living room was 103 1/2” H and I made the width of my room divider 46” which left the spacing in between each slat approximately 6”.
Step 3:
Attach 1st upright directly to wall, into stud or use drywall anchors, on top of bottom board.

I thought there was a stud behind this, but not so I used the holes I tried to secure to the studs to mark where to install the drywall anchors. It made lining everything up easy.
Step 4:
Attach top board directly to trusses in ceiling or use drywall anchors too secure. Be sure that top board is perpendicular to wall. You can use a framing square or a plumb bob to ensure that the top and bottom boards line up.

Secure the top board to the trusses and ensure that it is perpendicular to the wall.
Step 5:
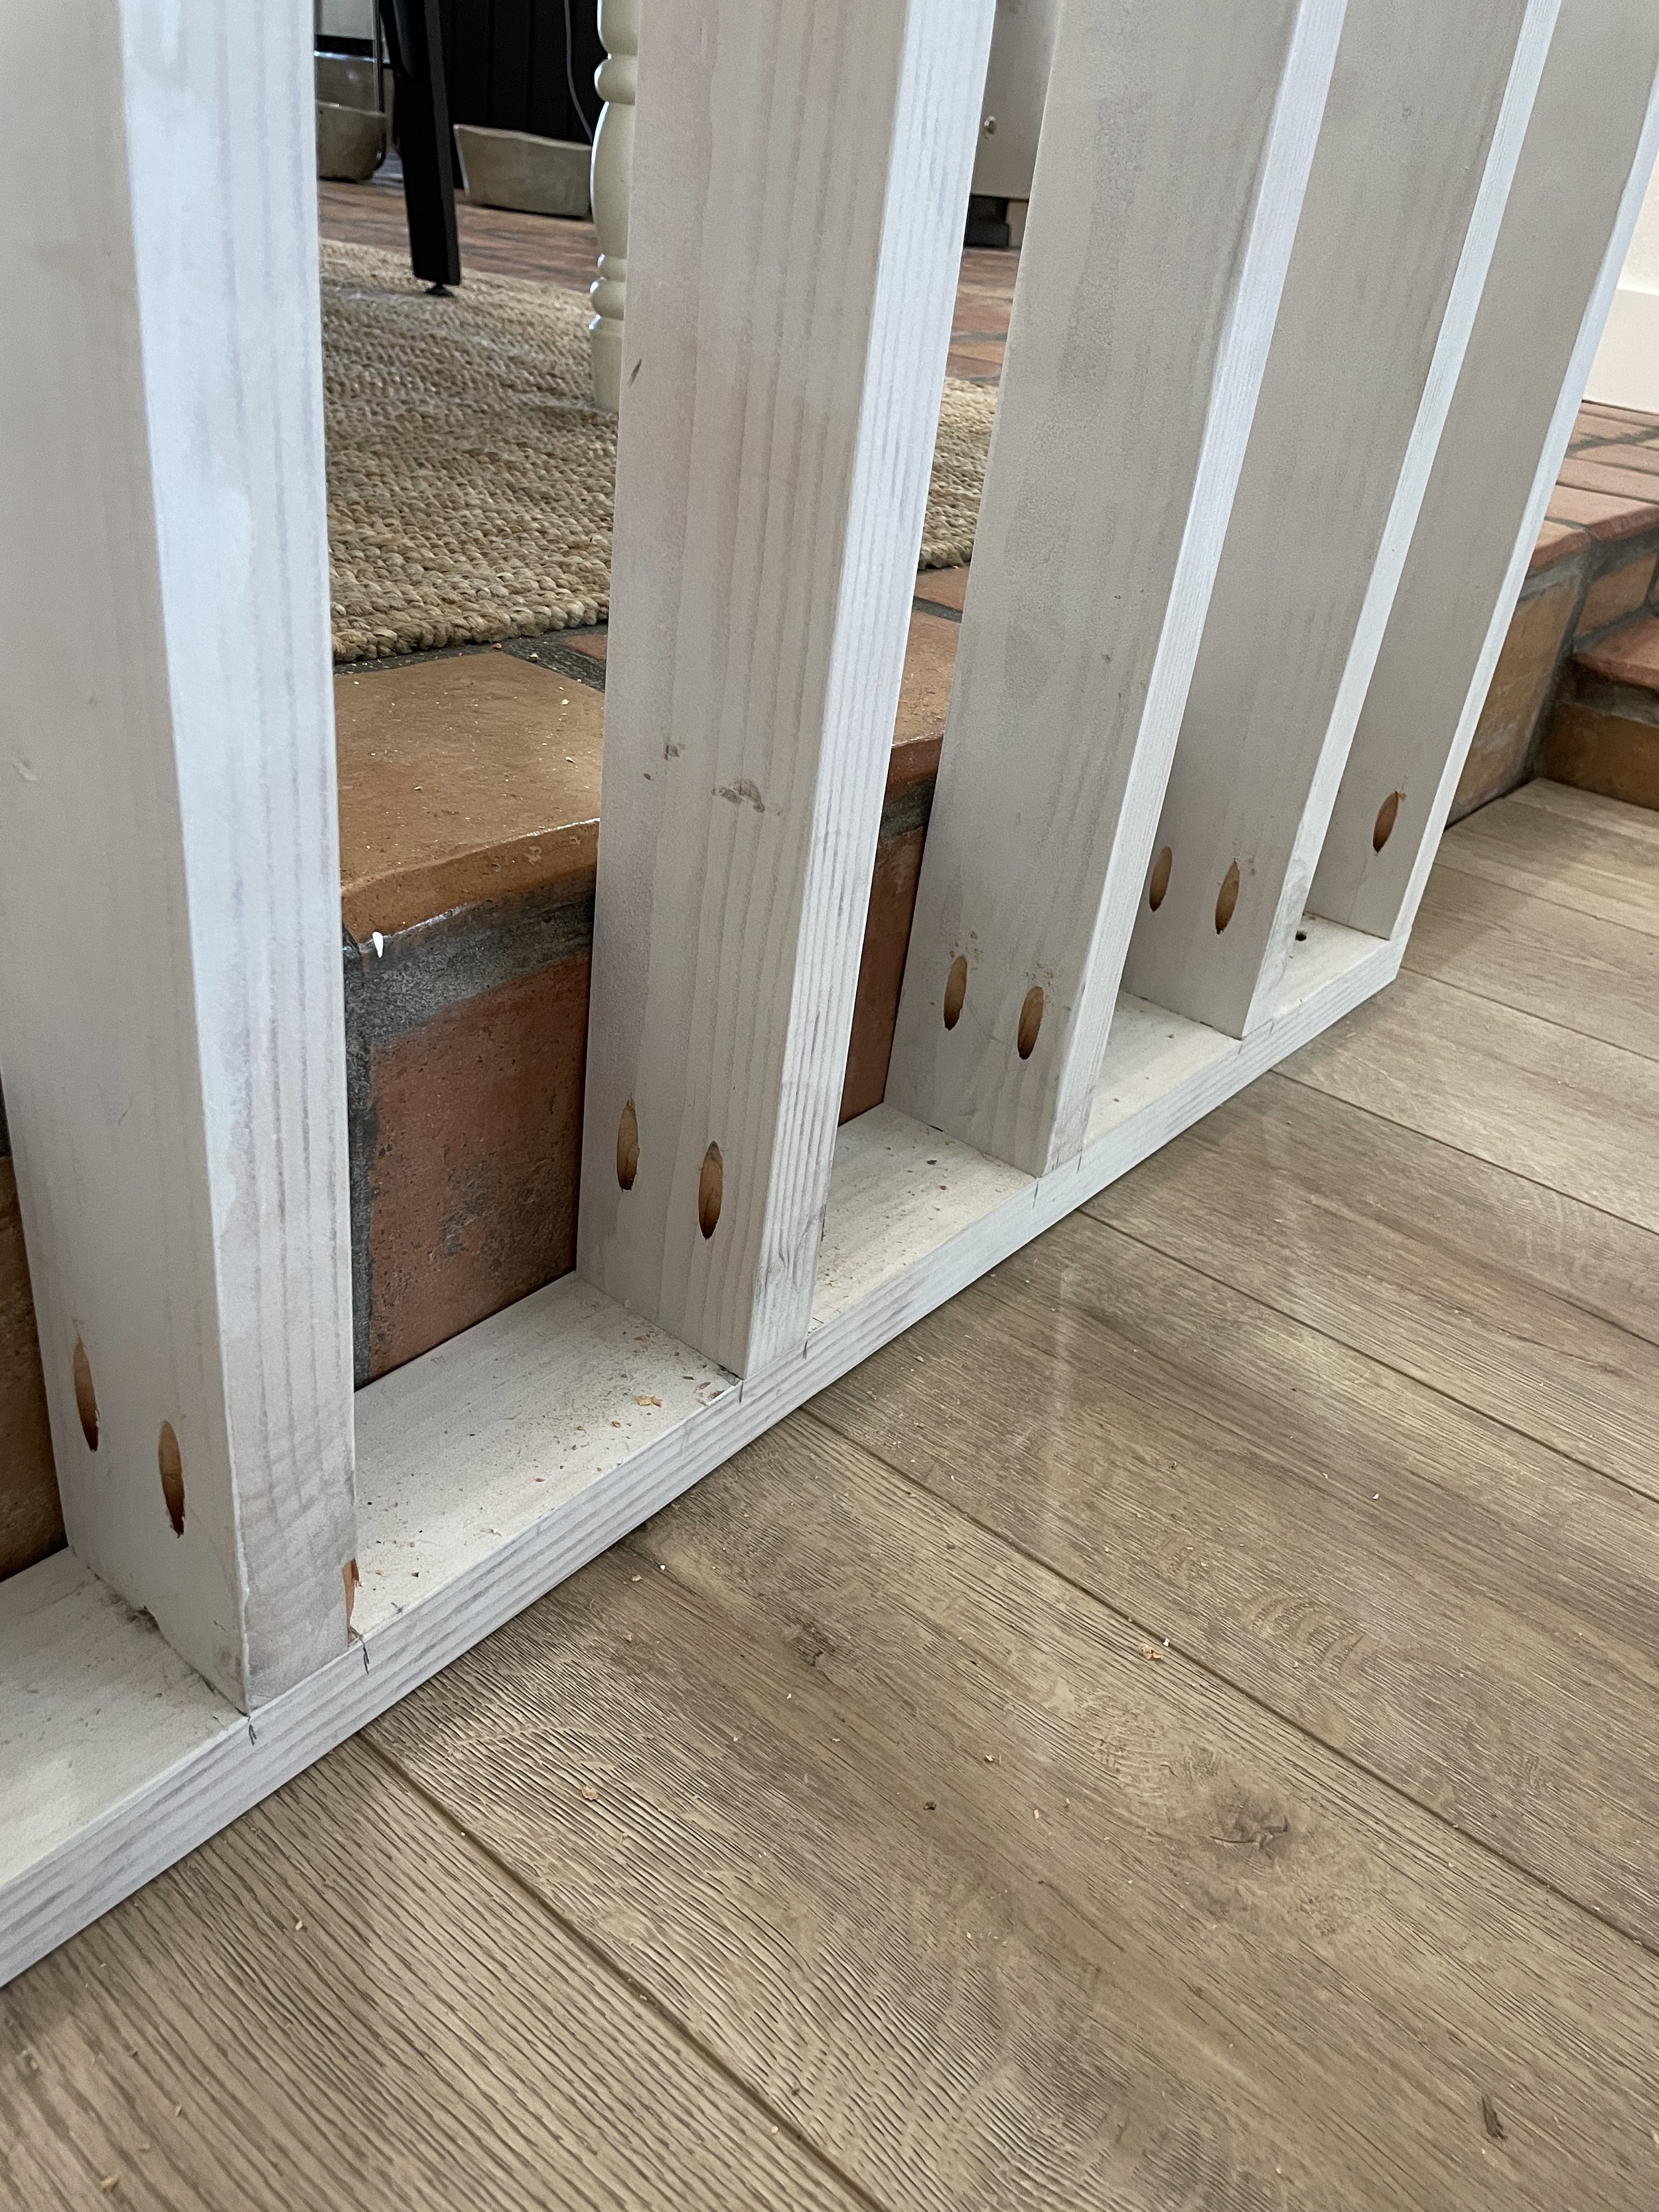
Layout spacing of your uprights and mark on both the top and bottom boards.
Since most houses aren’t square and have differences throughout I suggest cutting each of the uprights individually to fit where you are going to put them. From left to right my uprights had a difference of about 3/8”.

I measured each upright to ensure a snug fit.
NOTE: If you were to build this wall separately and then try to install, you would need to make it shorter than your ceiling height and therefore have a gap that would need to be covered by trim. I didn’t want any trim and that is why I installed by room divider in place.
Step 6:
Using your Kreg pocket hole jig drill two 1 1/2” pocket holes into each end of the uprights. I placed my pocket holes and the uglier side of the board and faced them toward the back wall because they wouldn’t really be seen.

Kreg 720Pro - Love that you can use it standing up or on its side for long boards like this.
Step 7:
Install uprights using 2 1/2” pocket hole screws. Again, I spaced mine about 6” apart but your overall room divider size and number of slats will determine your spacing.
I faced all pocket holes towards the wall.

It took extra time to build it in place, but I think it gives it a better overall look.
Step 8:
Fill, caulk, sand and paint!
After installing all the uprights I filled any holes that I might have missed the first time around. I also used Kreg’s solid wood pocket holes plugs to fill the pocket holes. And then I caulked any seems, like up against the wall and at the ceiling. And then after a good sanding I painted by room divider with two coats of paint (SW Tricorn Black).

After glueing in the pocket hole plugs I also speckled and sanded them down for a flush finish.

I caulked the seams on the wall, taped, painted a base coat of white and then painted black for crisp lines.

I love how the DIY Room Divider looks up against the saltillo tile, but this was a pain to paint this part.
For this plan and other AWESOME PLANS click here…. ROOM DIVIDER PLANS.
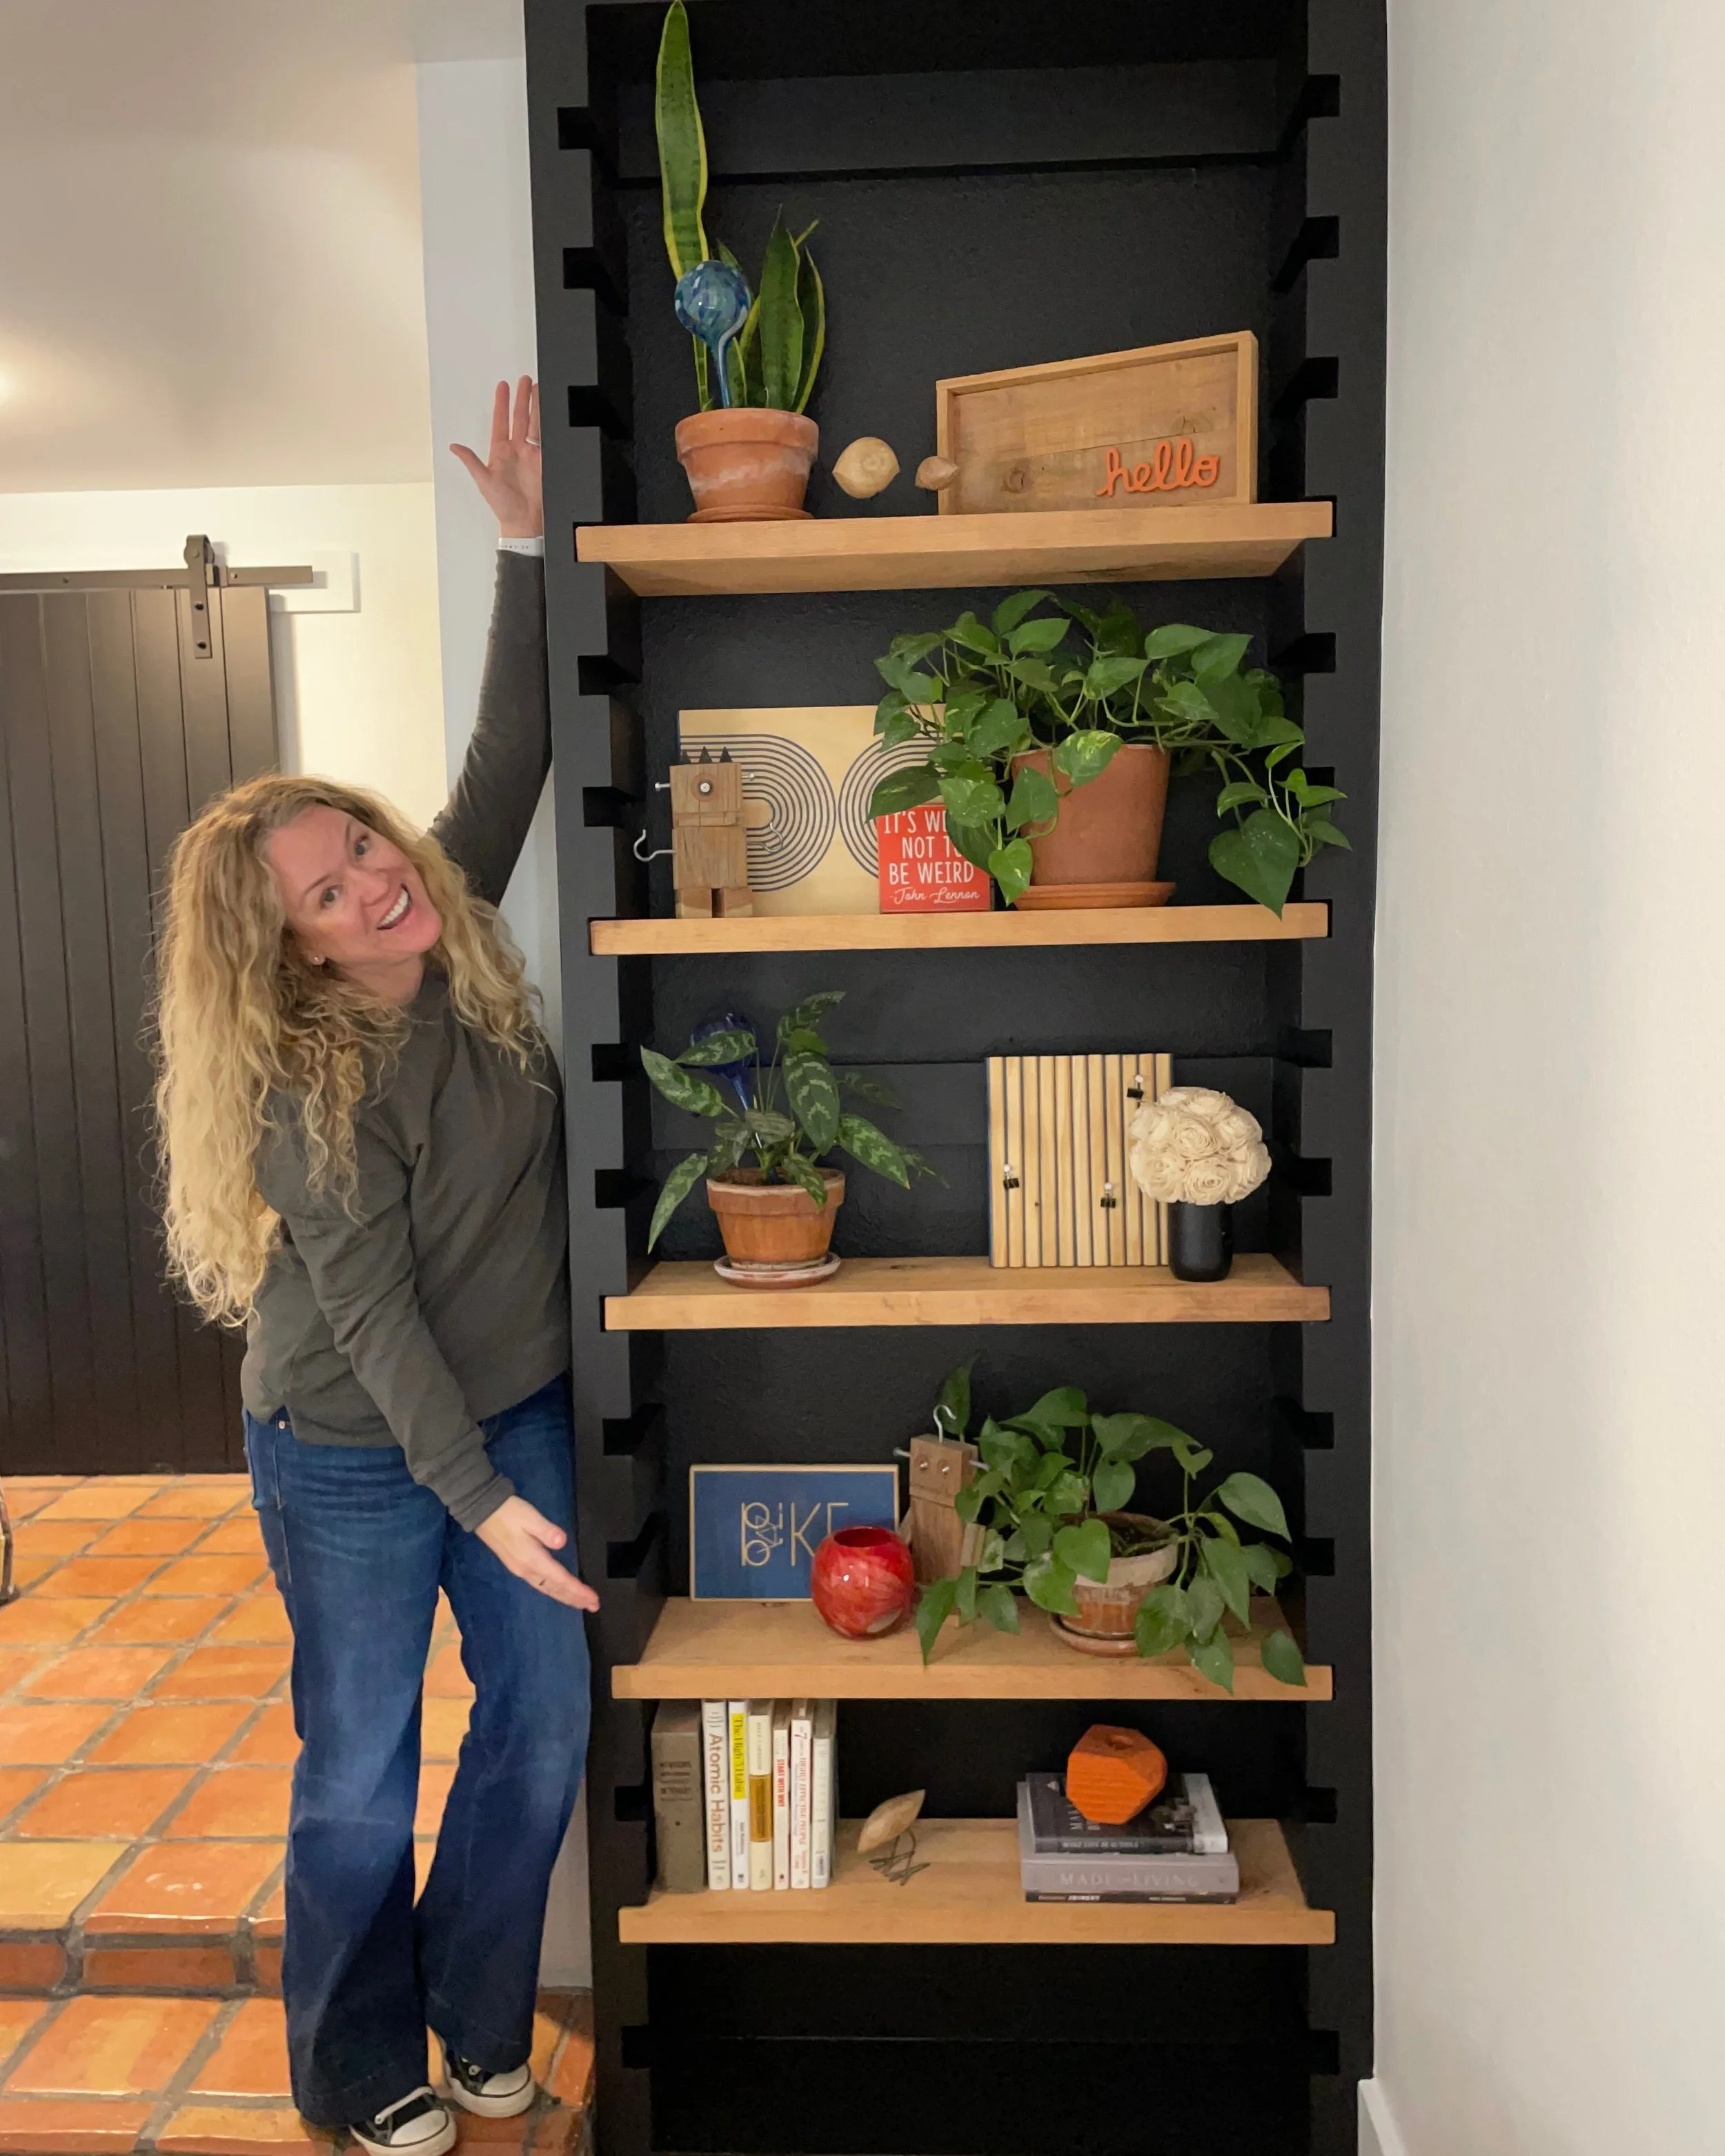
I absolutely love how this DIY Room Divider turned out and it even made my ceilings look higher in the space. And now I have division without loss of light and the perfect backdrop to add more plants. I am thinking maybe a tall rubber tree or fiddle leaf fig!

BEFORE we moved in!

CURRENT - not after because still more to do.
What do you think? I’d love to hear your thoughts in the comments below. And if you end up building yourself a DIY Modern Room Divider I would love it if you shared a picture with me!
Thank you for following my building journey…. remember Build LOUD, Build WILD and have an AWESOME day!
Sadie Mae