DIY Stacked Restoration Hardware Knockoff Dining Table
I recently built a knockoff of Restoration Hardware stacked dining table for a client that I thought was really awesome and wanted to share how you could make one for yourself for about $100. So if you are looking for a small, modern, budget friendly, AWESOME dining table keep reading!
This post is NOT sponsored! This post does contain affiliate links.
My clients table was small because they were going to be using it in a kitchen nook/booth setting. And when all was said and done it measured 50”L x 34”W. What it lacks in size it definitely makes up for in character. To get started all you are going to need is the following:
(5) 1x8x96 pine boards
(1) 3/4” 4x8 sheet of pine plywood

Step 1:
Cut (5) 1x8x96 pine boards to 54” and trim/rip to clean up the edges to get the boards down to approximately 6 13/16” wide. (I recommend jointing the boards if you have a jointer so you have nice 90 degree joints.) Then glue the boards together for your table top. NOTE: The boards are oversized for the final table top length in case they shift during glue up. Once glue is dry you can trim the ends to final (50”) length and sand to minimum of 120 grit. I also round corners of my table top to give a softer look.

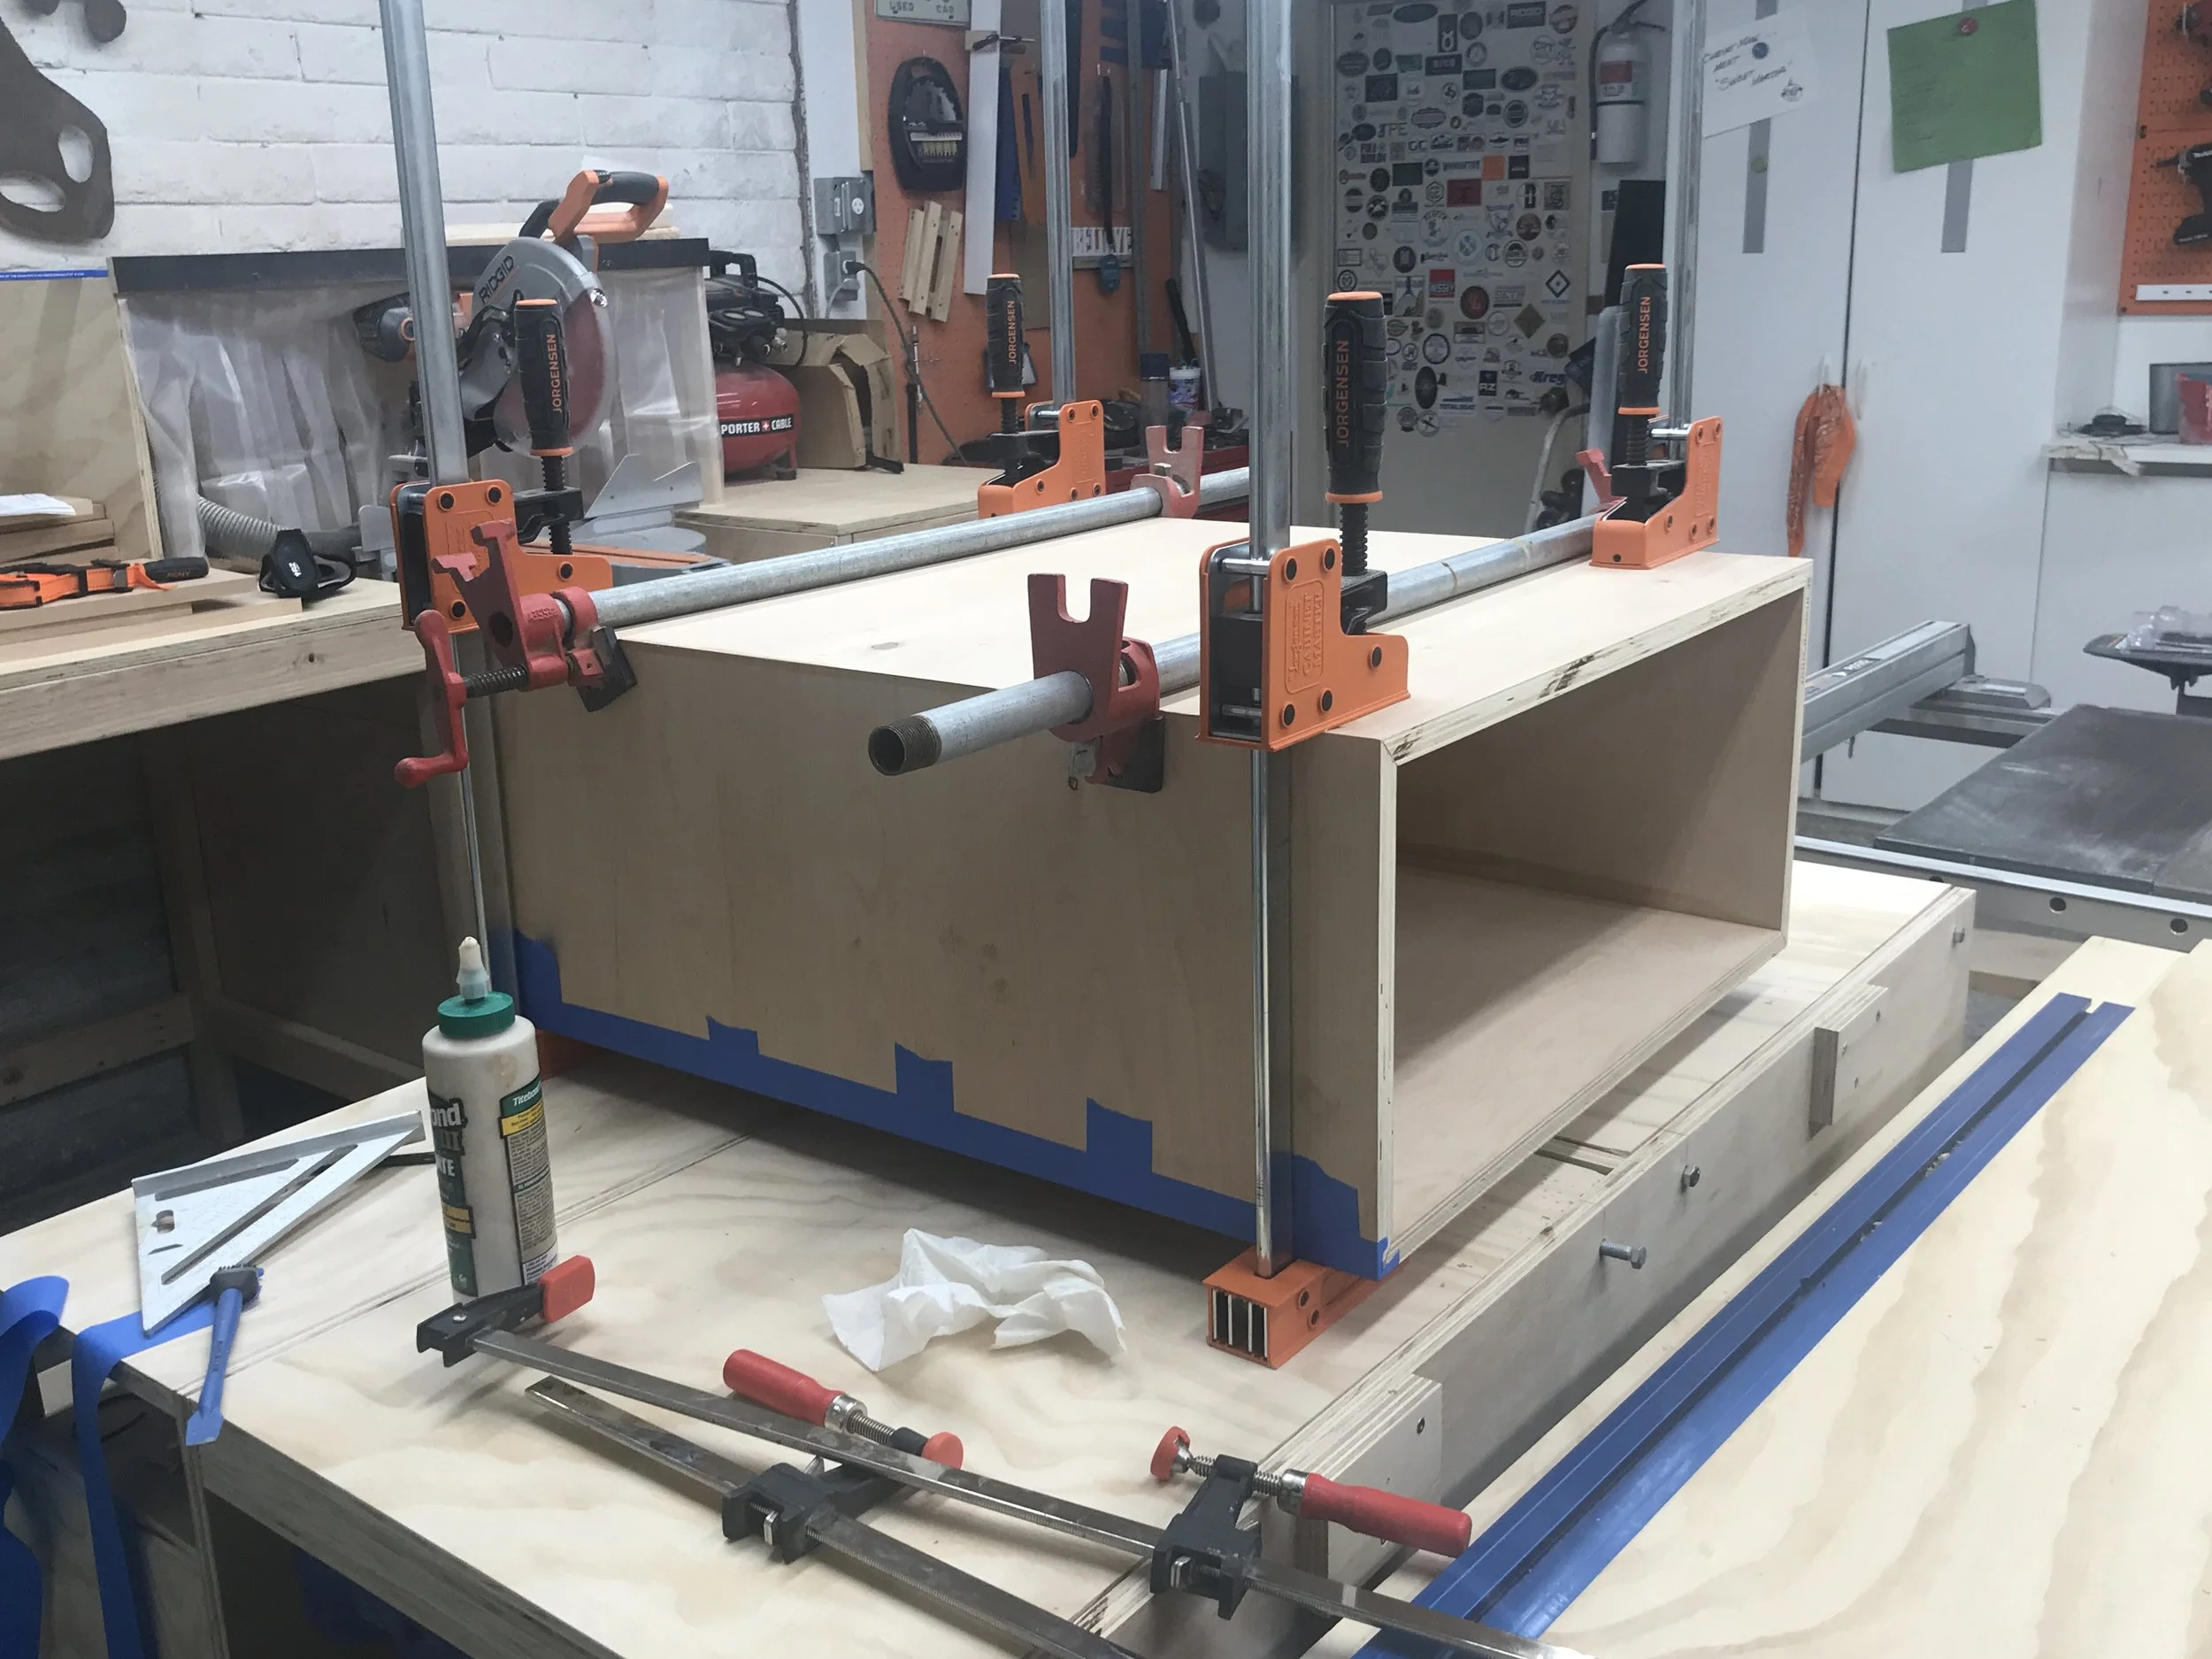
Step 2:
Cut 3/4” plywood for base. You will need two (2) pieces at 26”W x 29”H and two (2) pieces at 12”W x 29”H. Once you have pieces you will need to miter the edges of each piece to 45 degrees on the table saw. This will make it so you can’t see the plywood edges on the base when done. Once all four pieces are cut, glue them together using painters tape as clamps and wood glue. NOTE: I recommend gluing 3 sides together first, letting it dry, and then adding the fourth side.

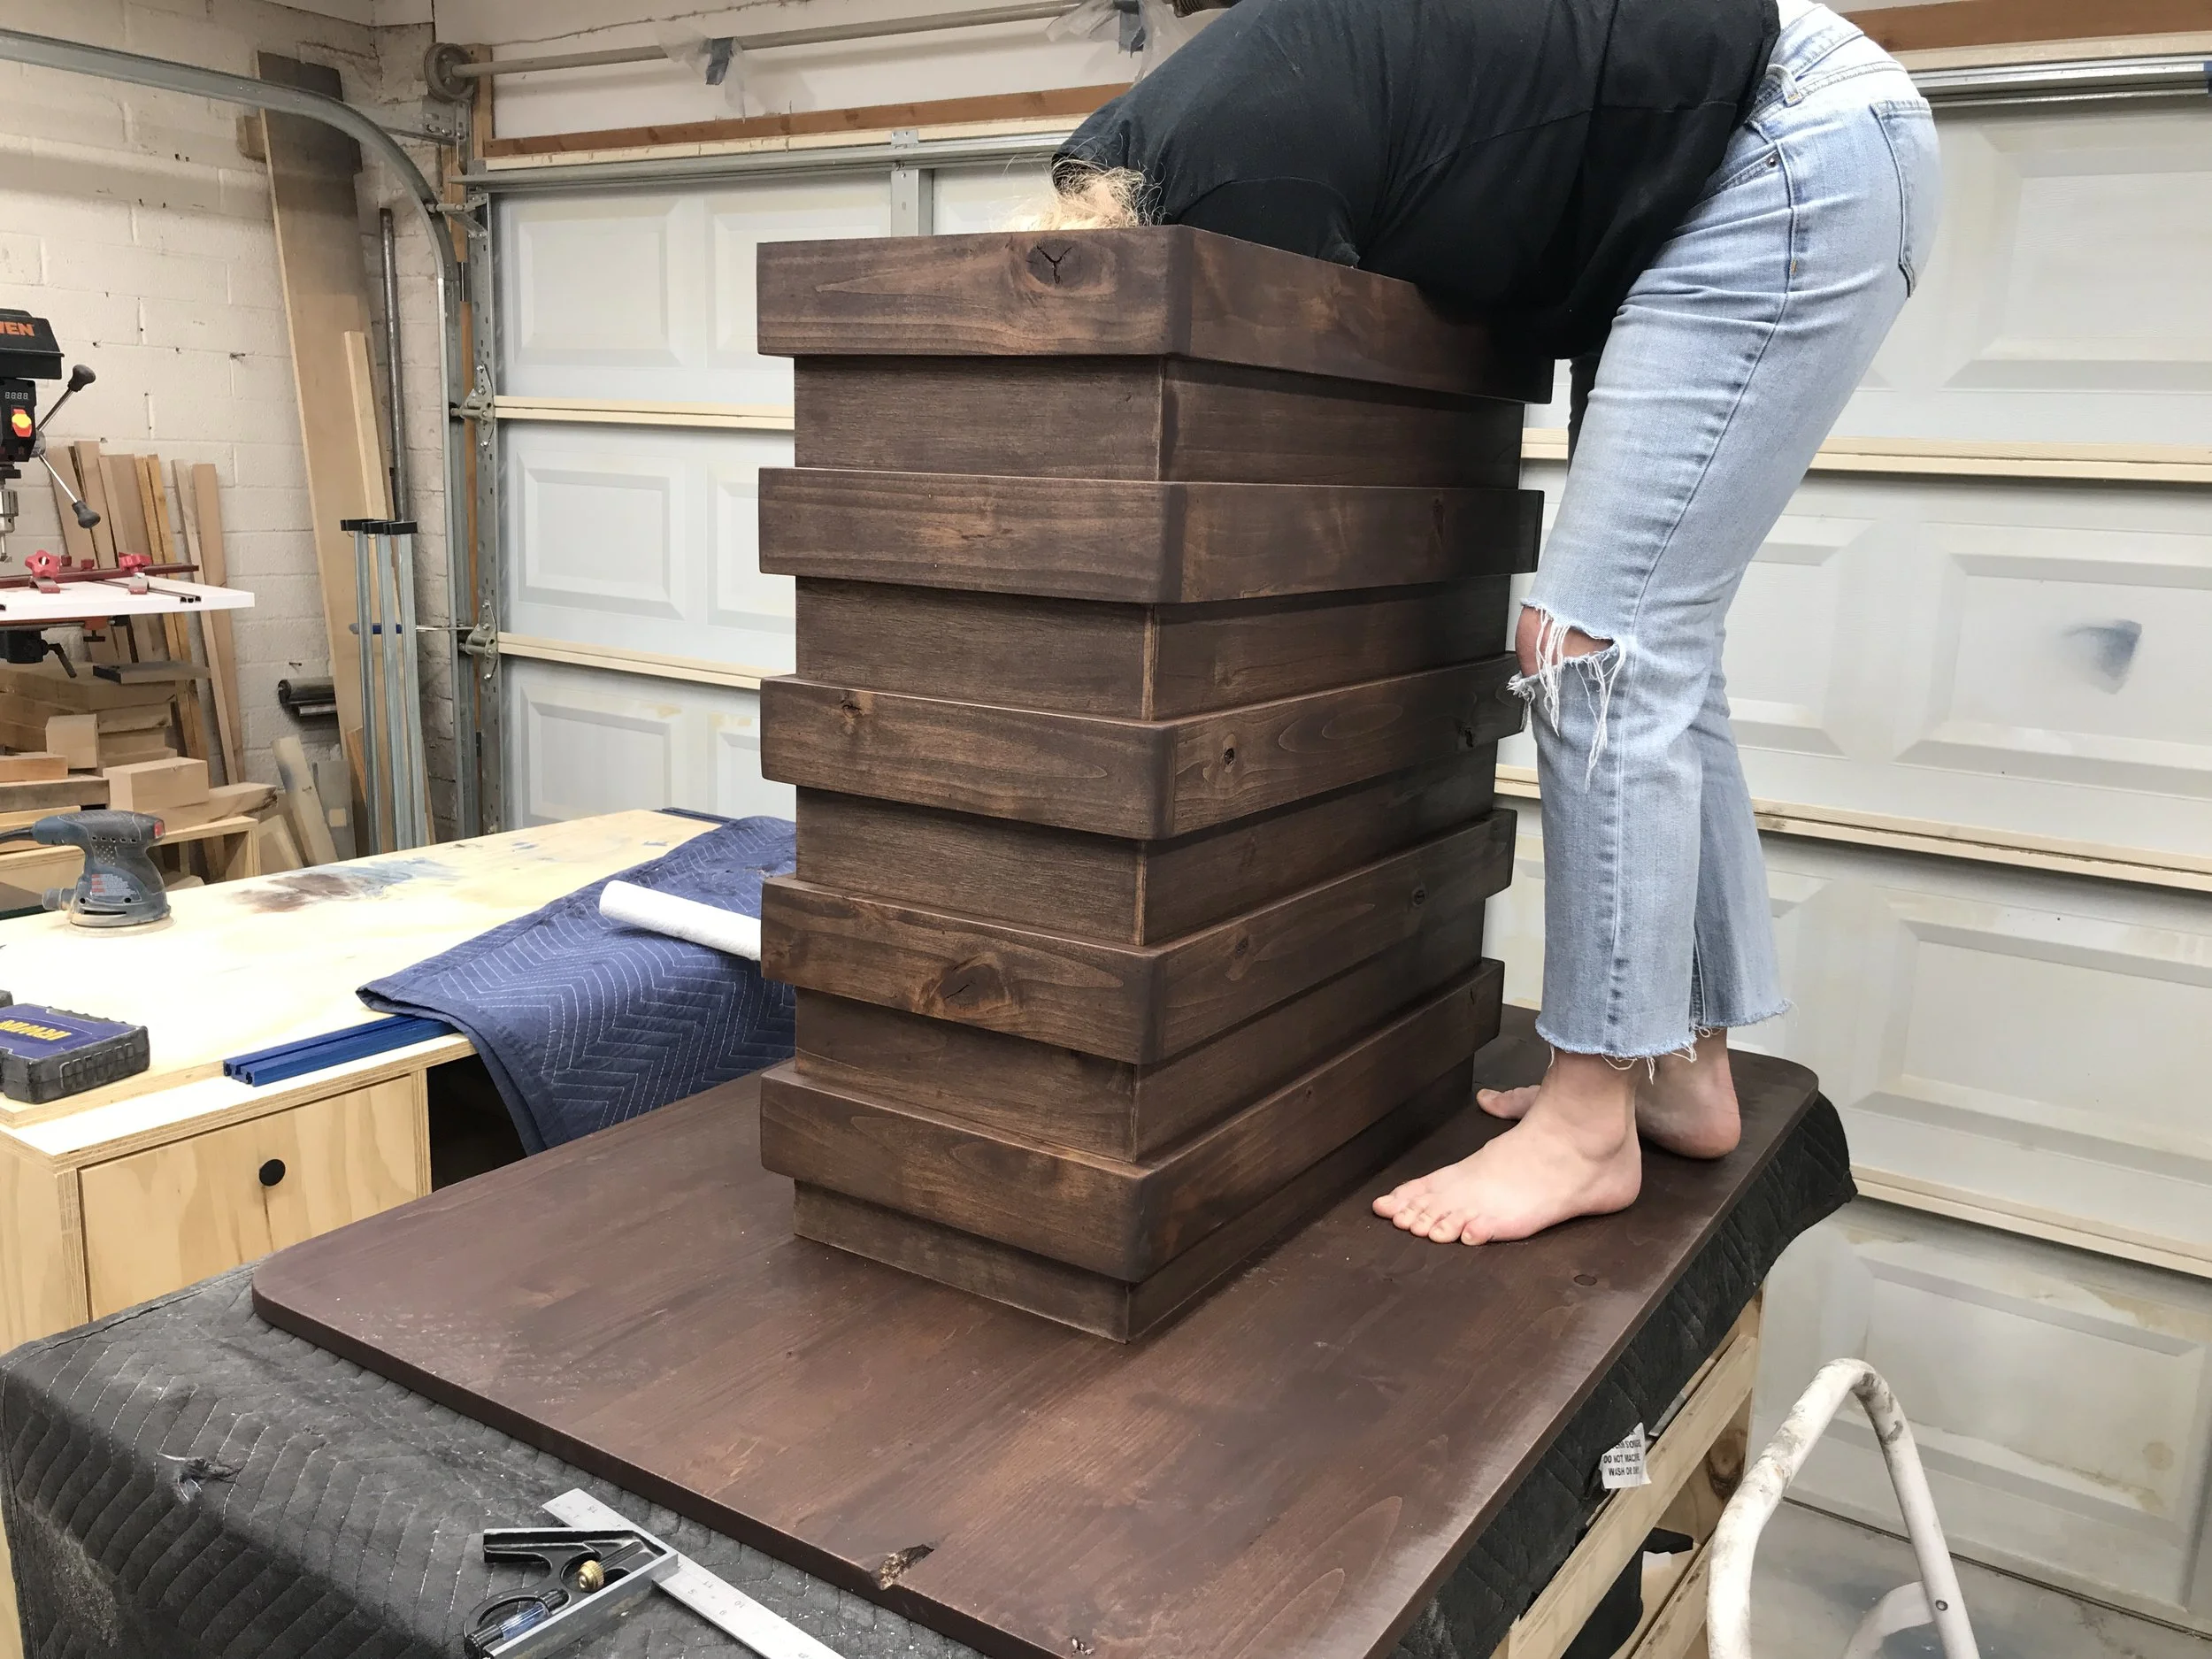
Step 3:
Rip the leftover of the 1x8x96 boards down to 3”W and cut out ten (10) pieces at 26”L and ten (10) at 13 1/2”L. Attached them to the base starting at the bottom using 1 1/4” 18 ga brad nails and wood glue. NOTE: Save a couple of scraps of the 3” material after ripping to use as a guide for spacing when attaching each row.

Step 4:
Wood fill nail holes and sand entire pieces to minimum of 120 grit. Then finish with your desired stain, finish, and or clear coat.


Step 5:
Attach base to top using z-clips/table top fasteners. I used my biscuit joiner to cut slots on the inside of the table base. If you don’t have a biscuit joiner you could also rip a slot on the inside of the plywood before assembly to hold the fasteners. You want the slot far entire down that when you attach the top it is snug with the base. NOTE: Using the table top fasteners/z-clips allows the table top room to move during seasonal moisture changes.

And the final step is to set back and admire your work!!! Congratulations on making yourself an awesome new Stacked Restoration Hardware Knockoff Dining Table.
Here is a cut list for your reference:

And a breakdown of costs:

NOTE: I made my clients table out of Knotty Alder so it was a little more than $100 in materials. I also used Rubio Monocoat in Chocolate as my finish. I love it because it is a stain and sealer all in one step.

If you build this modern DIY table I would love to see it, so tag me in your photos!!! Or use the hashtag #BuildingAwesome and I might even share your AWESOME work on Instagram!
And if you wanna see some more AWESOME Knockoff projects under $100, check out my friends projects:
Thank you for being a part of: #TRIBEAWESOMEORANGE
Have an AWESOME day! And keep #BuildingAwesome
Sadie Mae