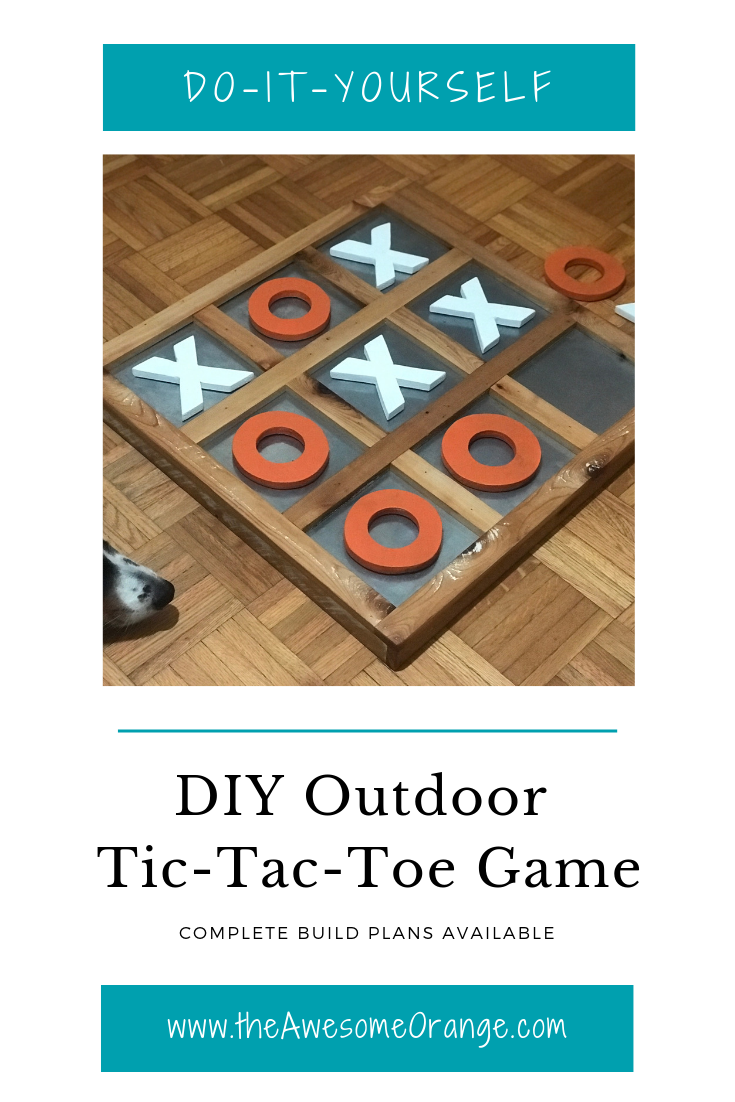
DIY Outdoor Tic-Tac-Toe Game
Spring is in the air, well almost summer here in Arizona. But either way it is a nice time to be outside. So I thought I would build a something that would fit right in on my soon-to-be new patio. Something that would not only look pretty and match the look that I am going for, but something that is functional and entertaining. So I thought a tic-tac-toe game! Everybody loves tic-tac-toe and there aren’t any crazy rules to learn.
This is NOT a sponsored post. This post does contain affiliate links.
So I put on my thinking cap to make this board last in the outdoors, look good as art and be fun and easy to play. I knew that I wanted to be able to hang it up and out of the way and not just have it take up space on a table or in a corner, so magnets came to mind. And with magnets came something to stick those to, so sheet metal was next. Basically let’s wrap some sheet metal in a frame, cut out some X’s and O’s, finish them to look pretty and you have a backyard game.
Here is what you will need to start marking one for yourself:
1 - 24” x 24” piece of 3/4” plywood : I used a scrap I had laying around and ripped in on my table saw, but can buy a pre-cut project panel for $9.94.
1 - 24” x 24” 22 gauge of sheet metal ($19.54)
3 - 5 1/2” x 5/8” x 72” cedar fence pickets ($2.53 x 2 = $7.59)
Magnets - I used Neodymium Ring Magnets: they might be overkill, but I once did a project without good magnets and I really wanted to make sure these stuck and worked. I got three packages that had 12 in each. ($4.47 x 3 = $13.41)
Preferred Finishes
Wood Glue
Tools Needed:
Step 1
Using the contact adhesive attach the sheet metal to the 3/4” plywood backer.
Step 2
Rip 2 of the 3 cedar fence pickets into 1 1/2” strips and then cut them to length based on the cut sheet.
Step 3
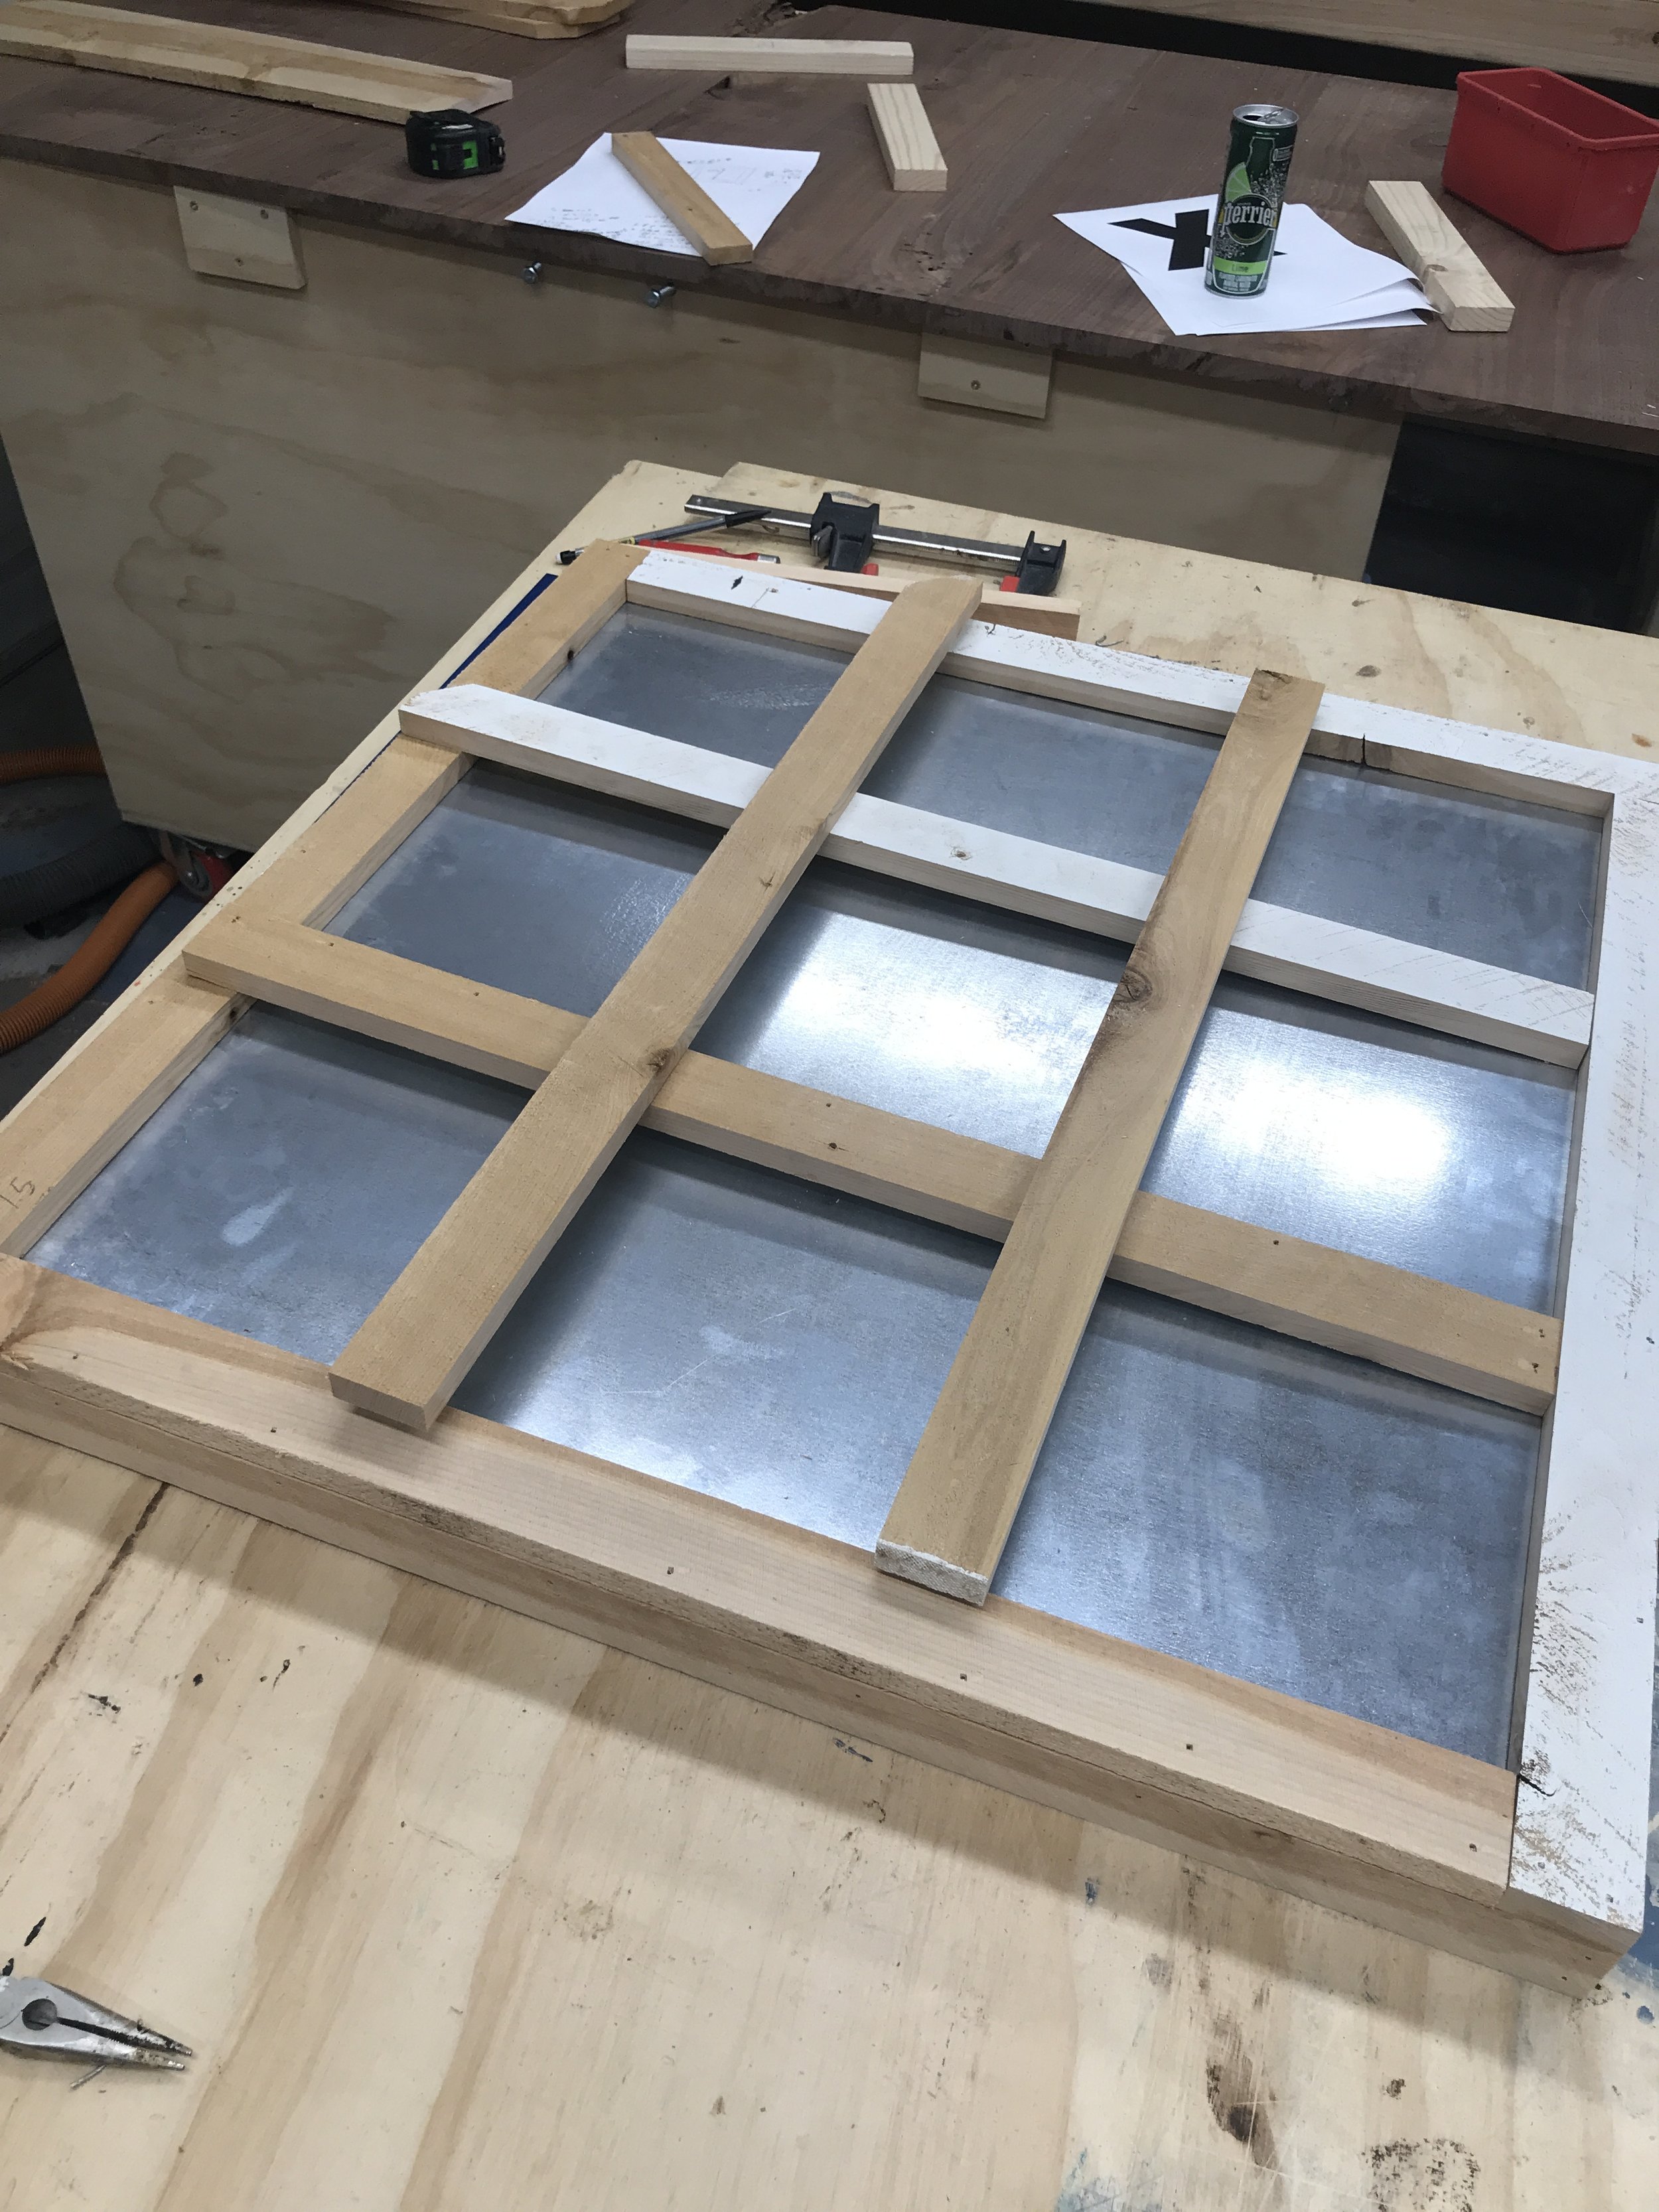
Attach the first layer of the trim/frame pieces to the 3/4” plywood backer using wood glue (Titebond III is rated for outdoors) and 1 1/4” 18 ga brad nails. This layer should be install on its end and be flush with the front on the sheet metal. This will create an approximate 3/4” gap/lip on the back side of the game. You can use that to A) install hanger and flush mount to wall B) make the frame look thicker and C) hide extras piece when not in use.
Step 4
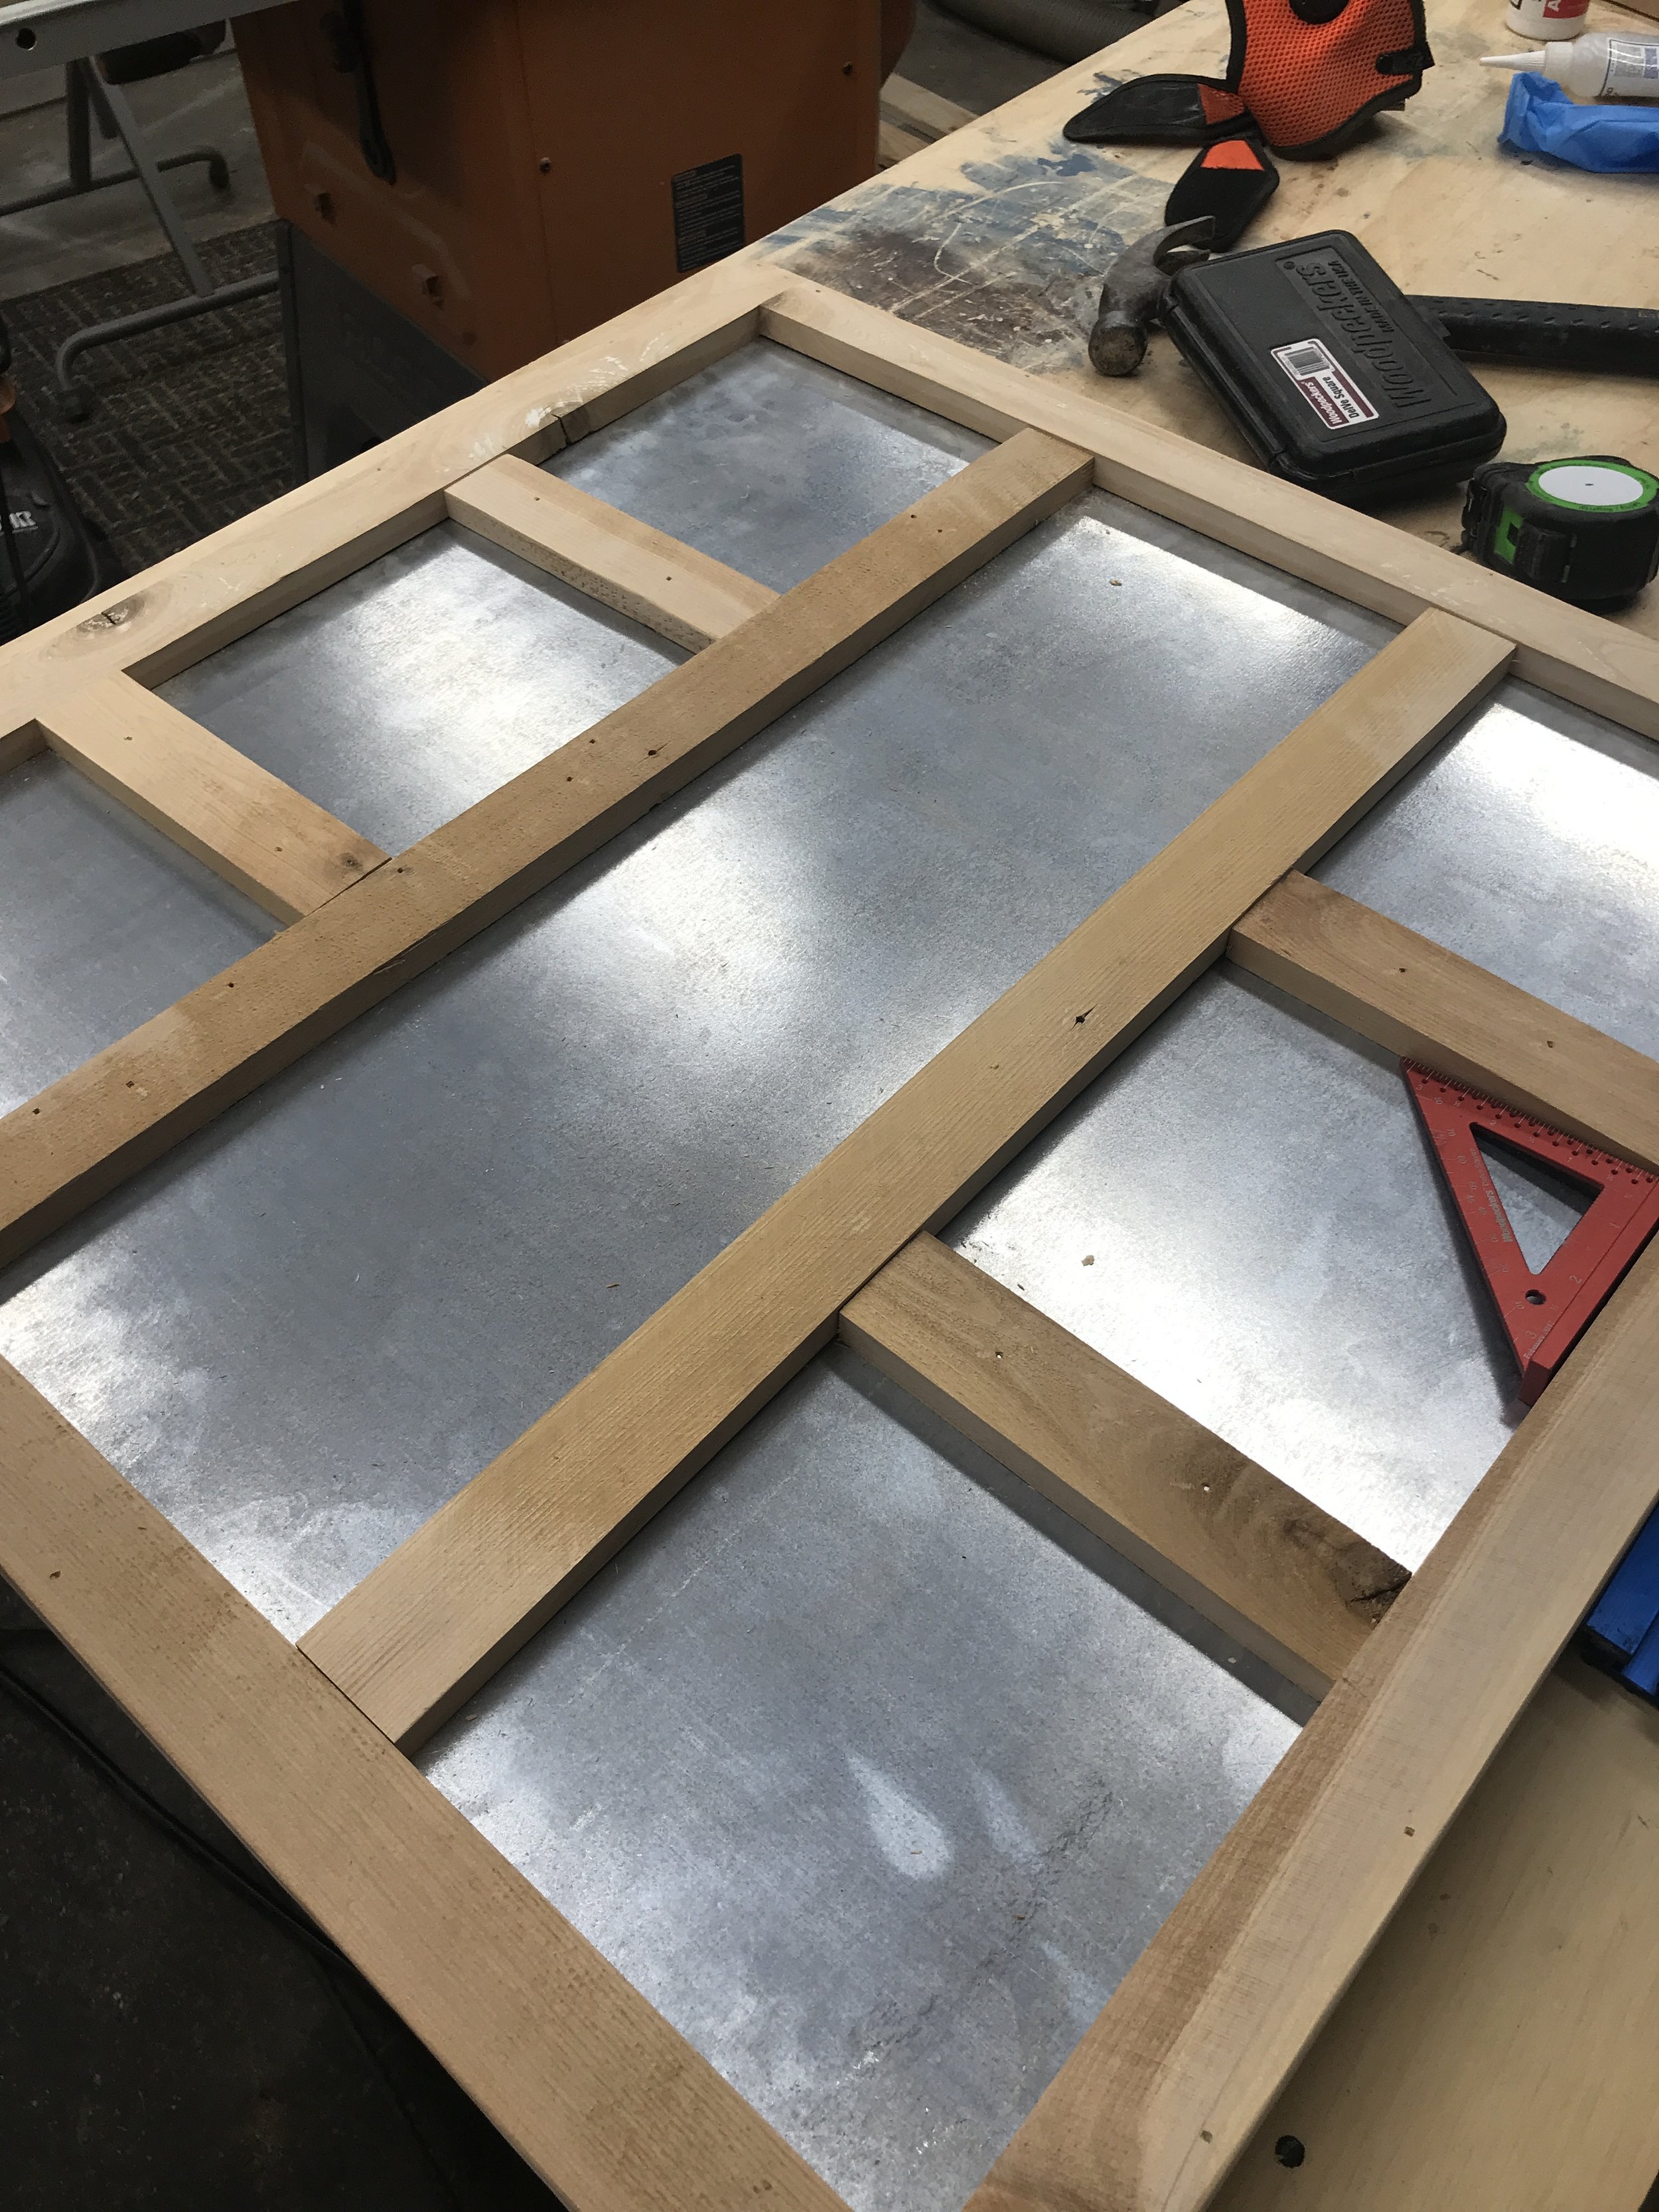
Attach the second layer of the trim/frame. This will lay flat on the top and be flush to the outside of the trim you just installed. Use wood glue and 1 1/4” 18 ga brad nails.
Step 5
Attach line pieces. I first installed the two long pieces 6 3/8” from the install edge of the frame (makes center approximately 6 1/2” and I am okay with that). I use contact adhesive on the backs of the pieces to hold them into place and shot a 1 1/4” 18 ga brad nail thru to hold them. They metal is thin enough that the brad nails went straight thru.
Step 6
Cut X’s and O’s. You can do this many different ways with an array of tools, but what was the best and easiest for me was a jigsaw and 2 1/2” hole saw. I make a paper temple of the X’s and O’s, cut them out and used the contact adhesive to attach the paper to the 3rd cedar fence picket. Then I drilled/cut the holes in the center of the O’s and then went down the line cutting the rest of the circles and X’s with the jigsaw. Mine didn’t come out perfect…. but after some sanding they turned out great.
I have included a template for the X’s and O’s in the downloadable plans.
Step 7
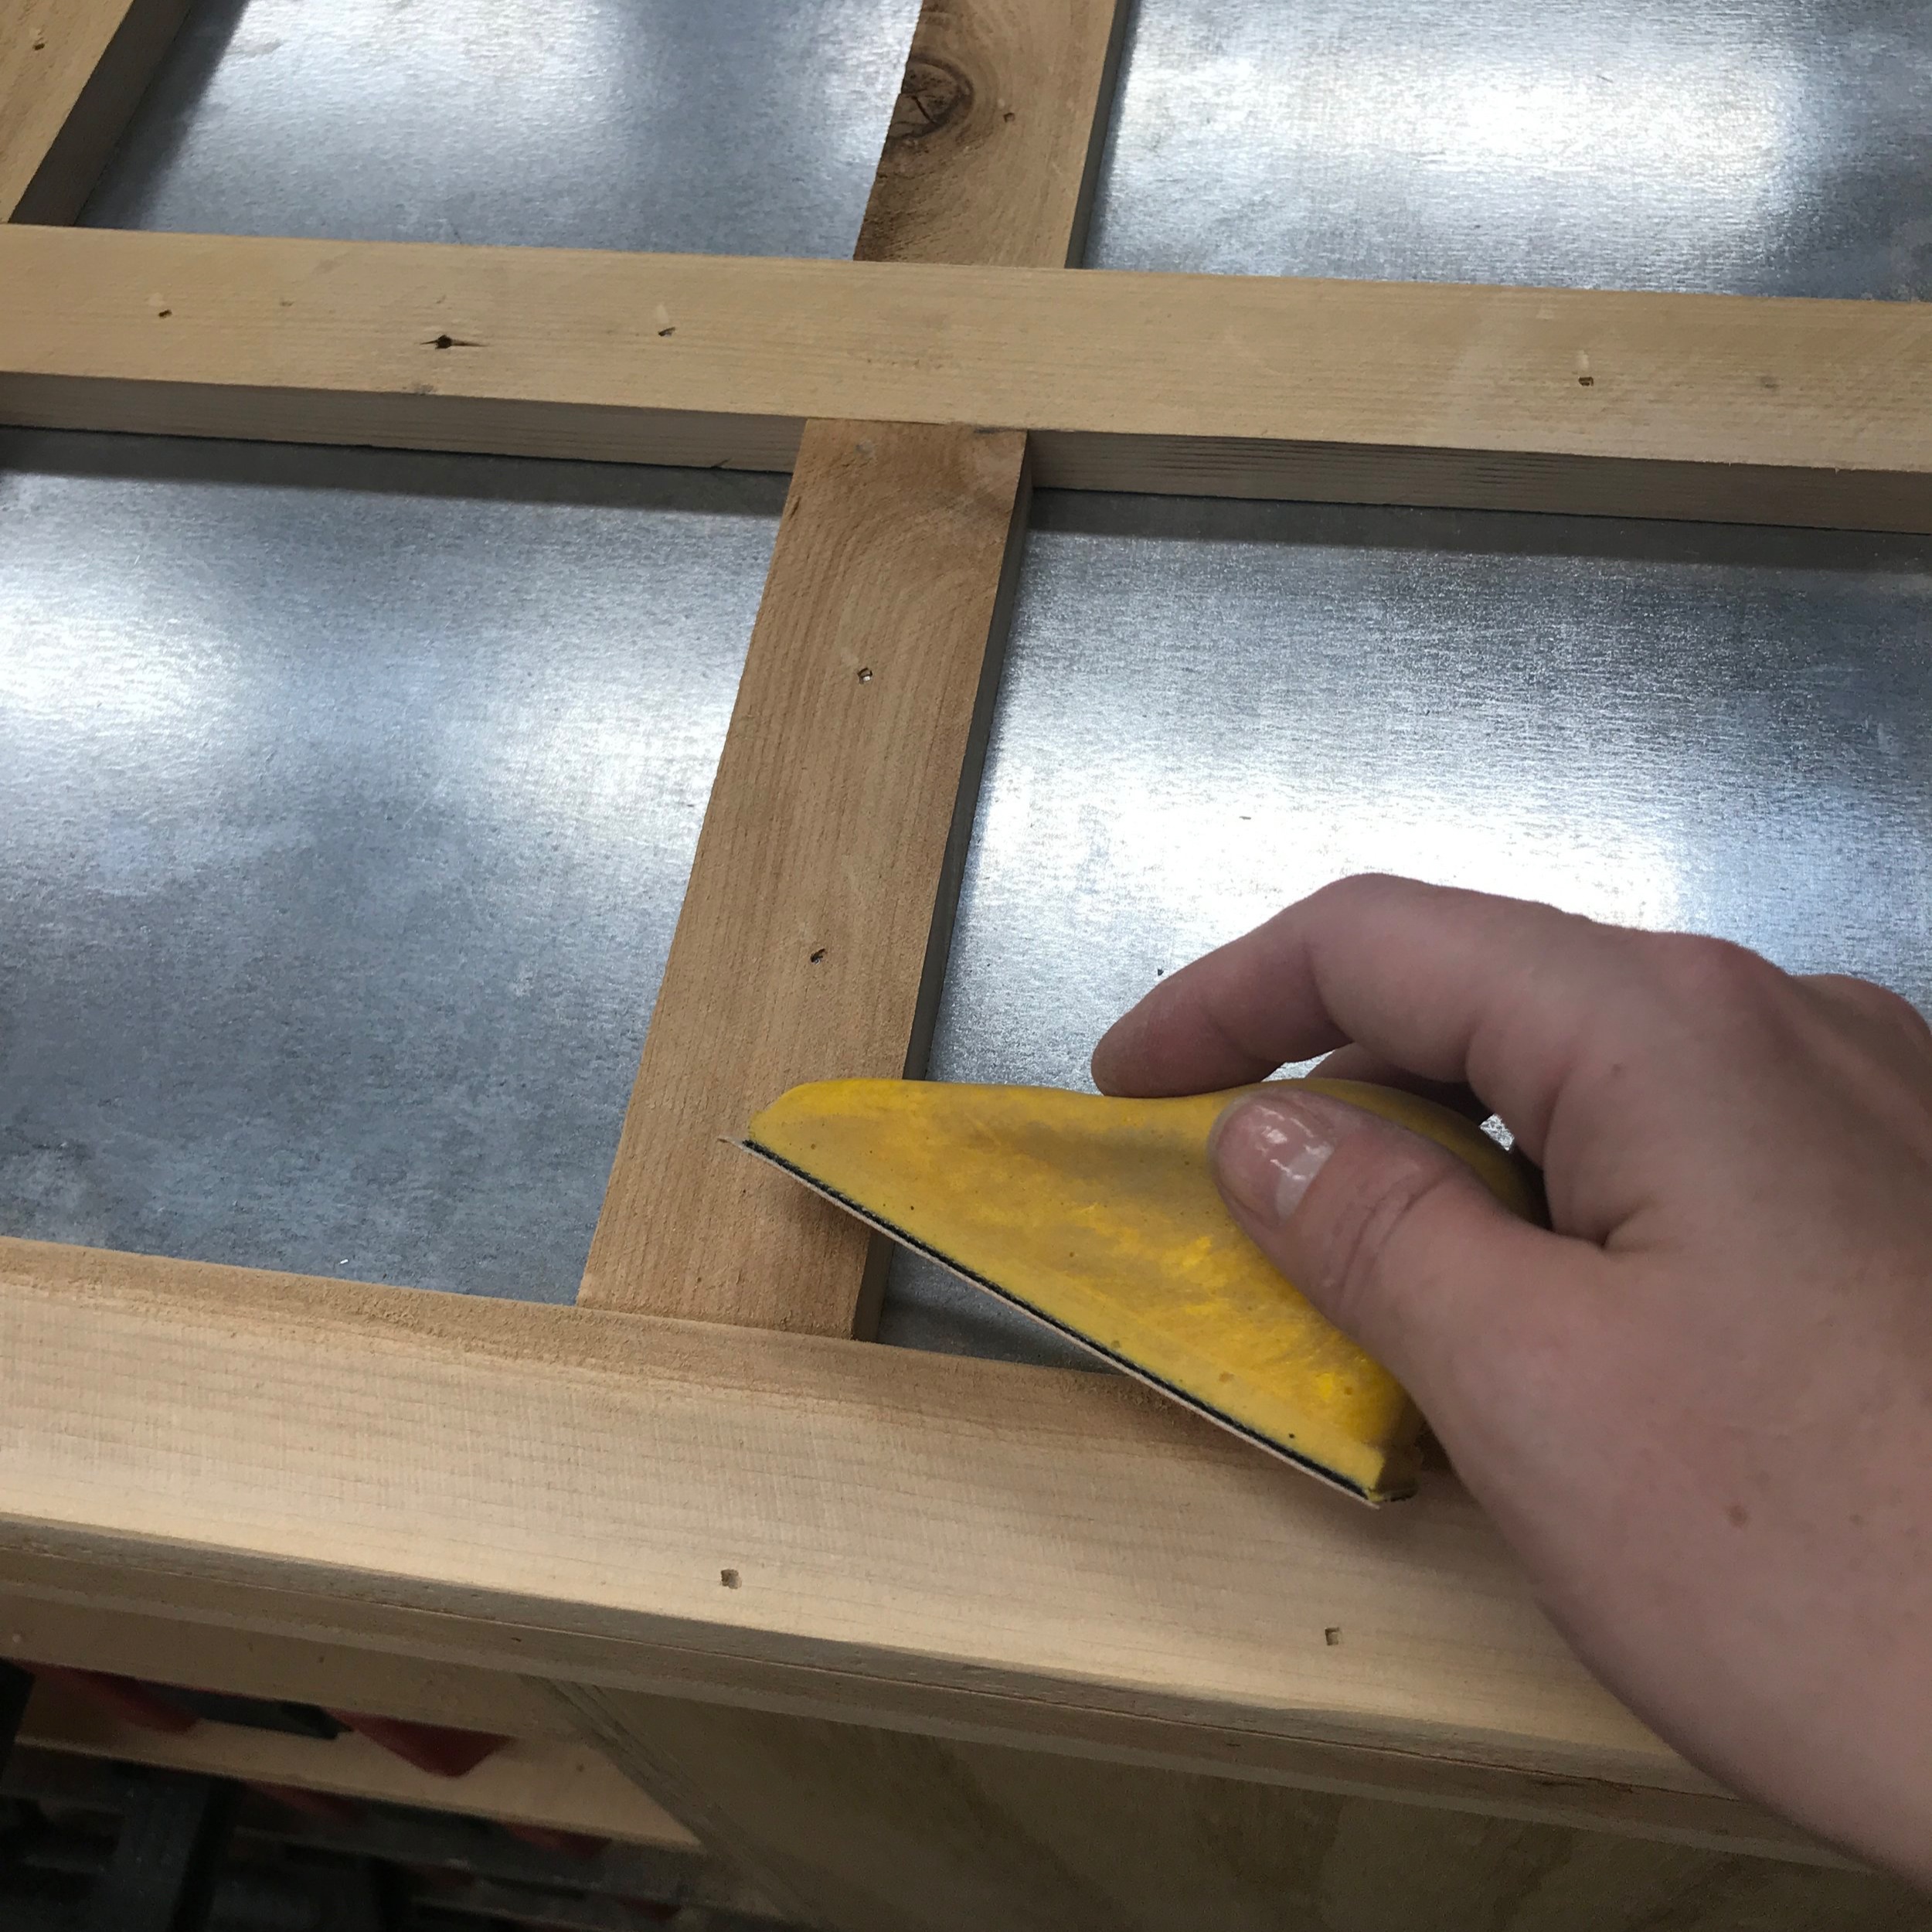
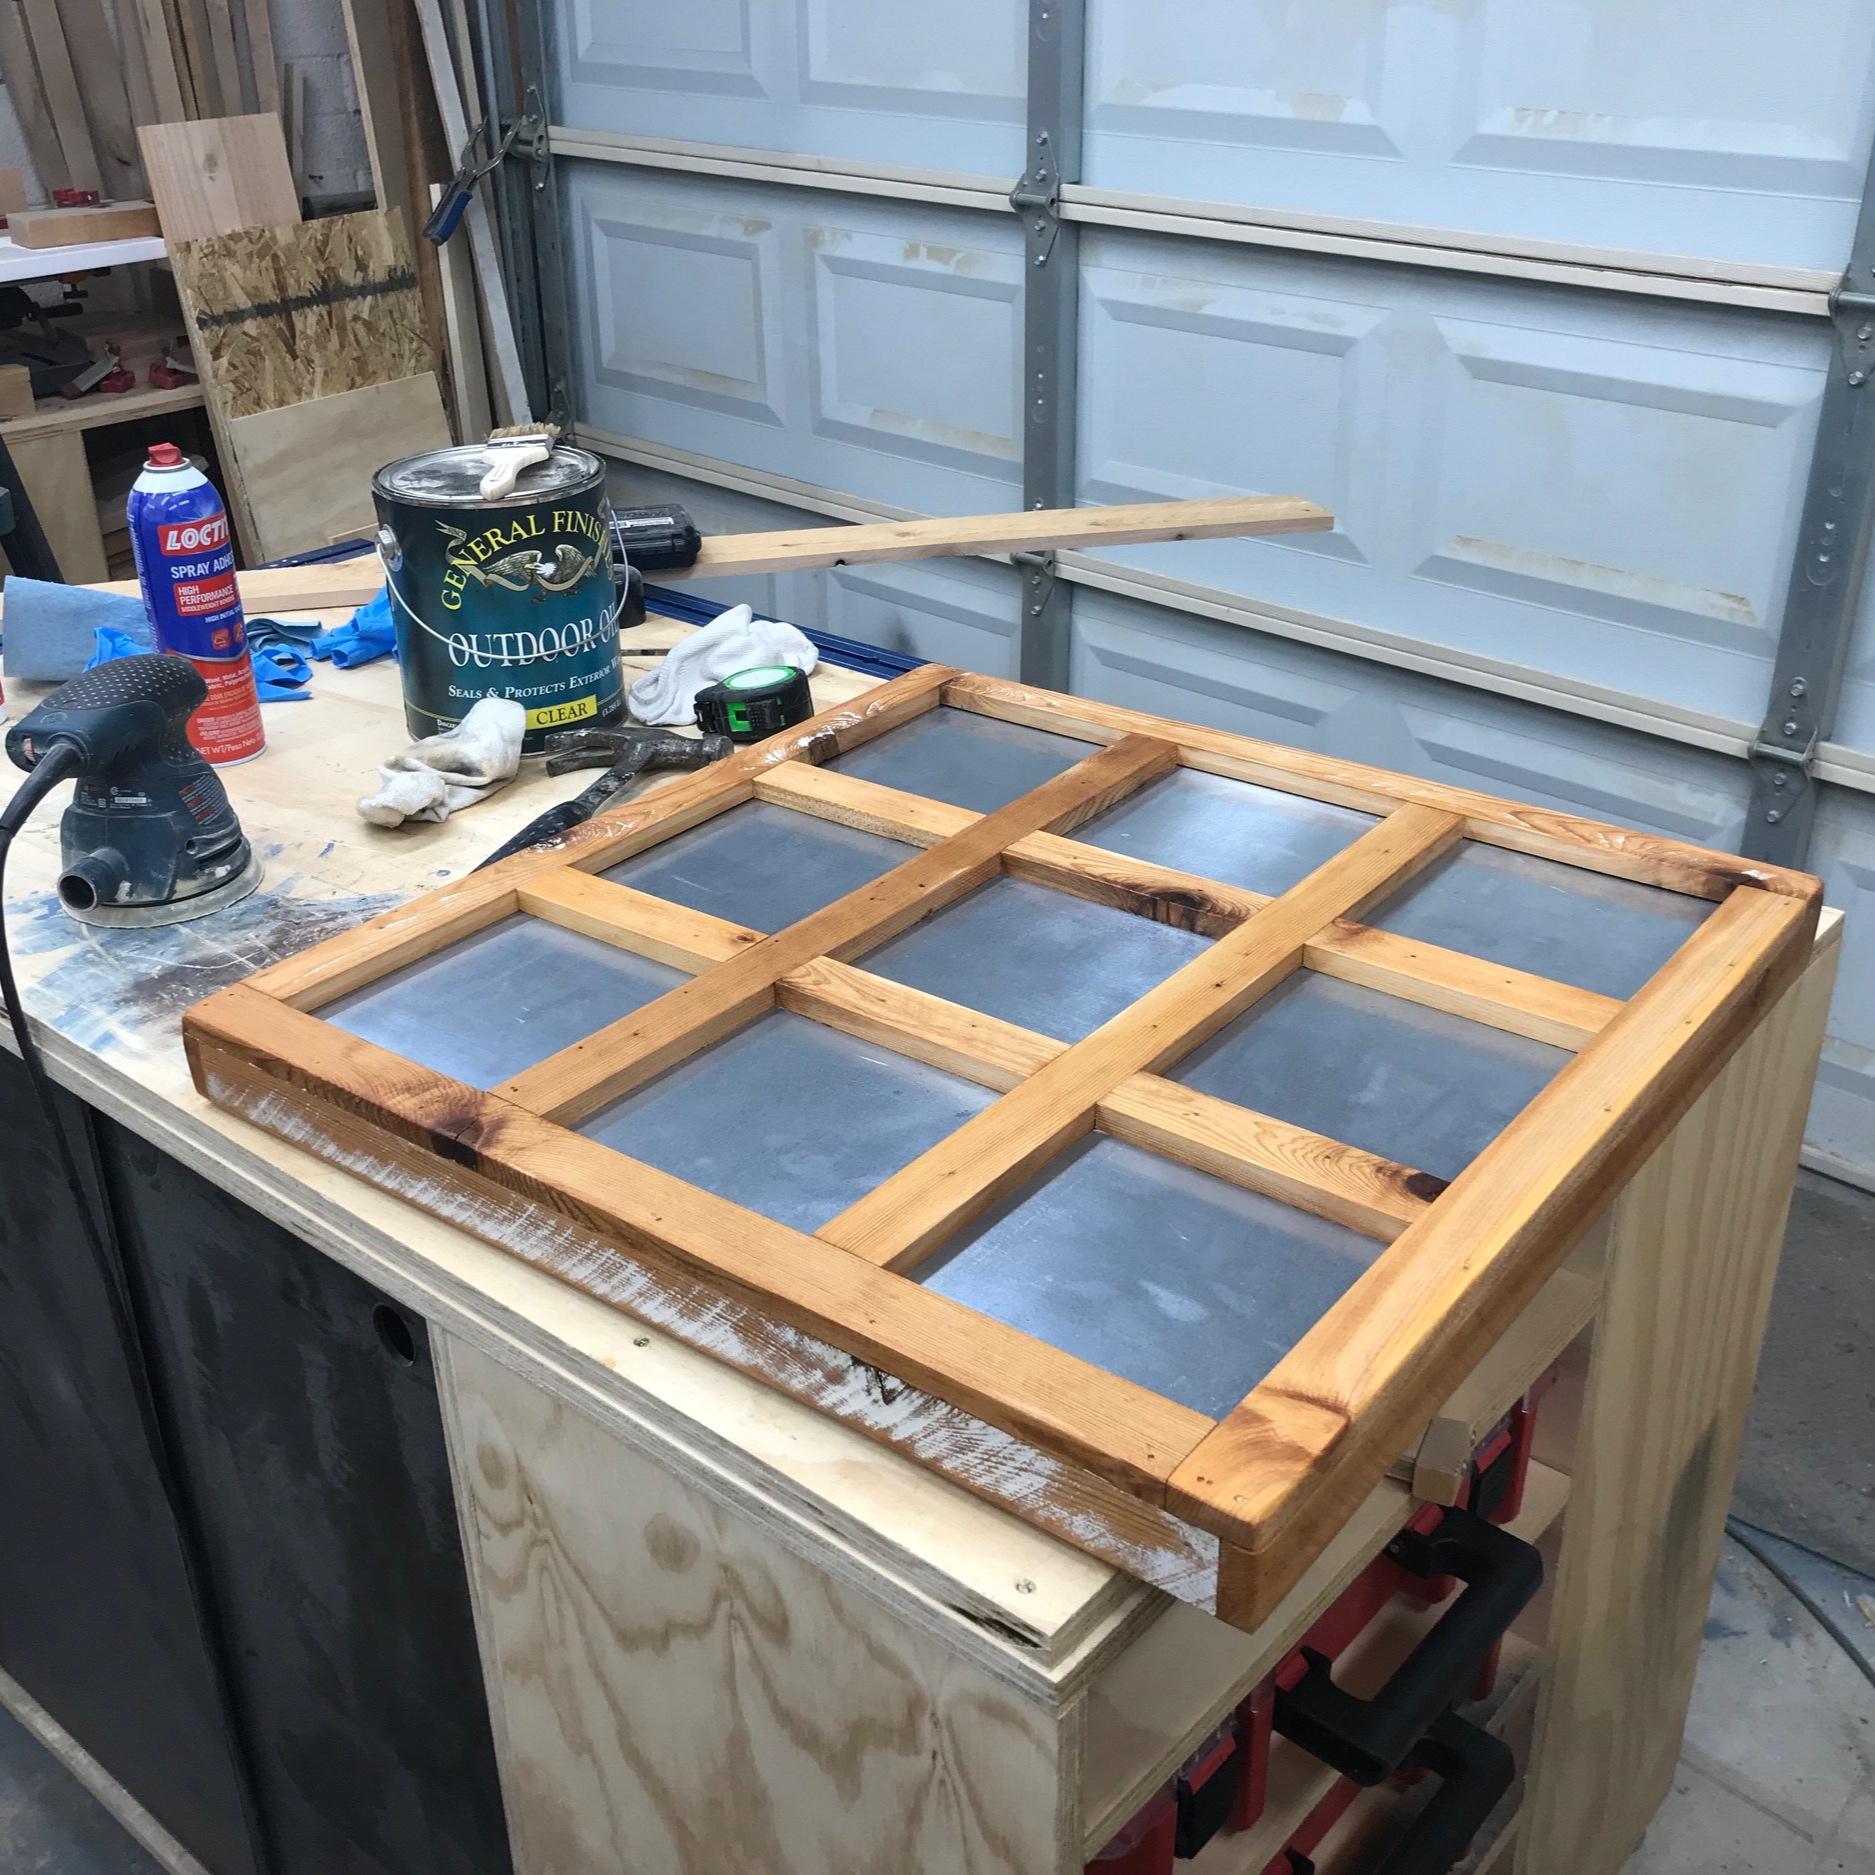
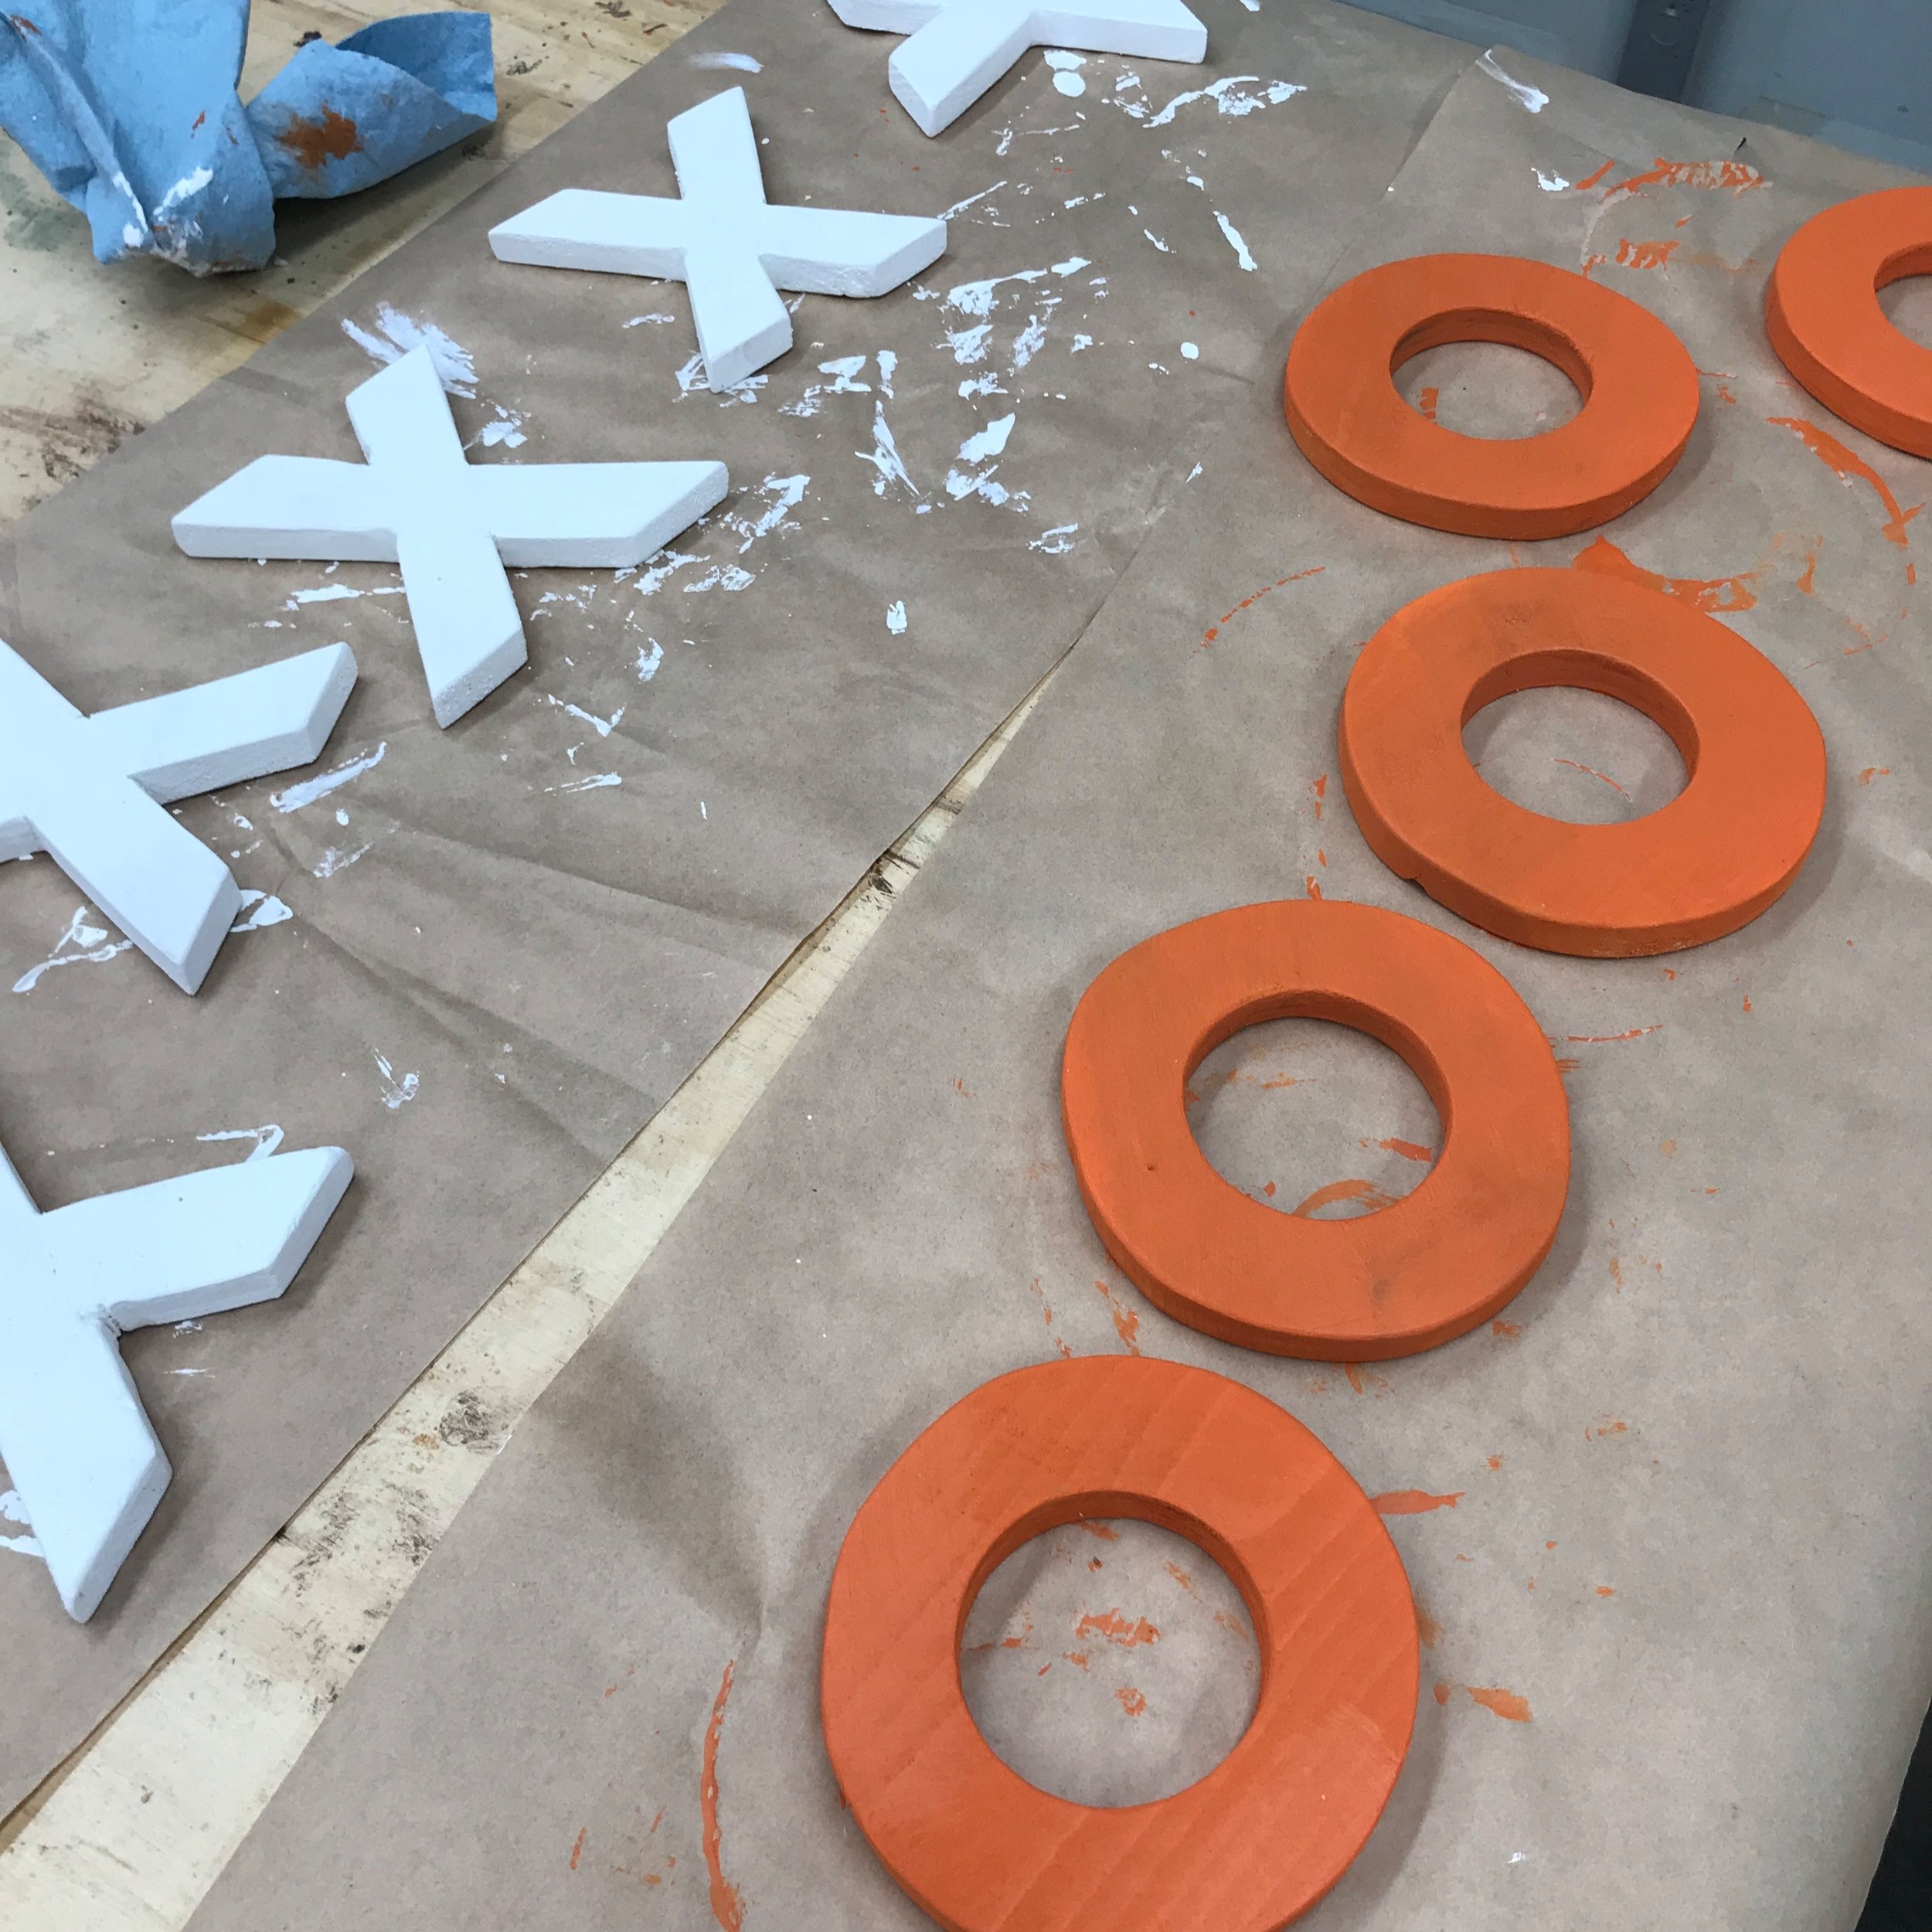
Sand, paint/finish the board and the X’s and O’s. I ended sealing the board with some Outdoor Oil that I had on hand it just brought the dear to life. And then for the X’s and O’s I got some help from some my Instagrams friends and decided to make the O’s orange and X’s white. I wasn’t sure about the combo at first, but now that it is down I love it.
Step 8
Attach the magnets to the back of the X’s and O’s using super glue. Note: I didn’t paint the back of the X’s and O’s because I thought the super glue would stick better to the bare wood.
Step 9
Attach a french cleat hanger to the back (this is the one I used), hang it up and start perfecting your tic-tac-toe game.
I absolutely love my new game and think it is gonna add some great character to our soon-to-be NEW back patio. Plus, I hope it brings hours of entertainment to those whose use it and be an all around conversation piece.
Downloadable Plans - DIY Outdoor Tic-Tac-Toe Game
Several other maker friends also made some DIY Games this month, so if tic-tac-toe isn’t your game maybe you will like one of theirs! Here are the links, go check them out:
Addicted 2 DIY
RemodelaCasa
The Created Home
Anika's DIY Life
The Inspired Workshop
Stacy Risenmay
My Repurposed Life
Ugly Duckling House
100 Things 2 Do
Joyful Derivatives
I hope you make one for you and your family and if you do I would love to see how it turns out. So, please tag me in your posts. Thank you for being a part of #TRIBEAWESOMEORANGE.
Have an AWESOME day and keep #BuildingAwesome!
Sadie Mae


