DIY Floating Pool Cue Holder
It was time to update my pool cue holder (rack) to a more modern look and to get another piece of furniture up off the floor. You see Oscar, my dog, sheds a lot and the more furniture on the floor makes cleaning so much more time consuming. So this pool cue rack is going to be hanging on the wall or floating!

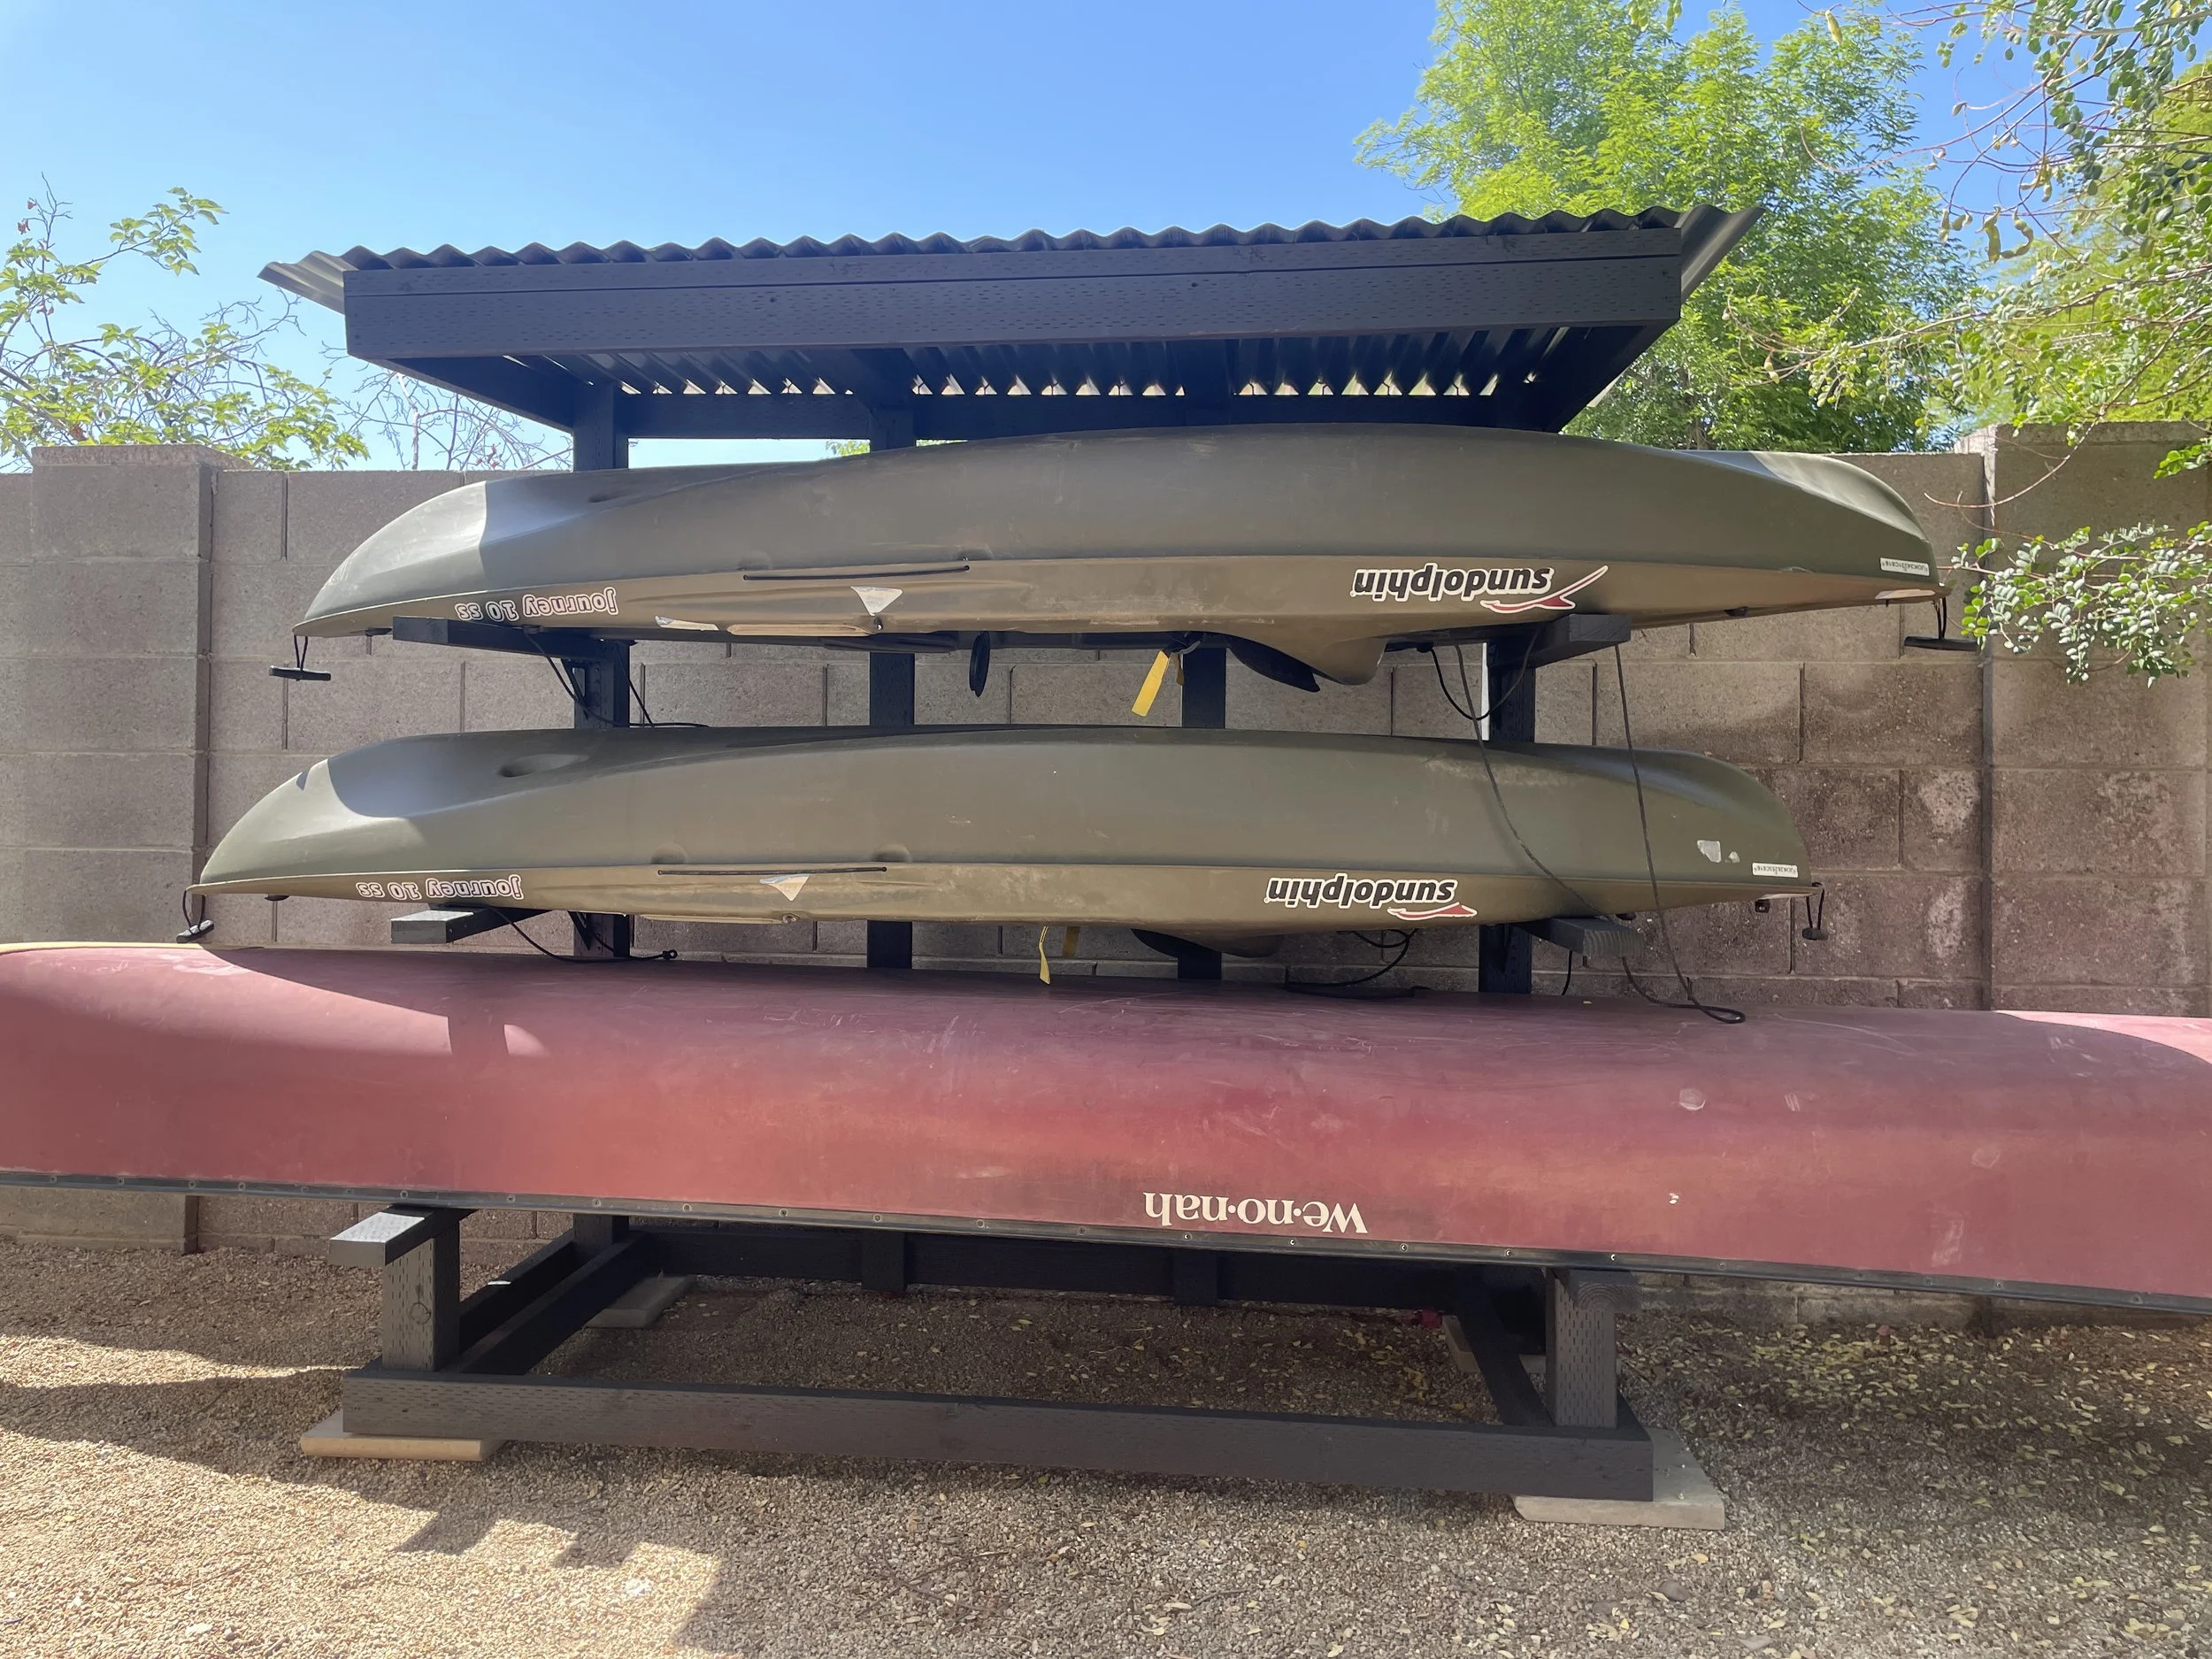
BEFORE - So many stands to vacuum around.
This post is NOT sponsored. This post DOES contain affiliate links. For more information on my affiliate programs, see my DISCLOSURES page.
Since I am going to be painting this piece, I used 2x4’s and 1x4 pine wood material. I think painting it black will help the pool cues be the star of the show and the black will blend in with other black accents around my house.
If you want to build a pool cue holder (rack) for yourself, you can get the complete build plans HERE!
Watch me transform this corner on YouTube!
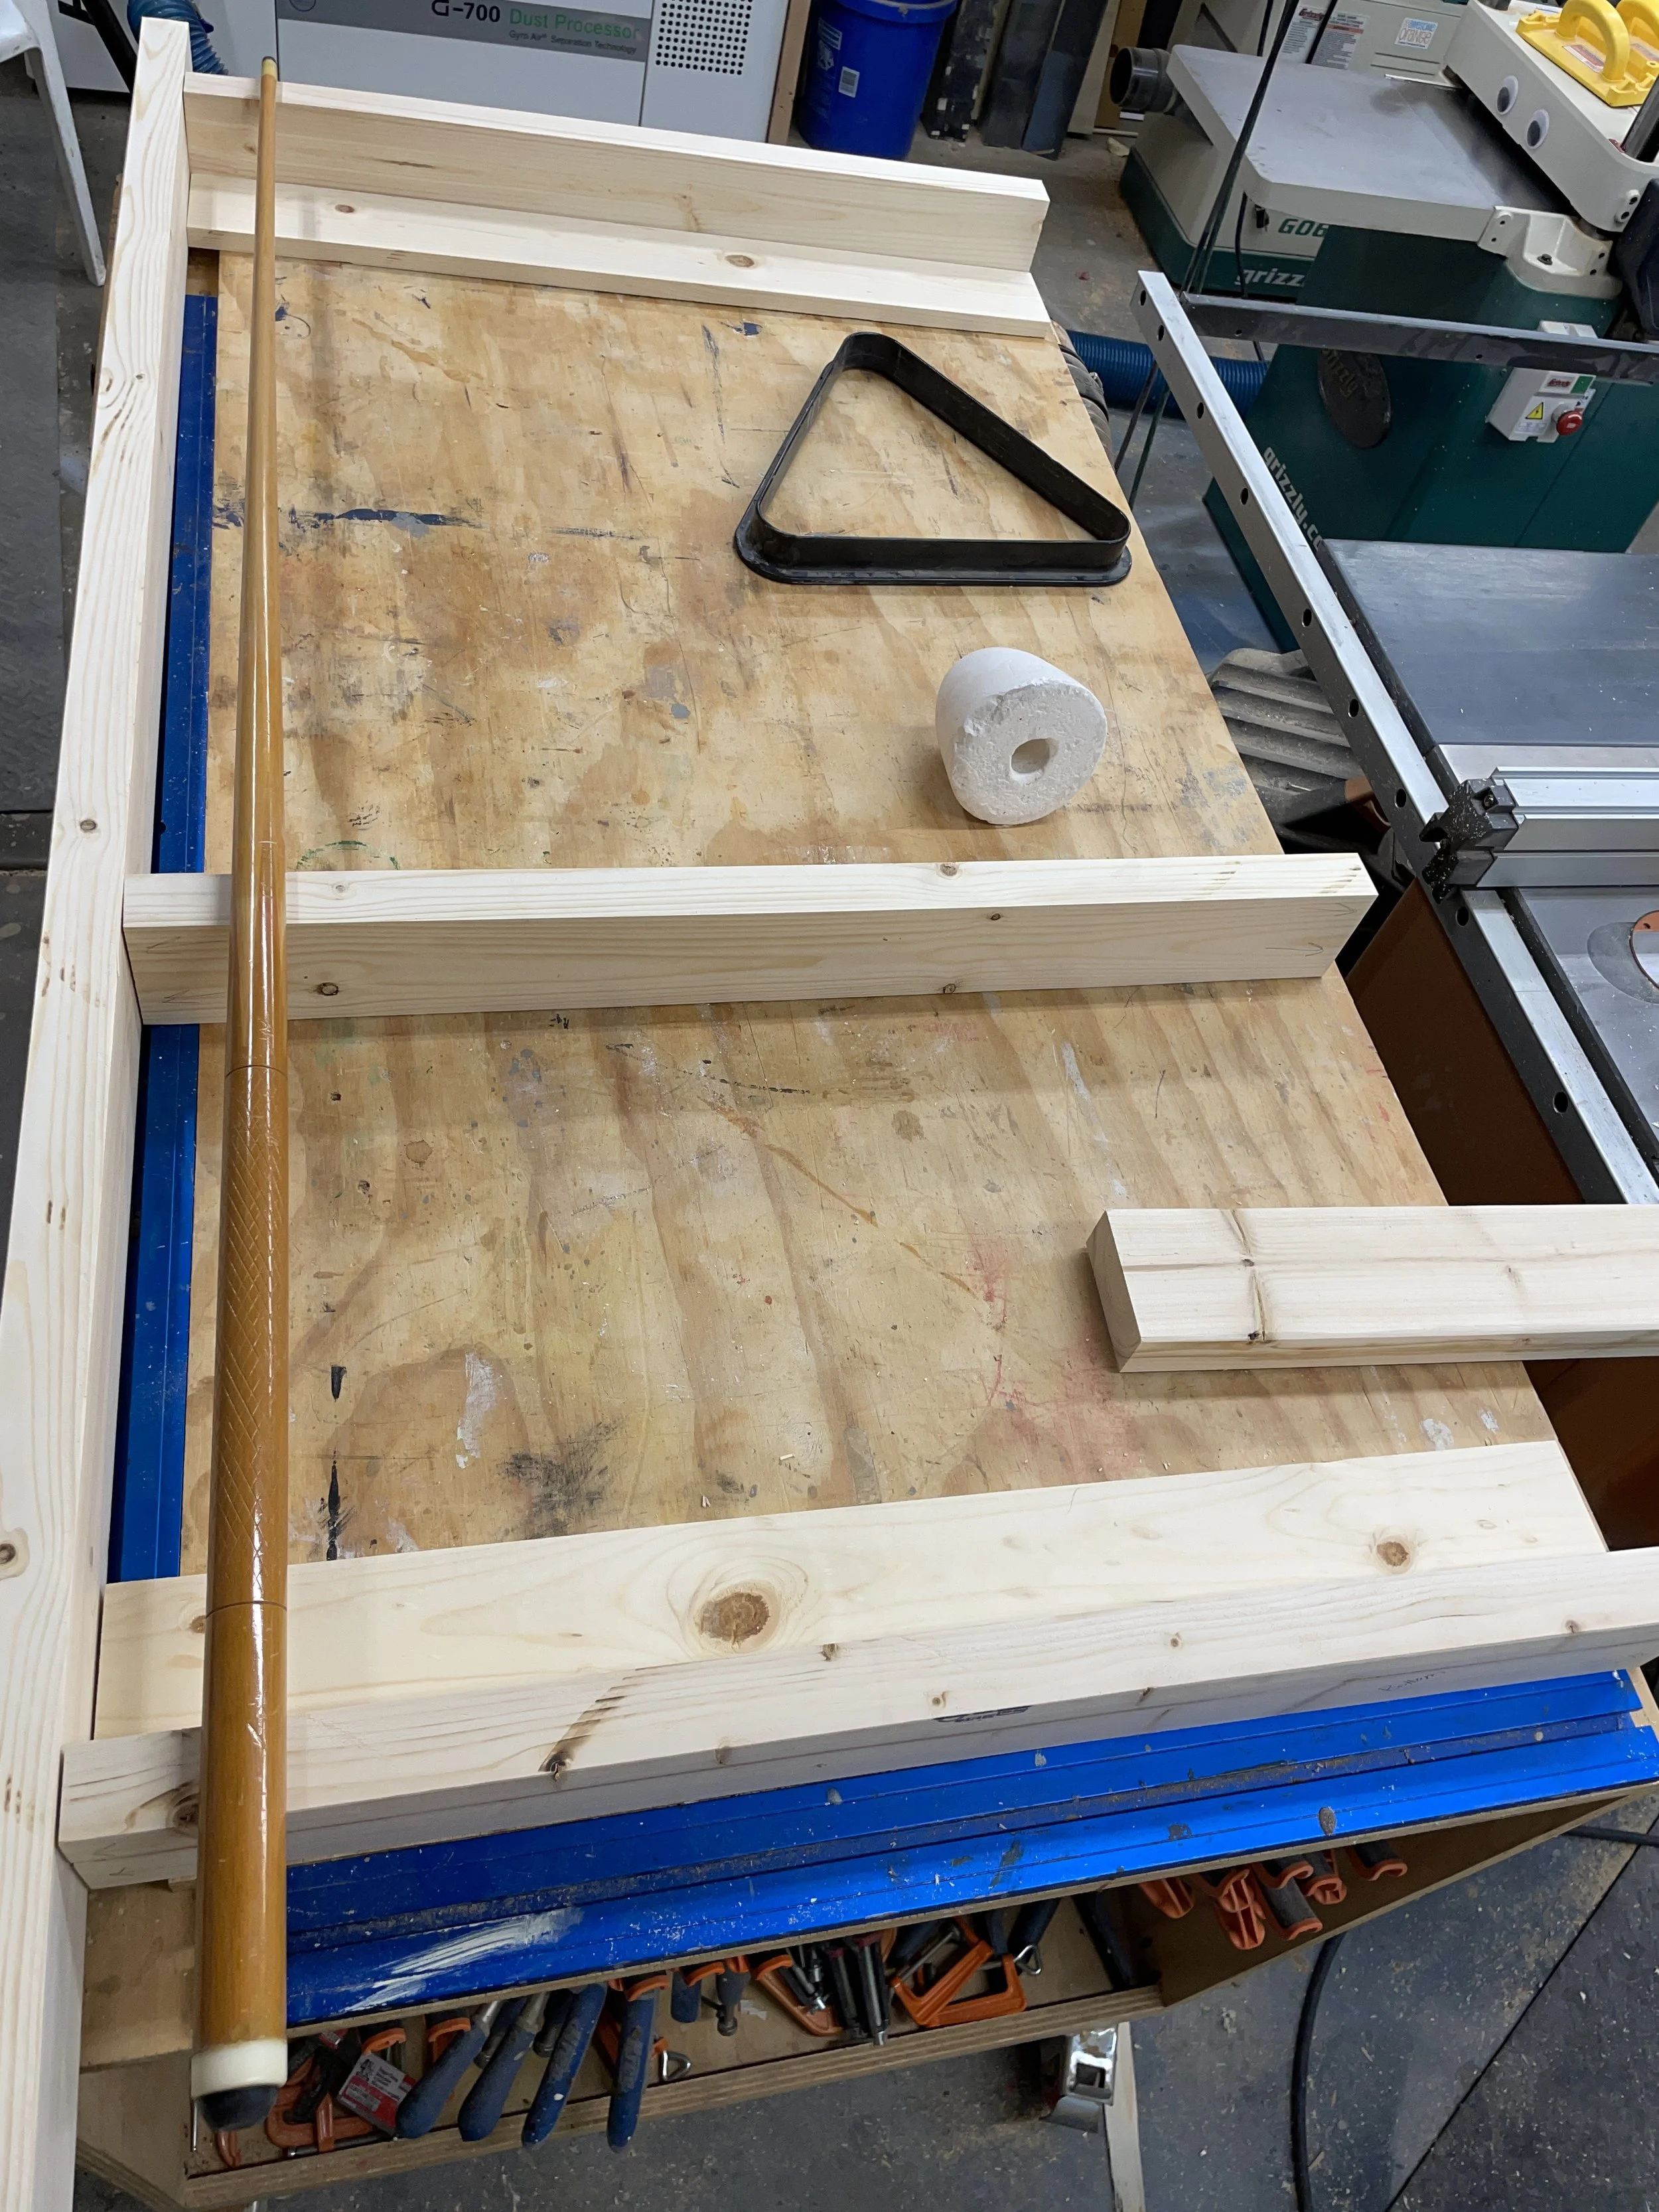
Step 1 - Cut List/Milling
First step was to cut all the pieces down to size per the cut list.
Then I went a head and milled the 2x’4s down to give them a more modern look. I did this by first running them though my thickness planer and then ripping off the rounded over edges on my table saw. This did leave my boards closer to 3” wide rather than the standard 3 1/2” width that a standard 2x4 comes. This is a completely optional step.
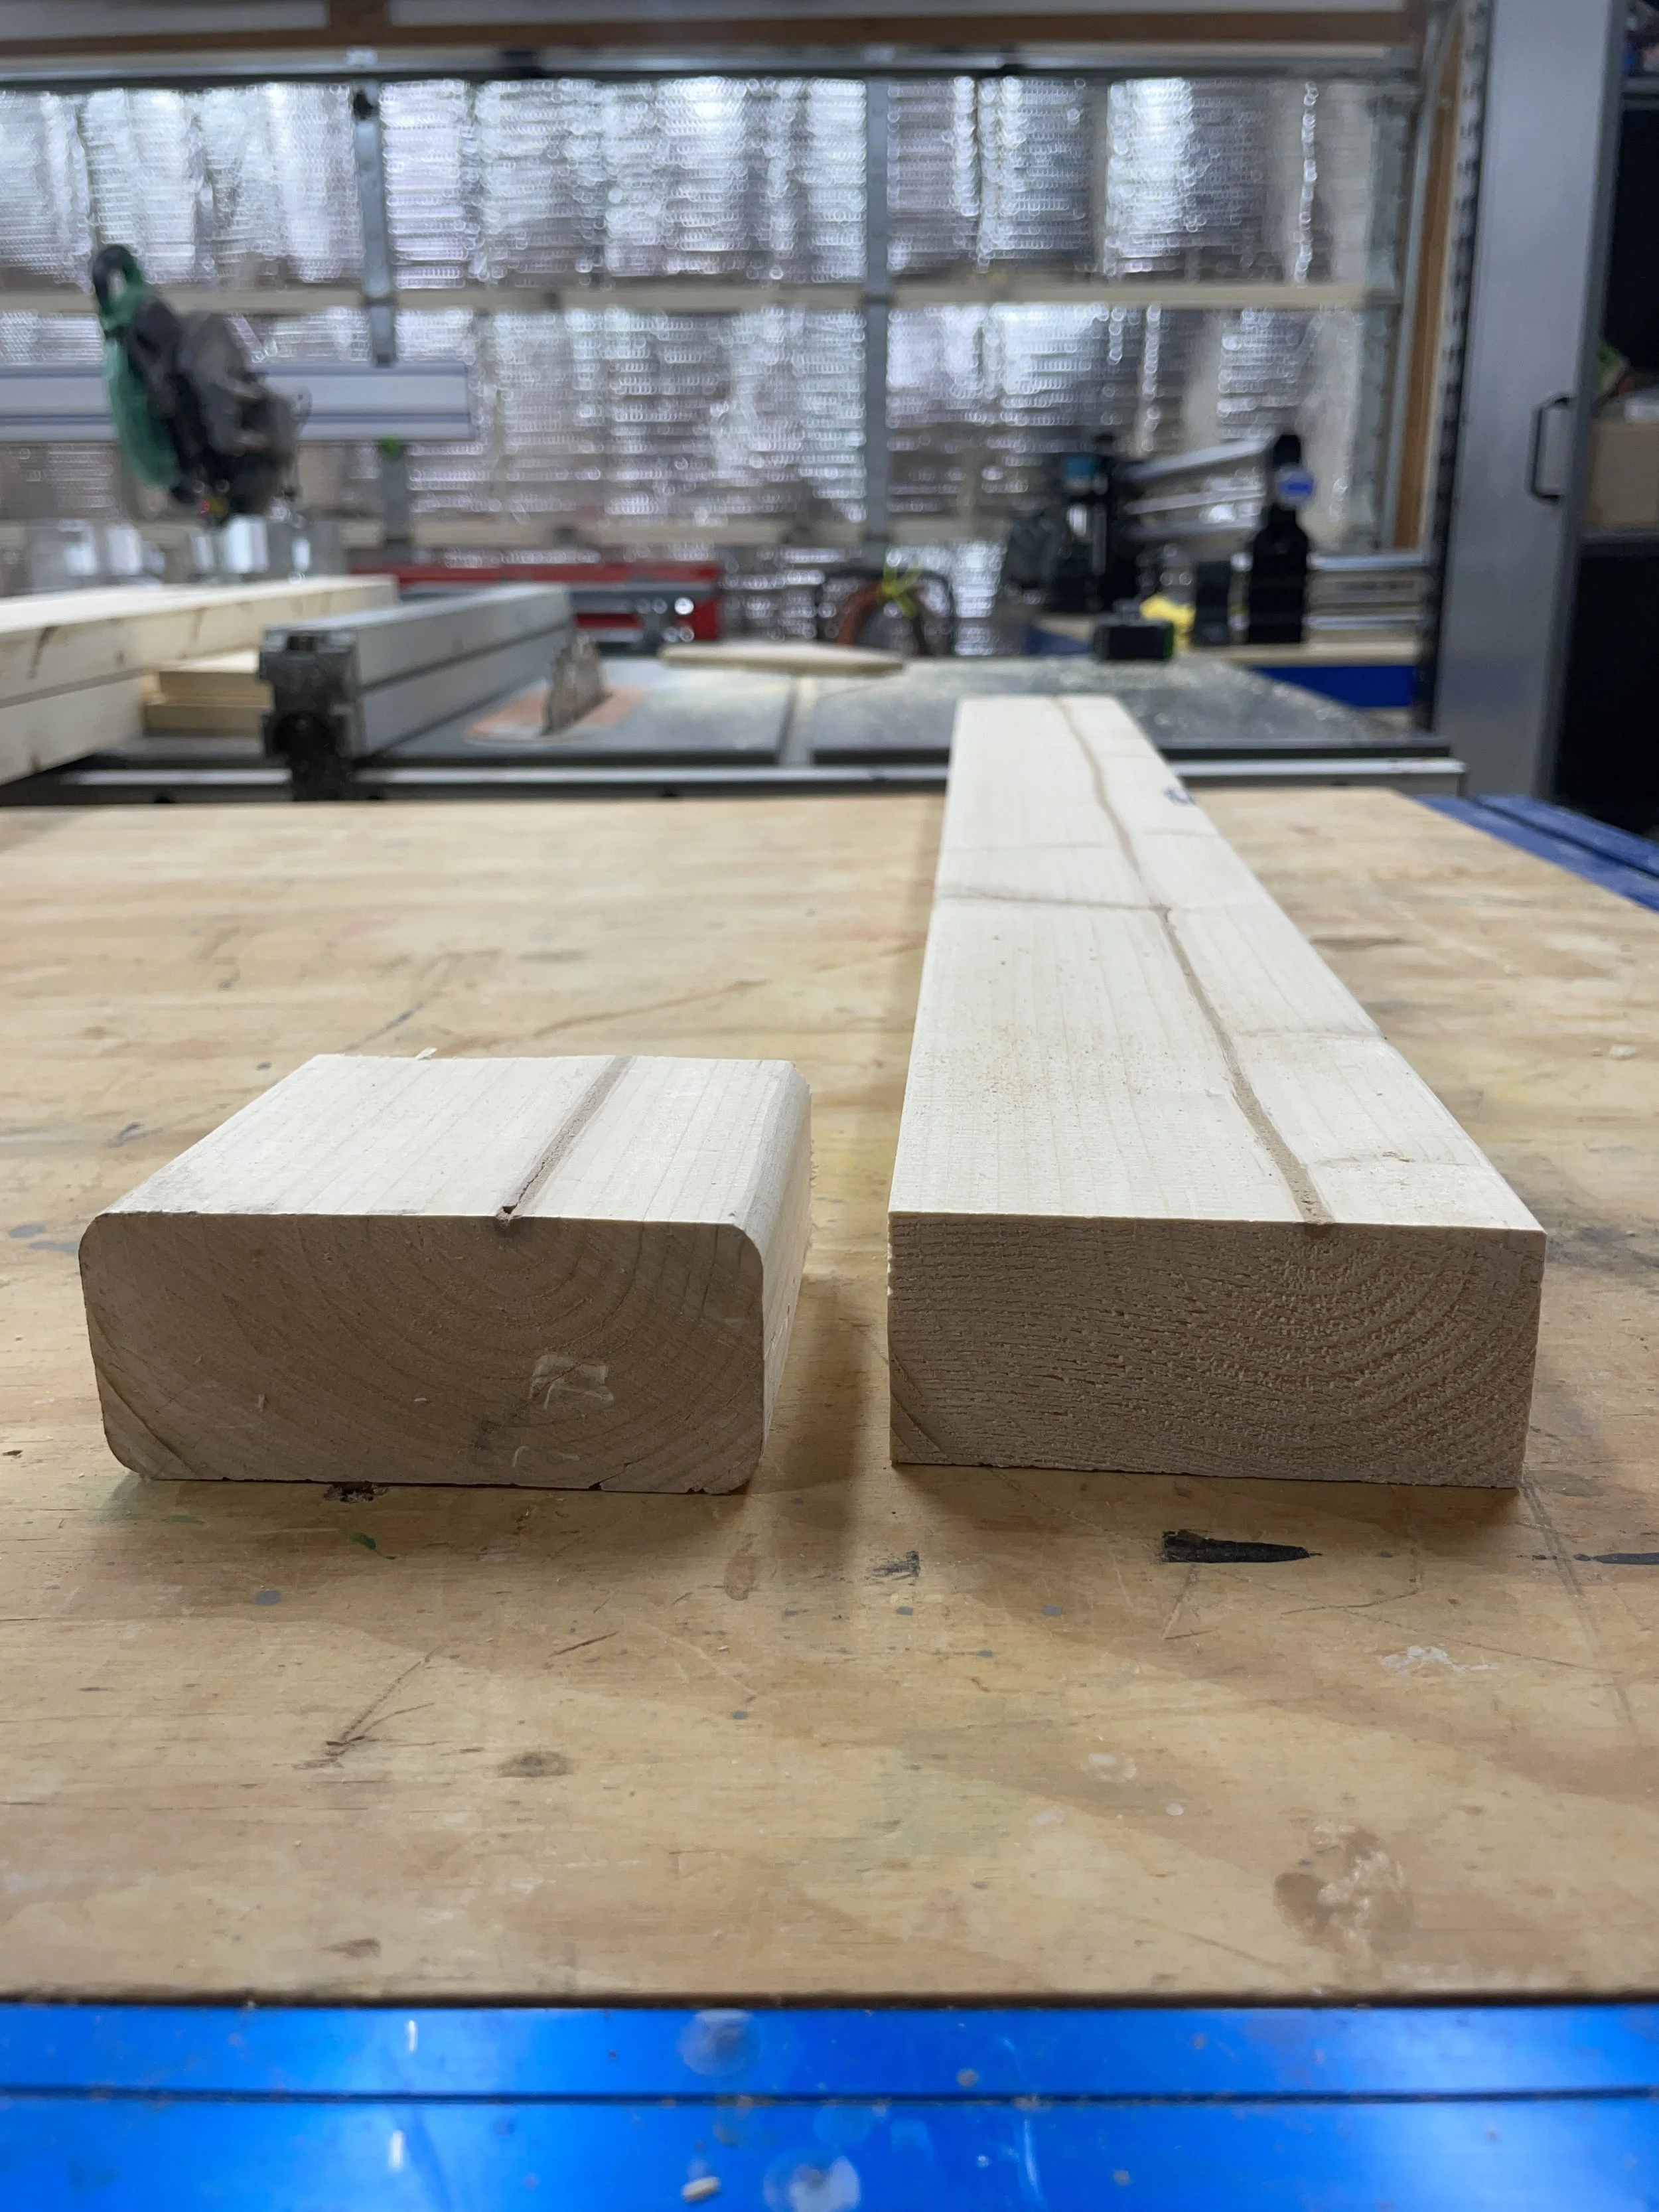
Before milling on the Left. After milling on the Right.
Step 2 - Hole Layout
Next, I laid out where I would be drilling holes for the cues to go. I will be using the 1x4 board as a support in the back and to hang it on the wall, so I needed to take that into consideration with the layout. So, the width of the board minus the 3/4” of the 1x4 and then divided by 2 to get the center point of the holes.
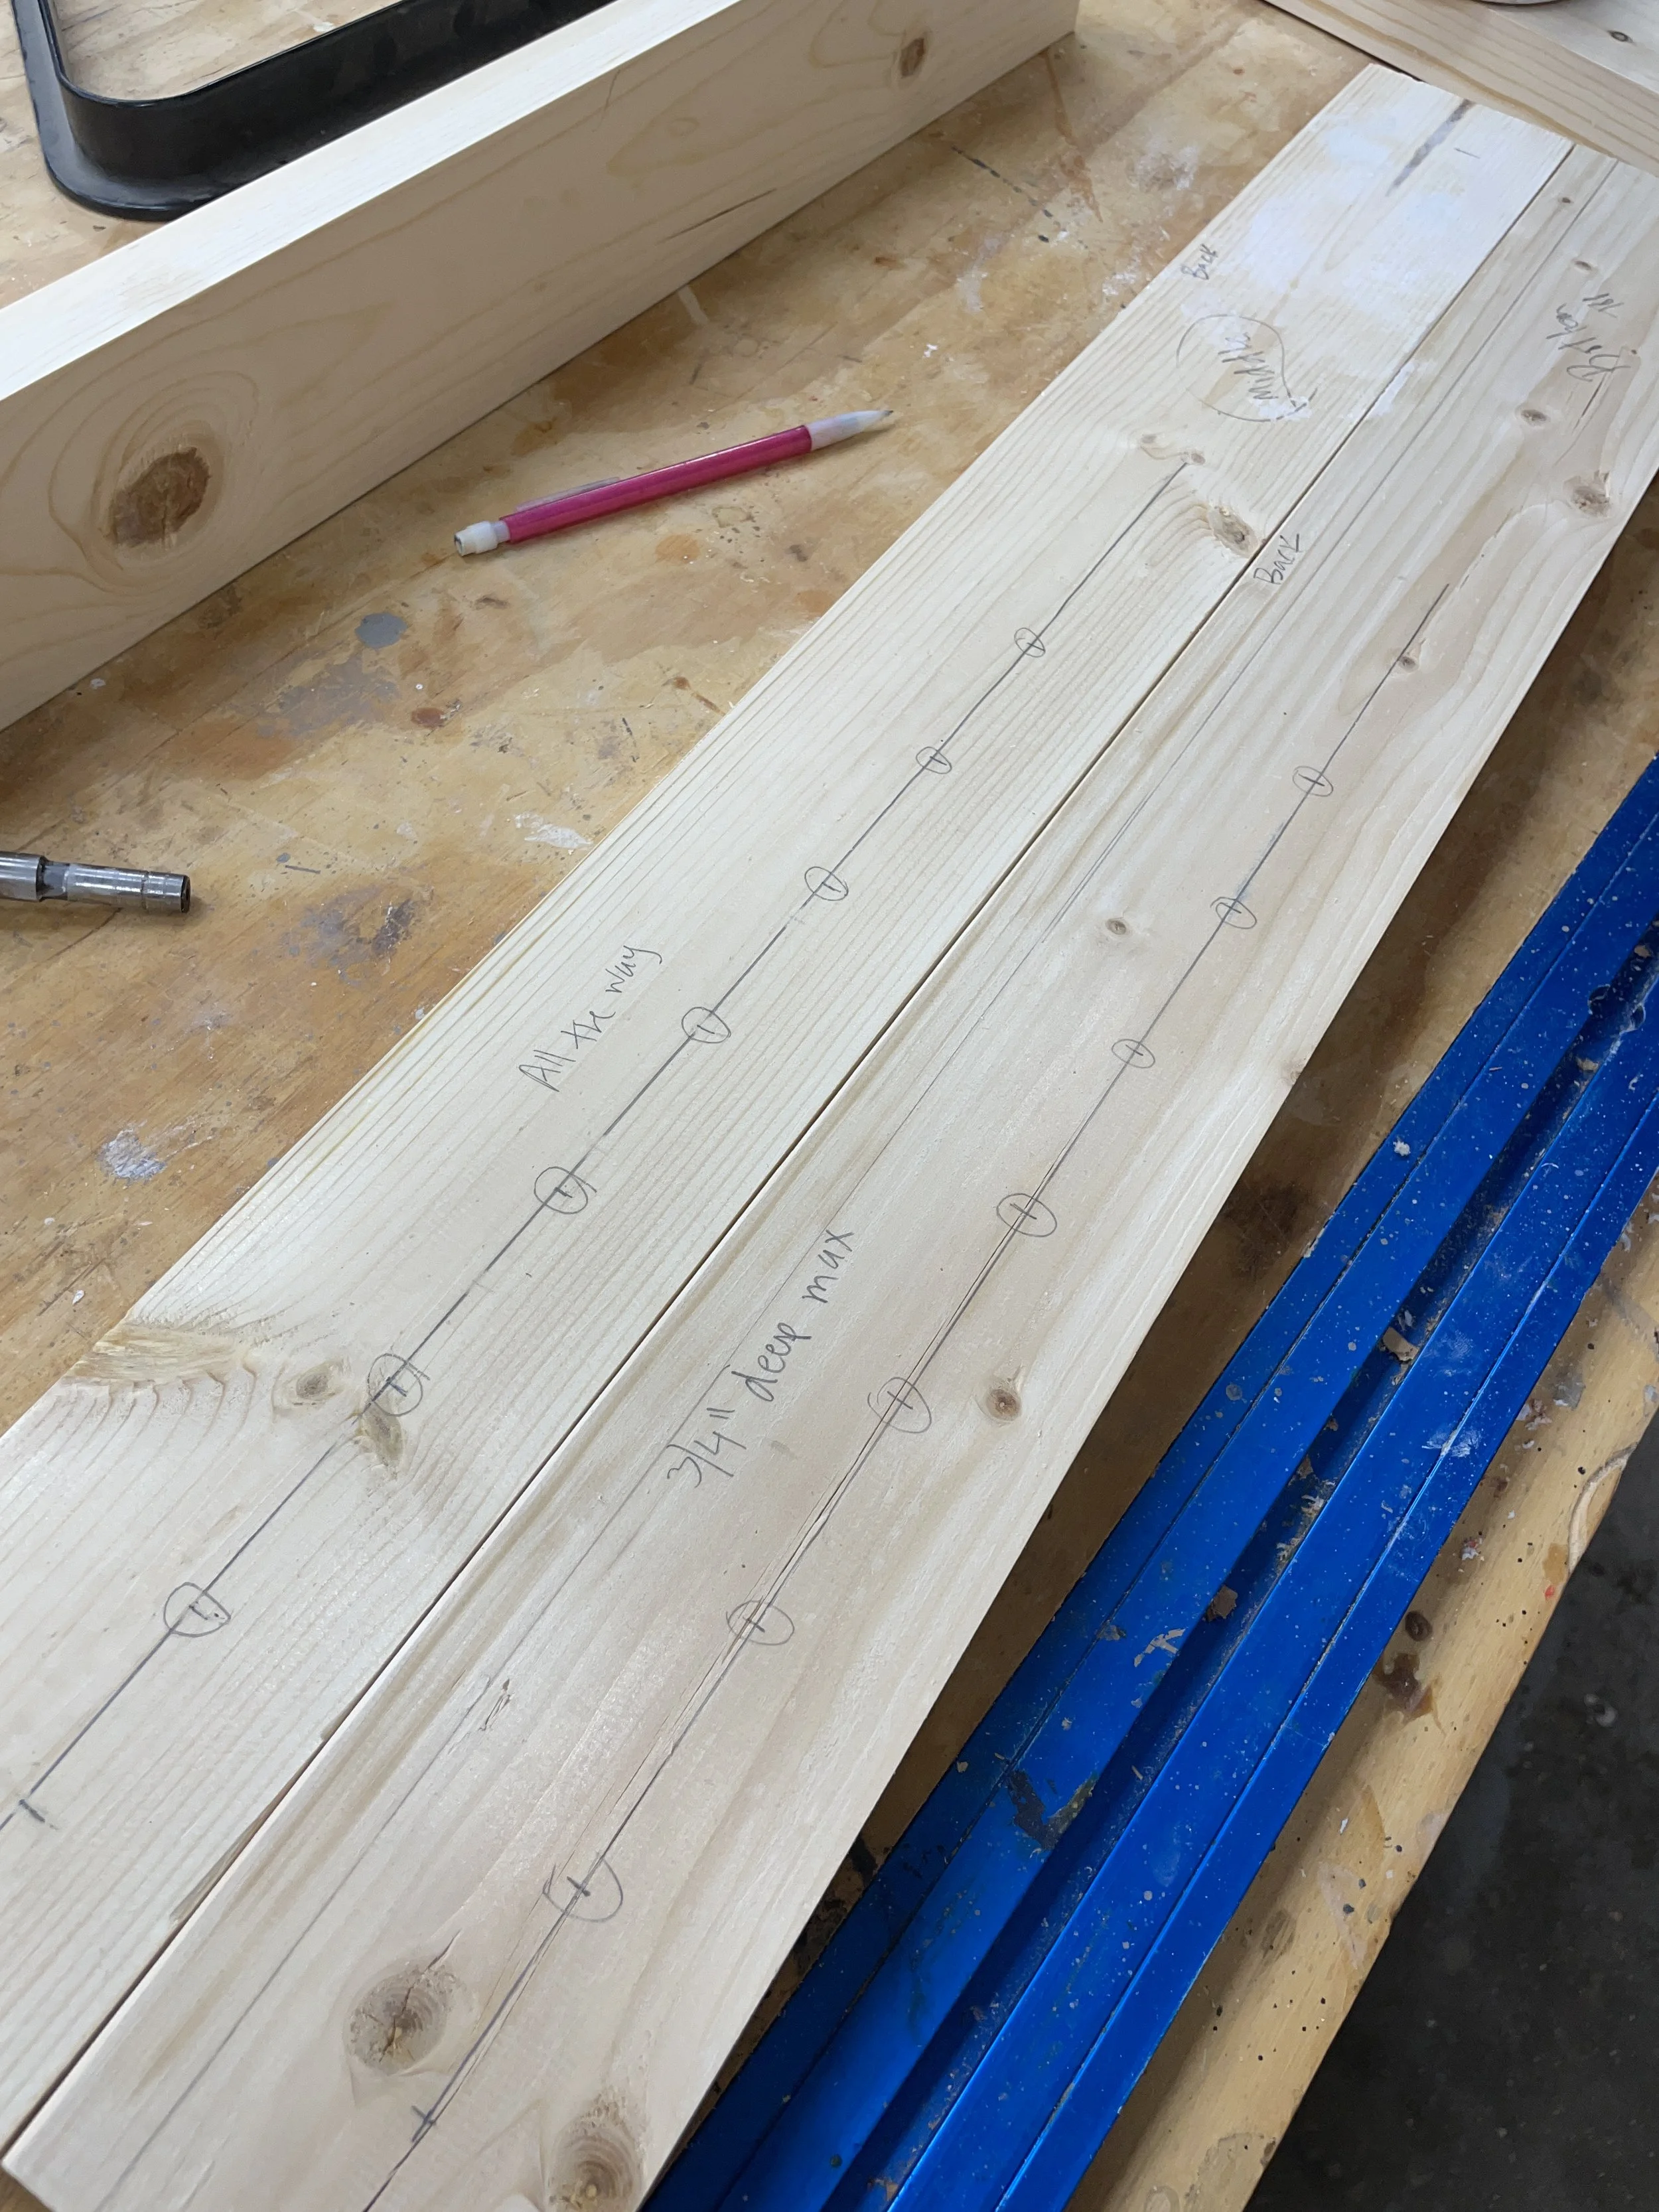
Laying out where the holes for the pool cues are going to go.
Then to determine how far apart to space the holes. This will depend on how many cues you want to store. I ended up going with 7 holes. I don’t have that many cues, but figured it would be safe to have a couple extra holes in case I purchase more down the road. The holes themselves are 1 3/8” wide. This is a little bigger than the pool cues and therefore gives a little wiggle room for getting them in and out. I then placed the holes 2” on center from one another. This leaves about 5/8” in between the holes. But you can totally change up the spacing for your number of pool cues and liking.
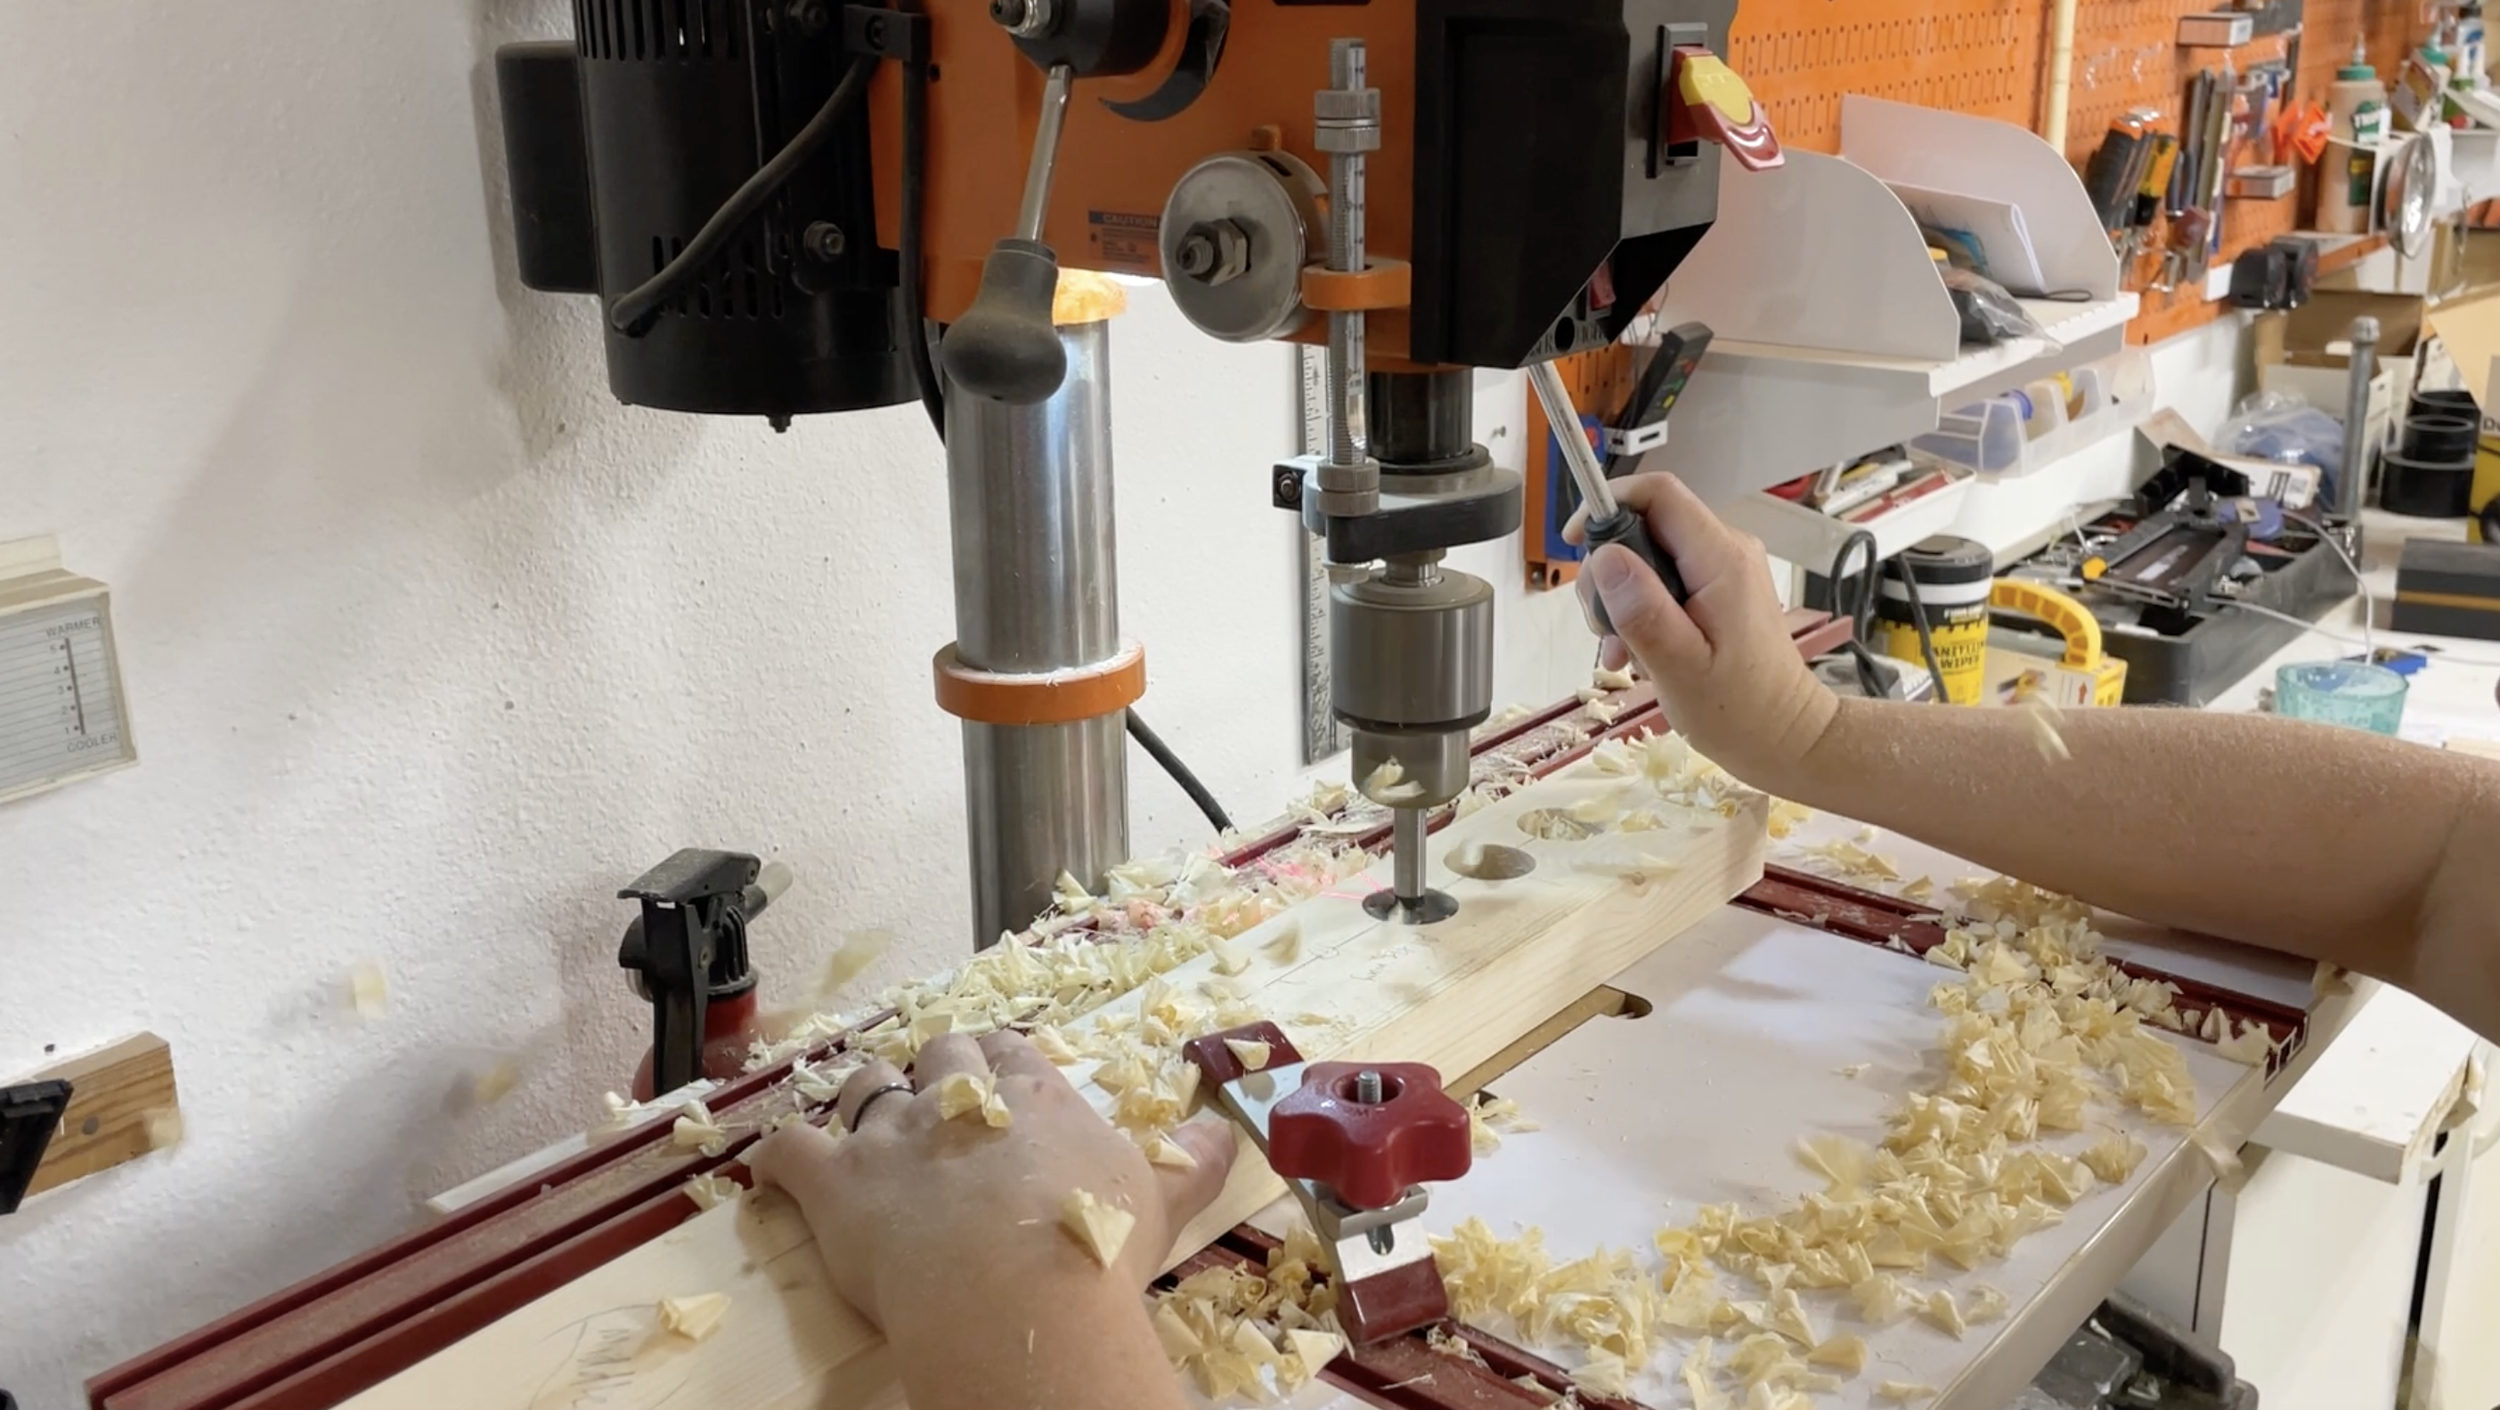
A drill press makes drilling the holes handy, but isn’t necessary. You could do this with a drill.
I also spaced all my holes on the left side of the frames. I will be using the right side for chalk and triangle storage later on.
Oh and before assembly I did use a small roundover bit on my trim router to give the inside of the holes a smooth edge so they wouldn’t be sharp.

The round overs give the holes such a clean look. I love this cordless trim router.
NOTE: The holes on the middle horizontal support go all the way through the board and the holes on the bottom support only go about 1/2” deep.
Step 3 - Joinery
To assemble the frame I used pocket holes. The holes go on the inside frame pieces and if you orient the pieces correctly once it is hung on the wall you won’t ever see them.
Before assembly I laid everything out to the proper spacing for the middle support.
I used the Kreg pocket holes jig 720Pro, but any pocket hole jig would work. You could even use countersunk screws and butt joints and fill them later since it is going to be painted.

I love the Kreg 720Pro pocket hole jig because it auto adjusts to the thickness of your board.

I used wood glue and 2 1/2” pocket holes on each joint. Love the Kreg right-angle clamps to hold everything together while securing with the pocket hole screws.
Step 4 - Installation
Installation was super simple. I used my favorite stud finder and marked the location of the studs and then used 2 1/2” screws to secure the 1x4 back supports of the frame to the wall.
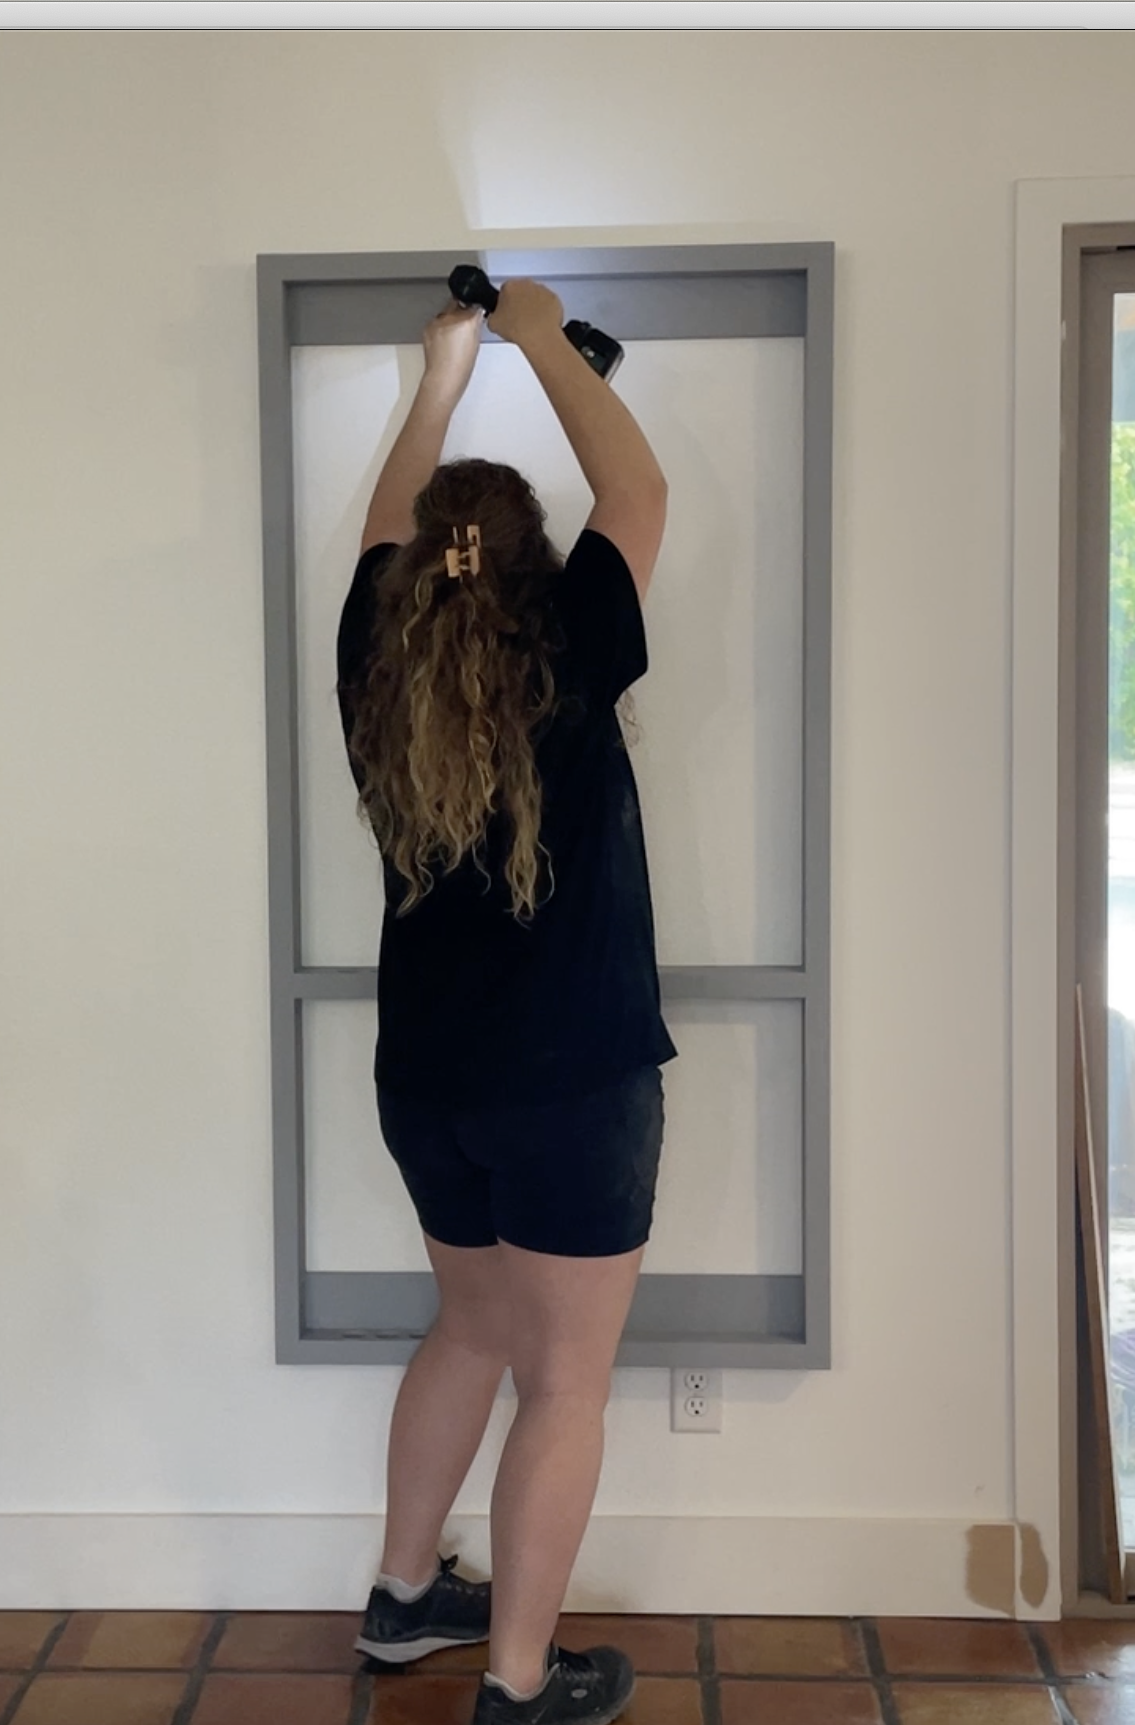
Secured the frame to the wall using 2 1/2” wood screws into the studs.
Step 5 - Finish
I did prime the frame before installation. But once it was installed I caulked all the seams where they meet the wall. This just gives a cleaner, more built-in look. Then I painted the frame and the wall behind the frame black.

Caulk makes the finish come out so much better!

I painted the wall black as well as frame to give it a more built-in look.
Step 6 - Accessories
Final step was to install a hook to hold the pool triangle. I made sure to use a wall anchors as there wasn’t a stud directly behind where I wanted to place it.

A simple hook to hold the triangle.
I also added a simple chalk holder to the wall. It was just two pieces of scrap wood that I joined in an L-shape and added a dowel in the middle so that the chalk doesn’t slide off.

Scrap wood pieces to make a cone chalk holder.
Then lastly added the pool cue chalk and the pool table brush on the ledges and DONE!

AFTER - So much better! And easier to vacuum.
What do you think? I love having all of this off the floor. No more moving everything to vacuum Oscar hair! Plus, I think it adds a modern touch to match my space.
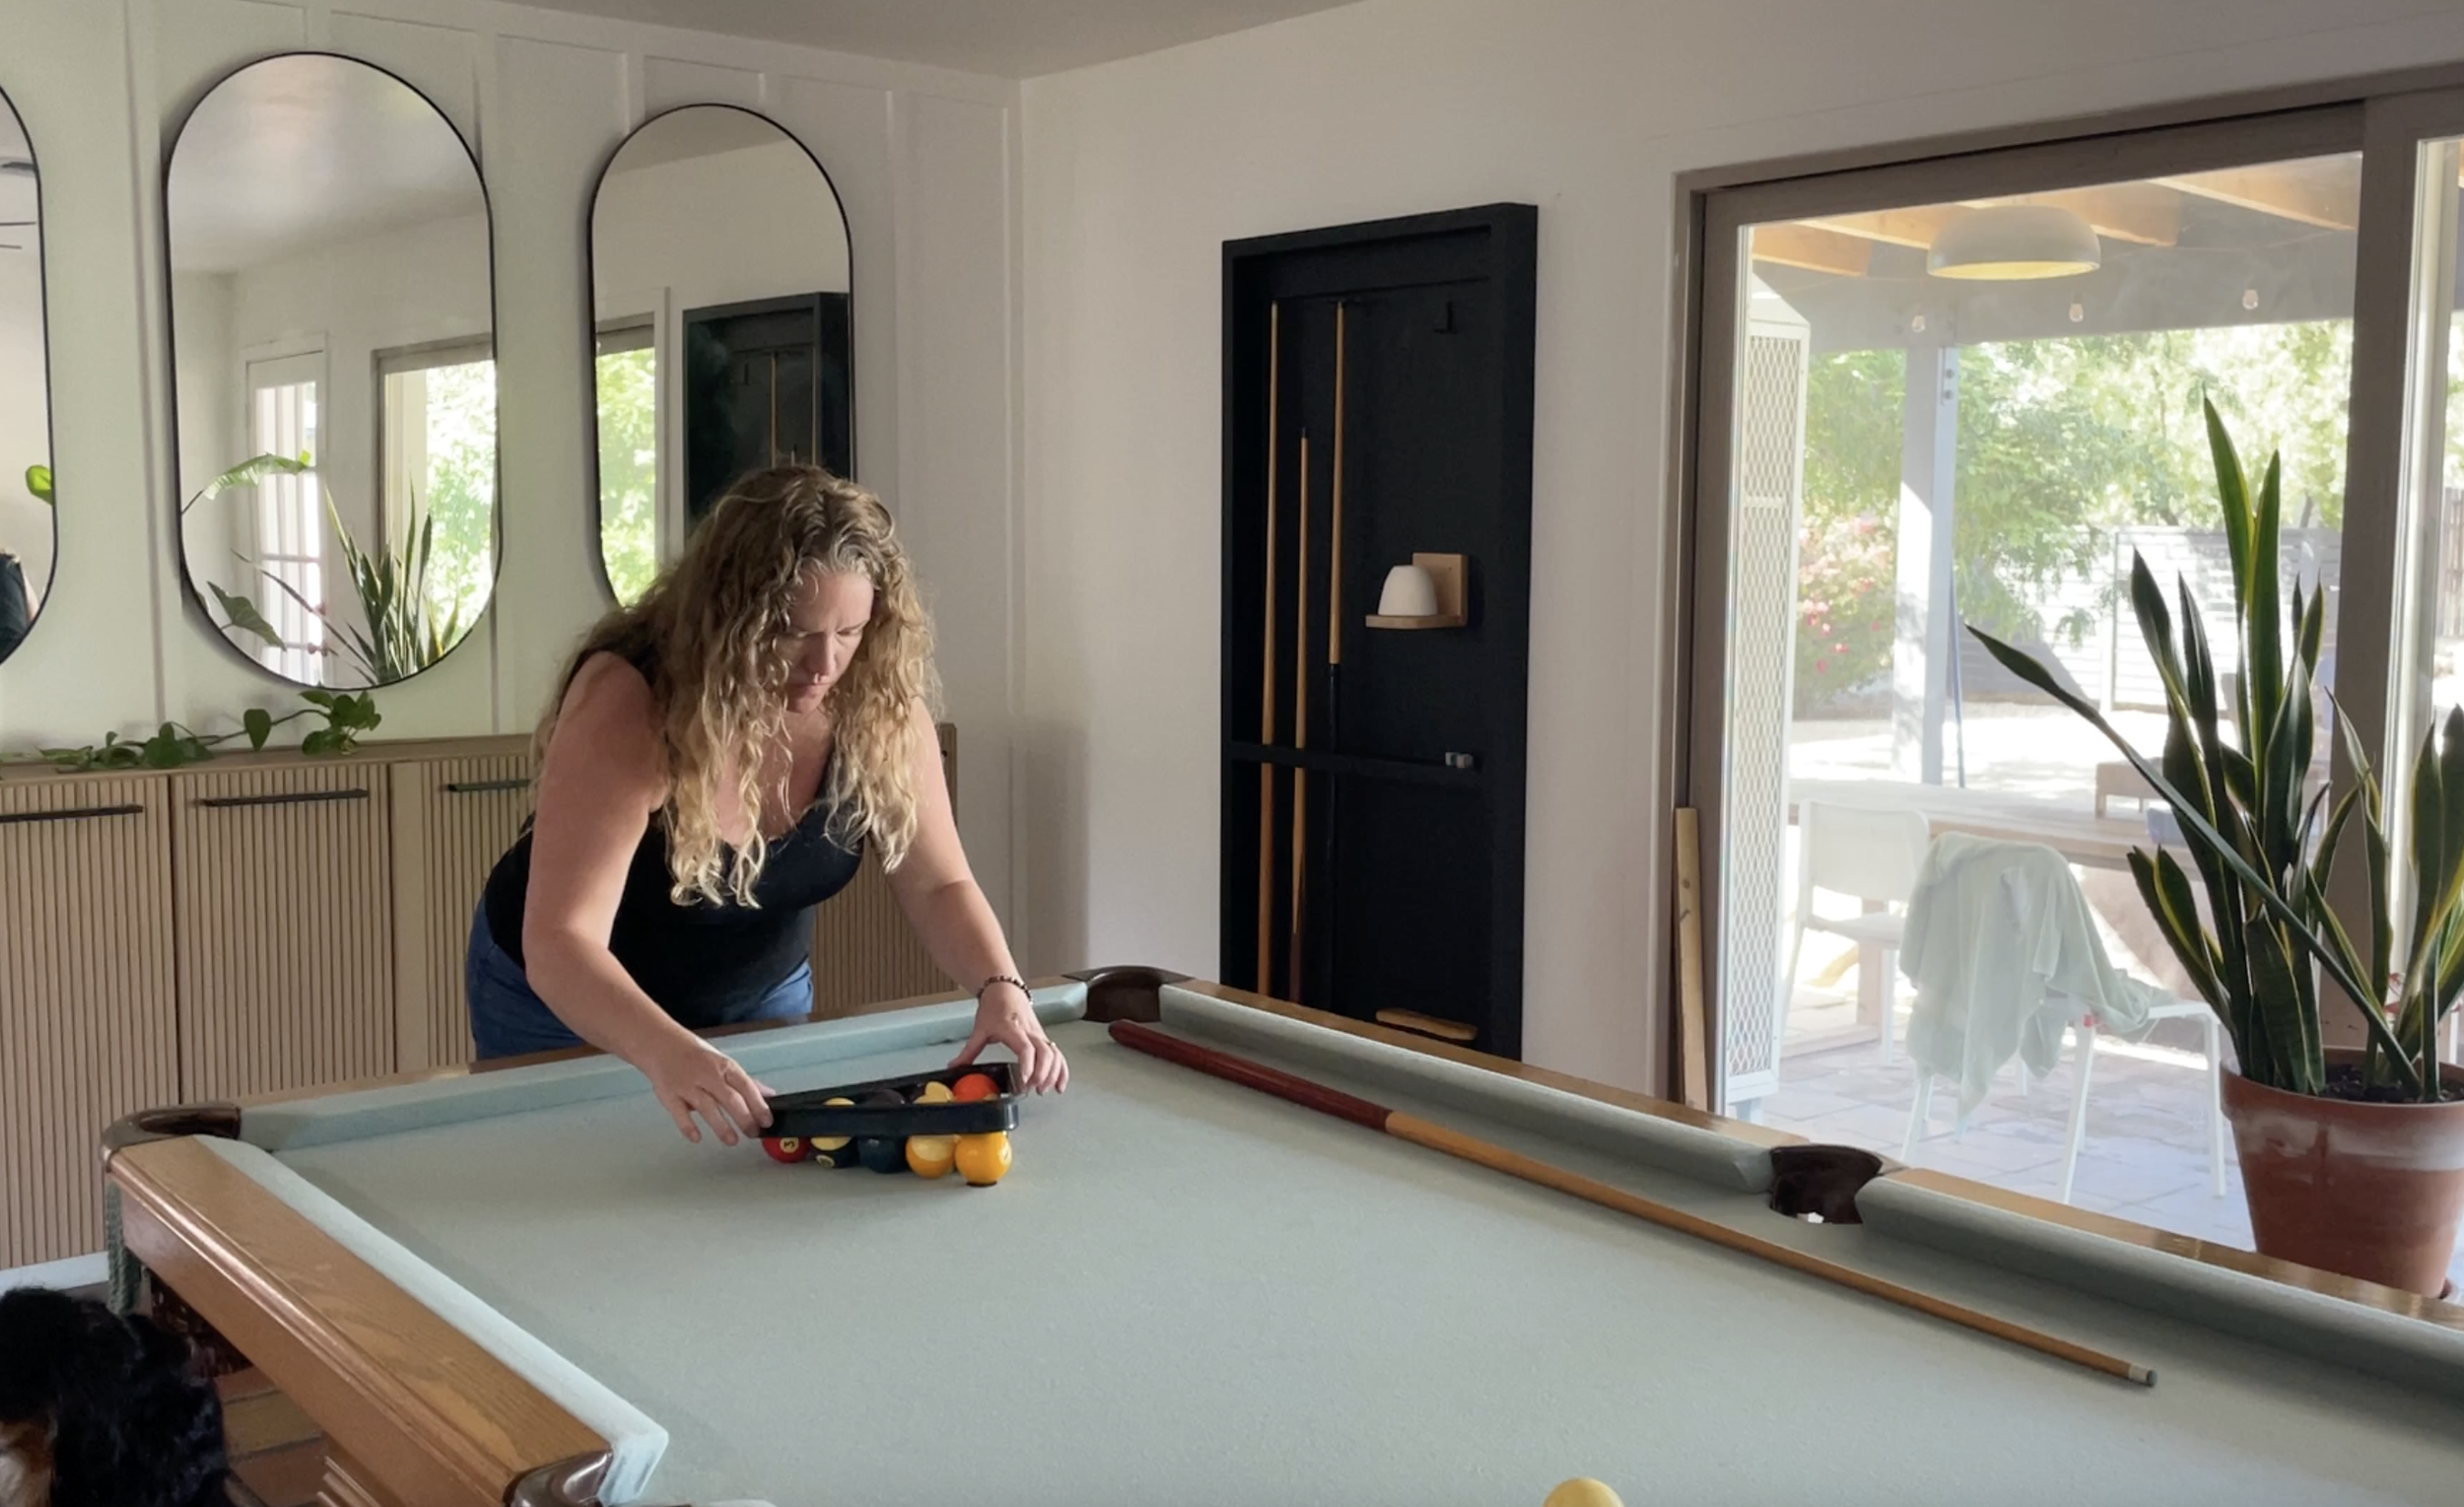
Who is ready for a game of pool?
If you want to build yourself a Floating Pool Cue Holder/Rack, get the complete build plans HERE!
Thanks for following my building journey. Remember Build Loud, Build Wild and have an AWESOME day!
Sadie Mae