DIY Modern Bench with Back
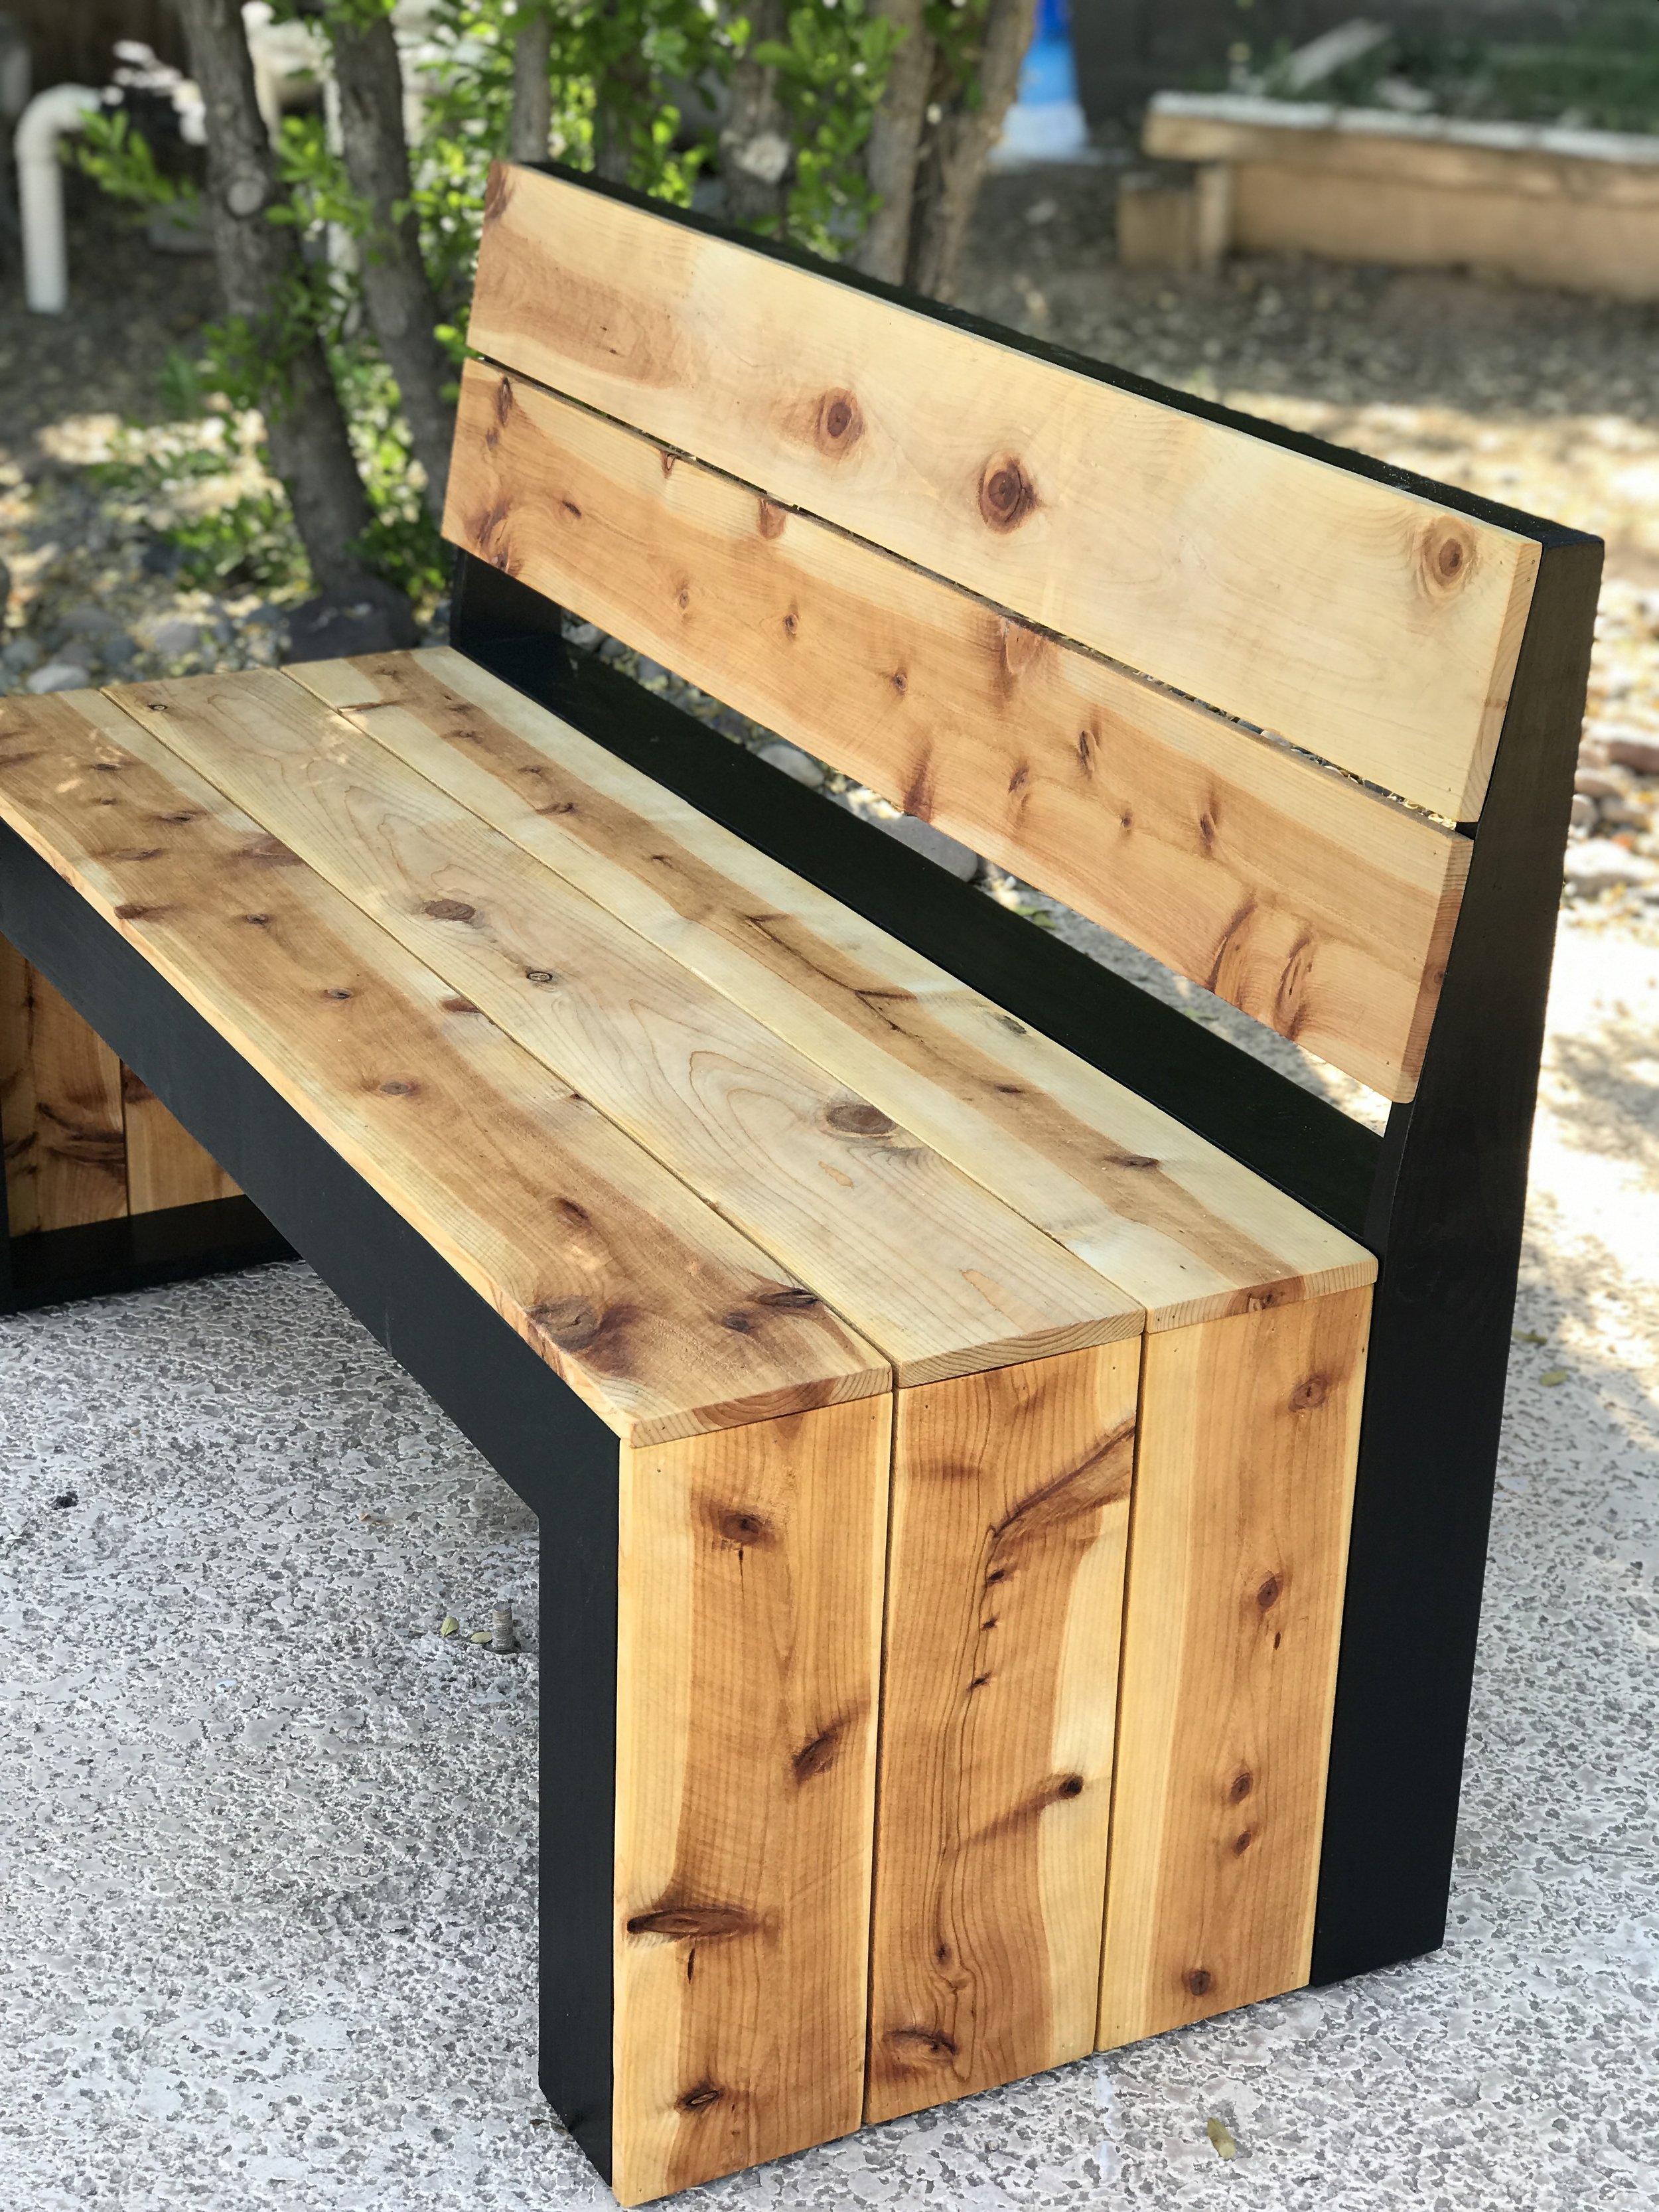
My thickness planer recently broke in the middle of a project and I was feeling bummed. I kinda lost my maker mojo because it was going to be over a month until they would be able to repair it. So I decided that I would go back to maker basics and come up with an easy to build project that was, of course, AWESOME. I mean I used to make awesome stuff all the time before I got a thickness planer, so I knew I could to it again. It just took a little mind shift and a look back at old projects and I came up with a really cool design idea…. a DIY Modern Bench with Back.
This post is NOT sponsored. This post DOES contain affiliate links.
It was inspired by a two-tone bench that I had made when I was first starting out. I loved that there are so many different ways you can finish it to fit your space or put your personality stamp on it. But did think it would be fun to add a little bit of an upgrade… or in this case a back rest. And not just a straight up and down back rest, but one that was tapered and would actually make the bench comfortable to be sat at.
Next up was deciding where I was going to put it and after looking around I decided to build this bench for my back yard. I have this spot at the end of the pool where a diving board used to be and it makes a great sitting area to relax and enjoy nature while having a cup of coffee or watching the nieces and nephews when they come over swimming.
So now that we have the what and the why of the build let’s get to the how…….
This build is a great starter project and only requires a couple of tools to make:
Miter Saw/Hand Saw
Jig Saw - you could actually cut everything with this if its all you got!
Plus, it only cost about $36 in lumber to make!
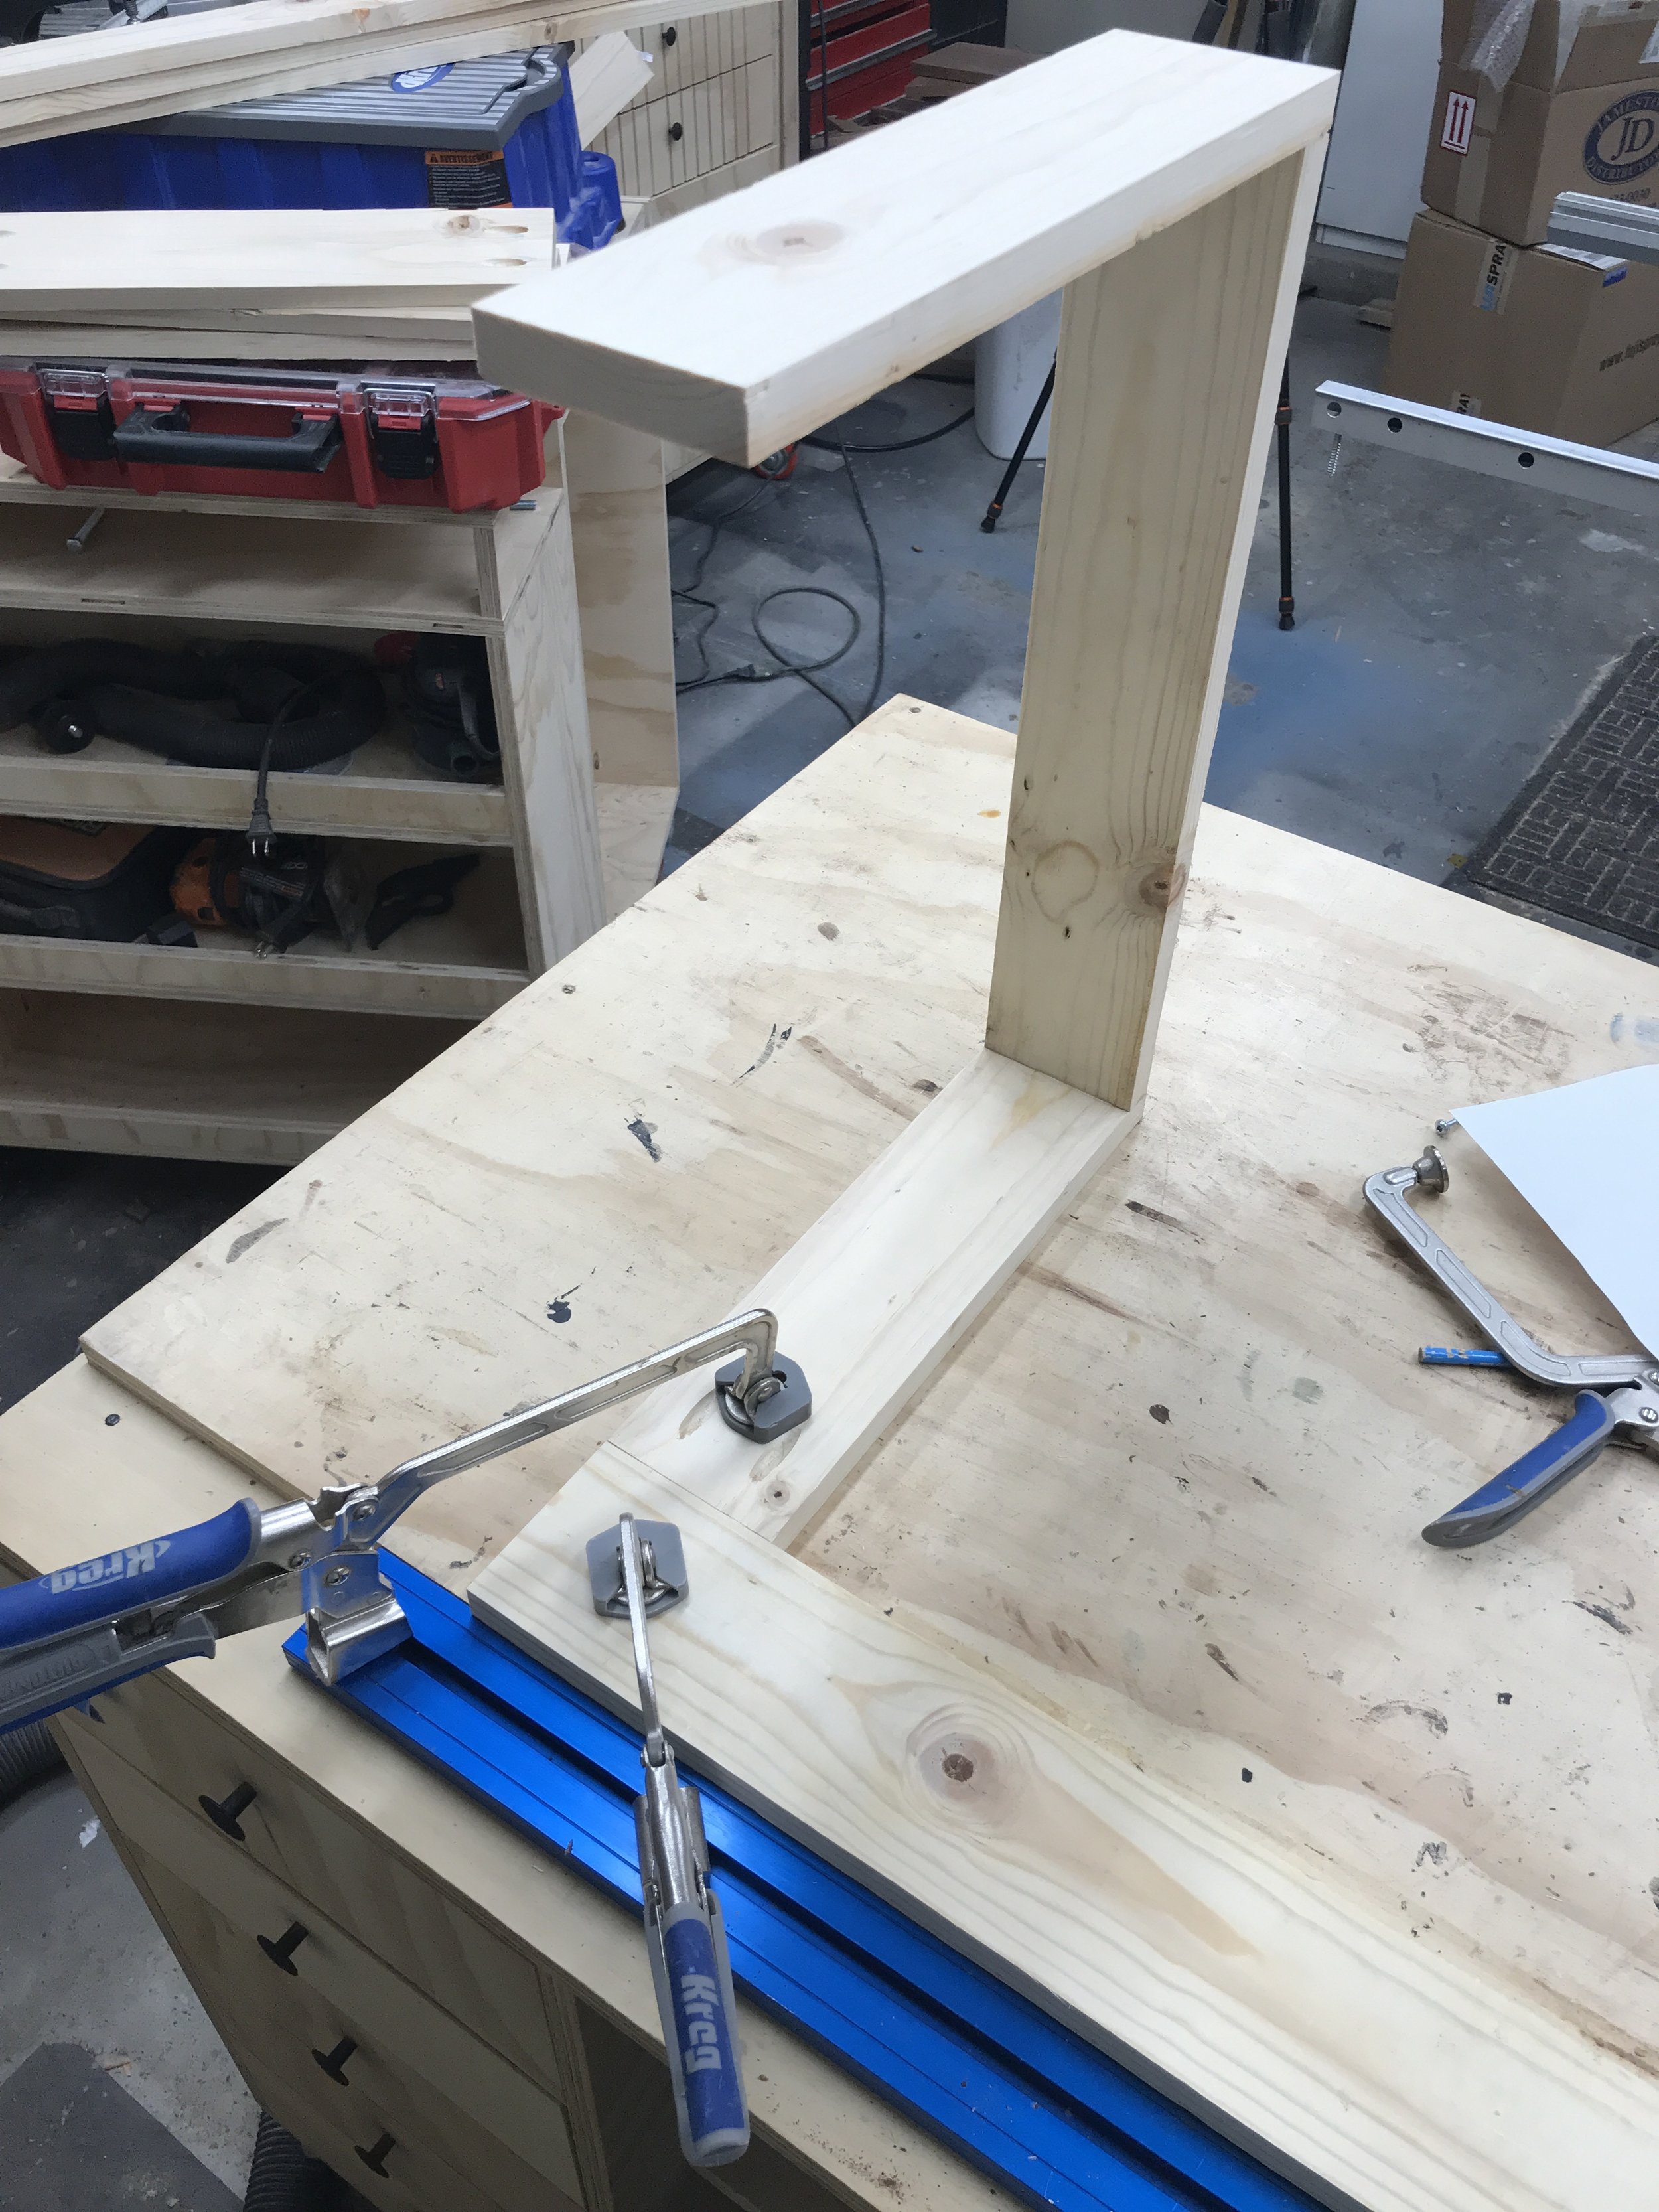
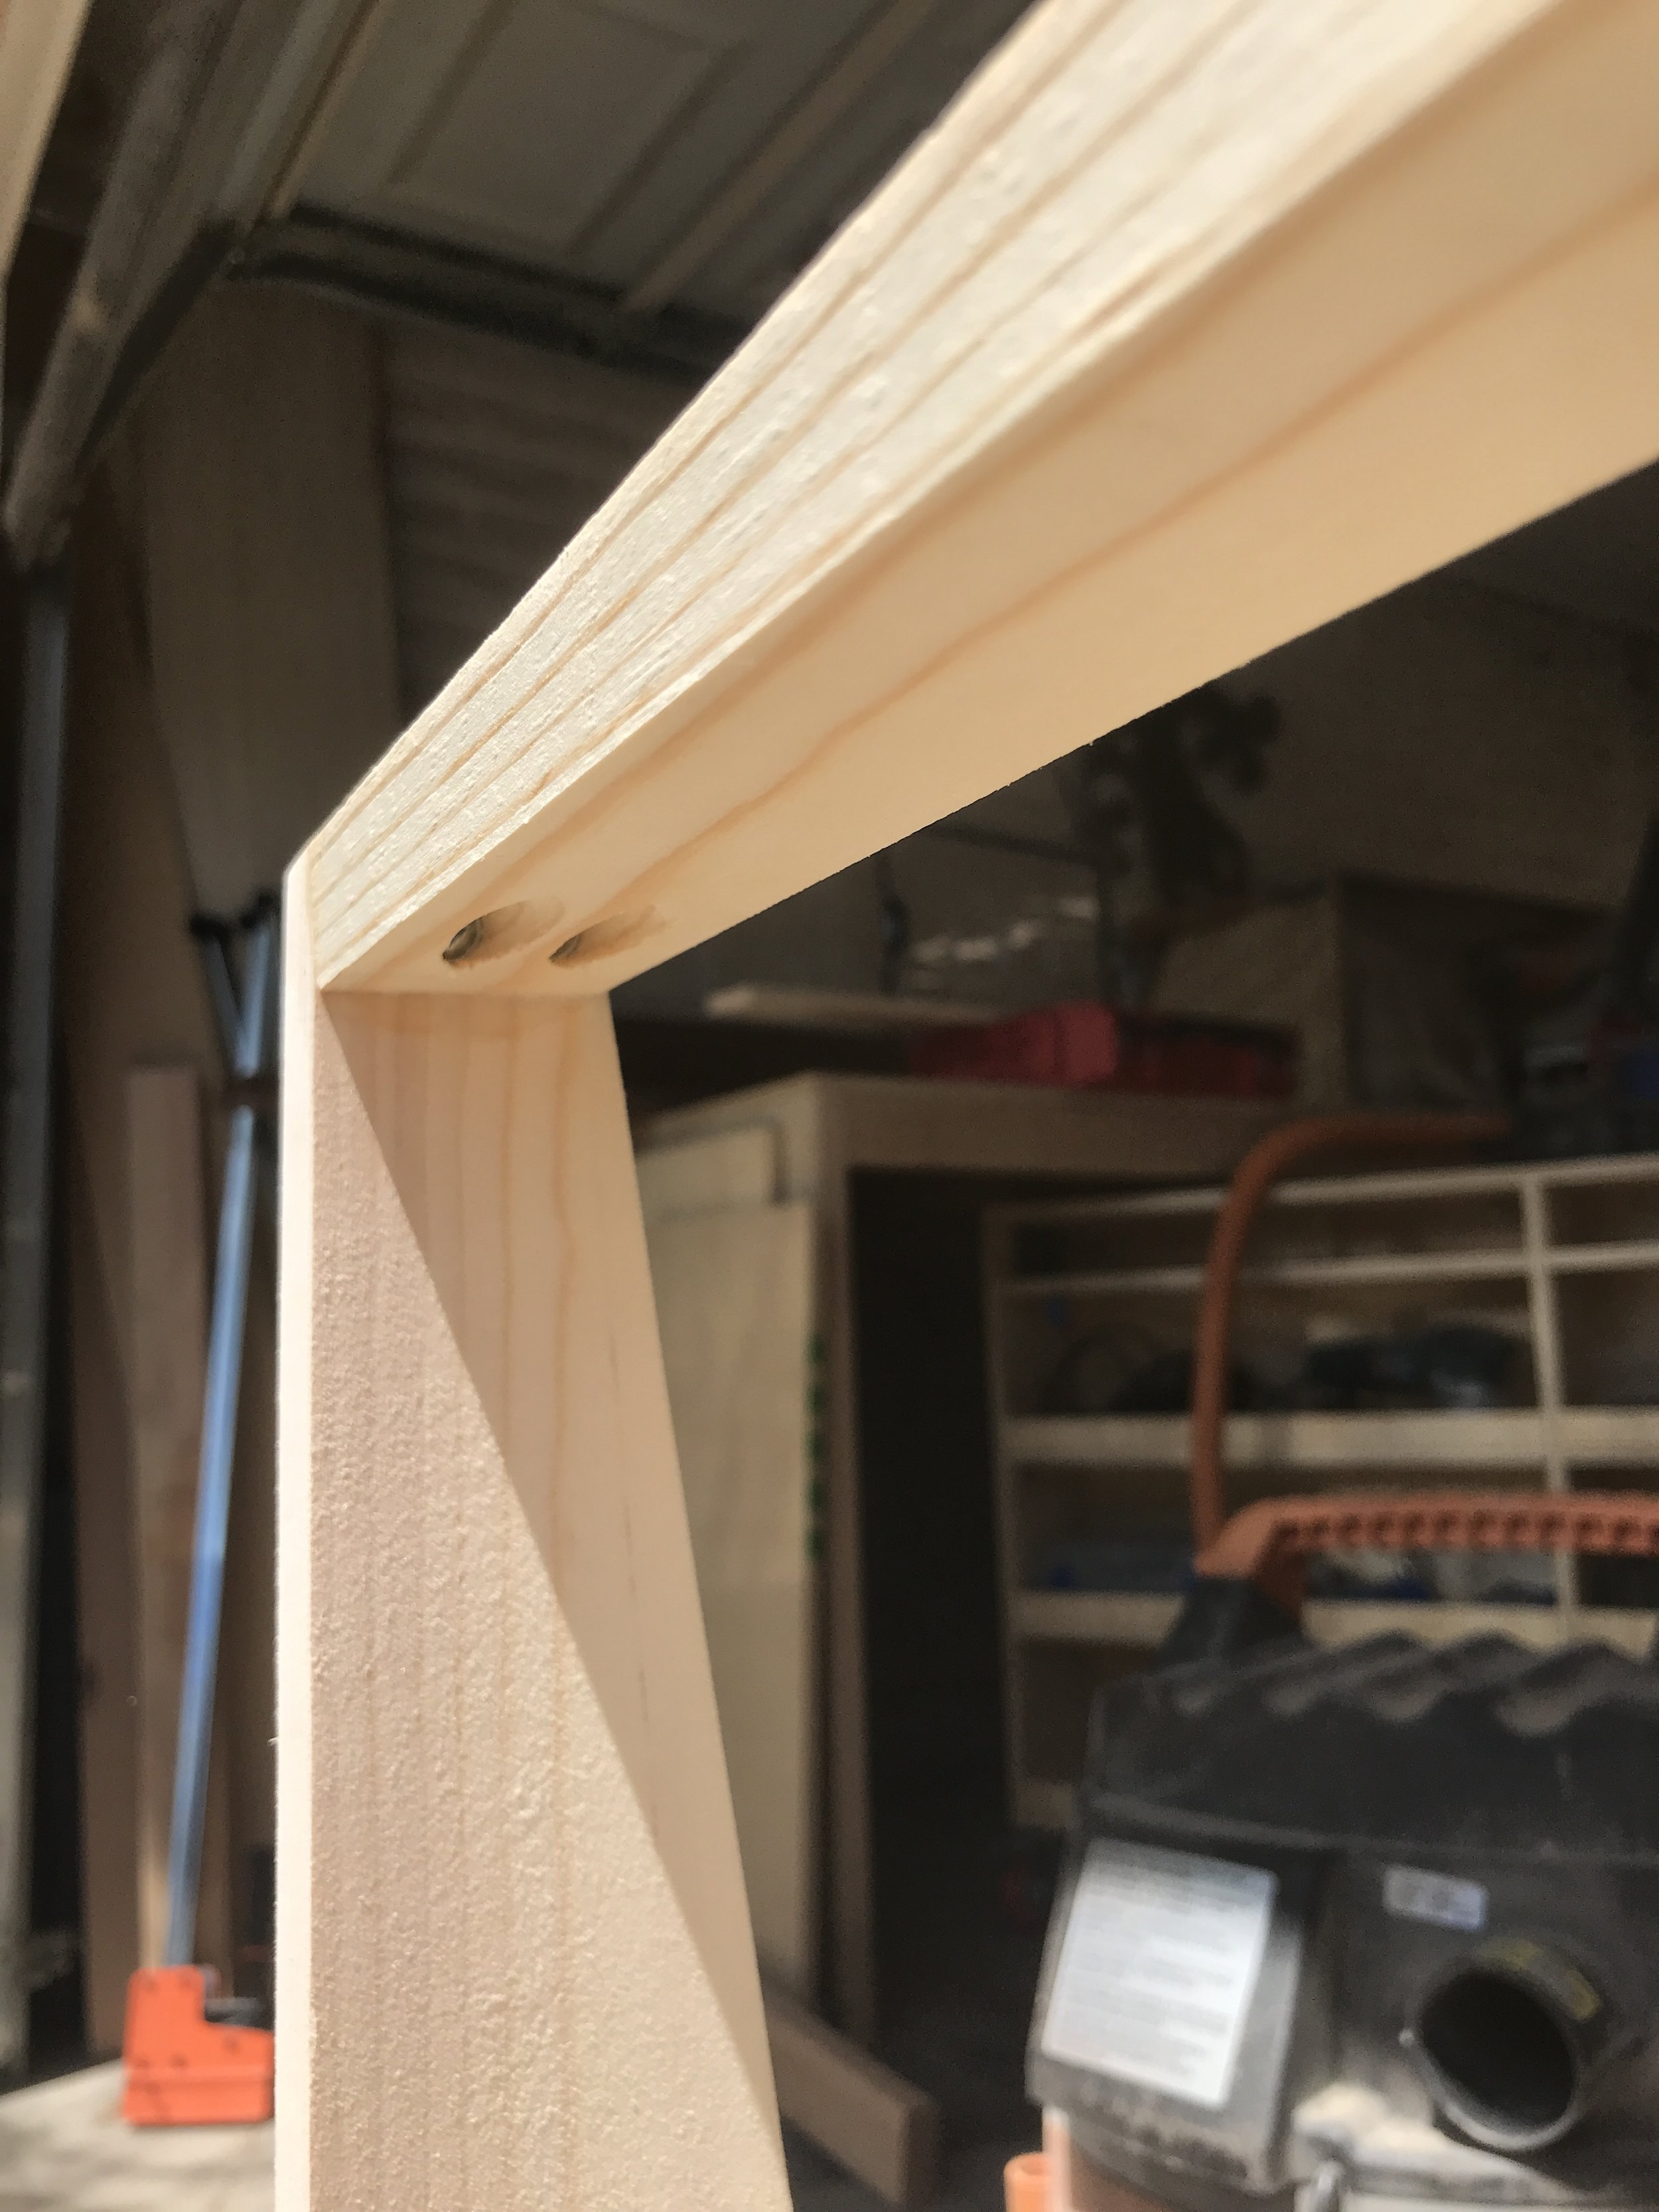
First step is to make the leg assemblies. Be sure to face the pocket holes in the direction as they are in the pics that way they aren’t seen when you are done and don’t require to be filled.
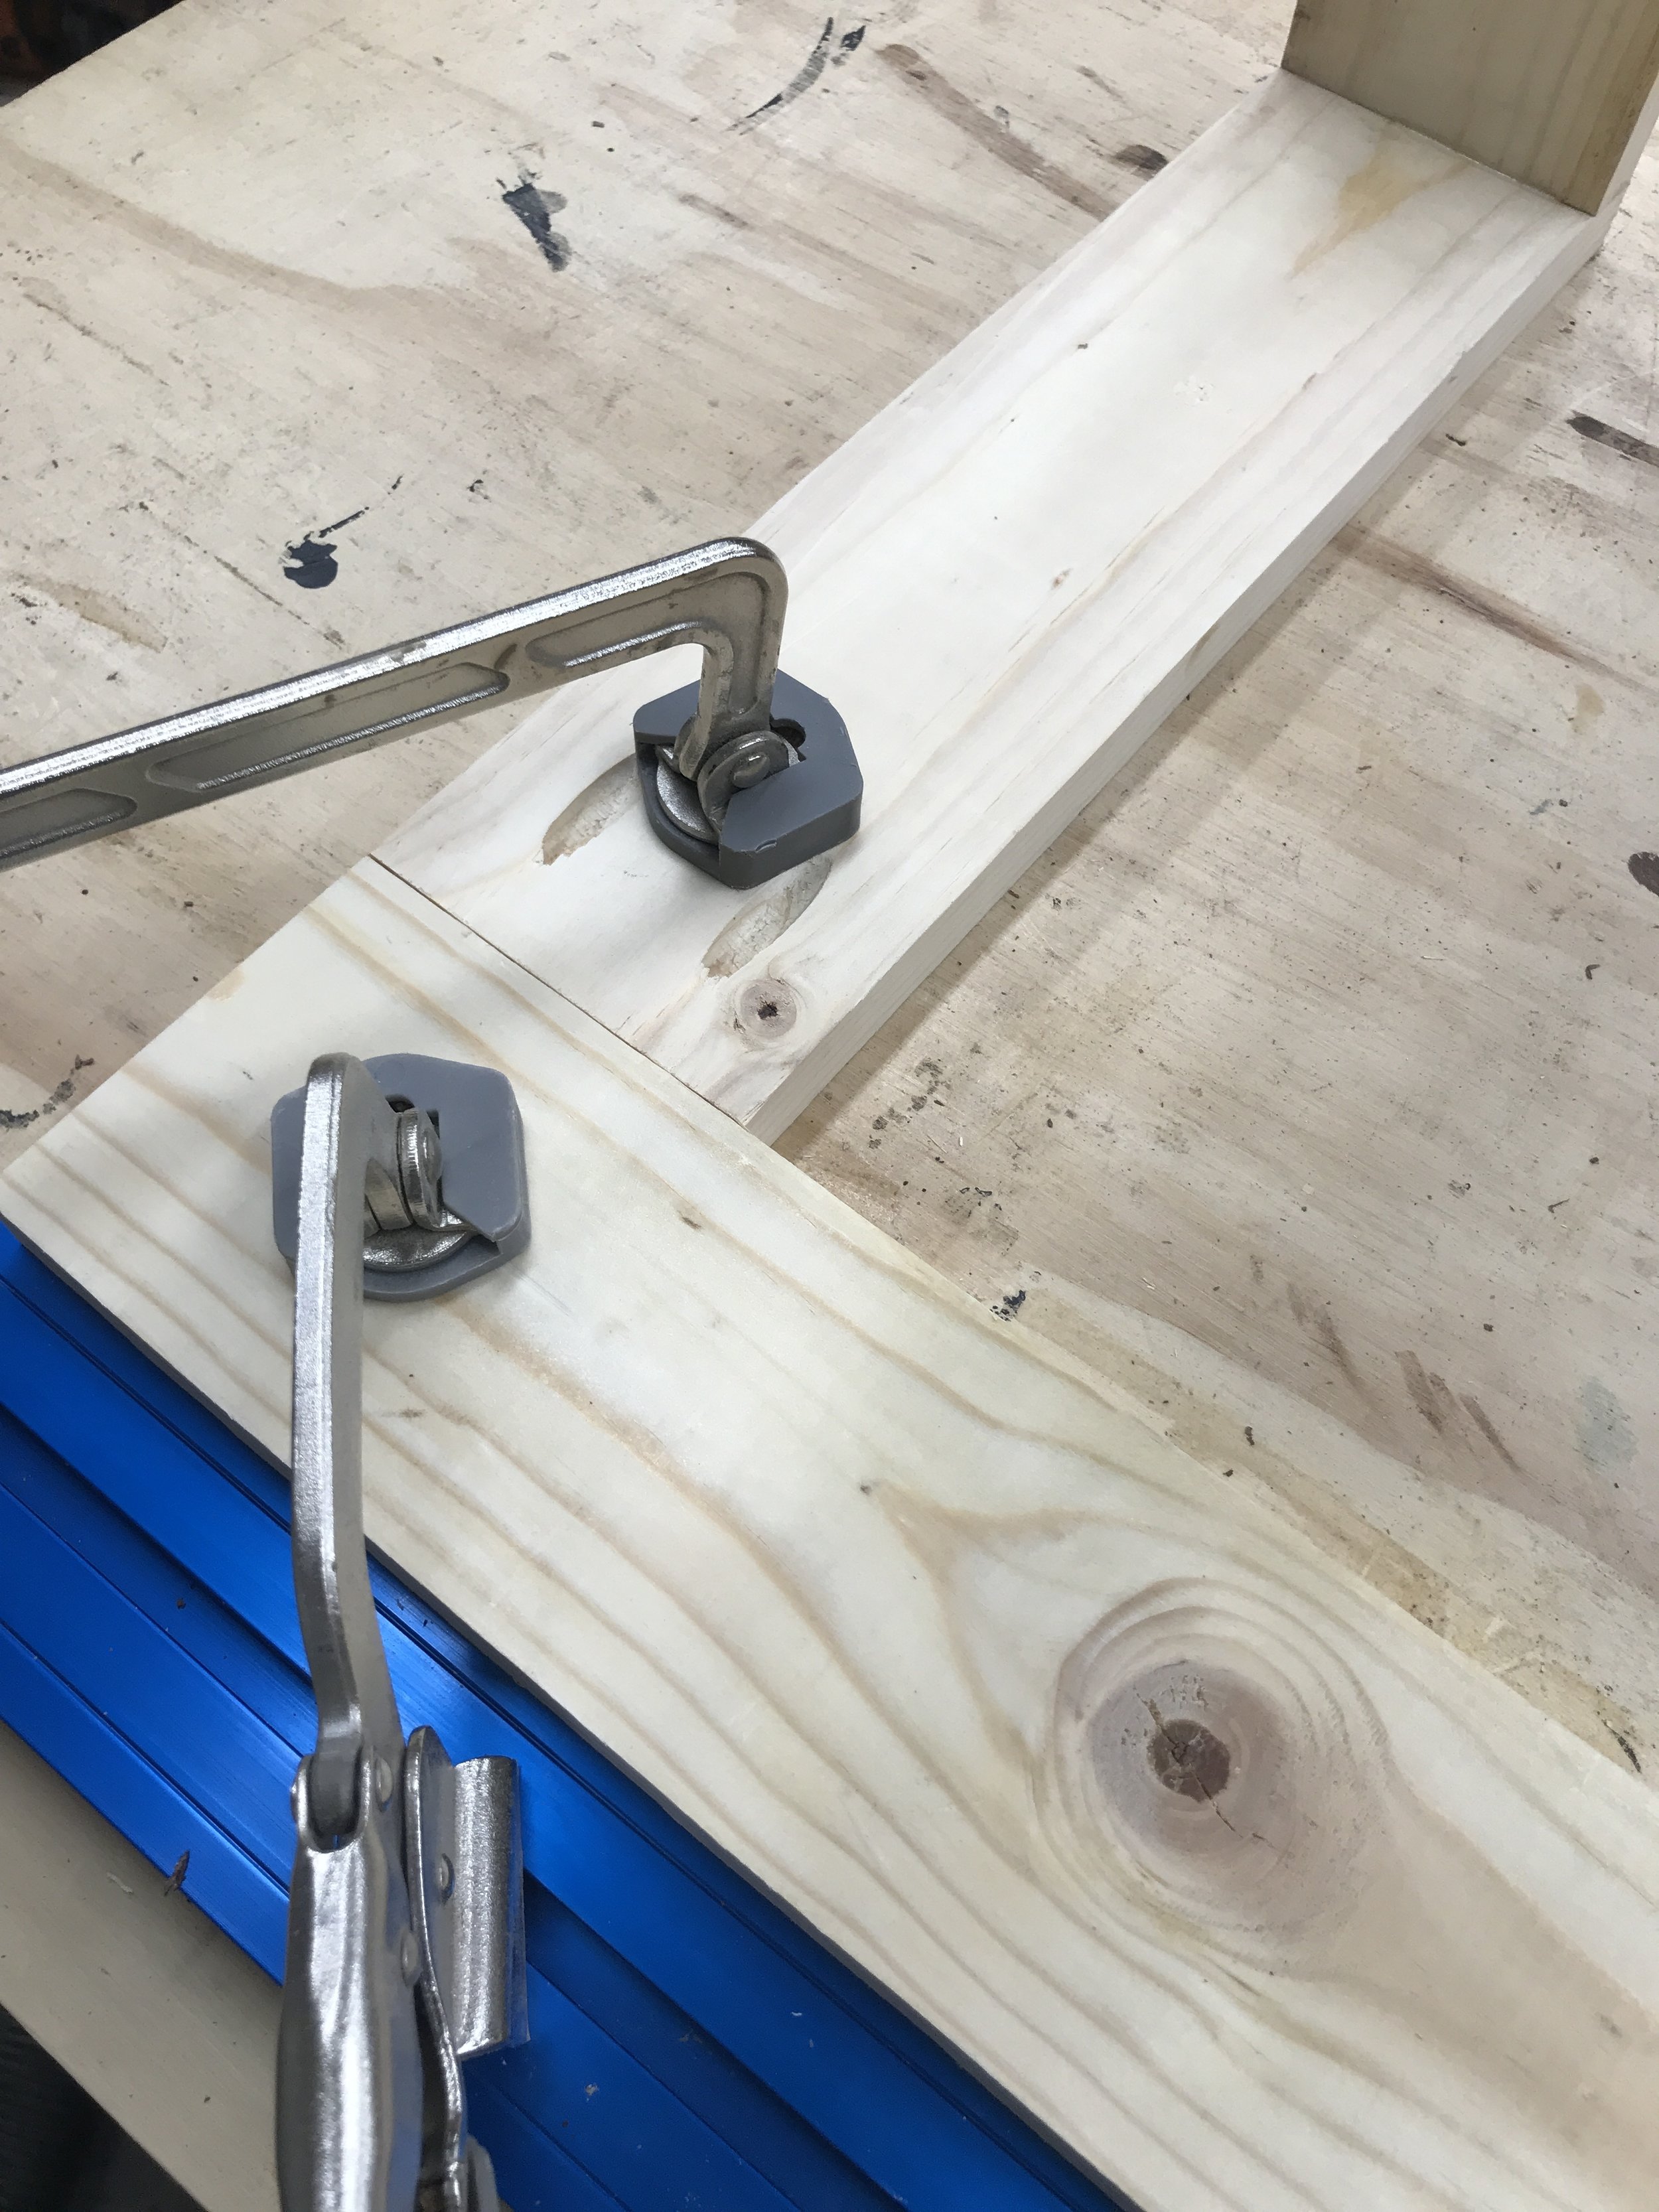
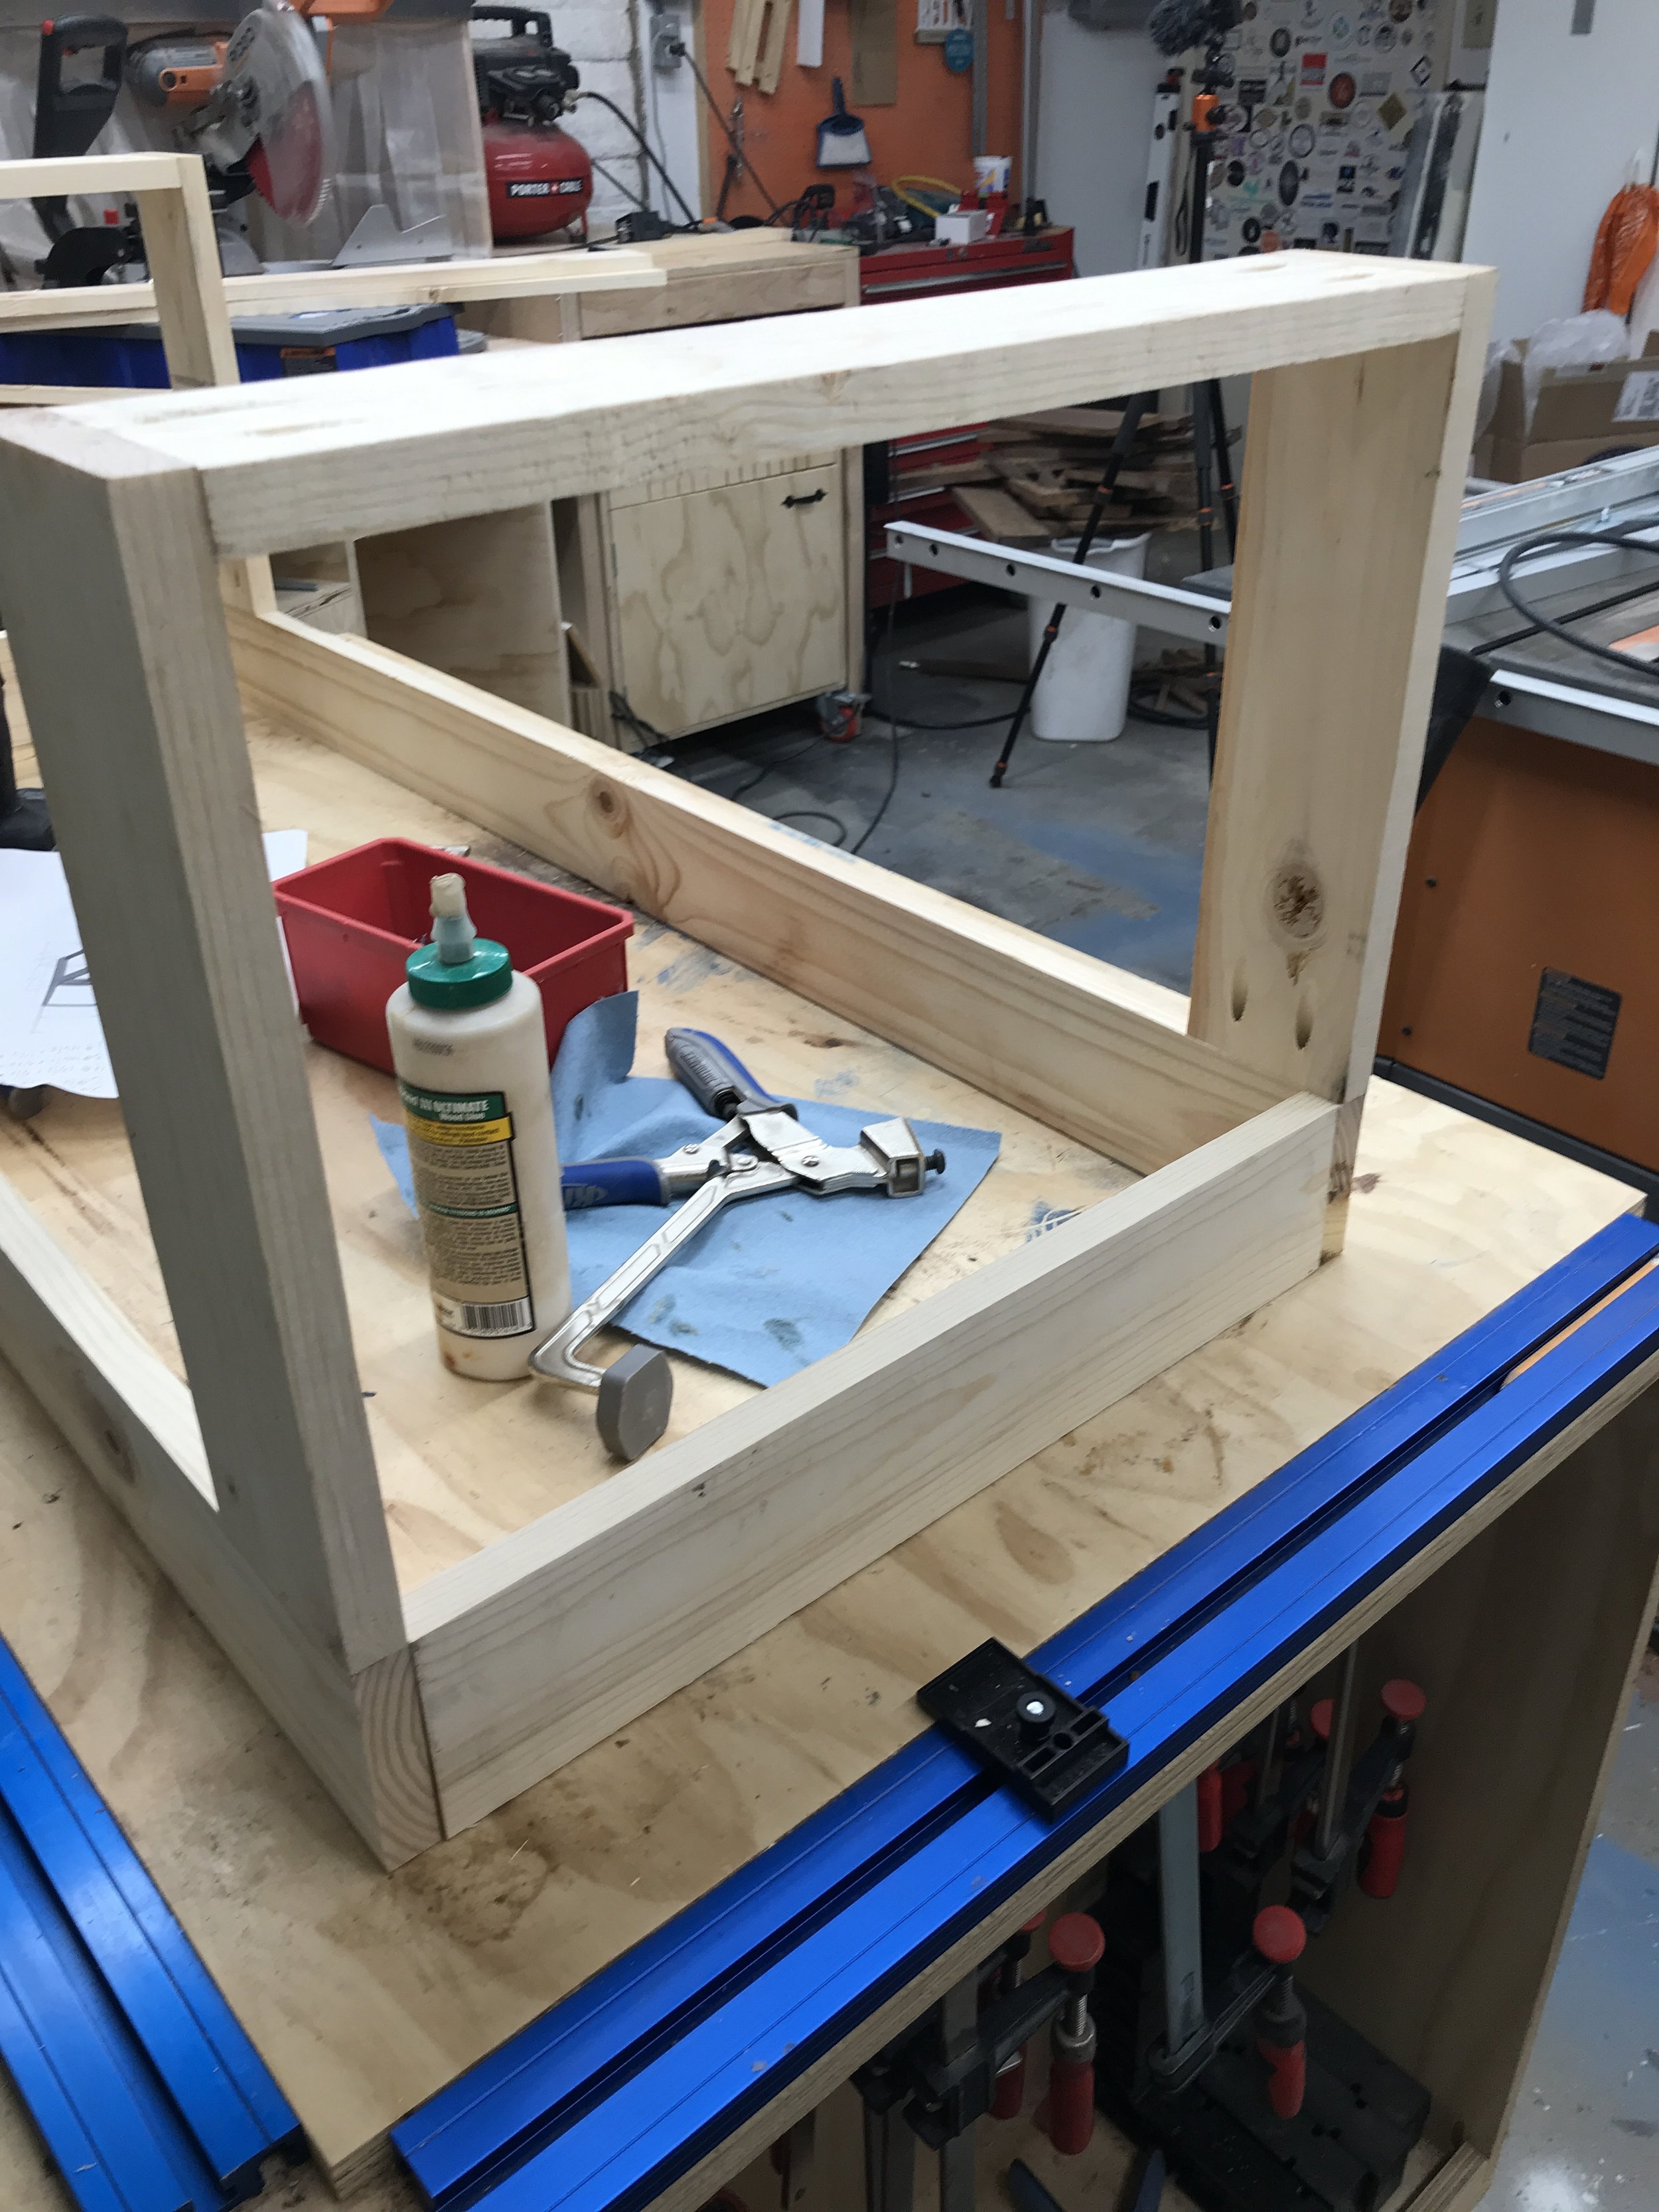
Then you add the aprons. My Kreg Trak System on my workbench makes this step so much easier. It is like having an extra set of hands!
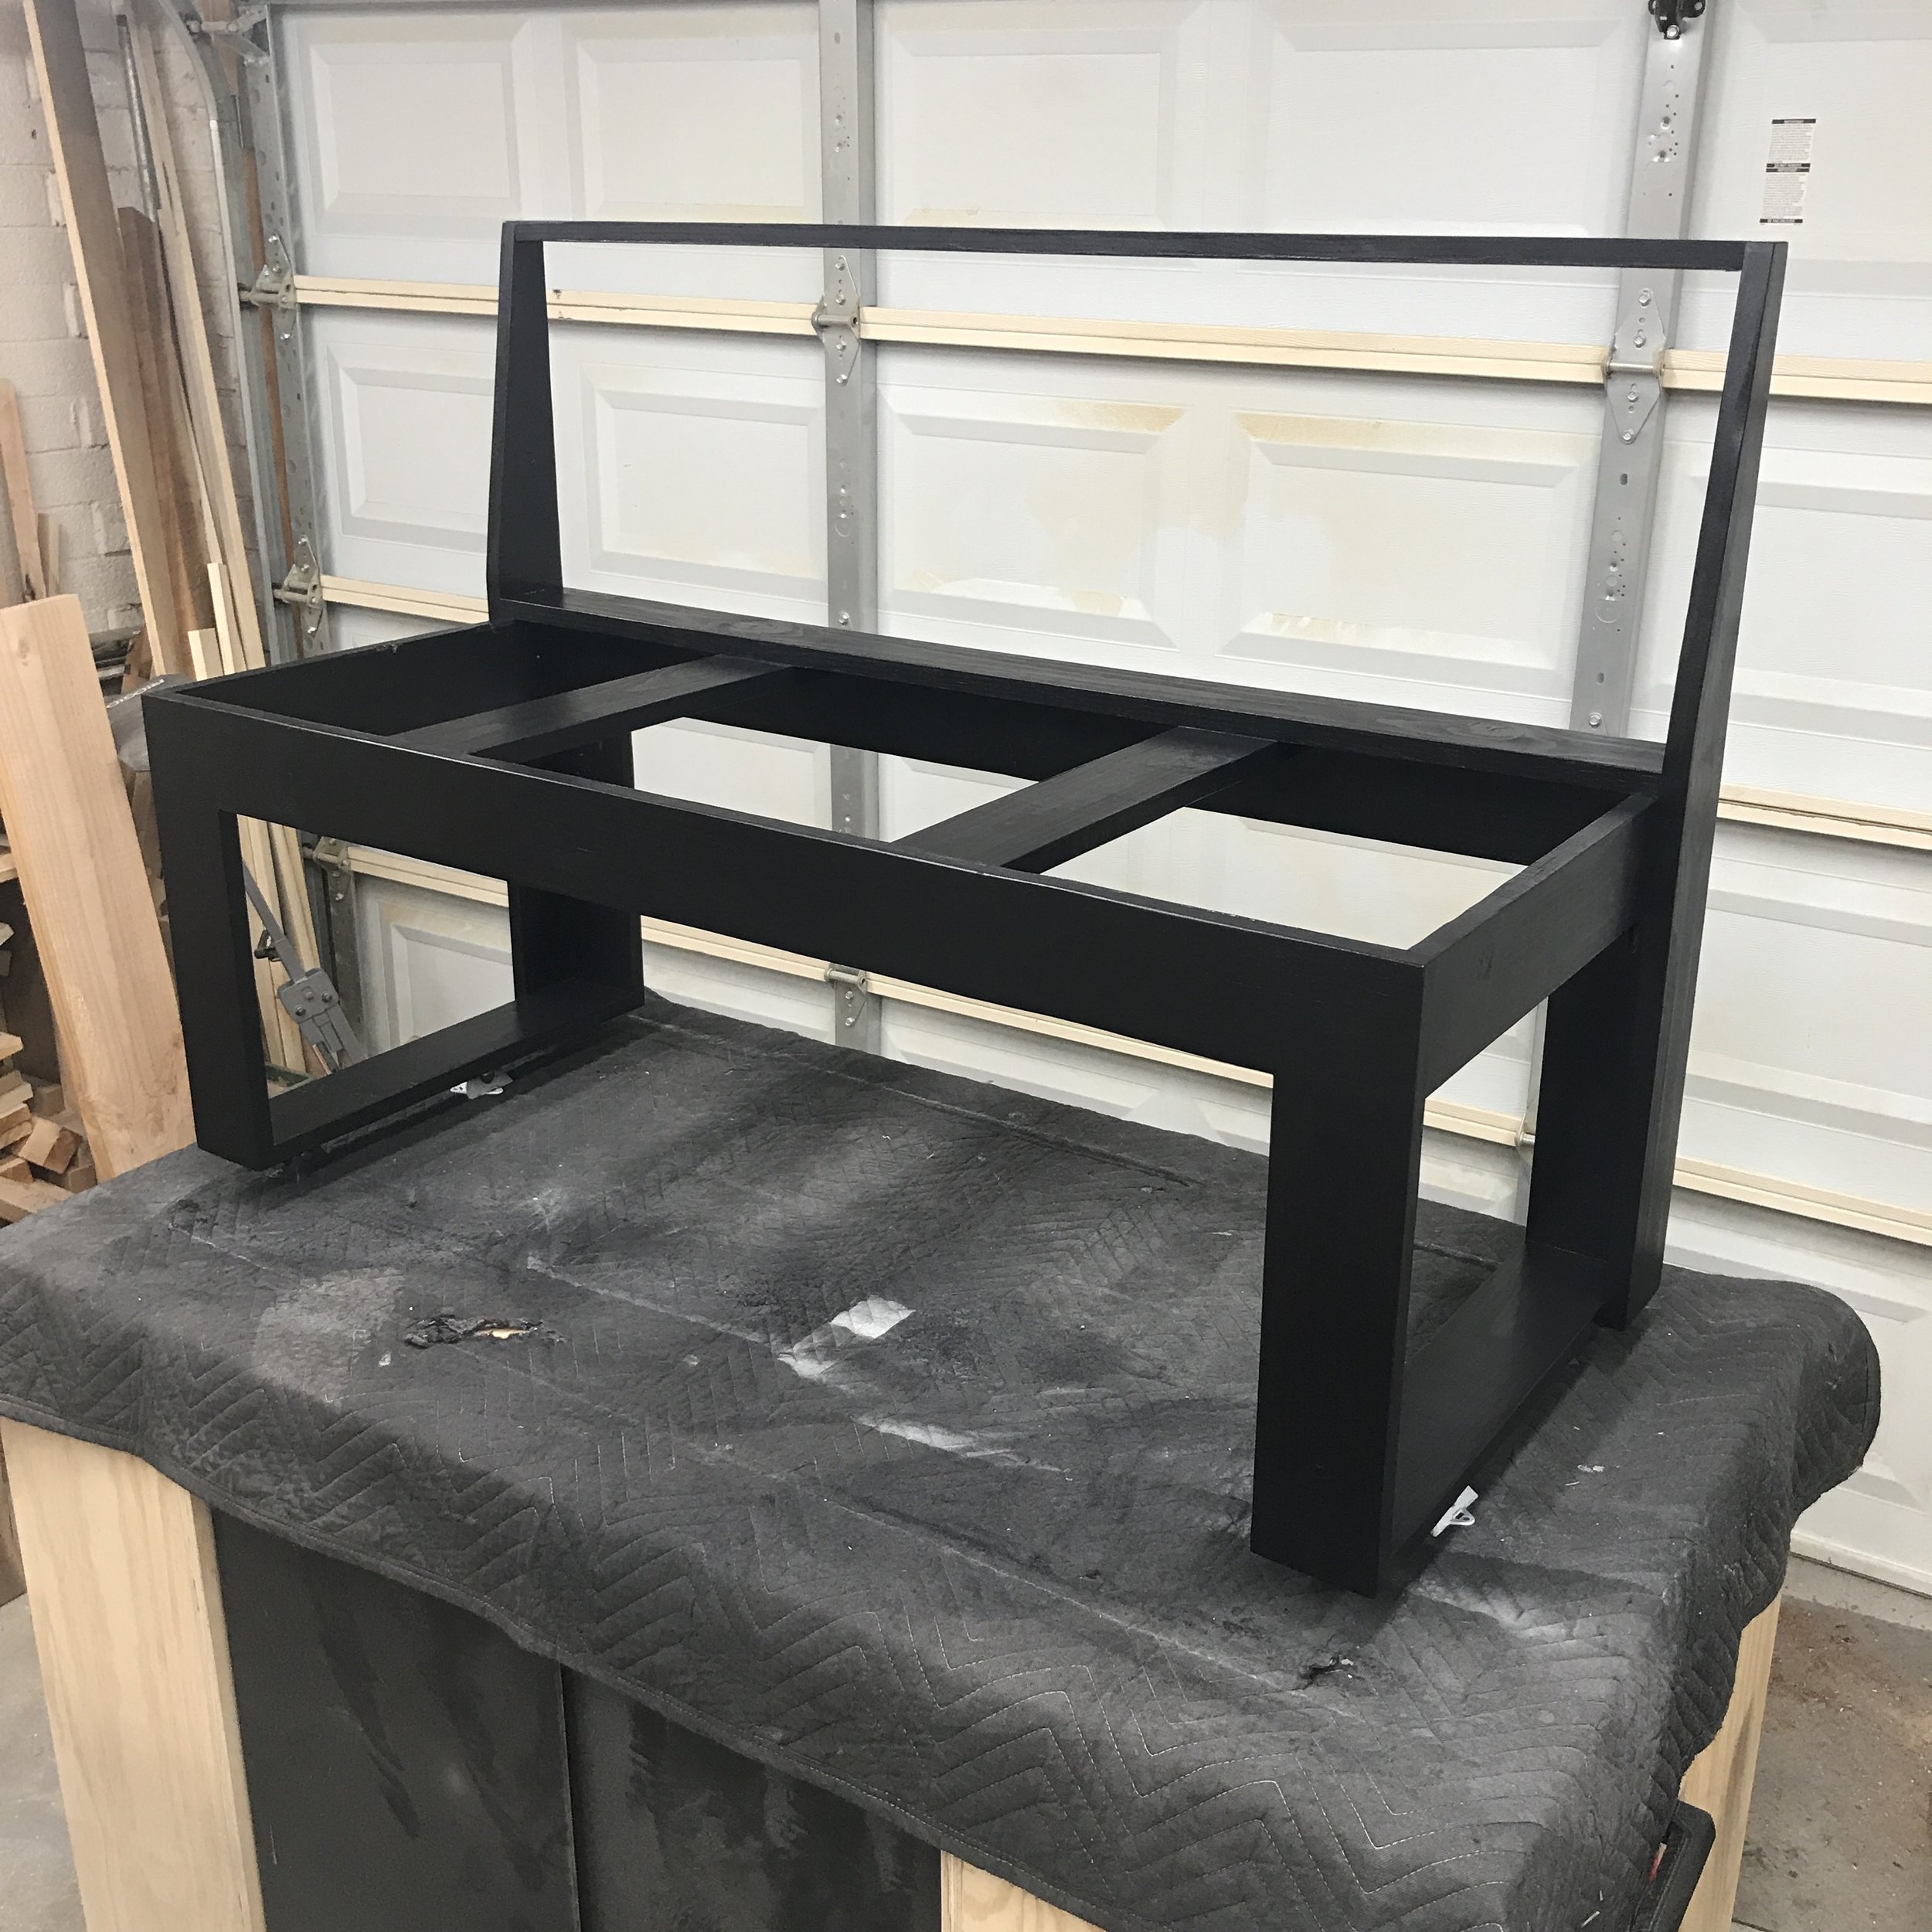
Then we can add the base supports. The two outside ones stand on end and the two middle ones should be installed flat to the bottom of the seat.
Now its time cut the taper in the back side supports. There are many ways to do this, but I thought the jigsaw would be the easiest and the fastest. So once I got the lines drawn where I wanted, I cut the first side support piece. Then I copied that line on to the second piece, cut it out and then clamped the two pieces together and sanded them flush. Now you have two back side supports ready for install.
Okay now we get to install the back side supports and to do this we also will be installing the back seat apron (not a technical term, just what I am calling it). I did this by clamping the side supports to the bench and then gluing and screwing (from the underside) the apron to the base. Having the side supports there made sure that the apron didn’t move while installing. Oh, be sure to use Titebond III or an outdoor rate wood glue if you will have your bench outside like me.
To install the side supports, I hide pocket holes on the bottom of the back seat apron and then on the bottom of the feet. I also added an additional screw from the inside directly thru base and into the side supports.
Last piece to add to complete the base is the back stretcher. A couple of pocket holes, some wood glue and you are good to go.
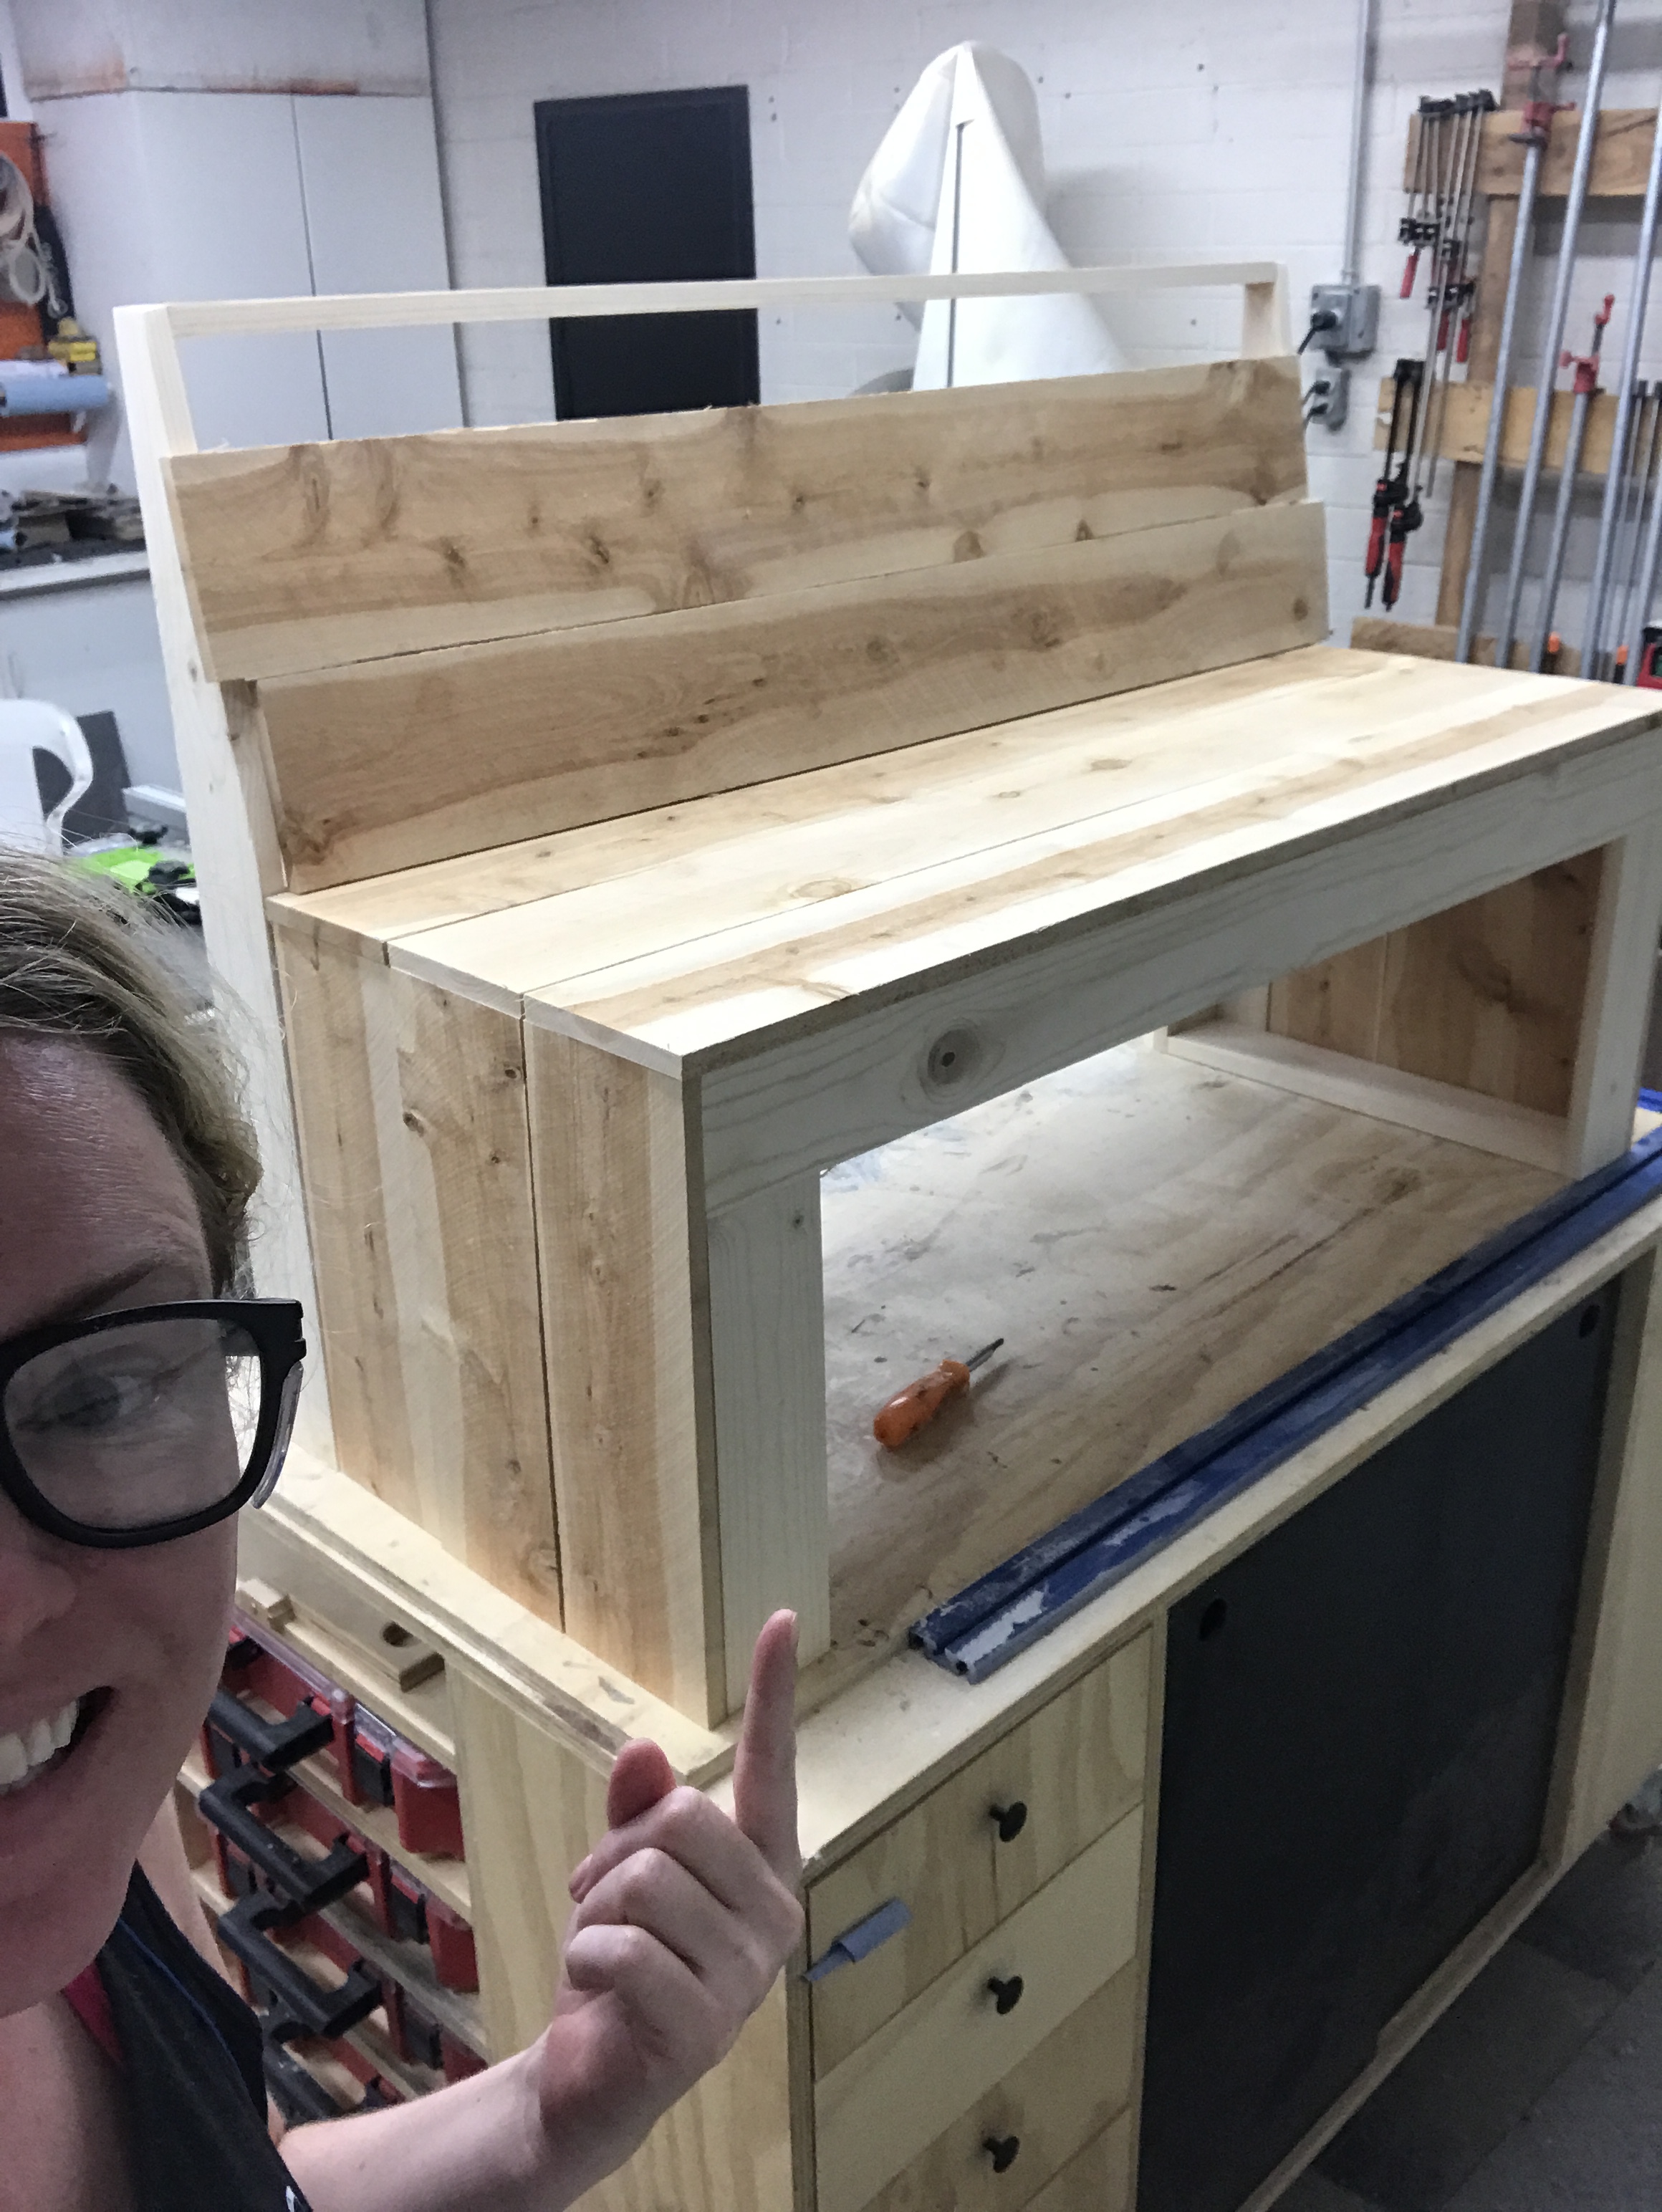
So at this point, I decided to cut out and dry fit all the cedar slats but not install them. Once I was good with how they fit I sanded both the base and the slats, finished them and then installed them using 1 1/4” 18 ga brad nails.
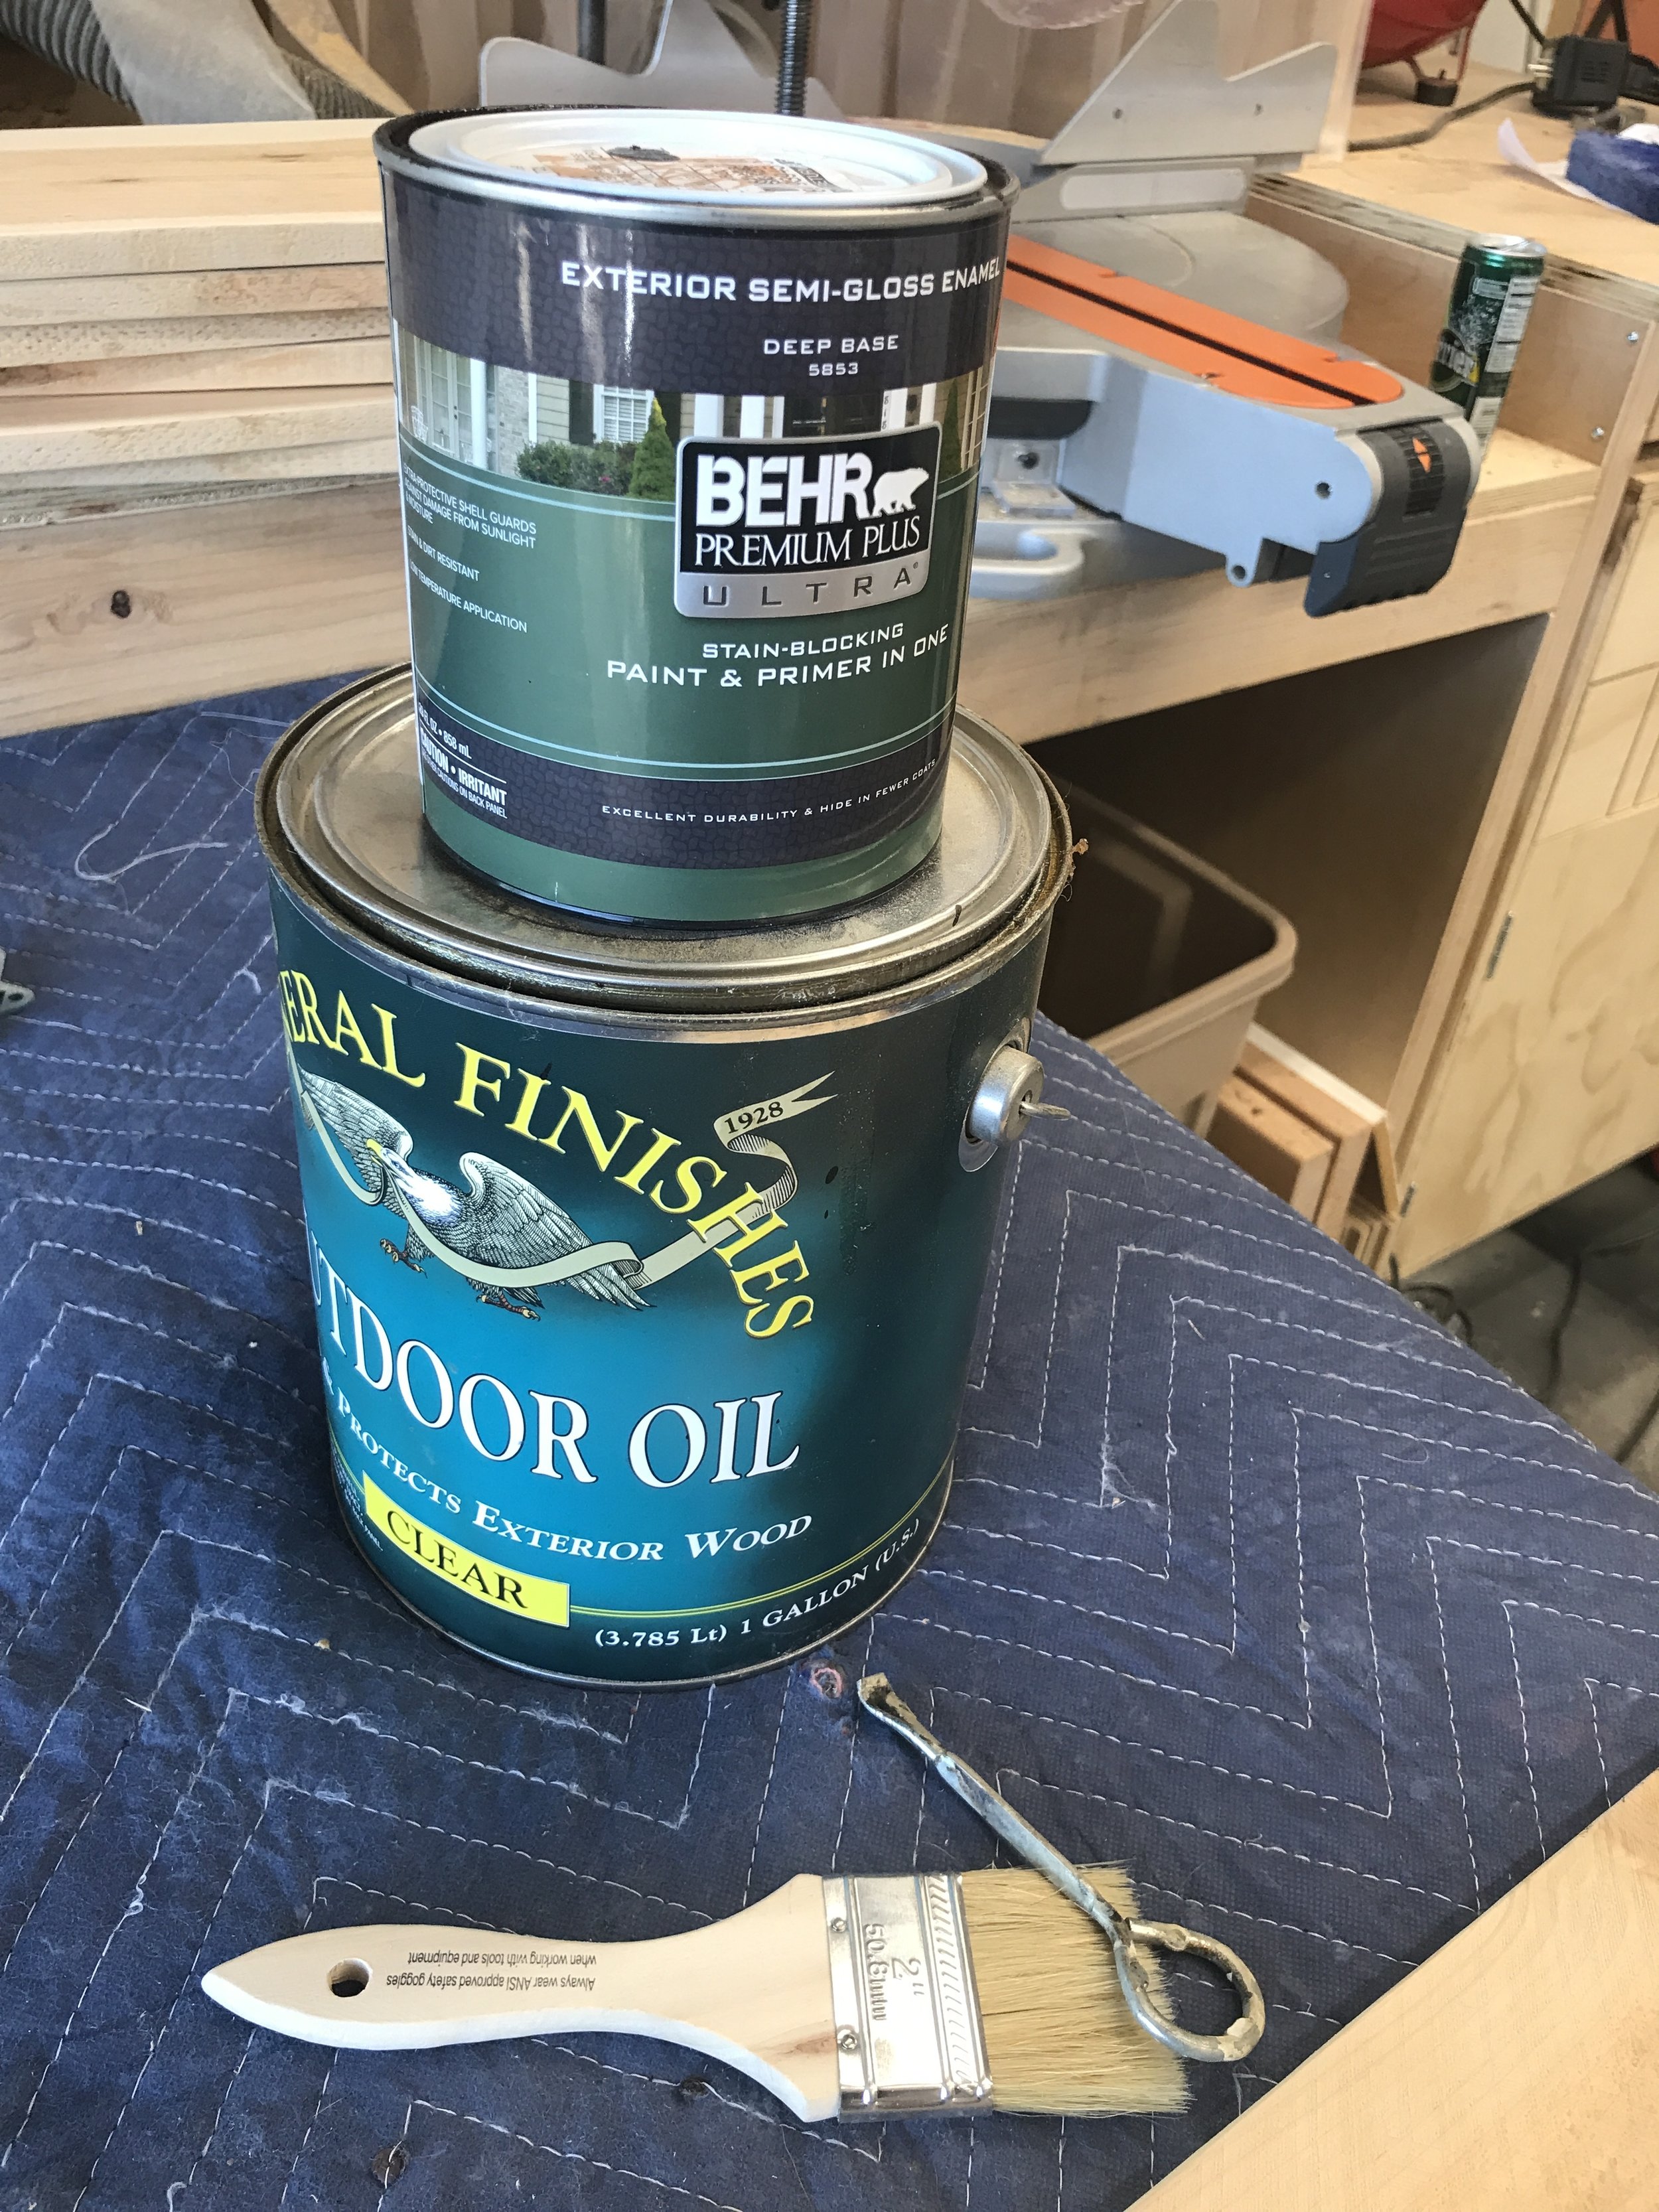
I designed this bench for a two tone look and it makes it so much easier to get a good finish if you do the finishing before attaching the slats. And because this was going to be an outdoor bench I wanted to make sure every inch of it was covered or protected in some way, so I painted the base with a Behr exterior paint that I had on hand and I put Outdoor Oil from General Finishes on the slats. The bench will require maintenance down the road because the elements love to do their thing, but by using the Outdoor Oil it will be easy to reapply because I won’t have to sand off the old finish to put a new coat on. I will just need to make sure it is clean and add more oil to the slats.
And then last step for added protection from the elements was to add some rubber feet to the bottom. I did this so that when it rain the bottom won’t be sitting in standing water and rot faster.
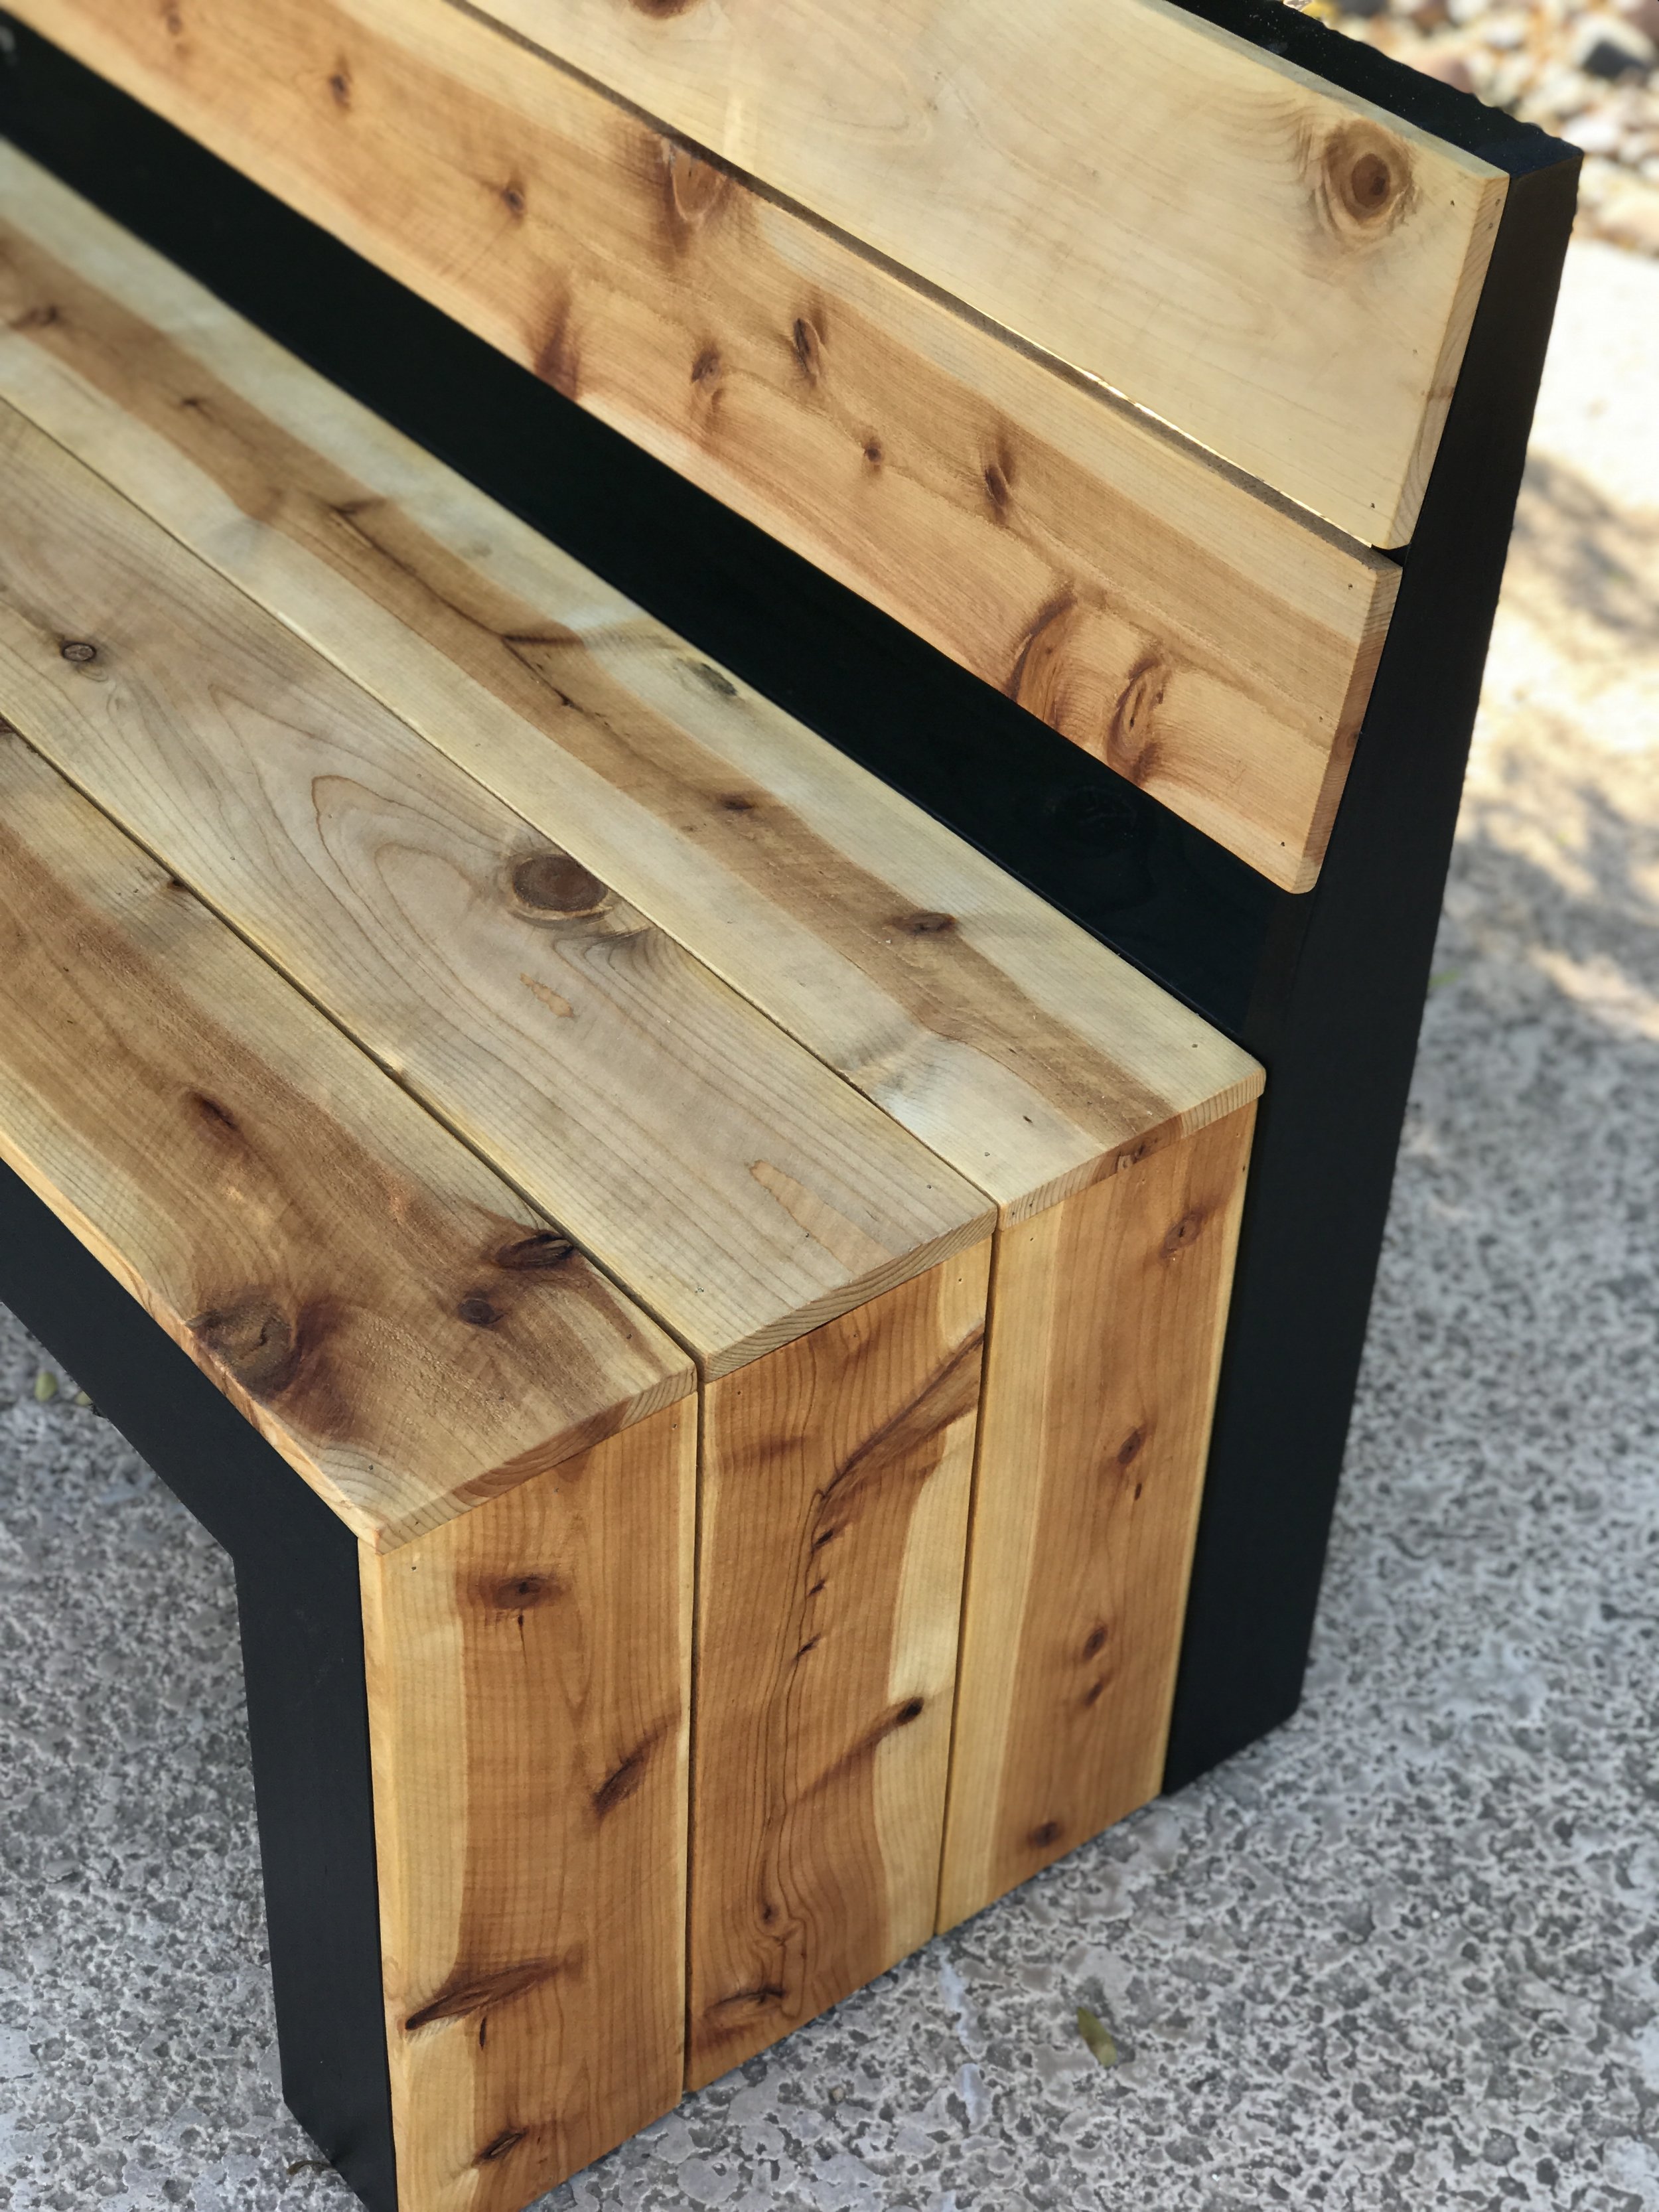
So here she be….
She is totally twinning with Oscar and hence gotten the nickname “The Oscar Bench”.
I hope you love her as much as I do. And if you do, I have great news…. I am offering plans to build her in my shop. They come complete with:
Dimensions
Shopping List
Tools List
Cut List
Cut Diagram
and Step by Step Instructions with Pictures
But not only that, if you purchase the plans I am also including a BONUS… the Dimensions, Shopping List, and Cut List to my backless version of the DIY Modern Bench.
Yup, that is right… two plans for the price of one!
If you end up building one of these benches I would love to see how you finish it and put your spin on it, so please tag me in your work and/or use the #BuildingAwesome!
Thanks for being a part of #TRIBEAWESOMEORANGE! Until next time keep Building Awesome!
Sadie Mae


