Best Finish For Pine Furniture
Should you stain pine? Should you paint it? or do a combination?
Well I recently built a floating bar cabinet from some Ikea Ivar cabinets, added some beading to it and really didn’t want to mess up the finish. So I wanted to weigh all my options to make sure I got the perfect finish.
Since pine is a soft wood it tends to get blotchy with stain. You can use a pre-stain conditioner before applying wood stain and that does help prevents some of the blotchiness. But I wanted to try something I haven’t tried before… a paint wash finish. And well I think I might have found my favorite finish for pine!!!
This post is NOT sponsored. All opinions are my own. This post DOES contain affiliate links. For more information on my affiliate programs, please see my DISCLOSURES page.
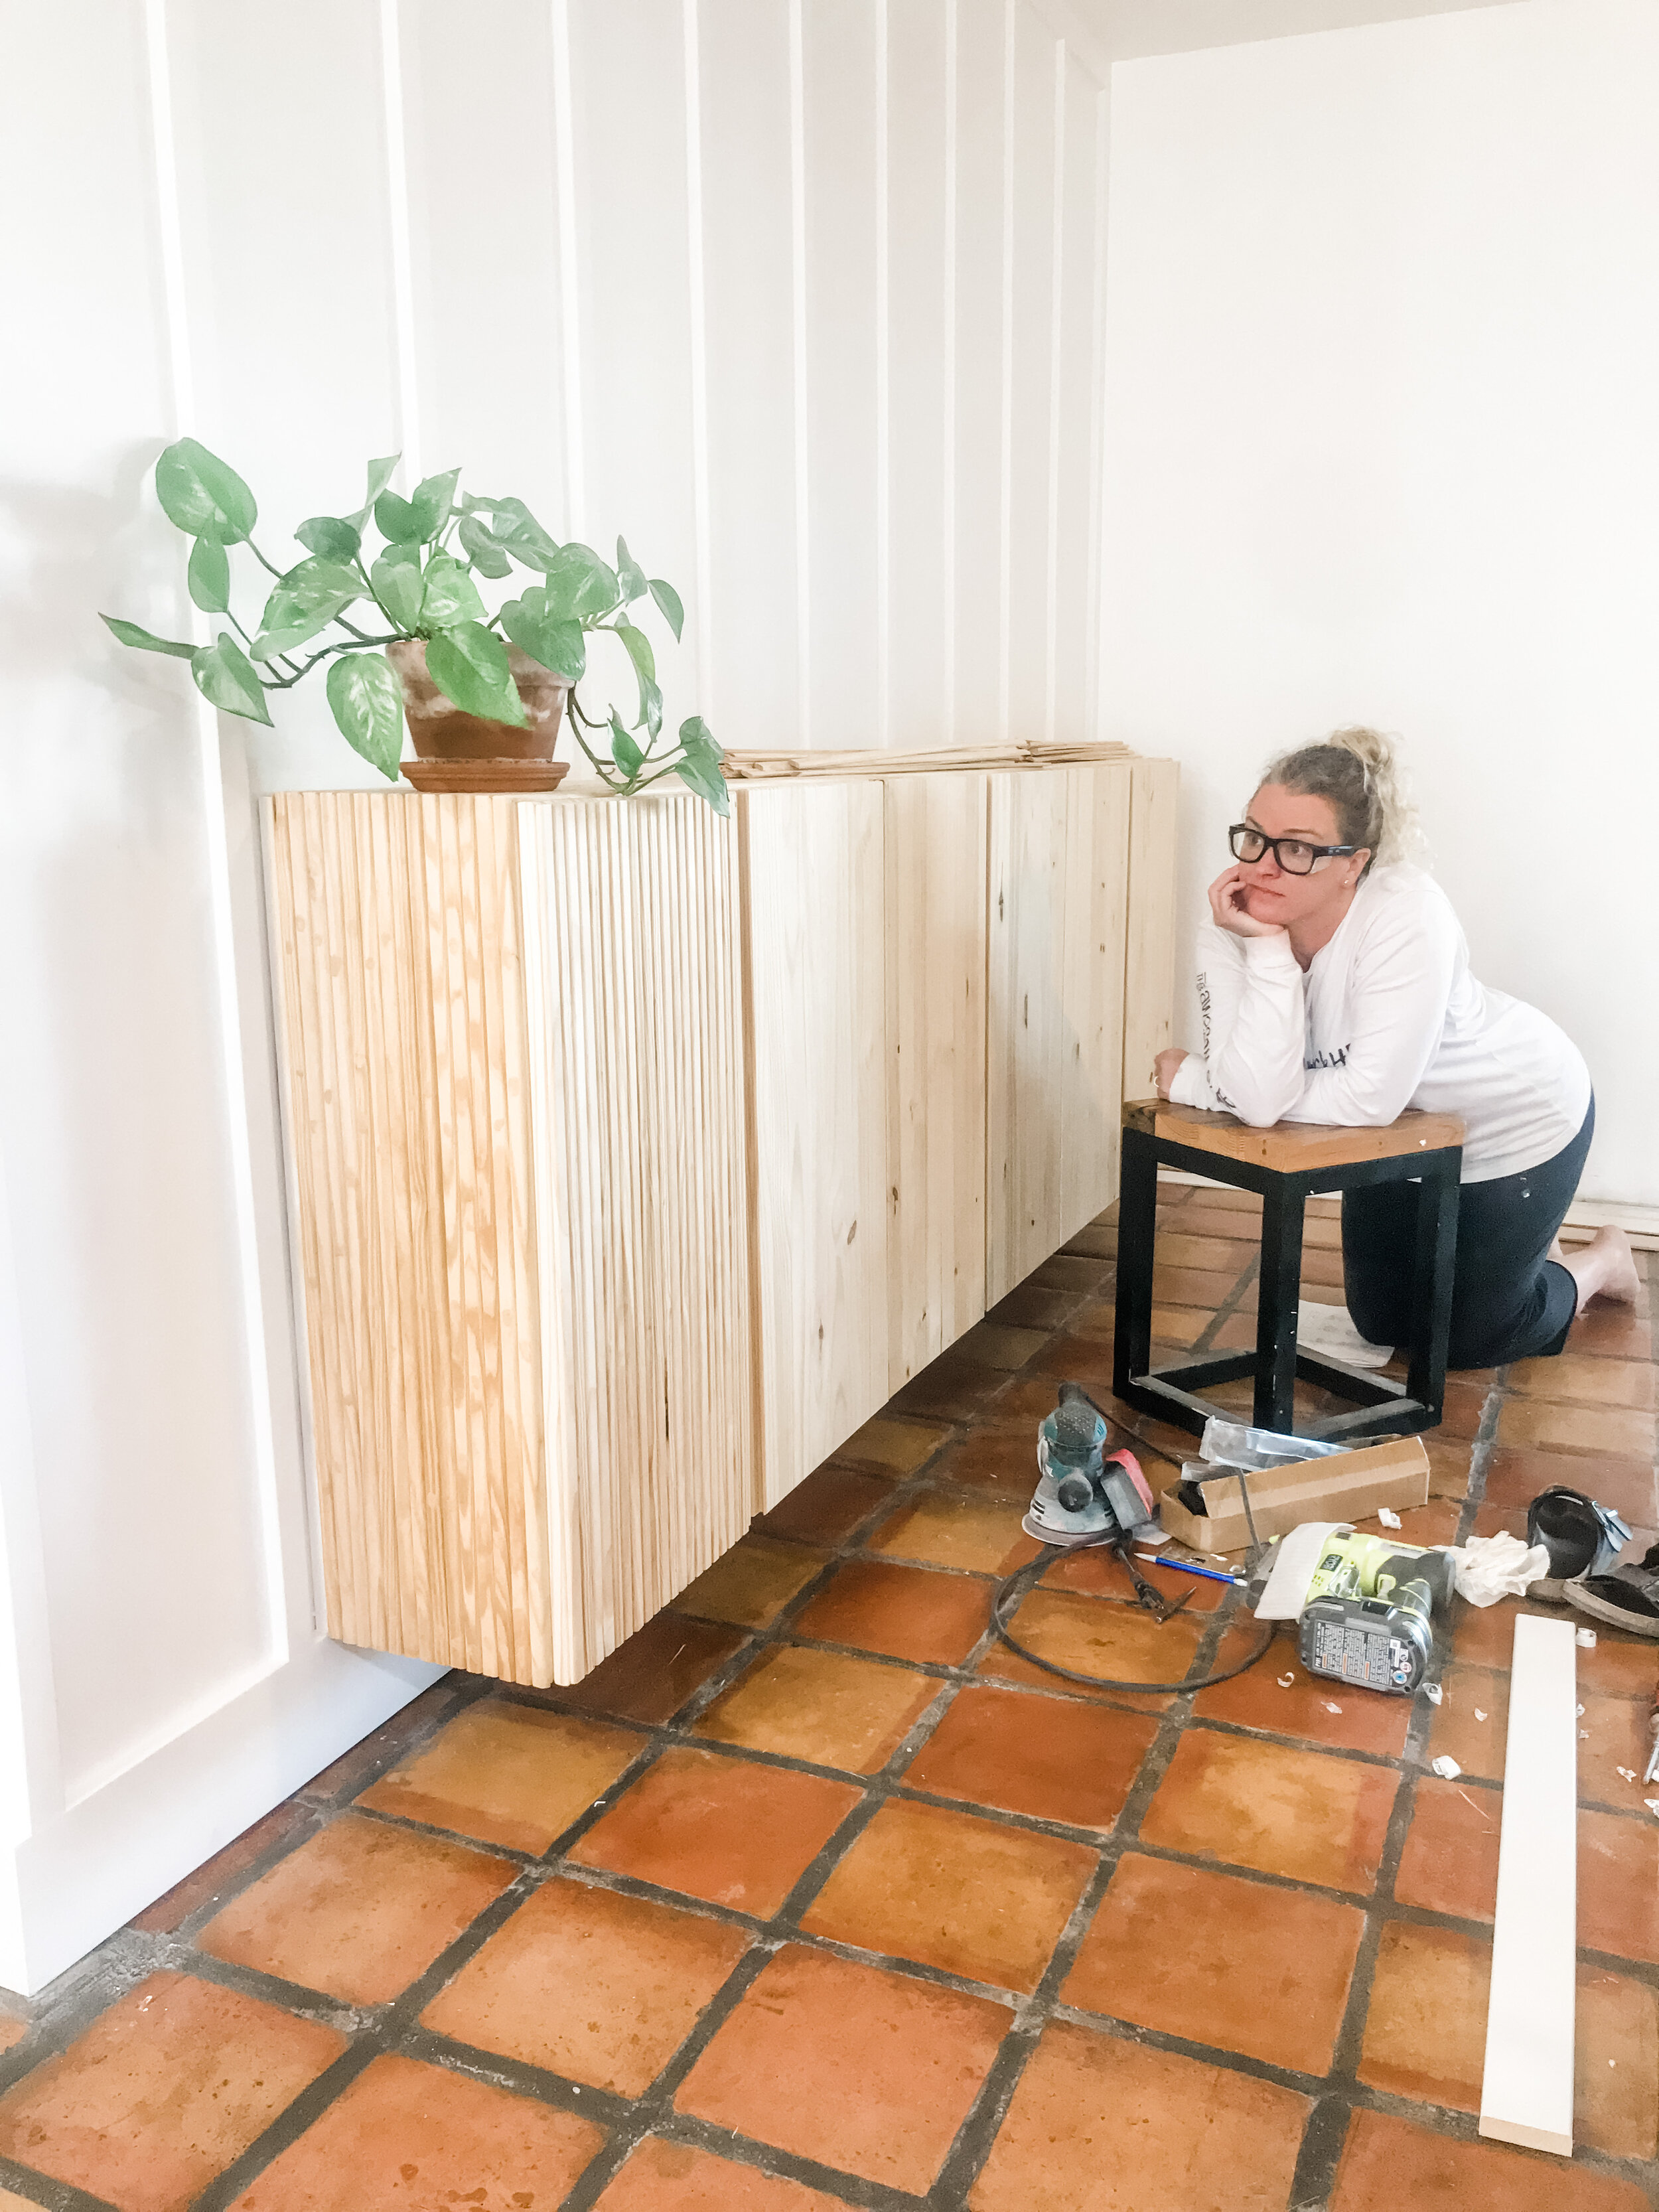
Cabinet’s before the beading was added.
Pondering my finish choices!
What is a paint wash finish? Basically it is thinned down paint, in my case acrylic paint, with water. I like the paint wash because you can control the exact tone of the wood, plus you can still see the wood grain!
I tried over 12 combinations of stain with pre-stain conditioner, different ratios of paint wash mixtures and paint washes and stain combos.
So many samples!
I also made sure to look at those samples in the room where the piece is going and with the other things nearby. In this case the hardware is going to be black and I have saltillo flooring and white board and batten around the piece. The saltillo tile is very rustic and full of color, so I didn’t want the bar cabinet to be too busy. That is another reason I went with the paint wash… it evens the wood out and gives you a consistent color throughout.
Narrowed it down to three… always be sure to test samples in room where piece is going to be going.
It was such a touch decisions and really it comes down to personal preference, but I ended up going with a combination of both!
I think I found the winner!
I mixed white and burnt umber (brown) acrylic paint to get a color I liked. Then with that color mixed well I added 1:1 ratio water to paint. Or a 50/50 mix.
These are the two colors I mixed plus about 50/50 with water.
Here goes nothing!
Creamy!
Then I used a chip brush and applied the paint wash to the wood. It was super simple. Just be sure to paint it on in the direction of the wood grain and be generous with the application, so that it doesn’t start to dry during application and give you lap marks. Once it is applied to the whole piece or section you can wipe off any excess, similar to applying stain.
First I applied the paint wash and then a natural stain on top.
To watch me stain this piece, check out my YouTube Channel!
Then once the paint wash mixture was dry I decided I wanted to add a coat of natural wood stain. I am not sure that this really did anything once it was all dry, but the little change it did make I liked. And then once everything was dry I went back over the piece with 2-3 coats of a water based polyurethane. And well I think I came up with the best finish for pine furniture!
These pictures really don’t do it justice, because you can’t see the wood grain as much as you can in person. But I am stoked with the way that this cabinet came out! If you want more details on how I hacked these Ikea Ivar cabinets and made this AWESOME floating bar cabinet, check out the details here… DIY Beaded Floating Console - Ivar Ikea Hack!
I love how it came out!
I think Oscar likes it!
Paint wash on pine furniture!
I’d love to hear what you think of the finish in the comments below! Thank you for following my building journey. Remember Build LOUD, Build WILD and have an AWESOME day!
Sadie Mae
Can’t get started right now? PIN it and save for later!


