Guest Bedroom Makeover - Before & After
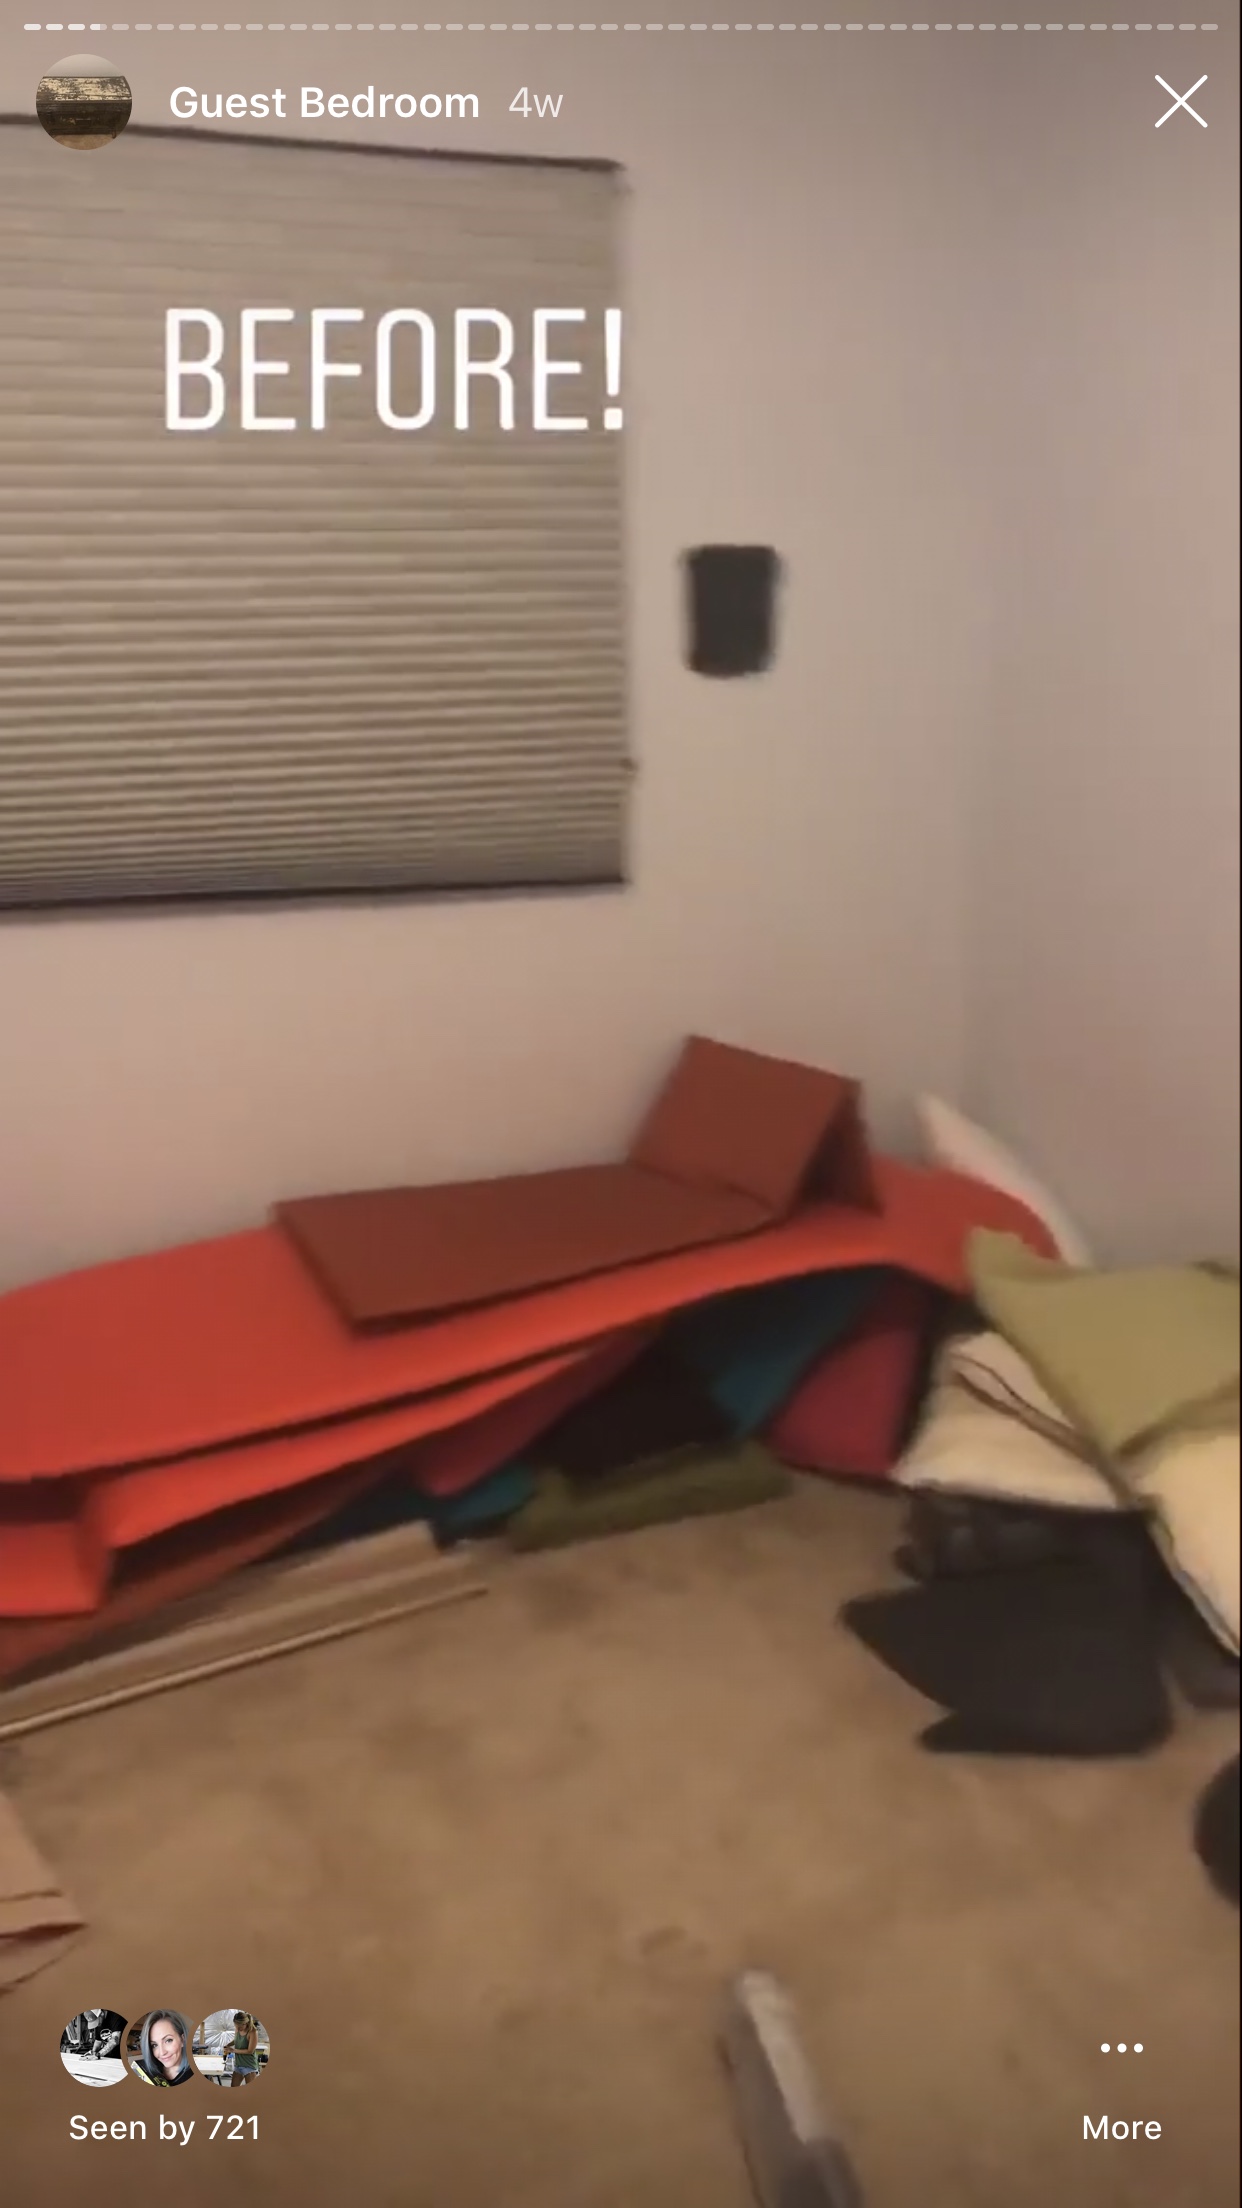
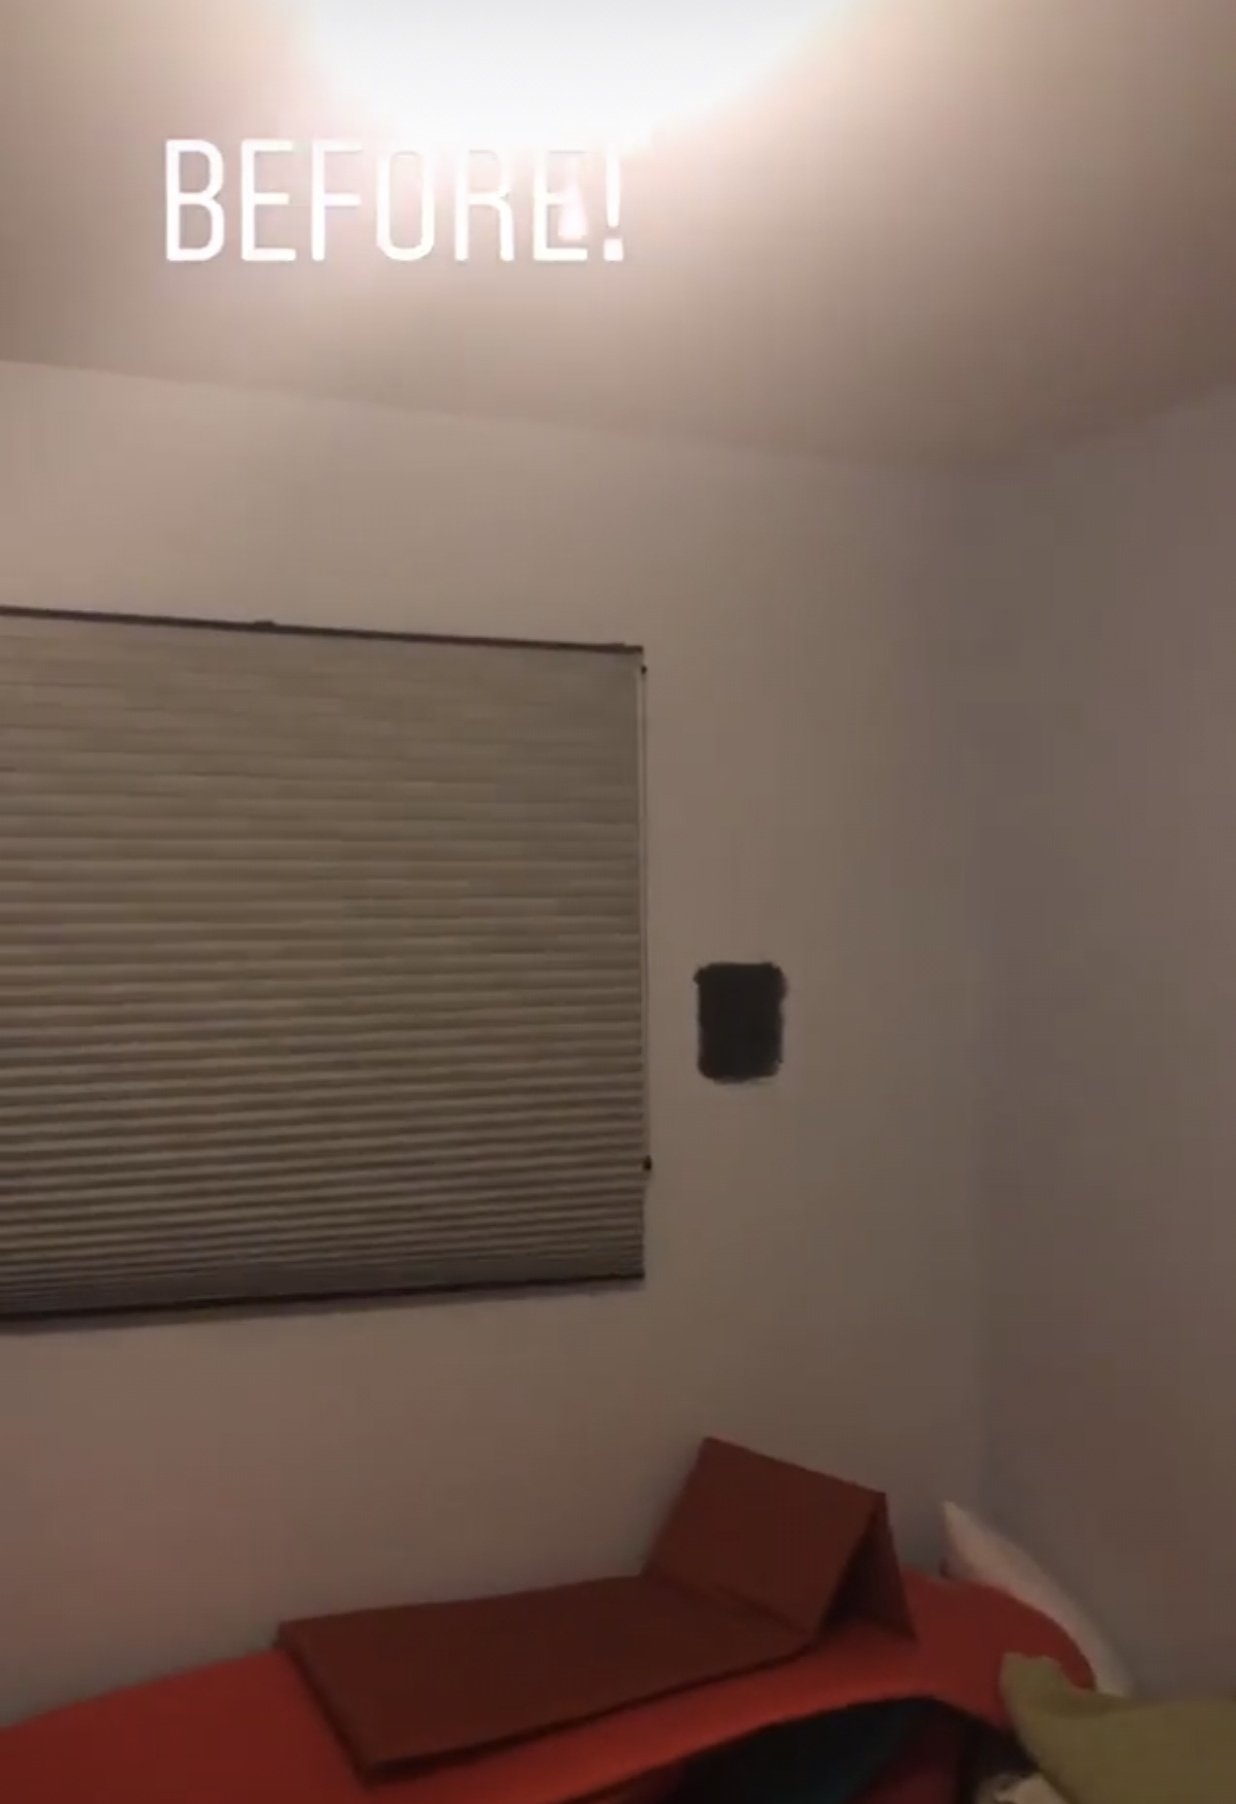
Let me paint you a picture of the before…. We moved into our current house about 3 1/2 years ago. We downsized from a 2500 square foot home to a 1800 square foot home. I kept a lot of the decor and furniture from that home not knowing if it would work in our new place. But I also knew I wasn’t doing to have a ton of money to decorate the new place considering my husband and I were starting brand new career fields. So it all got put into the guest bedroom or like I called it the spare bedroom, because it housed all the spare stuff that didn't quite have a home. Also, since my new job (building) involved taking over the entire garage space all our camping and backpacking gear was in this room as well. Oh, plus a queen sized bed. So to say the least, no guests were sleeping in there.
This post contains affiliate links. This is NOT a sponsored post.
Also, on like the rare occasions when I did have guests spend the night it was my nieces and nephews…. so I wanted to create an environment that they would be comfortable in and wouldn’t break the bank.
First step was to decide what stayed and what went. I sold the bed and mattresses, donated some of the decor, and gave some away to friends. I kept all the money that I made selling those things in an envelope set aside for the makeover. That way it didn’t feel like I was spending on ton of money on it. The rest stuff went into my office that is now the make swift spare room… that is until I get to make it over! Oh and the blue roman shade thing went as well.
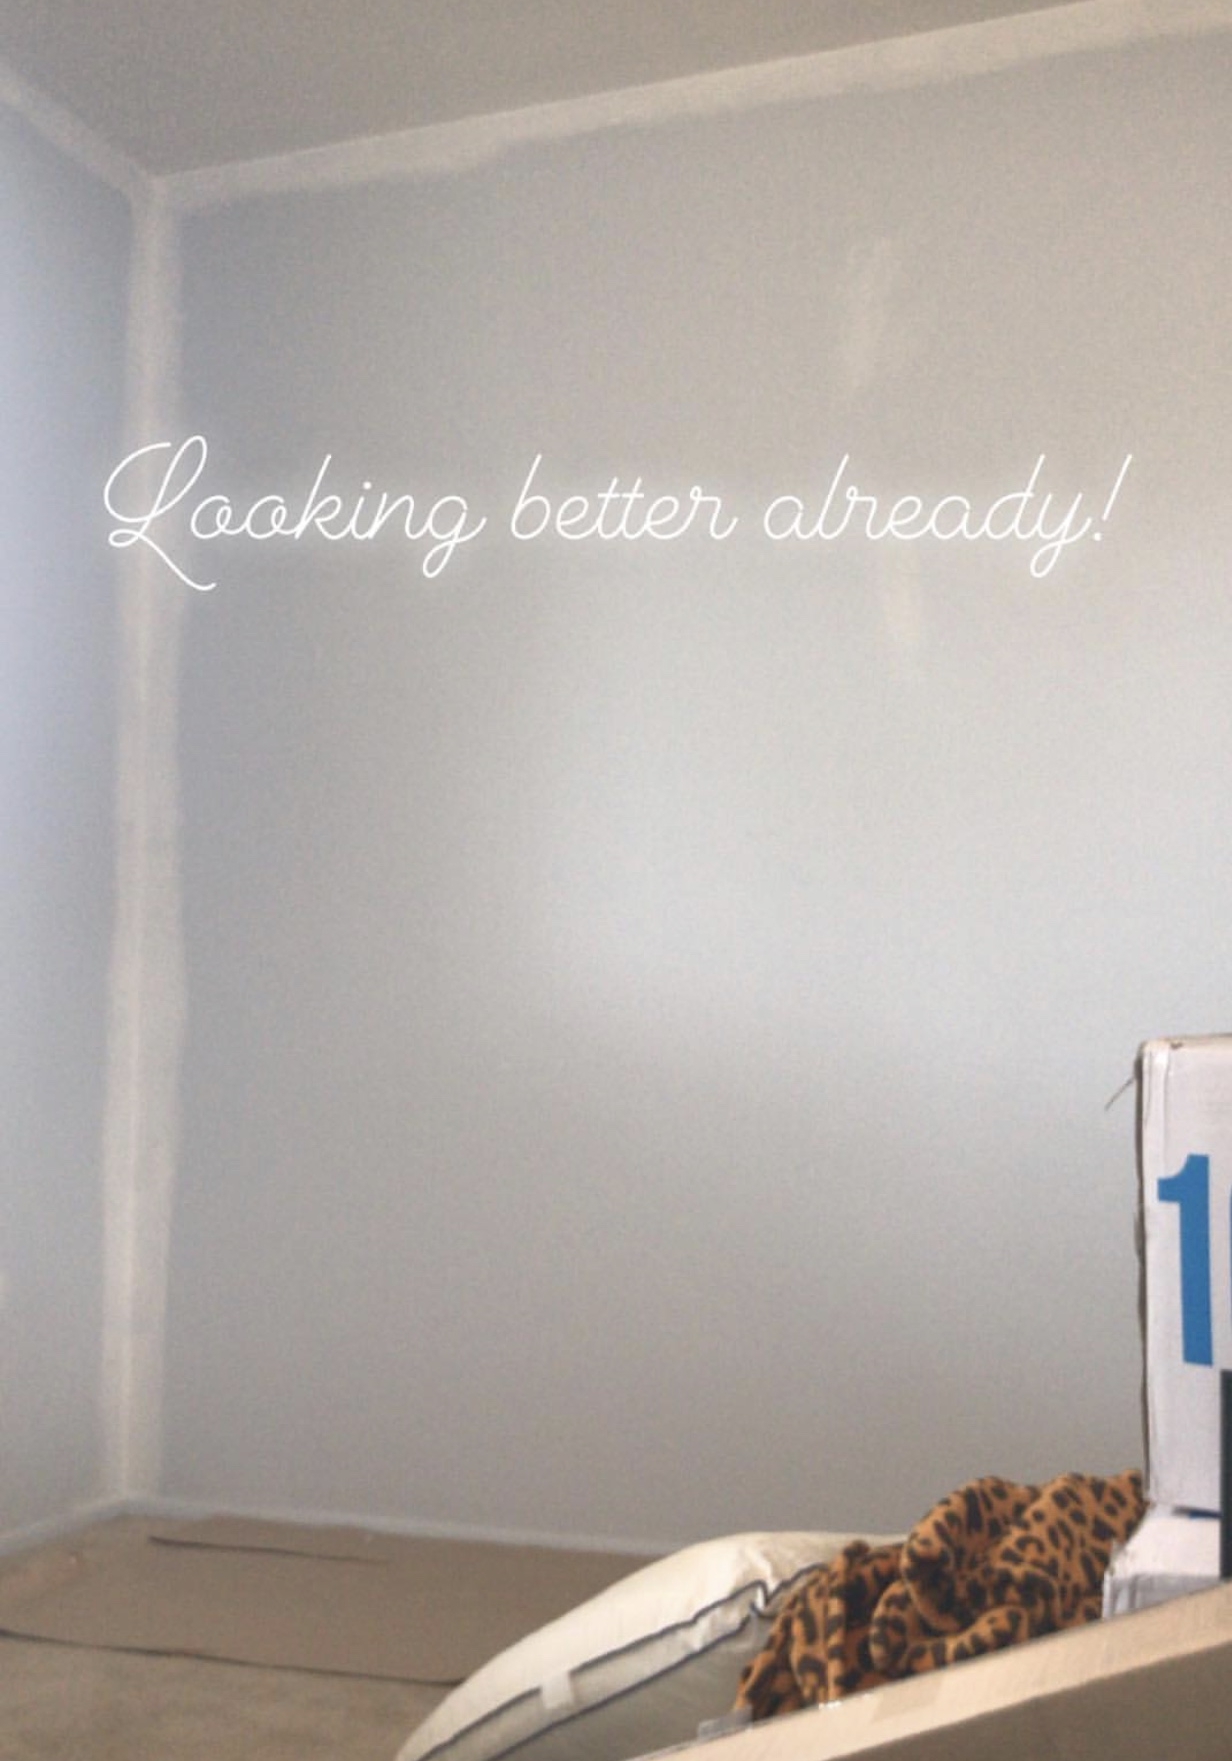
Once it was cleared out I knew I wanted to paint. The paint was fairly new in there, but it was a light baby blue and had to go. So I painted the walls and the ceiling in Behr Pure White in an Eggshell sheen. Yup, a totally white out in there!
Next up was furniture! I knew I wanted two twin beds in there. I have always thought they make better for a guest bedroom and for sure work better for when my nieces and nephews come over. So I started designing and building the new beds. I have a whole post dedicated to them and plans so you can make them for yourselves here, DIY Modern Twin Bed.
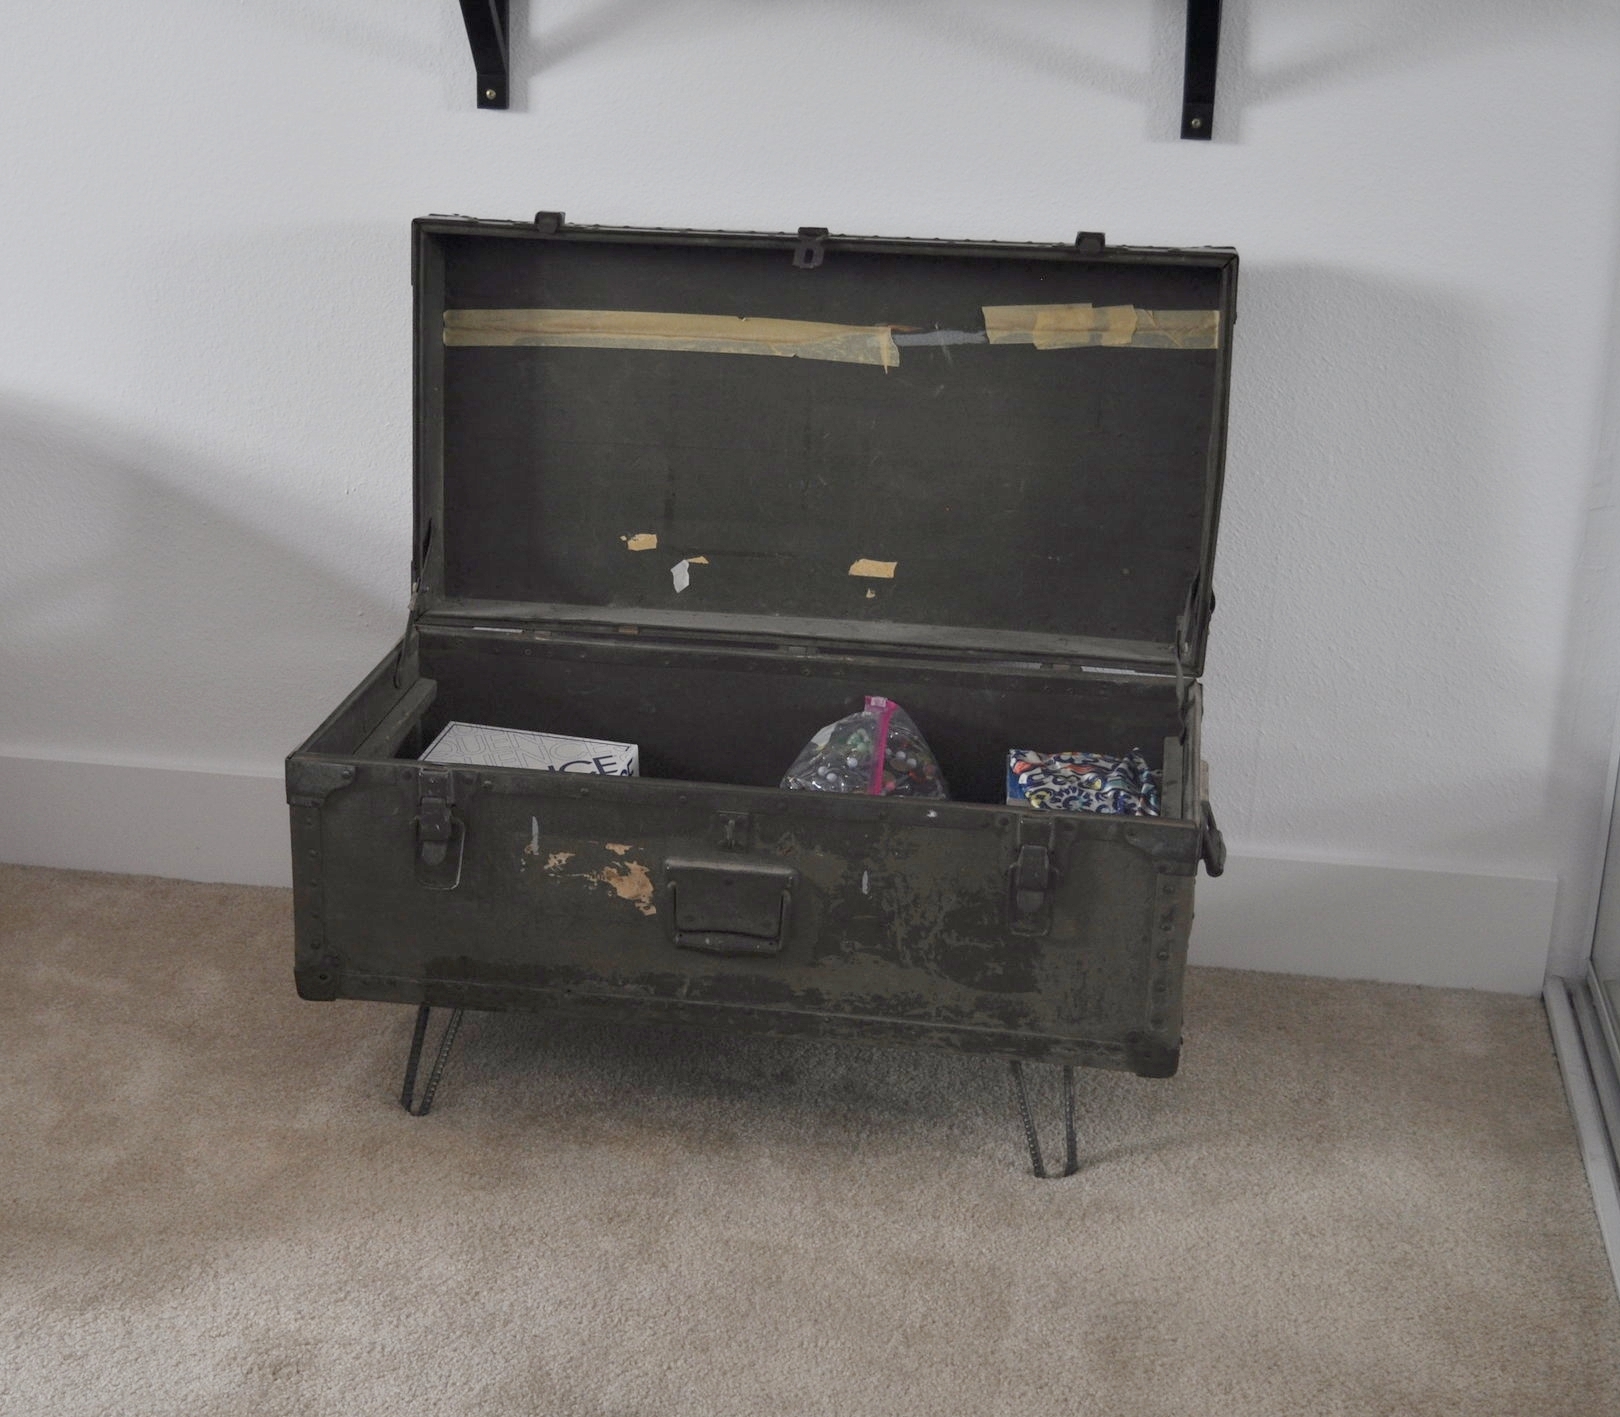
But the room needs more than just beds, so I looked thru my new spare room (office) to see what I had a could use. I found this old army trunk that I got a garage sale a couple of years ago. I never could find the right spot for it, but I also couldn't bring myself to get rid of it. And now I had the perfect solution…. turn it into a toy box in the guest bedroom. I did that by simply adding some 4” hairpin legs I had laying around the shop. I love the updated look and height that they give to it. It is perfect to hide board games and toys. Plus, when it is closed it works as a perfect luggage rack.
Then next piece of furniture happened by chance. My neighbor across the street was moving and new that I built furniture so they asked me if I wanted this old armoire. They had found it in their alley and were wanting to make it over but never got around to it. Once I saw the hardware on this piece I knew I wanted it, but had no idea what I was going to do with it. So it sat in the garage and then in the house and then in the backyard til I found its purpose… that is to turn the armoire into a nightstand for the guest bedroom makeover. I basically just cut it in half, put the top back on, cleaned it up, and painted it black. I will be putting together a whole post dedicated to that awesome upcycle, so stay tuned if you are interested in more detail on how I did that.
Okay so now I had paint, beds, toy trunk, and nightstand covered… so next up was IKEA! I ended up getting shelf brackets to add shelves above the toy trunk. Which got me thinking… this is a guest bedroom… when people are guest they are traveling… so why not make the theme of the room travel!?! I have a ton of travel books from my time as a travel agent, plus tons of trinkets and things I have collected from said travels. What a great place to display them, on those shelves. So I used some scrap alder I had lying around and finished them the same as the beds in Rubio Monocoat Natural and put them on the black shelf brackets I got from Ikea. Another section done!
But Ikea had more awesome budget friendly items for my makeover. Here is a list of the stuff I got there… this post isn’t sponsored by them I just really like some of their stuff.
Ranarp Wall/Clamp Spotlight - Black ($20) I was sold on these because of the awesome black and white cord, plus the plug into the wall no wiring needed!
Indira Bedspread - White ($15) I got these because white can be bleached! You never know what your guest do on those beds… haha! And because they have awesome texture and are nice and light for year round AZ weather.
Ebky Valter Bracket - Black ($5) I love me some black, white and wood so when I saw these I knew I could add some wood tops to match the bed and the would be awesome. After installing them I can report they were easy to install and super sturdy!
Fladis Basket ($12) I am in love with this basket and want to go back and get several more for plants around the house!
Sanela Cushion Cover ($10) These are velvety and oh so soft and have the subtle army green color to coordinate with the trunk.
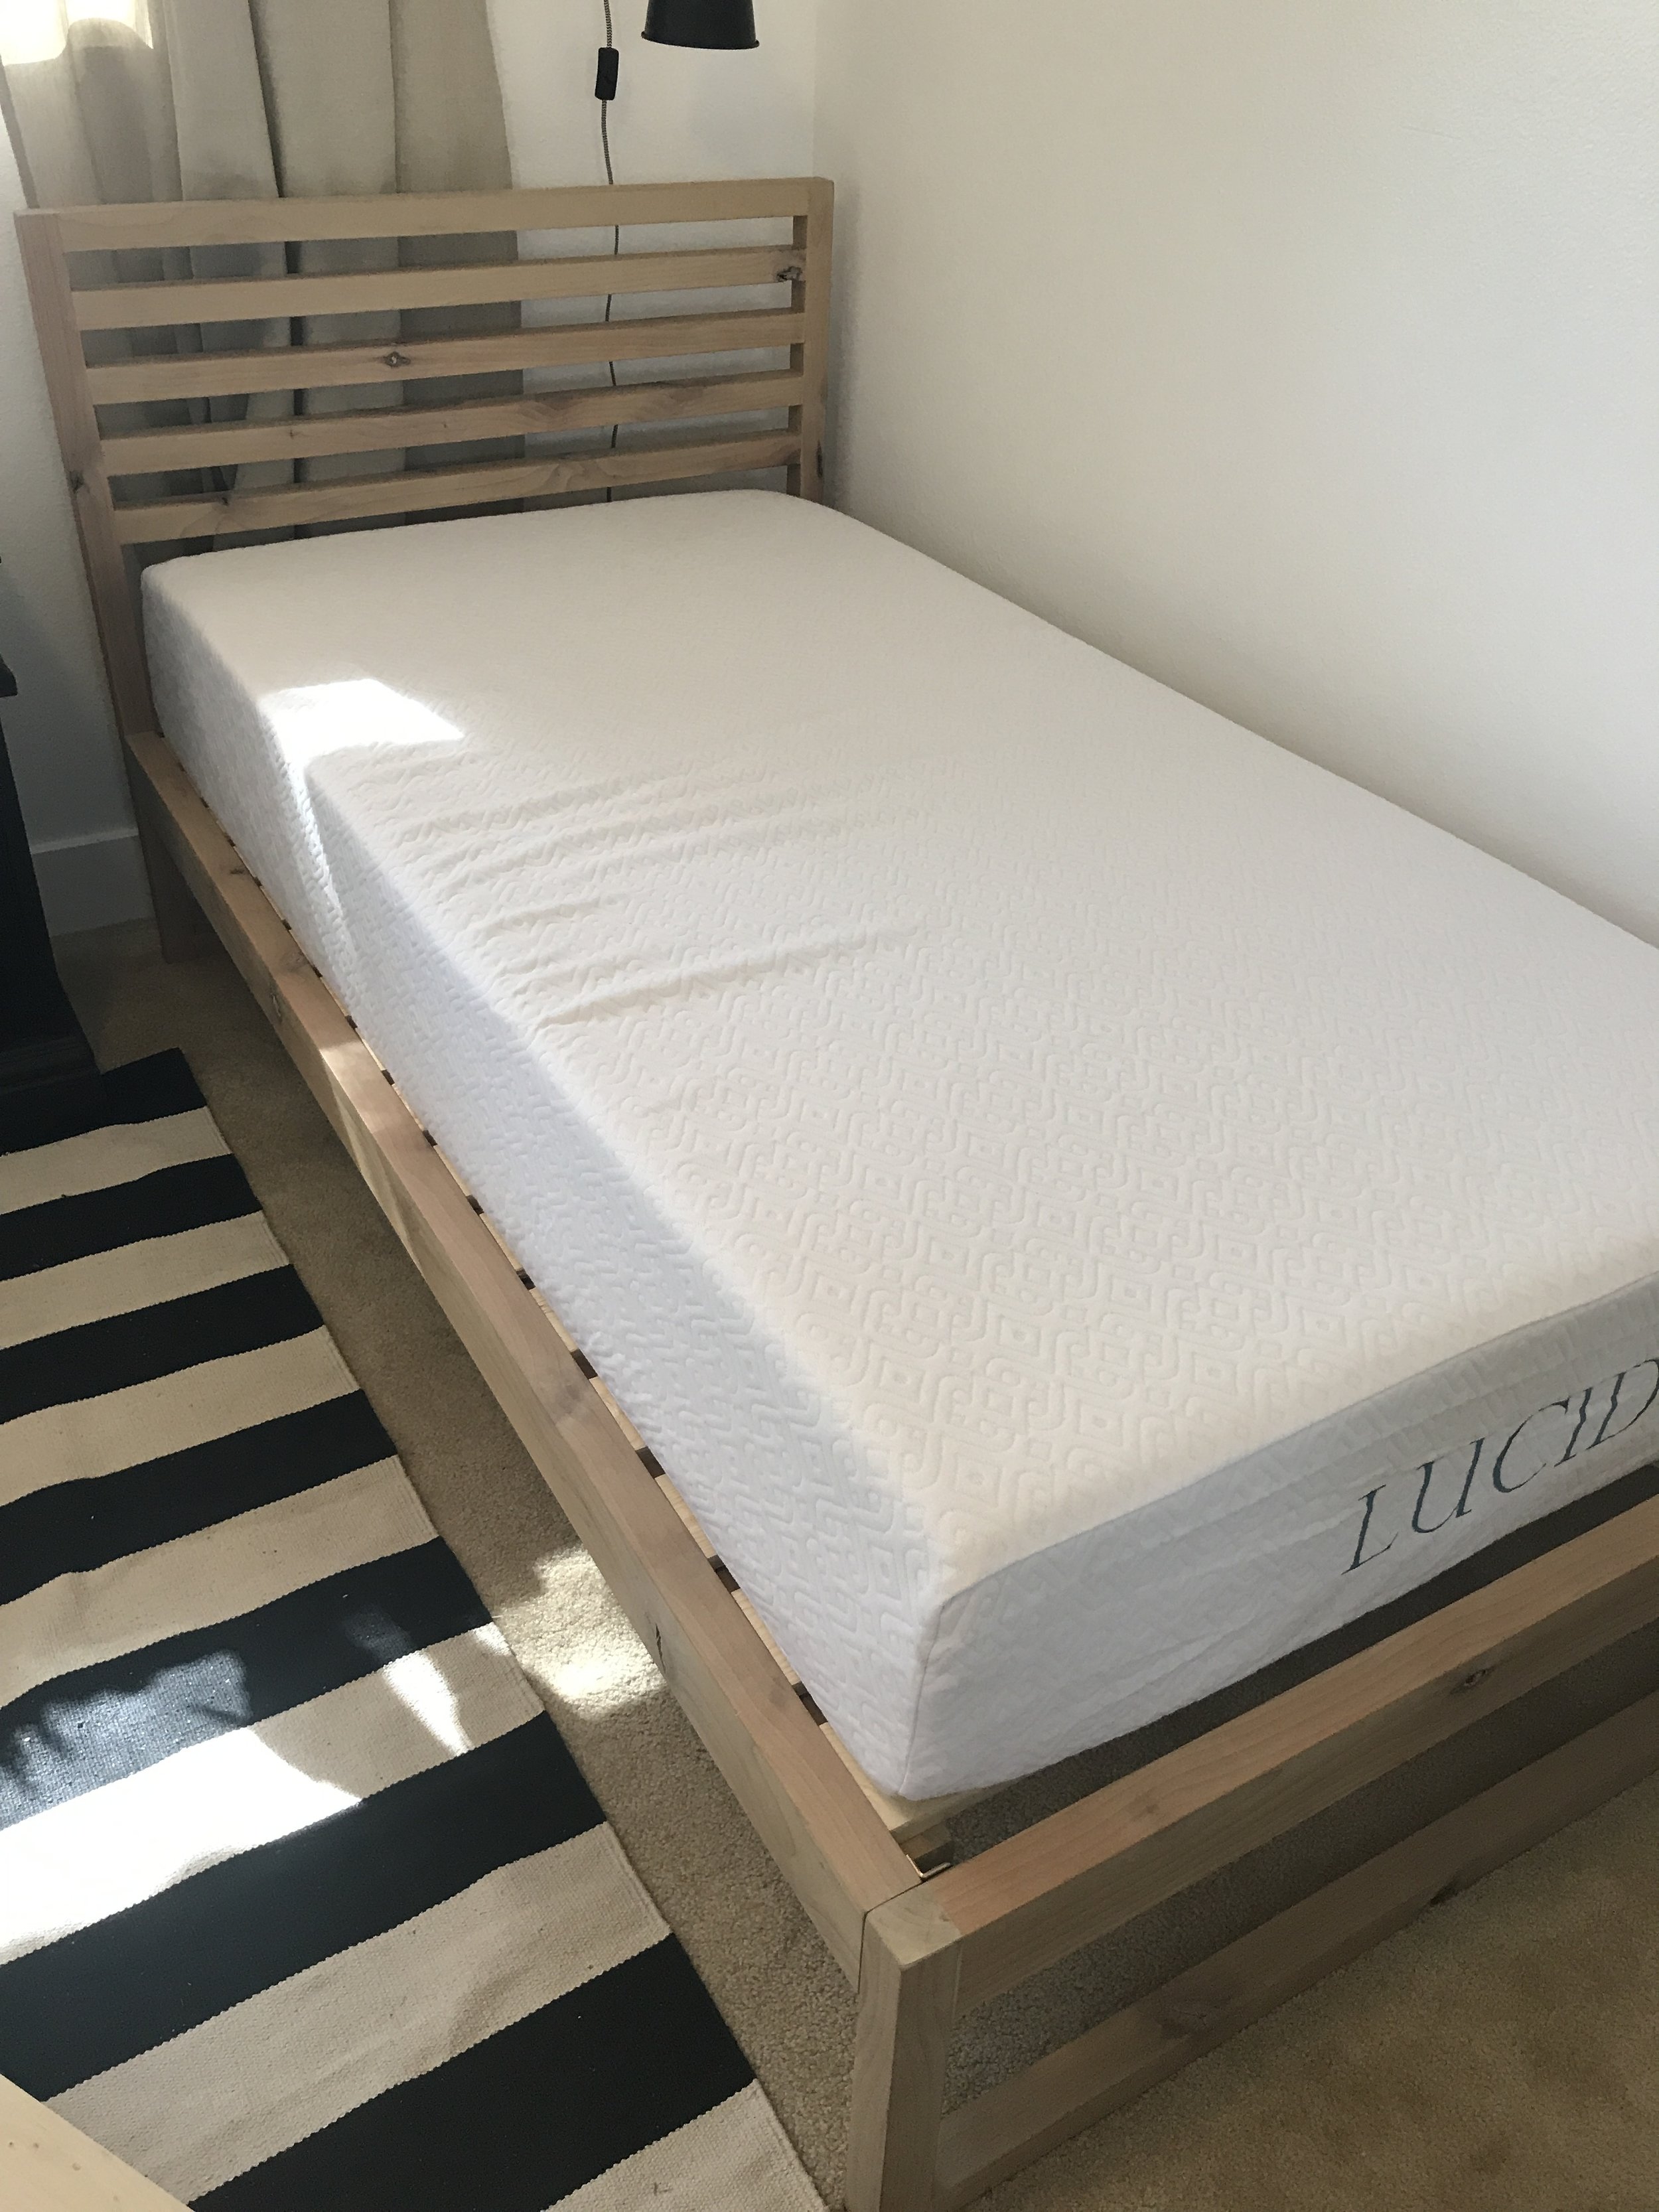
Next up, I did some research on Pinterest regarding affordable mattress and sheets. I wanted them to be nice, but at the same time I didn’t want them to break the bank because they wouldn’t be seeing a ton of use. After reading million reviews I decided to go with the Lucid 10” Gel Memory Foam Mattress. They are a boxed mattress and shipped right to my house off of Amazon. I haven’t slept overnight on them yet, but laying on them I was tempted to take a nap. Oh and my first guest said that they were nice even when they slept on the floor on them. Time will tell how will the stand up, but for the price of $150 each they totally work for my purpose and budget. Hey you don’t want guests getting too comfortable that they never leave…. am I right!?!
I did the same with the sheets and got these ones on Amazon as well. They are nice and soft, but very thin. Again time will tell on how they hold up.
And then lastly, the room just needed some artwork and decor. I moved in my travel books and that pretty much filled the shelves. I hung up a couple of flower prints that I have had for about 15 years. They will work for now, especially because the were paid for. I did buy one print from Jenny’s print shop called Diving Ladies. I thought it was appropriate for the room because it is from a local landmark here is Arizona and it says “motel” on it. Get it - “motel = guest room”. Plus, she was having a sale to buy 2 get 1 free and I have had my eye on some of her other prints for around my house for awhile.
And somewhere along the journey of the room makeover I installed new baseboards. I used 1x6x16 pieces of mdf. I was able to get the for $14 a stick which I think was a great buy compared to how much regular baseboards cost. And I love the clean modern look.
And pretty much everything else was stuff I had. The room turned out so AWESOME! It isn’t 100% how I would have done it if I had more money for this project, but really I don’t know of any project where I didn’t have a budget that I had to reuse stuff I already had. And that is okay… I think my design style mixed with my budget is like “Something Old, Something New, Something Handmade!”. I just made that up and I kinda like it. I’d love to hear what you think of the makeover… what is your favorite part? What would you have done differently? Oh and be nice, because I am in no way an interior designer… I just love making my forever house more of a home with each little project and memory that is made here.
If you made it this far… you’re awesome! Thanks for your support. Anything I didn’t answer in this posts ask away in the comments! And have an AWESOME day everybody!
-Sadie Mae


