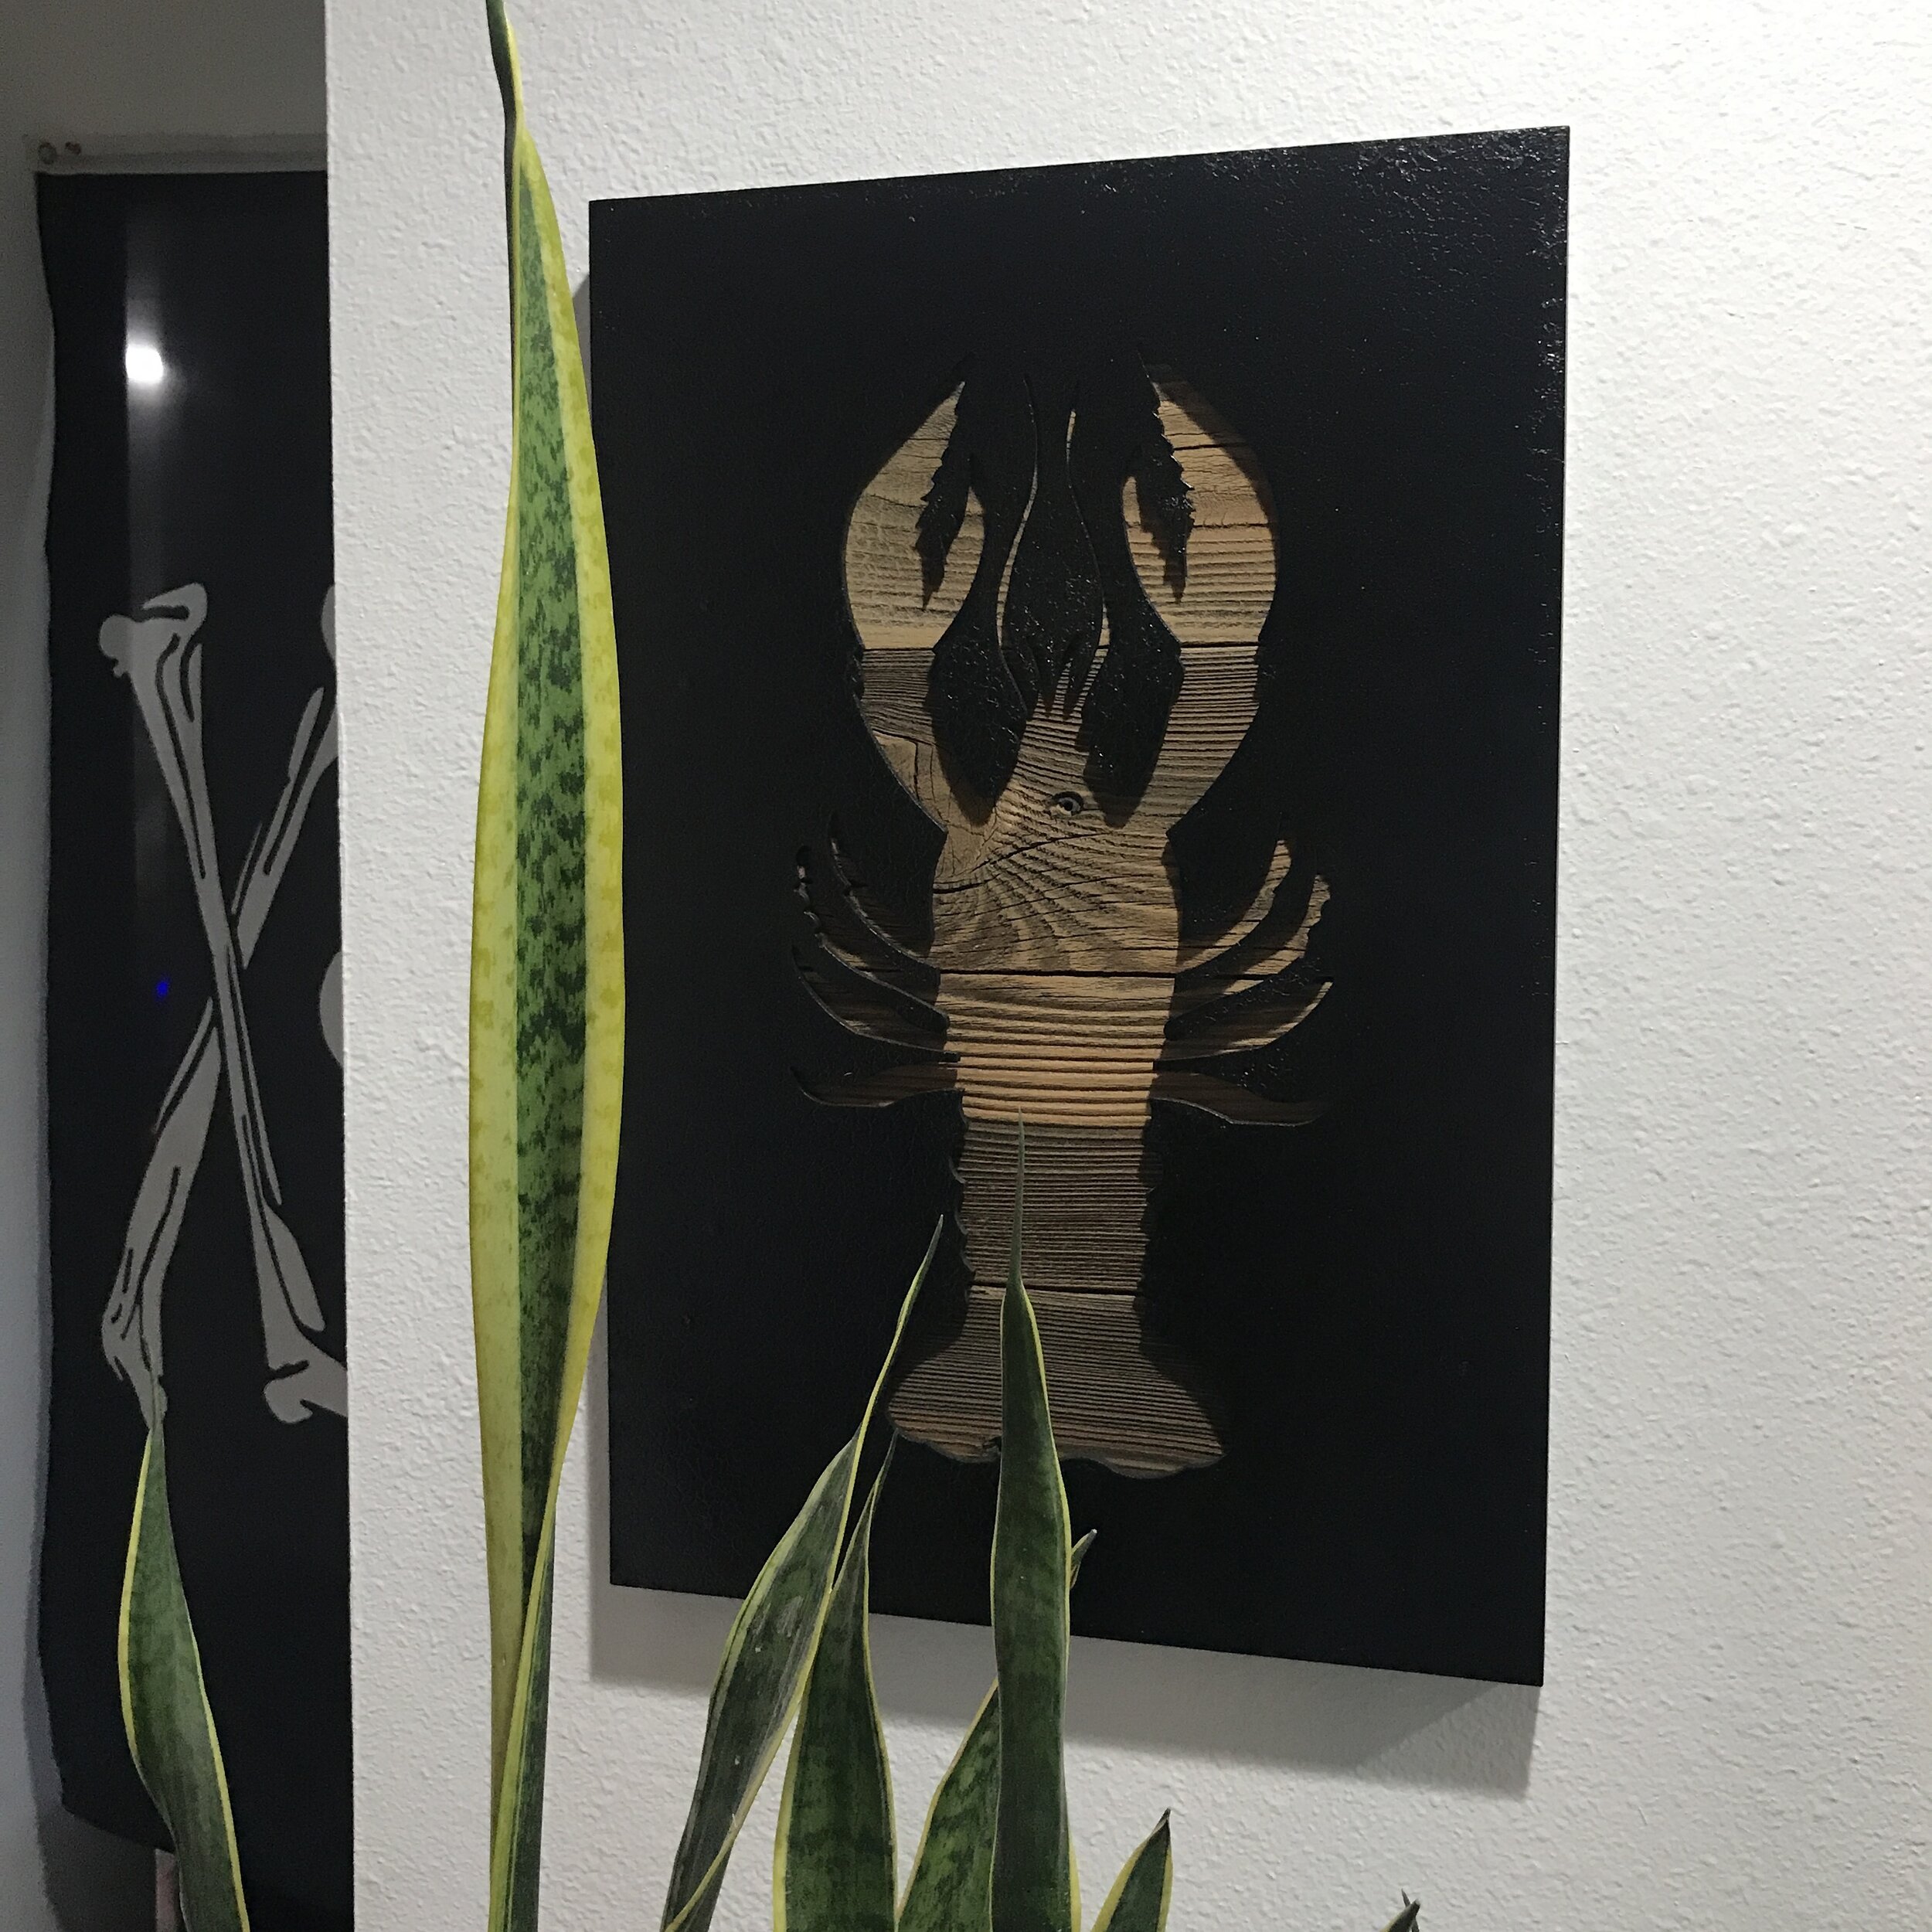
Upcycled "Lobster" Wall Art
This month’s challenge is an UPCYCLE challenge. An upcycle is basically recycling a piece and giving it new life or using it and adding on or taking away from it to give it a new purpose. I used to do a lot of these when I was first starting out. It is a lot of fun to head to a garage sale or thrift store find something that doesn’t look so good and make it AWESOME again. Here are a few pics of some of my favorite past upcycles.
This post is NOT sponsored. This post DOES contain affiliate links. For more information on my affiliate programs see my DISCLOSURES page.
DIY Simple Outdoor Dining Table
Before - Old Patio Posts
During
After - Love the Patina
BEFORE - Mobile Coffee Cart
AFTER - Upcycled Coffee Carrt
Armoire to Nightstand!
BEFORE - Armoire
AFTER - UPCYCLED to a nightstand!
By today, since we are in quarantine or social distancing I decided to find something around the house that I could upcycle. I have this old lobster wall art piece that I used to really like, but the rainbow color isn’t cutting it anymore… at least with my style. So this is what I am going to upcycle today.
And this is a super simple upcycle using some spray paint and some old fence pickets I had lying around… for projects just like this.
First step is to take it apart. It just had a few staples or brad in it, so a chisel or flat head screw driver and it came right out.
Be sure to remove any remaining nails.
This used to be fence pickets!
Why are my eyes always closed in pictures!?!
Next I measured the back and cut strips over at the miter saw that will fit in the back.
Then I spray paint the lobster frame black. This is my favorite black spray paint right now… it is a true black color. And this took several coats, because first coat I tried to spray it under our Mesquite tree that kept dropping leaves. So I changed locations and did a couple more light coats.
Even though it says matte it still does have a slight sheen to it.
While that paint is drying I went back to the barn wood pieces and gave them a light sanding with a sanding block. This new one from Diablo has quickly become my favorite.
Oh the rustic goodness!
More waiting for paint to dry… and then it was time to attach the boards. I tried 3/4” at first, but it popped thru the front… so another coat of paint was in my future. Next I did used 5/8” brad nails with my Ryobi cordless brad nailer and it worked perfectly. I love cordless and no air compressor!
Easily one of my favorite more recent tool purchases!
Ta-Da!
Last step was to find a place to hang this guy up! It had a natural lip on the back so I just used 4 in 1 Screw Hook and I was done!
I love using these hooks! Easy to install and only leave a small hole.
What do you think of this super simple Upcycled Wall Art? Did you like the before or after better? Let me know in the comments below.
BEFORE - LOBSTER WALL ART
Maybe Here?
AFTER - LOBSTER WALL ART
Or Maybe Here?
I love the contrast of the shiny and the old textured wood!
Did you know lobsters mate for for life? Phoebe from friends said so!
I hope this easy project idea inspires you to look around your house and find something that you can make even more AWESOME for your house. And I challenge you to try and use things you have laying around the house like I did. And if you do make one, please tag me in the post… I’d love to see what you make!
Oh, and if you need some more “Upcycle” project inspiration, check out my friends who also did upcycle projects this month!
Addicted-2-DIY
My Repurposed Life - Repurposed Drawers Wall Cabinet
At Charlottes’s House - Painted Globe Makeover
Thanks for following my building journey! Remember Build Loud, Build Wild… just go for it and have fun! OH…. and have an AWESOME day!
Sadie Mae


