Who doesn’t love sitting around a campfire!?! I know I sure do and that is the reason I wanted to build these. But I also didn’t want to spend a ton of money on materials to make them because outdoor furniture can take a beating in the Arizona heat. So I decide to challenge myself to make them each with one (1) board… one 2x12 construction grade board. That along the hardware brought each chair to a cost of $22. Can’t beat that, so let me show you how I did it.
All in DIY Tutorials
DIY Highback Mudroom Bench
If you are like most people you need a place when you first come in your home to drop stuff! Whether it be in the entryway, the laundry room, the garage, or a dedicated mudroom having a place where the shoes, coats, purses, backpacks, etc. can live helps keep the rest of the house from being one big drop zone. So when my client came to me needing a spot just like this for a small space in her laundry room, we designed something that worked perfect for her space. But not only that I think this piece could work for a lot of people and was an easy and fun build that you could easily put your design or personality stamp on.
Burnt Live Edge Clock Made out of Wood and Epoxy
Most of what I make is all out of wood, occasionally I have mixed in some metal, I’ve used epoxy to fill knot holes and since becoming a Torch Bearer with Bernzomatic I have added fire to my making! So for this next project I thought I would challenge myself and see what I could make using them all! After all making and design is all about pushing ourselves to try new things or incorporate them differently in order to find our style. I’ve always wanted to make a clock and figured I should start small with a new design idea, so I thought this was the perfect opportunity to make a Burnt Live Edge Clock out of Wood and Epoxy…. with metal clock components.
DIY Torched Epoxy Table | Shou Sugi Ban
I recently teamed up with Bernzomatic to be part of their “Torch Bearer” program…. what does that mean you might ask. Well, it means that over the next year I will be bringing you several projects that include some sort of torched element. I am so excited to get to add this element to my making… just another way to bring you more AWESOME DIY projects!
DIY Bubbly Bar Cabinet | Power Carving
Power carving is something that I have always wanted to try ever since I got into woodworking. It seemed so fun and the textures you could create endless. That is why when my friends at Saburrtooth ask me to team up on a project, I jumped at the opportunity. I knew exactly what I would carve… you see I had been wanting/needing to make myself a bar cabinet. My pantry is small, so I figured by making one I could free up some space in there. And since it was gonna hold all the bubbly, I decided to carve bubbles on the front like champagne or beer bubbles.
Epoxy Inlay Sunshine Art
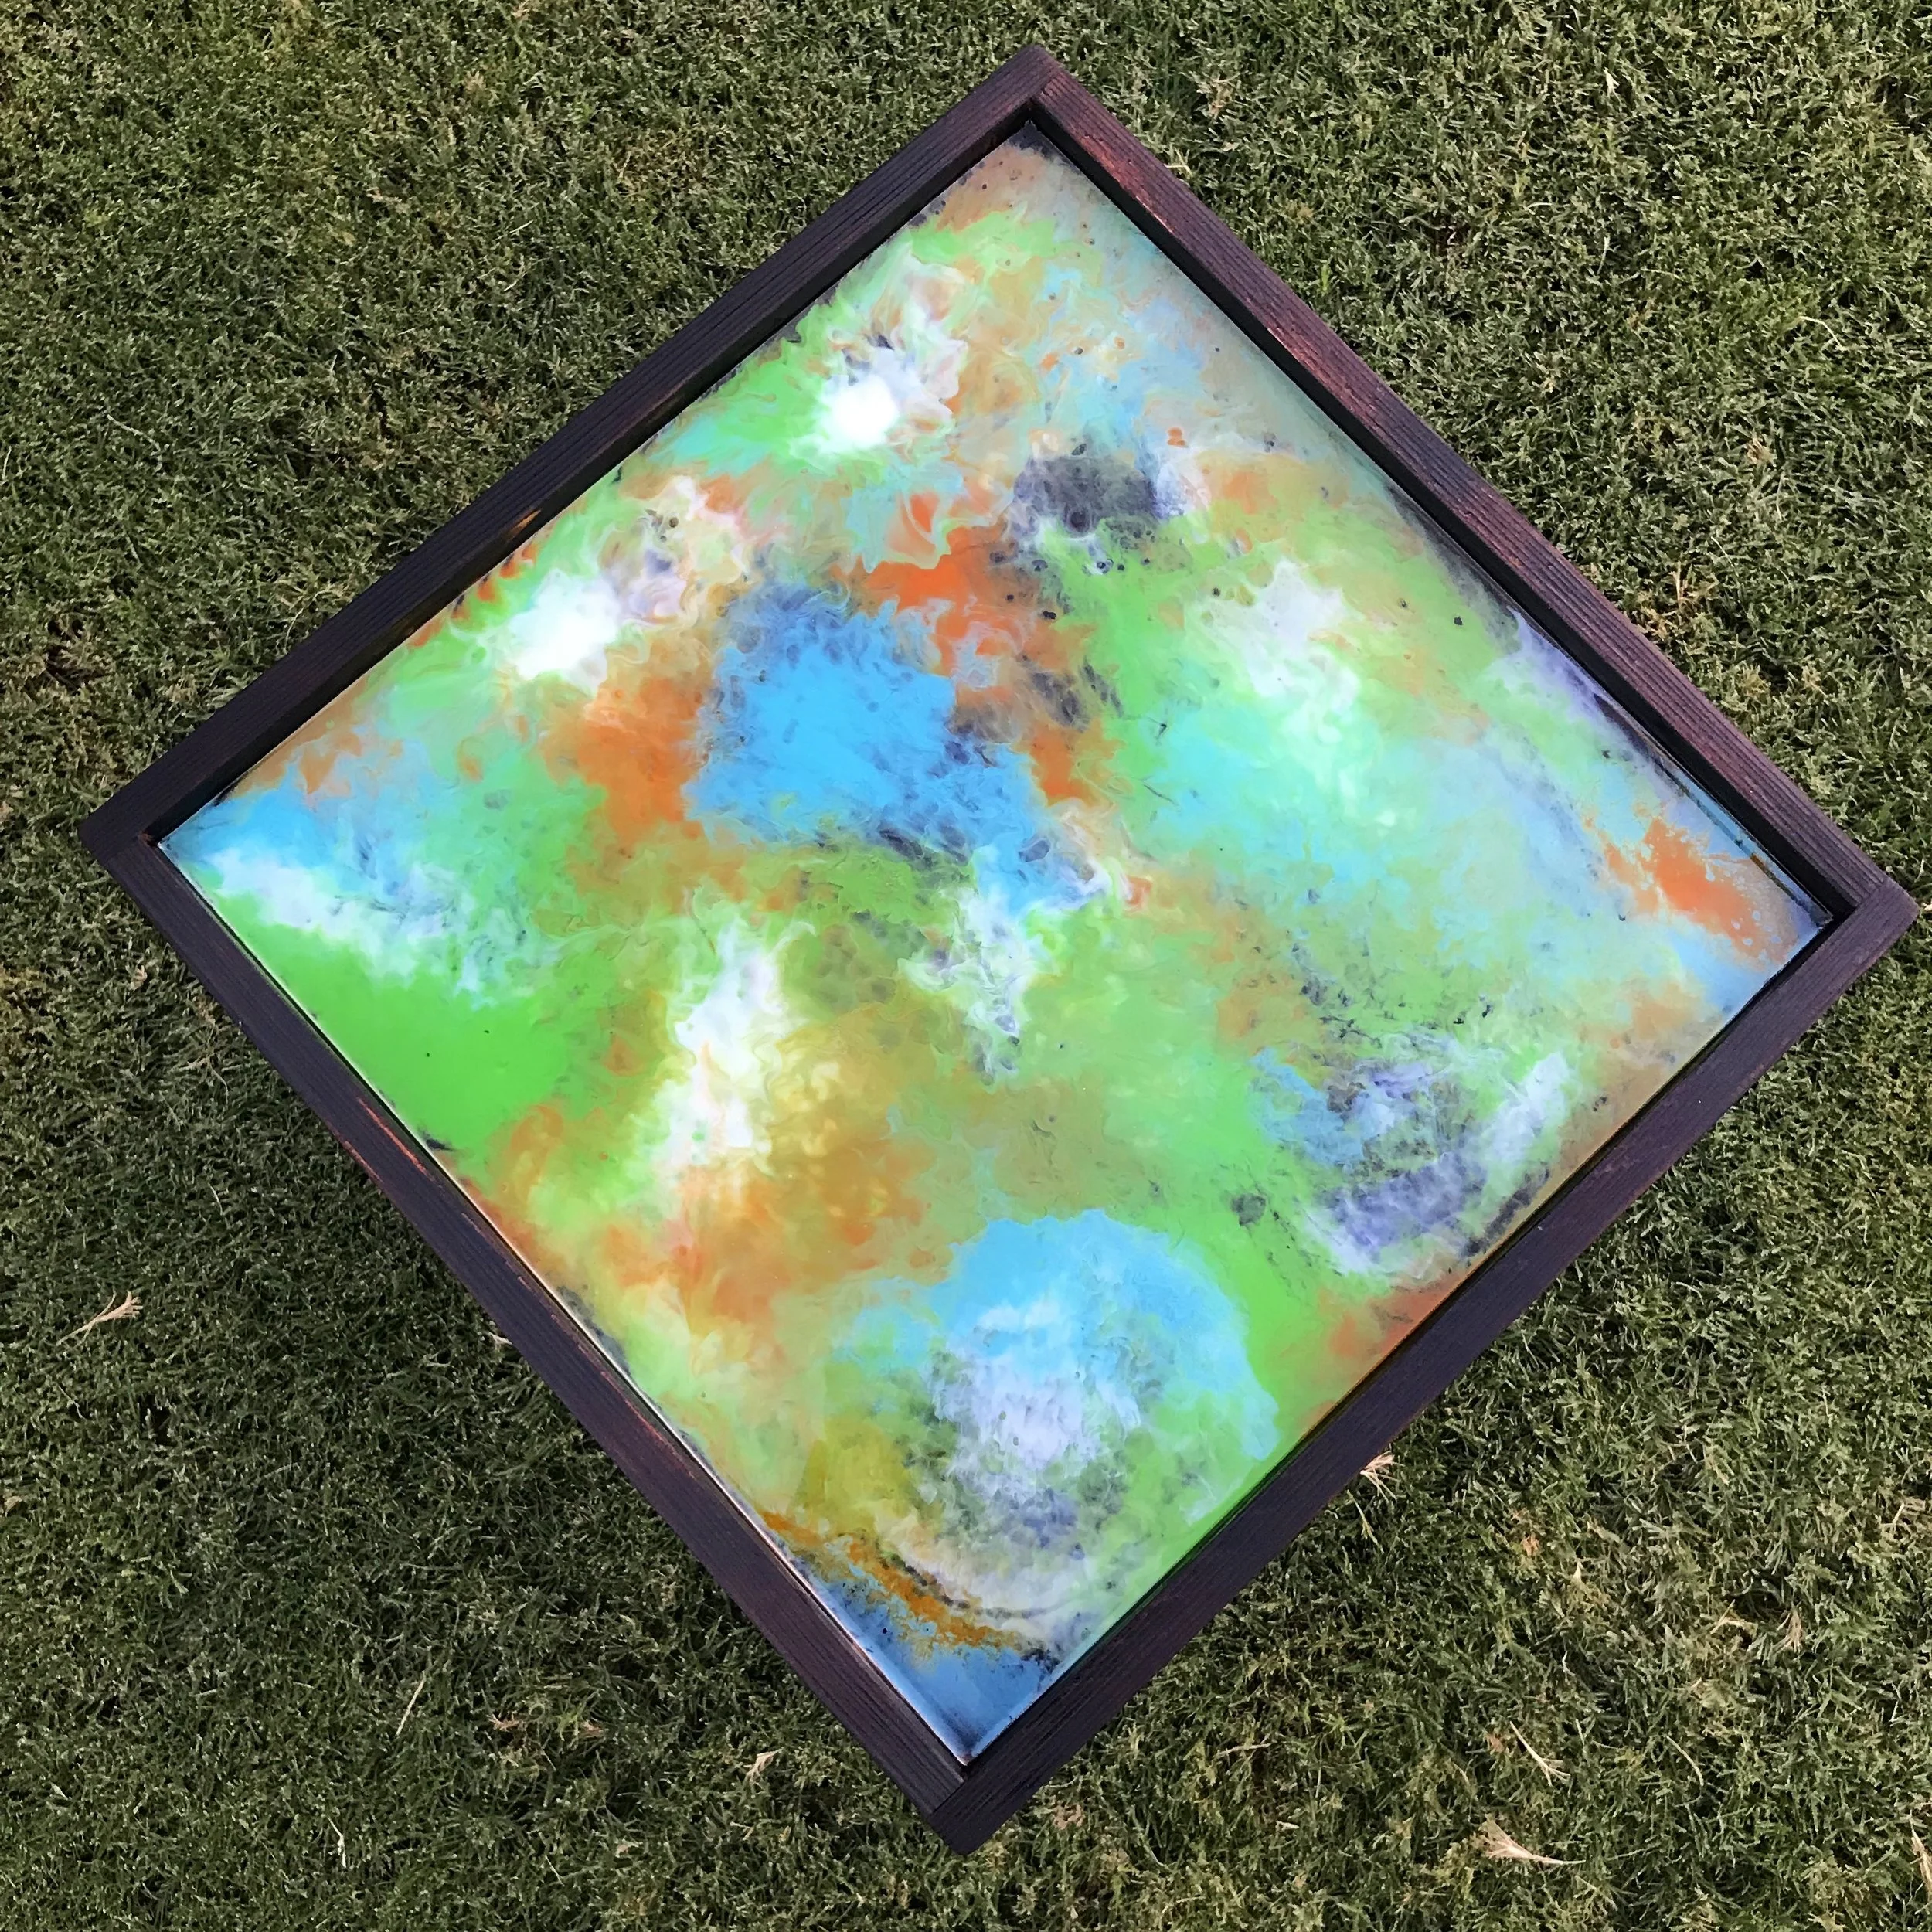
Epoxy, resin, epoxy resin, river tables, ocean art… it is all the rage over social media and the diy maker scene. I have only ever used epoxy to fill knots on table tops, but I thought it would be fun to see what the fuss was all about and try a piece of art. And in true Sadie style I of course wanted to do it different than everyone else, hence make it harder. My first thought was to carve something into a piece of wood, fill it with black epoxy (an inlay) and then cover it with translucent colorful epoxy. Here is how that went and what I learned along the way.
DIY Simple Outdoor Dining Table
If you have been following along with me on Instagram you know I have recently been completed making over my patio and when we demo’d the old patio I saved the wood in hopes of repurposing it one day. Well, once the new patio was finished I knew that I wanted to have a dining table out their for dinner parties once the the weather gets a little nicer… so that is what I set out to do.
AWESOME Bots - DIY Scrap Wood Art
Have you ever seen a project and been like, I wanna make that? Well that is exactly what I said when I saw my friend make some wooden robots. I of course bought one and knew one day I would build some with my own little twist. So when Krazy Glue wanted team up for me to try their new Krazy Glue Fast Dry Wood Glue, I knew exactly what I wanted to use it on….. AWESOME Bots!
DIY Guest Room Snack Box
I’ve recently been making over my guest bedroom, I even named it the “Mustache Motel” because of some of its decor. My goal is to try to make it a place where guests are comfortable and have everything they need or want… kinda like a retreat. AND then hopefully they don’t wake me up too early in the morning looking for water… or a snack! So that is where I came up with the DIY Guest Room Snack Box idea… just like staying in a hotel, but these goodies are complimentary!
DIY Outdoor Cooler Deck Box
I’ve teamed up with a group of other blogger for another challenge this month. This time the theme is DIY Outdoor…. so of course I wanted to make something else for my soon-to-be new patio!!! This time I choose a DIY Outdoor Cooler Deck Box. Within the last year I had to retire my first build ever, see it here…. so I needed some place for hidden storage. Someplace to maybe hide a cooler? or some pillows? or charcoal? However I end up using it most all I know is that it has to look cute.
DIY Outdoor Tic-Tac-Toe Game
Spring is in the air, well almost summer here in Arizona. But either way it is a nice time to be outside. So I thought I would build a something that would fit right in on my soon-to-be new patio. Something that would not only look pretty and match the look that I am going for, but something that is functional and entertaining. So I thought a tic-tac-toe game! Everybody loves tic-tac-toe and there aren’t any crazy rules to learn.
DIY Modern Bench with Back
It was inspired by a two-tone bench that I had made when I was first starting out. I loved that there are so many different ways you can finish it to fit your space or put your personality stamp on it. But did think it would be fun to add a little bit of an upgrade… or in this case a back rest. And not just a straight up and down back rest, but one that was tapered and would actually make the bench comfortable to be sat at.
DIY Stacked Restoration Hardware Knockoff Dining Table
I recently built a knockoff of Restoration Hardware stacked dining table for a client that I thought was really awesome and wanted to share how you could make one for yourself for about $100. So if you are looking for a small, modern, budget friendly, AWESOME dining table keep reading!
DIY Twin Murphy Beds - Without Expensive Hardware
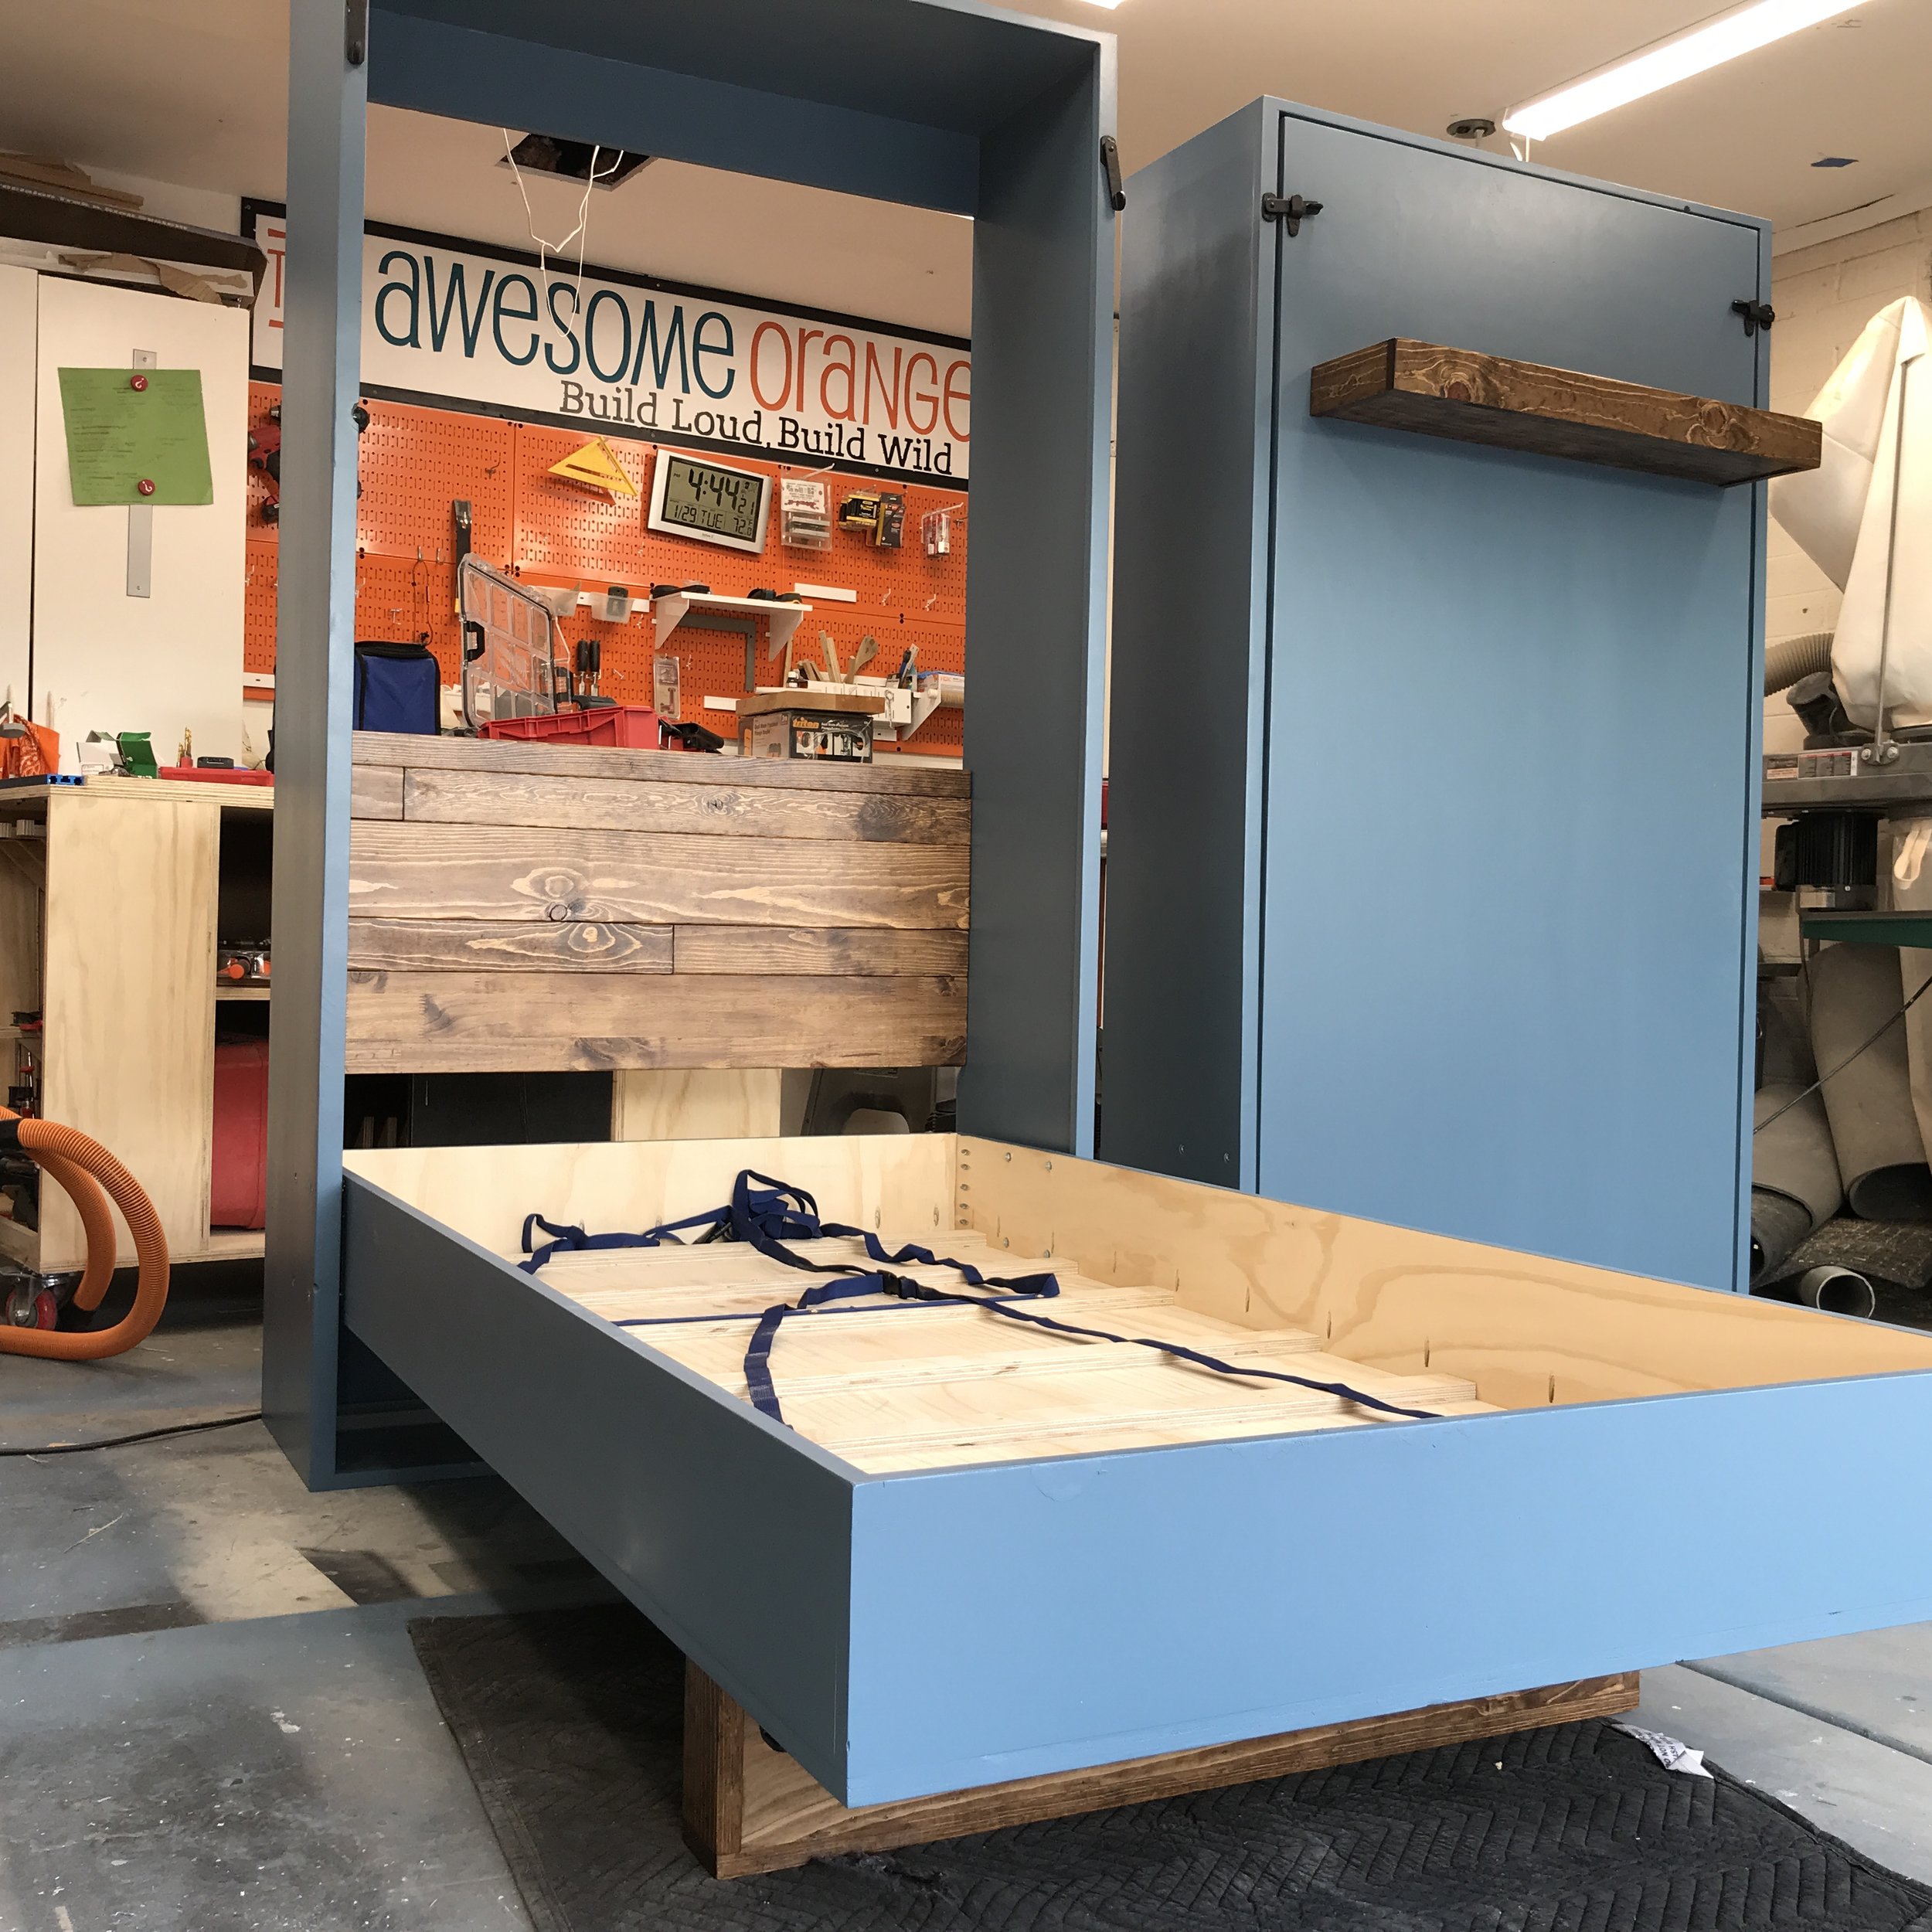
When my clients said okay to the price I had given her for the Murphy beds I kinda freaked out a little. Even though I had created plans and went thru the whole build process on paper and my head a couple hundred times I was still nervous I was forgetting something! But in the end I made some pretty awesome Murphy beds and learned a ton. Let me share with you what I learned.
DIY Flip Top Workbench
Once I built my Modular Miter Station I knew I couldn’t stop there with my shop projects because I still had two major tools that didn’t have a home…. my Kreg Foreman and my Ridgid thickness planer. Both are pretty big tools and are a pain to have to move to a workbench when you need to use them so I came up with a plan to give them a permanent home and fit right in with my new shop furniture….. or Modular Miter Station. So this is de facto Phase 5!
Modular Miter Station - Phase 3 - Assembly Cart
Have you ever assembled something on the ground? Or been assembling something at your workbench, but the tool you need is across the shop hanging on the wall? So for Phase 3 of the Modular Miter Station series I knew that I wanted to make the ultimate “Assembly Cart”. A cart that would house everything in arms reach when I assembling my next project… clamps - all kinds of clamps, screws - and all kinds of fasteners, and anything else I can fit on it.
Modular Miter Station - Phase 2 - Air Cart
Have you ever walked around your shop and tripped? Well I have plenty of times and am I just fed up with it… plus it could potentially be dangerous. So for Phase 2 of the Modular Miter Station series I knew that I wanted to make an “Air Cart”. A cart dedicated to housing my heavy, hard to move around, super loud air compressor and all the tools, hoses, and accessories that go along with it.
Modular Miter Station - Phase 1 - The Foundation
Workshop upgrades have never been fun. Usually because I am doing them at odd hours or on the weekends because they just had to be done. But since teaming up with Kreg Tool to create a series of workshop plans to put on their DIY project plan site BuildSomething.com, I have been having a blast with shop upgrades. I think its been so fun because I got to plan my workspace around what was going to work for me and something that I could grow into…. always want to be planning ahead!
DIY Modern Twin Bed
My guest bedroom used to be more of a spare bedroom… it had a queen bed in it and the room was a catch-all of stuff decor stuff (from when we downsized) and camping stuff (my shop took over the entire garage)! So it was definitely time for a makeover. As part of my Guest Bedroom Makeover I got to build new beds! I have never built a bed before, but have been wanting to for a long time. So when my friends at Kreg asked me to partner on a project for BuildSomething.com I knew the perfect project! You can read more about the entire room makeover at Guest Bedroom Makeover - Before & After, but the real star of the makeover are the beds!!! At least IMHO, so lets get to them!


